
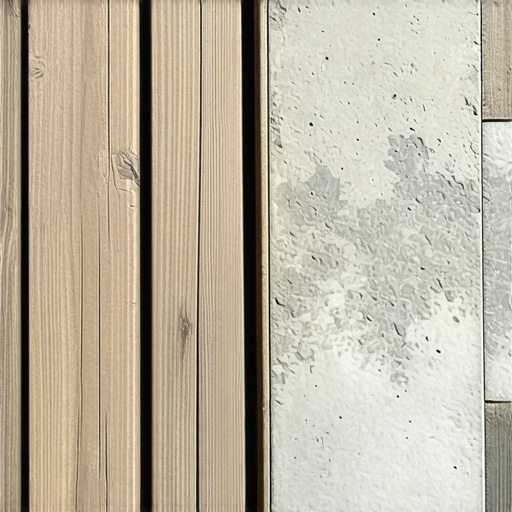
I’ll never forget the morning I stood in my doorway, coffee in hand, staring at the ugly three-quarter-inch gap between my newly finished oak flooring and the gray, angled slab of my driveway. I’d spent weeks on that wood, but that transition? It looked like I’d just given up at the finish line. Worse, the first time my neighbor walked in, he caught his toe and almost face-planted into my foyer. That was the visceral realization that a sloping exterior-to-interior transition isn’t just about looks; it’s about not sending your guests to the emergency room. It was a failure that taught me more about floor heights than any manual ever could.
The Transition Nightmare That Most People Ignore
Transitions are the unsung heroes of any home renovation, but when you’re dealing with wood and a sloping concrete driveway, the stakes get much higher. You’re fighting gravity, moisture, and two materials that generally don’t play well together. I made the classic rookie mistake of thinking a standard T-molding would solve everything. Spoiler alert: it didn’t. It cracked within a month because I didn’t understand why you need a transition strip between different flooring heights that can actually handle the shifting of the earth. Today, I’m going to walk you through exactly how to bridge that awkward gap. We aren’t just slapping a piece of wood down and hoping for the best. We’re talking about creating a seamless, weather-tight, and safe passage that looks like it was designed by an architect, not a panicked homeowner on a Sunday afternoon.
Will This Actually Hold Up Against the Elements?
It’s a valid fear. Most people think the wood will rot or the concrete will heave and ruin the joint within a season. If you do it wrong, they’re right. According to the National Association of Home Builders (NAHB), moisture is the leading cause of flooring failure in transition zones, especially where interior materials meet exterior slabs. This is why I always tell folks how to use a moisture meter before installing wood floors to ensure the subfloor is actually ready for the project. If that concrete is damp, your wood is doomed before you even start.
Why Getting This Right Saves Your Subfloor
If you leave a gap or use the wrong sealant, water is going to find its way under your wood planks. I’ve seen beautiful floors buckle because a driveway slope directed rainwater right into the threshold during a heavy storm. It’s a expensive mess. By following a step-by-step guide to flooring installation and leveling success, you can create a barrier that keeps the weather outside where it belongs. I’ve also found that using the low-profile transition trick for wheelchair access works wonders even if you don’t specifically need ADA compliance—it just makes the walk smoother for everyone. Have you ever tried to DIY a transition only to have it pop loose a week later? Tell me I’m not the only one who has fought that battle! Let’s get into the actual mechanics of the build.The first thing you have to realize is that concrete driveways are basically giant thermal sponges. They soak up heat during the day and release moisture through the slab at night. If your wood flooring touches that concrete directly, the wood wins the fight for moisture every time—usually by rotting from the bottom up. You need a robust vapor barrier, but even before that, you need to ensure the bonding surface is stable. I’ve seen dozens of projects fail because the installer didn’t realize why your subfloor primer is bubbling on old concrete, which usually points to high vapor emissions that will eventually push your transition strip right off the floor.
Fix the Dip Before the Flooring Follows It
Next, you must address the geometry of the slope. A driveway rarely moves in a perfect, flat line; it often twists or pitches to one side for drainage. You cannot simply lay a straight piece of wood across a warping plane and expect it to look professional. This is where precise floor leveling techniques to achieve flawless surfaces come into play. You aren’t trying to make the driveway level—that would ruin the water runoff—you’re trying to make the landing zone where the wood meets the concrete flat enough for a transition strip to sit flush without rocking. I learned this the hard way during a garage conversion where the floor dipped nearly two inches toward the door. I tried to stack layers of construction adhesive to fill the void, but as it cured, it shrank unevenly, creating a hollow, clicking sound that mocked me every time I walked over it. I eventually had to rip the whole thing up, which is why I now use the shim trick for fixing a bouncy plywood subfloor logic even on concrete by using plastic shims to support the transition piece before gluing. 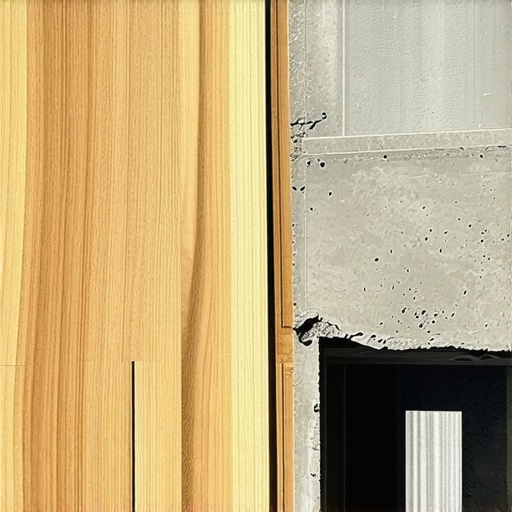
Measure Twice and Dry-Fit Three Times
Now, let’s talk about the hardware. Standard T-moldings are designed for two floors at the same height, which is useless here. For a driveway, you need a heavy-duty reducer or a custom threshold. Here is the pro secret: buy a piece of solid oak stock and mill it yourself on a table saw to create a custom bevel that matches the specific angle of your driveway’s slope. Before you reach for the permanent adhesive, remember the dry fit rule that prevents costly cutting mistakes. I once ruined three expensive pieces of mahogany because I kept forgetting to account for the thickness of the compression weather-stripping that needed to sit underneath the wood.
Solve Leveling Issues with the Right Mix
If you’re dealing with massive dips where the concrete has settled over decades, you might need a specialized compound. Understanding floor leveling challenges, common mistakes and how to avoid them is crucial because if you pour too much material, you’ll create a new trip hazard in the opposite direction. You need to feather the edge so the transition is gradual and invisible to the eye. I always keep a bag of high-flow underlayment on hand for these scenarios. Just make sure you know the secret to mixing the perfect bucket of self-leveler every time so you don’t end up with lumps of unmixed powder that create weak spots under your threshold. Finally, since this is an exterior-to-interior junction, the transition strip must act as a dam. Use a high-performance silicone sealant between the bottom of the wood and the concrete to prevent wind-driven rain from sneaking under the threshold and hitting your subfloor.Most people assume that once they pour the liquid gold that is self-leveling underlayment, the laws of physics will handle the rest. I used to believe that too until I ended up with a floor that looked like a topographical map of the Ozarks. The biggest myth in the industry is that ‘self-leveling’ means ‘set it and forget it.’ In reality, these compounds are ‘self-smoothing,’ not self-leveling. If you don’t use a gauge rake and a spiked roller to break the surface tension, you’ll end up with a series of connected puddles rather than a flat plane. I’ve learned that the reason your leveler is setting up too fast is often due to high ambient temperature or a failure to properly prime the substrate, which sucks the moisture out of the mix before it can flow.
Stop Treating Your Subfloor Like an Afterthought
If you skip the primer or use the wrong one, you are essentially building your house on sand. I’ve seen why your self-leveler is pulling away from the concrete, and it’s almost always because the installer thought a quick sweep was enough prep. According to the Tile Council of North America (TCNA) Handbook, mechanical profiling of the concrete is often necessary to ensure the chemical bond actually holds. If the concrete is sealed or too smooth, that expensive leveler will just sit on top like a giant contact lens, waiting to crack the moment you drop a heavy tool. I once saw a massive install fail because the team didn’t realize why your floor leveler pitted during the drying process—they had over-mixed the bags with a high-speed paddle, whipping air into the slurry like cake batter. Those tiny pinholes might look small, but they ruin the structural integrity of your tile bond.
Why Does My Leveler Keep Cracking Despite the Primer?
This is the advanced question that separates the pros from the hobbyists. It often comes down to the ‘water-ratio trap.’ It is incredibly tempting to add just a splash more water to make the mix flow better. Don’t do it. Excessive water causes the heavy aggregates to sink to the bottom and the weak polymers to float to the top, resulting in a chalky, brittle surface. Mastering the ultimate guide to floor leveling for a perfect finish requires a kitchen-scale level of precision with your water bucket. #IMAGE_PLACE_HOLDER_C#
The Trap of the Shrinking Substrate
Another nuance people miss is the movement of the subfloor itself. If you’re working over plywood, you need to understand why your self-leveler is bubbling over plywood—it’s often off-gassing. Without a proper sealer, the wood absorbs the water and releases air, creating a moonscape of bubbles. I always tell my clients that the prep work should take three times longer than the actual pour. If you’re rushing to get to the fun part of laying planks or tile, you’re likely setting yourself up for a callback. Have you ever fallen into this trap? Let me know in the comments! I’d love to hear your horror stories or the tricks you used to save a project at the last second.Once the leveler is cured, the real work begins—validation. You cannot trust your eyes to detect a 1/8-inch dip, and that tiny deviation is exactly what causes your transition strips to loosen over time. I never start a layout without knowing how to check for high spots with a 10-foot straightedge. It’s the most boring tool in my truck, but it’s the only one that doesn’t lie. If you find a gap where light peeks under that rail, you aren’t ready for wood. According to the National Wood Flooring Association (NWFA) Technical Manual Section II, subfloors must be flat within 3/16-inch in every 10-foot radius for nail-down installations. If you ignore this, the repetitive flexing of the wood will eventually snap the tongue-and-groove joints or pull the adhesive away from the concrete.
Invest in the Tools That Save Your Back
I’ve wasted thousands of dollars on ‘shortcut’ tools that promised to make leveling easier, but I always come back to the basics. I personally recommend a high-quality, heavy-duty mixing paddle with a low-RPM drill. High speeds introduce air bubbles that weaken the matrix. Once the floor is down, maintaining that pristine surface requires a different kit entirely. I always share my hardwood floor care secrets to longevity and shine with clients because the wrong vacuum can be as destructive as a flood. Specifically, I look for the vacuum attachment that actually picks up fine sawdust without dragging a plastic head across the finish. #IMAGE_PLACE_HOLDER_D#
How do I maintain these high-traffic transition zones over time?
Maintenance isn’t just about cleaning; it’s about monitoring the environment. Your driveway and your interior floor are constantly expanding and contracting at different rates. I make it a habit to check the expansion gaps every shoulder season. If you don’t know how to keep your hardwood floors from gapping in the winter, you’ll likely see your transition strip start to pull away from the wall. A little bit of color-matched high-flex caulk can bridge these seasonal movements without cracking. Looking ahead, I predict the next decade will bring ‘smart’ underlayments with embedded moisture sensors that alert your phone before a leak turns into a rot problem. Until then, we rely on mechanical precision. If you’re planning for a future update, consider mastering hardwood floor refinishing expert tips for 2025 to keep that wood looking fresh as the home ages. My challenge to you: Grab a bright flashlight, lay it flat on your subfloor tonight, and see how many ‘hidden’ valleys you can find. It’s the first step to a floor that doesn’t squeak.
The Hard Truth About Those ‘Invisible’ Gaps
After years of wrestling with transitions, the biggest lesson I’ve learned is that ‘good enough’ for now is a disaster waiting for the first humid summer. You might think a hairline gap where the oak meets the drive isn’t a big deal, but it’s an invitation for moisture and debris to set up camp under your floor. I once ignored a slight shift in a custom threshold only to have it develop a maddening ‘click’ that echoed through the house every time someone walked in. Always remember that wood is a living material; it needs room to breathe, but it also needs a solid, non-negotiable anchor at the points of entry. If you find yourself rushing, step back. The most expensive tool in your arsenal is actually your patience.
The Gear That Survives My Job Site
I don’t believe in buying every gadget at the hardware store, but there are three things I never tackle a transition without. First, a high-quality digital moisture meter is non-negotiable to prevent flooring installation mistakes to avoid for lasting results. Second, a 10-foot straightedge will tell you more about your concrete than any laser ever could. Lastly, always keep a supply of high-flex, color-matched polyurethane sealant. Unlike standard caulk, it handles the vibration of heavy footsteps and the expansion of the slab without pulling away. I also recommend checking the trowel notch secret for getting full thinset coverage if you’re mixing in any tile accents near the entrance to ensure your bond is bulletproof. #IMAGE_PLACEHOLDER_E#
Build Your Floor to Last a Lifetime
Tackling a transition between a sloping driveway and your interior hardwood is one of the most rewarding DIY wins you can achieve. It’s the handshake of your home—the first thing people feel when they step inside. By taking the time to level the substrate and account for thermal movement, you aren’t just finishing a floor; you’re protecting your investment and your family’s safety. Don’t be afraid to pull up a piece and start over if the fit isn’t perfect. I’ve had to do it more times than I care to admit, and every time, the result was worth the extra hour of sweat. To stay on top of any potential issues, learn how to detect a hollow tile before the grout starts cracking to catch problems early. Have you ever dealt with a driveway slope that felt impossible to level? Let me know your story in the comments below!