
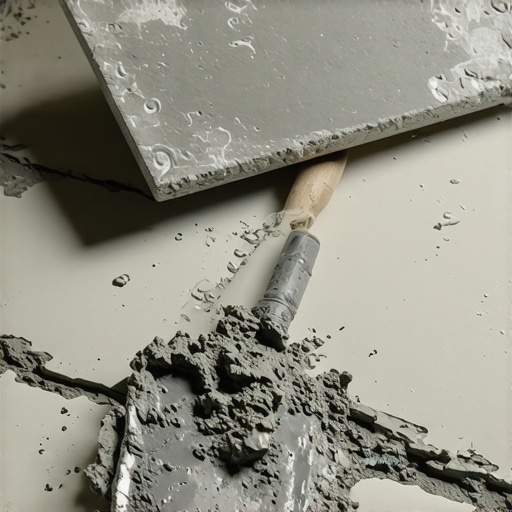
I’ll never forget the sound. It was a sharp, hollow *click-clack* that echoed through my brand-new master bathroom just three weeks after I’d finished the job. I had spent days on my knees, meticulously placing every 12×24 porcelain tile, convinced I was a DIY god. But as I stepped near the vanity, that sound told me the truth: I had failed the most basic part of the job. I hadn’t achieved full thinset coverage. I thought I knew how to use a trowel, but I was just making pretty patterns in the mud instead of building a bond that would last a lifetime. If you’ve ever felt that sinking feeling of a loose tile, you know exactly why I’m obsessed with this topic now.
The Real Reason Your Tiles Keep Cracking Under Pressure
When I first started out, I did what most of us do: I made pretty ‘S’ curves and swirls with my trowel. It looks like art, right? Wrong. It’s actually one of the most common flooring installation mistakes to avoid for lasting results. Those swirls trap air pockets. When you set the tile, those air bubbles have nowhere to go. They stay there, hiding, waiting for you to drop a heavy shampoo bottle or just walk by with a heavy step. Suddenly, you’re wondering how to detect a hollow tile before the grout starts cracking, but by then, the damage is done. Today, I’m going to show you the ‘secret’ that professional setters use to ensure their work stays put for decades. We are going to talk about ridging, collapsing, and why the direction of your hand matters more than the brand of your mortar. Especially when dealing with big slabs, you need the secret to getting a flat floor for large format tiles, which starts and ends with your trowel work.
Does One Specific Motion Really Change Everything?
You might be skeptical. After all, if the mud is under the tile, it’s under the tile, right? That was my logic, too, until I realized that installing tiles like a pro requires understanding the physics of thinset. According to the Tile Council of North America (TCNA), getting a minimum of 80% coverage in dry areas—and a whopping 95% in wet areas like showers—is non-negotiable for a professional bond. If you don’t hit those numbers, your tile is basically a bridge with no support in the middle. I’ve seen homeowners ignore the hidden cost of using cheap thinset and bad technique, only to have to rip out the whole floor a year later. Have you ever stepped on a tile and felt that sickening little ‘give’ under your heel? If so, you’ve experienced a coverage failure firsthand. It’s frustrating, it’s expensive, and honestly, it’s completely avoidable once you learn the straight-line trick. We’re about to dive into how to choose your trowel and why those ‘swirls’ are the enemy of your home’s longevity.
Kill the High Spots Before You Mix the Mud
Think of your subfloor like a train track; if there’s a dip or a hump in the rails, the train is going to have a rough ride. When you’re dealing with modern, large-format tiles, even a 1/8-inch variation over ten feet can cause your tile to crack or create nasty lippage (where one edge sits higher than the next). Before you even think about mortar, you need to use a straightedge to find the valleys. Learning the ultimate guide to floor leveling for a perfect finish is your first step to preventing that hollow sound later. If the floor isn’t flat, your trowel won’t leave a consistent amount of mud, and you’ll end up with ‘islands’ of thinset that don’t actually touch the tile. I always tell people to how to check for high spots with a 10-foot straightedge because your eyes will lie to you, but a piece of aluminum won’t.
Trowel in One Direction to Avoid Trapped Air
The biggest mistake I see DIYers make—and the one that ruined my first bathroom—is the ‘swirl’ method. When you move your trowel in arcs or circles, you are creating closed loops of air. Once the tile is pressed down, that air is trapped. It has nowhere to go. By combing the mortar in straight lines, parallel to the short side of the tile, you create open ‘valleys.’ When you set the tile and move it, those valleys allow the air to escape out the sides. This is the secret to getting a flat floor for large format tiles that keeps them from popping up three months later. It’s a simple physics trick: air can move through a tunnel, but it gets stuck in a bubble.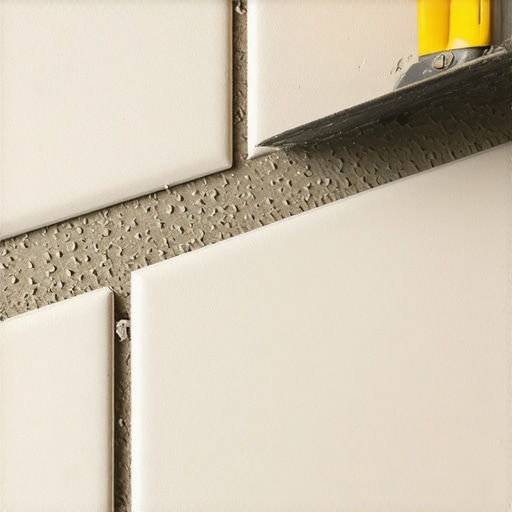
Treat the Back of the Tile Like a Piece of Toast
For any tile larger than 12×12, you absolutely must ‘back-butter.’ This isn’t just about adding more mud; it’s about ensuring the mortar actually bonds to the ceramic or porcelain. I use the flat side of my trowel to ‘key’ a thin layer of mortar into the back of the tile, almost like spreading butter on toast. This ensures that the ridges on the floor have something to grab onto immediately. I’ve seen people skip this and use the hidden cost of using cheap thinset as an excuse, but without that mechanical bond, your tile is just resting on top of the mud rather than becoming part of the floor. Following a step-by-step guide to flooring installation and leveling success means never skipping this five-second step.
The Perpendicular Wiggle That Seals the Deal
I remember installing a massive 24×48 porcelain slab in a narrow galley kitchen back in 2022. I was sweating through my shirt because if I cracked that $80 tile, I was in the red for the day. I applied the straight-line ridges, back-buttered the slab, and dropped it into place. But here’s the trick: I didn’t just let it sit. I pushed the tile about half an inch back and forth, perpendicular to the mortar lines. This motion collapses the ridges and fills the valleys completely. When I pulled a corner up just to check—a move every pro should do on the first tile—the mortar had collapsed perfectly into a solid, gap-free bed. That’s the ‘squish’ you’re looking for. If you don’t hear that slight squelch of mortar moving, you likely didn’t use enough thinset or your ridges were too small for the tile size. This is a crucial part of installing tiles like a pro and it’s the only way to ensure that when you’re done, you don’t have to worry about how to detect a hollow tile before the grout starts cracking.It’s easy to think that once you’ve mastered the trowel, the battle is won. But in my years of fixing failed DIY jobs, I’ve realized the most dangerous mistakes happen before the first ridge of mortar is even pulled. Everyone tells you that self-leveling underlayment is a ‘pour-and-go’ solution. That is a flat-out lie. If you don’t treat the substrate correctly, that expensive liquid gold is just going to float on top like a loose scab. I’ve seen homeowners pour directly onto old slabs, only to find out why your floor primer is bubbling on old concrete a few days later. Without a dedicated primer to seal the pores of the concrete, air escapes and creates tiny volcanoes in your leveling compound, ruining your perfectly flat surface before the tile even touches it.
Stop Treating Self-Leveler Like a Magic Eraser
Most people treat leveler as a way to hide a mess, but it’s actually a precision instrument. I used to think I could just eyeball the ‘flatness’ until I realized that modern large-format tiles have zero tolerance for error. The Tile Council of North America (TCNA) specifies that for tiles with any edge longer than 15 inches, the subfloor shouldn’t vary more than 1/8 inch in 10 feet. If you ignore this, you’re not just risking lippage; you’re asking for structural failure. This is where mastering floor leveling pro secrets for perfect installations becomes your best friend. You need to understand that the leveler is only as good as its bond to the subfloor. If you skip the prep, you’ll end up wondering why your self-leveler is drying faster than you can pour it, leading to ridges and humps that are harder to fix than the original dip. 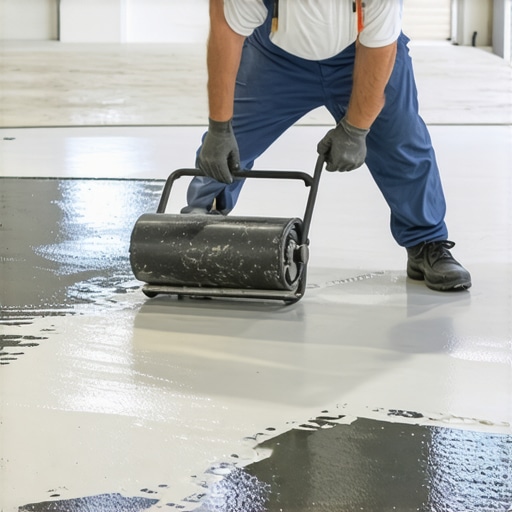
Can You Really Level a Floor Without Professional Primer?
In my experience, the answer is a hard ‘no.’ I once watched a buddy try to save thirty bucks by skipping the primer on a plywood subfloor. Within six months, the ‘clicking’ sound of the leveler delaminating from the wood sounded like popcorn under his new porcelain. Using precise floor leveling techniques to achieve flawless surfaces means acknowledging that wood and concrete are ‘thirsty’ materials that will suck the moisture right out of your mortar or leveler if not properly sealed. This leads to a weak, brittle bond. It’s one of the most avoidable flooring installation mistakes to avoid for lasting results.
Beware the Skinning Trap in Dry Weather
Here is a nuance most beginners miss: ‘skinning.’ On a hot day or in a room with a draft, the top layer of your thinset can dry out in minutes, forming a thin skin while the mud underneath stays wet. If you set a tile onto skinned-over thinset, you’ll get zero transfer, even with a perfect wiggle. Always touch your mortar ridges with a finger before setting a tile; if it doesn’t stick to your glove, scrape it off and start over. I’ve seen this happen most often when people try to ‘pre-spread’ too large of an area. Stick to small sections to ensure you’re always working with ‘live’ mud. If you’re transitioning between different materials, remember why you need a transition strip between different flooring heights to manage the natural expansion and contraction of the different substrates. Have you ever fallen into the ‘skip-the-primer’ trap or had your thinset dry out too fast? Let me know in the comments, and let’s keep your next project from becoming a cautionary tale.If you’re ready to move beyond the basics, you have to talk about the physical kit you’re lugging into the house. I used to think a standard shop-vac was enough until I realized I was just blowing silica dust back into the air. Now, I never step on a job site without the vacuum attachment that actually picks up fine sawdust. It sounds like a small detail, but when you are trying to ensure a pristine bond for installing tiles like a pro, any dust left on the substrate is a silent bond-breaker. For hardwood, my absolute non-negotiable is a high-quality pinless moisture meter. According to technical standards from the National Wood Flooring Association (NWFA), your subfloor and your wood planks must be within 2% to 4% moisture content of each other depending on the plank width. If you don’t know how to use a moisture meter before you lay wood floors, you’re just gambling with expansion and contraction. I’ve seen $10,000 white oak floors buckle because the installer simply ‘felt’ like the concrete was dry. Don’t be that person.
How do I keep my floor looking like Day One?
People ask me this constantly once the grout is dry and the finish is cured. The secret isn’t a fancy chemical; it’s consistency and prevention. For wood, hardwood floor care secrets to longevity and shine start with strategic throw rugs and maintaining stable indoor humidity levels. For tile, the longevity is decided before the grout even touches the joint. If you messed up the water ratio during the mix, you’ll eventually find the reason your grout color looks splotchy and uneven is because the pigments literally washed out during the cleaning phase. Always follow the correct way to mix grout so it doesn’t change color to keep those lines crisp for a decade.
Precision Is Moving From The Hands To The Lasers
Looking ahead, I see the industry moving toward automated precision. We’re already seeing self-leveling compounds that are chemically engineered to be more forgiving, but the real shift is in laser-guided layout tools that remove the ‘eyeball’ factor from the equation. We’re getting closer to a world where precise floor leveling techniques to achieve flawless surfaces are aided by sensors that tell you exactly how many gallons of mix you need for a specific dip in the slab. 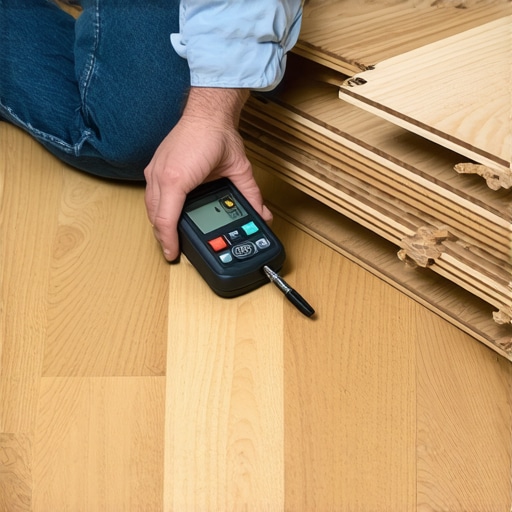 It’s an exciting time to be a builder, but the fundamentals of flooring installation fundamentals leveling for a seamless look will always be the bedrock of a good job. My challenge for you? On your next project, don’t just ‘eyeball’ the flatness or the dryness. Use a moisture meter and a 10-foot straightedge to prove to yourself that the floor is actually ready. Your future self will thank you when those tiles don’t make that dreaded click-clack sound three weeks after you’ve packed up your tools.
The Hardest Lesson I Learned About Thinset and Subfloors
I used to think that speed was the mark of a pro, but I was wrong. The mark of a pro is the patience to spend four hours on a floor before a single tile even touches the mud. My biggest lightbulb moment came when I stopped looking at a bag of thinset as ‘glue’ and started seeing it as a structural component. If it’s not applied correctly, your structural integrity is zero. One thing I’ve learned is that flooring installation mistakes to avoid for lasting results almost always happen in the first hour of the day. Whether it’s mixing your mortar too thin or forgetting to damp-down a thirsty concrete slab, these small skips lead to big failures. Another lesson? Never assume a new-build subfloor is flat; they are often the worst offenders because the wood hasn’t had time to settle and dry. If you want your home to feel solid, you have to be more stubborn than the materials you’re working with.
The Gear That Separates Masters from Amateurs
You don’t need a thousand tools, but you do need the right ones. I never start a job without my pinless moisture meter. I’ve seen beautiful installs ruined because the installer didn’t know how to use a moisture meter before you lay wood floors, leading to buckling within months. Secondly, clean air is just as important as clean lines. Using the vacuum attachment that actually picks up fine sawdust ensures that your primer isn’t just sitting on a layer of dust that will peel up later. Lastly, invest in a high-quality 10-foot straightedge; it is your only source of truth in a room full of optical illusions. These aren’t just ‘extras’—they are the insurance policy for your hard work and your wallet.
Stop Researching and Start Setting Your First Tile
There comes a point where you have to put the phone down, pick up the trowel, and feel the mud for yourself. Flooring is a tactile craft, and while I can give you the physics of air-valley collapse, you won’t truly understand it until you pull up that first test tile and see 100% coverage staring back at you. Installing tiles like a pro isn’t about perfection on the first try; it’s about having the discipline to fix a mistake the moment you see it. Once the floor is down and the grout is cured, remember that hardwood floor care secrets to longevity and shine apply to your lifestyle as much as your cleaning products. You’ve built something that will last a lifetime if you just give it the foundation it deserves. What’s the biggest ‘floor-fail’ story you’ve ever had to fix or live through? Let me know below!