
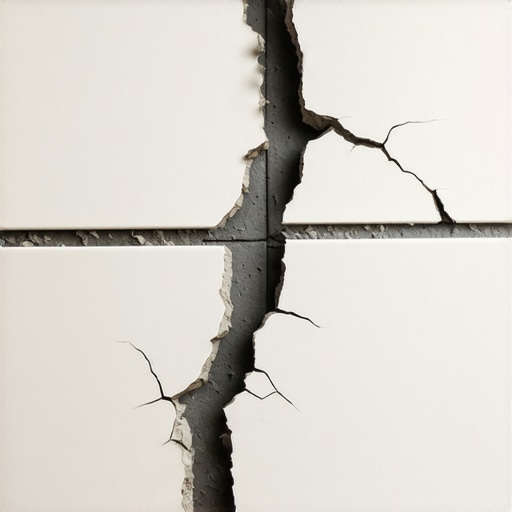
I’ll never forget the sickening, hollow ‘pop’ of a 24×48 porcelain slab just three weeks after I finished my ‘masterpiece’ kitchen floor. It wasn’t a loud bang, but a subtle, crunching sound that vibrated through my heels. I had spent a small fortune on those tiles, but I tried to be clever by grabbing the $15 ‘all-purpose’ thinset from the bottom shelf at the hardware store. It was the most expensive $50 I ever saved. I ended up ripping out four tiles, damaging the subfloor, and starting over from scratch. When you are dealing with modern, oversized tiles, that cheap bag of mud is a ticking time bomb for your home. Today, I want to help you avoid that same heartbreak and show you why the adhesive is the most critical part of your installation.
Your Tiles Will Pop If You Skimp on Adhesive
Large format tiles (anything with one side longer than 15 inches) are a completely different beast than the small squares we used to lay in the 90s. They are heavy, they are perfectly flat, and they don’t breathe. If you use a basic thinset, it simply won’t have the polymer strength to hold that much weight or the flexibility to handle the natural expansion of your home. I learned that the hard way when my ‘bargain’ thinset shrunk as it dried, pulling away from the tile and creating those dreaded hollow spots. To get professional results, you need to focus on proper bonding. This often starts long before the first trowel hits the floor, which is why I always tell people to check the secret to getting a flat floor for large format tiles before they even buy their mortar. If the floor isn’t flat, no amount of expensive thinset will save you, but cheap thinset will actively work against you.
Is This Pricey High-Performance Mortar Actually Worth the Hype?
I get it—seeing a bag of mortar for $40 or $50 feels like a scam when there is a bag right next to it for a third of the price. You’re probably thinking, ‘It’s just sand and cement, right?’ That skepticism is exactly what led me to my first big failure. The truth is that high-end Large Format Tile (LFT) mortars contain specialized polymers that prevent the tile from sagging into the bed. According to the Tile Council of North America (TCNA), large format tiles require a medium-bed mortar that can be applied thicker without shrinking, ensuring the tile remains level and bonded. If you ignore this, you’ll likely run into common flooring installation mistakes that lead to lippage—where one tile edge sits higher than the next. Have you ever tried to save a few dollars on materials only to have the project fail months later? It’s a frustrating cycle, but mastering the secret to installing large format tile without lippage is only possible when you use the right ‘glue’ for the job. Using the wrong stuff doesn’t just look bad; it creates a tripping hazard that can eventually lead to the tile cracking under the weight of your furniture or even a heavy footstep. [image_placeholder]
Master the Mix to Save Your Back and Your Budget
You can buy the best LFT mortar in the world, but if you whip it like a cake batter, it is going to fail before it even hits the floor. I remember one humid July afternoon when I was rushing to finish a bathroom remodel. I cranked my drill to the highest setting, thinking I would save five minutes. Instead of a creamy, peanut-butter consistency, I ended up with a frothy mess full of air bubbles. By the time I laid the third tile, the mortar was already ‘skinning over,’ meaning it lost its stickiness. I had to dump the whole bucket and start over. It was a messy, expensive lesson in patience. When installing tiles like a pro, you must understand that the mix is a chemical reaction, not just a physical one.
Stop Whipping Your Mortar Like Cake Batter
Air is the enemy of a strong bond. If you use a high-speed drill, you’re folding air into the mixture, which creates microscopic voids once the water evaporates. This leaves your heavy tiles resting on a Swiss-cheese foundation. Always use a low-speed mixer. If you aren’t sure about your tools, remember that the mixing paddle speed that ruins your leveling compound is the same one that will destroy your thinset’s integrity. You want a slow, steady fold that results in a heavy, sag-resistant paste. If it slides off your trowel like soup, you’ve added too much water; if it’s chunky like oatmeal, it’ll never grab the tile. Aim for that ‘sweet spot’ where it stands up in stiff peaks but still feels moist to the touch.
Directional Troweling is the Only Way to Fly
Once your mortar is perfect, how you spread it determines if that tile stays down for twenty years or twenty days. For large format tiles, you should always trowel in straight lines, never in swirls or ‘moons.’ When you trowel in straight lines and then set the tile, the air can escape through the ‘valleys’ of the ridges. Swirls trap air pockets, which prevents the tile from fully seating. I have seen countless DIYers struggle with this, often because they didn’t take the time to how to achieve flawless floor leveling before tile laying. If the floor is wavy, you’ll find yourself trying to ‘build up’ the mortar in swirls to fill gaps—and that is a recipe for a hollow, cracking floor. 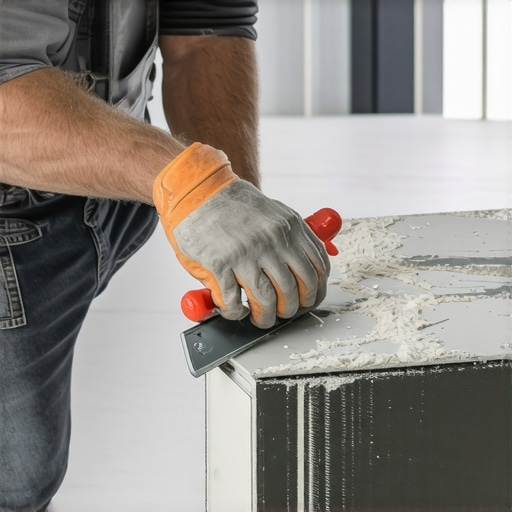
Give Your Tiles a Butter Foundation
Back-buttering is the secret sauce that separates the amateurs from the veterans. This simply means applying a thin, flat layer of mortar to the back of the tile with the flat side of your trowel before you set it into the combed ridges on the floor. It’s like putting butter on both slices of bread for a grilled cheese; it ensures 100% contact. Without this, the dust on the back of the tile can actually prevent the floor mortar from grabbing hold. If you do get a little messy during this process, don’t panic—just make sure you know the secret to getting thinset off tiles after it dries so you don’t ruin your finish. Proper back-buttering combined with directional troweling ensures that when you press that heavy slab down, it stays exactly where you put it, with zero air gaps underneath to cause future cracks.
Everyone assumes that self-leveling compound is a ‘pour and walk away’ miracle. It’s one of the biggest myths in the industry. People buy a few bags, dump them on the floor, and are shocked when they end up with a surface that looks like a dried-out lakebed. If you don’t treat the chemistry with respect, you will quickly see why your self-leveling pour looks like a topographical map. The truth is that ‘self-leveling’ is a bit of a misnomer; it is more like ‘self-smoothing,’ and it requires an obsessive level of preparation to work as advertised.
Stop Assuming Your Leveler Will Do All the Work
In my experience, the number one reason these projects fail isn’t the product—it’s the substrate. I’ve seen seasoned pros skip the primer because the concrete ‘looked clean,’ only to have the leveler delaminate three days later. Without a high-quality primer, the dry subfloor will suck the moisture out of the wet compound instantly. This causes a flash-dry situation where the material stops flowing before it’s flat. You’ll be left wondering why your self-leveler is drying faster than you can pour it, often resulting in ridges that you’ll have to grind down by hand. It’s back-breaking work that could have been avoided with a $20 bottle of primer. 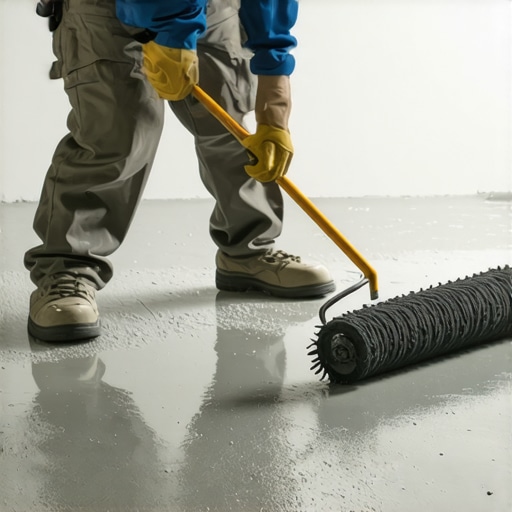
The Subfloor Moisture Trap That Ruins Everything
Here is a nuance that most DIYers—and even some ‘pros’—ignore: the invisible moisture moving through your slab. You can have the best mortar and the flattest floor, but if the vapor emission rate is too high, your flooring is doomed. I once saw a beautiful hardwood installation cup and warp within six months because the installer didn’t realize the concrete was ‘breathing’ moisture. This is why you must learn how to use a moisture meter before you lay wood floors. According to ASTM C1708, the standard for self-leveling underlayments, even the best compounds can develop spiderweb cracks if the substrate isn’t properly sealed against moisture and air. If you ignore the science, the chemistry of the house will eventually win.
Is Your Subfloor Too Wet for a Professional Finish?
Beyond just moisture, you have to consider the mechanical bond. If you are working on a garage or an old basement, the concrete might be ‘sealed’ or contaminated with oil. Leveling compound won’t stick to oil. If you don’t perform a simple water-drop test, you are just throwing money away. If the water beads up, your leveler will too. This is often when people realize the mixing paddle speed that ruins your leveling compound isn’t the only thing that can cause a disaster; a lack of surface ‘tooth’ is just as deadly. You might need to grind the surface to open the pores of the concrete before you even think about opening a bag of mud.
Can You Really Install Large Planks Over Old Tile?
I get this question at least once a week: ‘Can I just go right over the old stuff?’ The answer is yes, but only if you use the leveling secret for installing plank flooring over tiles. You cannot just slap new flooring down and hope the underlayment hides the grout lines. Over time, those indentations will ‘telegraph’ through your new luxury vinyl or hardwood, leaving you with a ghostly grid pattern on your brand-new floor. It’s an advanced mistake that screams ‘amateur.’ Have you ever fallen into this trap where your leveler set up way too fast or your subfloor ruined a project? Let me know in the comments below. Let’s make sure your next floor is the last one you ever have to install in that room.
If you’ve ever seen a professional pour leveler, you might have noticed them dancing across the wet mud in what looks like medieval torture shoes. Those are spiked shoes, and they work in tandem with my favorite ‘cheat code’ tool: the spiky roller. I didn’t believe in them until I saw how the roller selection that prevents air bubbles in leveler can turn a pock-marked mess into a glass-smooth finish. It’s not just about aesthetics; it’s about structural integrity. When those air bubbles pop and leave a crater, you’re creating a point of failure for your tile adhesive. If you’re doing a large area, don’t try to ‘eyeball’ it with a rake. Spend the money on a high-quality spiked roller and watch the physics do the hard work for you. 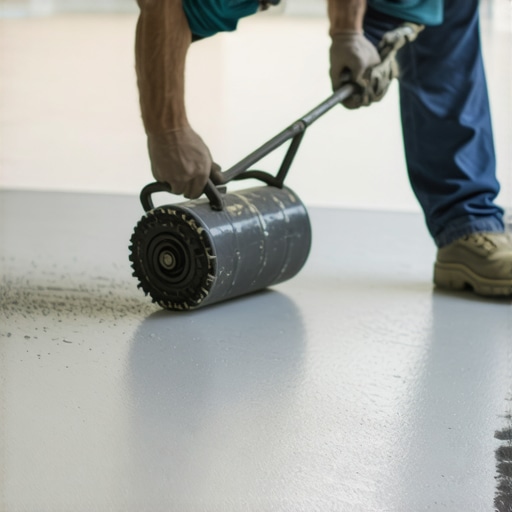
How do I keep my floors from losing their luster over time?
Maintenance is where most people fail after the heavy lifting is done. I see homeowners spend five figures on a White Oak installation only to ruin it with a steam mop or a bucket of sudsy water. For hardwood, you have to be obsessive about pH-balanced cleaners. You should stop using vinegar on your hardwood floors immediately because the acid will slowly dissolve the finish, leaving the wood vulnerable to moisture. According to the National Wood Flooring Association (NWFA) technical guidelines, your primary goal is to maintain a stable environment—keeping your home between 60 and 80 degrees Fahrenheit and 30-50% humidity. If you can master that climate control, you’ll rarely need to dive into mastering hardwood floor refinishing expert tips for 2025. Think of your floor like a living organism; if the air is too dry for your skin, it is definitely too dry for your wood planks.
The Next Wave of Flooring Tech is Already Here
In the next few years, the days of using a 6-foot level and a prayer will be over. I’m already seeing high-end contractors use LIDAR-based smartphone apps to create ‘heat maps’ of subfloors before they even buy materials. This technology tells you exactly where the low spots are down to the millimeter, allowing for a surgical application of self-leveling compound. We are also moving toward carbon-neutral adhesives that set in half the time without the ‘chemical’ smell that used to linger for weeks. To stay ahead of the curve, I recommend trying one specific advanced move on your next project: use a professional-grade moisture meter on every single subfloor, no matter how dry it looks to the naked eye. It’s the single most ‘pro’ habit you can develop. If you’re looking for more long-term strategies to protect your investment, check out hardwood floor care secrets to longevity and shine to ensure your hard work stays protected for the next generation.
Hard Truths from the Bottom of a Mortar Bucket
After years of hands-on experience, I’ve realized that flooring installation is 10% muscle and 90% chemistry and lighting. One of my biggest lightbulb moments was realizing that you can’t fix what you can’t see; I now use high-output LED work lights at floor level to catch lippage before the adhesive sets. Another hard-earned lesson is that ‘clean as you go’ isn’t just a suggestion—it’s a survival tactic. Once you know the secret to getting thinset off tiles after it dries, you’ll realize it’s much easier to just wipe it with a sponge while it’s wet. Finally, trust the cure times listed on the bag. Walking on a fresh pour or a new tile bed even twelve hours early is the fastest way to ruin a thousand-dollar project and end up with a hollow, squeaky mess.
The Gear That Separates Pros from Amateurs
If you are serious about your results, you need to stop guessing and start measuring. My toolkit always includes a pin-less moisture meter because you simply cannot eye-ball humidity in a concrete slab; I always tell people to learn how to use a moisture meter before you lay wood floors to prevent catastrophic buckling. For any leveling job, I swear by the spiky roller secret for a mirror-smooth pour because it eliminates the pinholes that ruin your bond. Lastly, I keep a digital bookmark of tile installation pointers that save time and money on my phone for quick reference when things get hectic on-site. These aren’t just gadgets; they are insurance policies for your hard work and your wallet. [image_placeholder]
Go Ahead and Make Your Mark
There is a unique kind of pride that comes from walking across a floor you laid with your own two hands. Whether you are tackling a complex hardwood floors layout or a massive tile project, the key is to respect the physics of the materials. Don’t rush the prep, don’t skimp on the mortar, and always keep your subfloor’s moisture levels in mind. With the right step-by-step guide to flooring installation and leveling success, you have every tool and piece of knowledge needed to transform your space. You’ve got the technical foundation—now it’s time to get to work and build something that lasts. Have you ever had a self-leveling project go south or a grout color that just wouldn’t stay consistent? I’d love to hear about your biggest flooring installation hurdles in the comments below!