
I still remember the smell of pickles that used to waft through my house every Saturday morning. For years, I believed I was being the ultimate green homeowner by ditching the store-bought chemicals and reaching for that big white jug of vinegar. It seemed perfect—cheap, non-toxic, and effective. But about three years ago, I noticed something heartbreaking. My beautiful red oak floors, the ones I had spent a fortune on during our last expert flooring installation, looked… dead. They didn’t have that warm glow anymore. Instead, they were covered in a hazy, cloudy film that no amount of buffing could fix. I had literally eaten away the finish, and the realization hit me like a ton of bricks while I was sitting on the floor, trying to figure out why my house looked so dingy despite all my cleaning. [image_placeholder_1]
The Natural Cleaning Trap We All Fell Into
I made the classic rookie mistake of thinking natural always means safe. I even remember a specific Saturday morning where I tried to scrub a stubborn scuff mark with a high-concentration vinegar solution. I thought I was being clever, but I was actually speeding up the demise of my poly coat. If you’ve ever noticed your floors looking duller after a deep clean, you aren’t alone, but we need to stop the damage today. I want to help you avoid the expensive mistake of needing hardwood floor refinishing years before you should. We’re going to look at why that acidic punch is a nightmare for wood and what you should be using instead to protect your investment. The goal is simple: keep those floors looking as good as the day they were installed without using ingredients that belong in a salad dressing.
Is Vinegar Really That Bad for Wood?
You might be thinking, my grandmother used vinegar for forty years and her floors were fine! I get the skepticism. But here is the reality: modern finishes are chemically different than the waxes used decades ago, and the science of acidity remains the same. Vinegar is an acid. When you put it on a polyurethane or oil-based finish, it starts a chemical reaction that slowly dissolves the protective layer. The National Wood Flooring Association (NWFA) explicitly warns that vinegar can dull the finish of the wood over time and even reduce its life expectancy. Once that finish is compromised, moisture gets into the grain, and that’s when the real trouble—like warping or discoloration—starts.
What the Acidity Does to Your Protective Seal
Think of your floor’s finish like the clear coat on a car. It’s there to take the beating so the wood doesn’t have to. When you mop with vinegar, you’re basically giving your floor a mild acid bath every week. Eventually, that clean feeling is replaced by a permanent matte look that won’t go away. I’ve seen neighbors try to fix it by adding more shine products, which just creates a hollow-feeling buildup of wax. Instead, you need to focus on hardwood floor care secrets that prioritize pH-neutral cleaners. Have you noticed your floors losing their luster lately, or are you still a member of the vinegar fan club? I’d love to hear your experiences. We also need to talk about why dish soap is just as bad for these surfaces before we dive into the better alternatives.
Ditch the Bucket and Grab a Spray Bottle
The biggest mistake I see—and I’m guilty of it too—is the “slop and mop” method. You fill a bucket, dunk a string mop, and go to town. But wood is like a sponge. If you give it too much water, it drinks it up and swells. I learned this the hard way after a expert flooring installation in my guest room. I thought more water meant more clean. Instead, I heard the wood literally groan. Now, I only use a fine-mist spray bottle. You only need enough moisture to pick up the dust, not enough to soak the grain. If the floor isn’t dry within 60 seconds, you’re using too much.
Microfiber is the Only Way to Go
Standard cotton mops are too abrasive and hold too much liquid. Think of microfiber as a magnet; it pulls the grit off the surface instead of pushing it around. When you push sand around with a heavy mop, you’re basically using sandpaper on your finish. I always recommend checking out the 7 tools you actually need for a professional DIY hardwood install because a high-quality microfiber head is usually at the top of that list. I once spent an entire afternoon buffing out tiny scratches caused by a dirty old rag I thought was “clean enough.”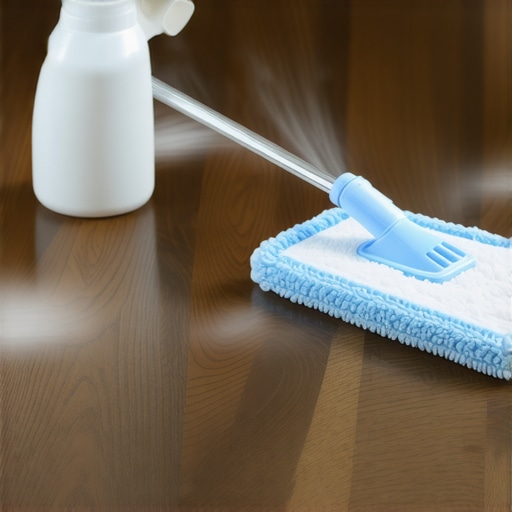
The Golden Rule of pH-Neutral Cleaners
If you take one thing away from this, let it be the term “pH-neutral.” Your wood finish is a chemical shield, and acids (like vinegar) or bases (like some soaps) act like a slow-motion solvent. You want something that sits right in the middle of the scale. I’ve seen people try to save money by using dish soap, but as I’ve mentioned before, dish soap is just as bad because it leaves a sticky residue that attracts more dirt. A dedicated wood floor cleaner is cheaper than hardwood floor refinishing, which is what you’ll need if you keep using the kitchen pantry to clean your living room.
Dealing with Scuffs and Burnt Spots
Life happens. Someone drags a chair or drops a hot ember from the fireplace. Before you reach for the chemicals, try a dry tennis ball on a stick for scuffs—it works like magic. For more serious issues, you might need to know how to fix a burnt spot on hardwood without replacing the board. The key is targeted repair rather than nuking the whole floor with vinegar. Whenever I’m unsure about moisture levels after a spill, I use a moisture meter to prevent floor failure. It’s a small investment that tells you exactly if your subfloor is in danger before the warping starts.
Let’s dig deeper into why some floors fail even when you use the right cleaner. I’ve seen homeowners spend thousands on premium white oak only to have it fail within a year because they ignored what was happening underneath. Most people believe that the most important part of a floor is the wood itself, but that is a dangerous myth. In reality, your floor is only as good as the subfloor it sits on. Everyone tells you the floor needs to be ‘level,’ but that’s a half-truth that leads to massive waste. A floor can be out of level (sloped) and still function perfectly for decades, provided it is perfectly flat.
Stop Chasing the Bubble and Start Finding the Dips
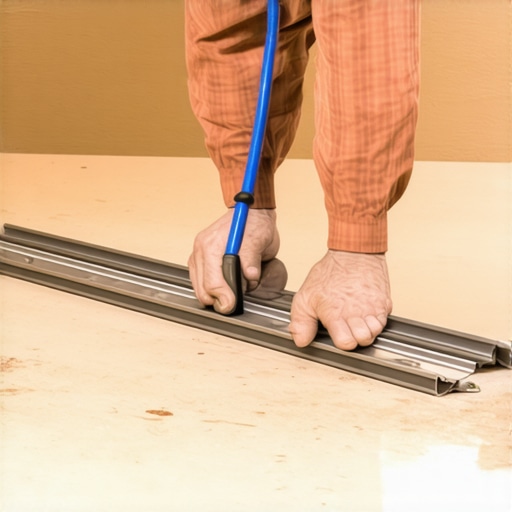
In my experience, homeowners obsess over the bubble in their spirit level while ignoring the ‘waves’ in their plywood. If you have a dip in your subfloor, your hardwood planks will flex every time you step on them. This constant movement eventually snaps the tongue-and-groove joints, leading to those annoying squeaks or, worse, vertical separation. The National Wood Flooring Association (NWFA) sets a strict standard: subfloors must be flat within 3/16 of an inch over a 10-foot radius. If you skip the prep work, you are essentially setting a timer for your floor’s demise, no matter how much you avoid the vinegar jug. If you’re preparing for a project, you must learn how to achieve flawless floor levelness before tile laying or wood installation to avoid this structural nightmare.
Why Your Brand New Floor Clicks When You Walk On It
Have you ever walked across a newly installed floating floor and heard a distinct ‘clicking’ or ‘popping’ sound? This is the ultimate ‘oops’ factor for modern installs. It usually happens because the installer didn’t account for subfloor deflection. When the floor isn’t flat, the air gaps underneath cause the locking mechanism to rub against itself. I’ve had many readers reach out asking why your LVP floor is clicking when you walk on it, and the answer is almost always a failure to address the foundation. It’s a heartbreaking realization after you’ve already clicked the last plank into place. Have you ever fallen into this trap? Let me know in the comments below.
The Prime Mistake Most DIYers Make with Leveler
Another nuance people miss is the chemistry of leveling compounds. Most people think self-leveling underlayment (SLU) is a ‘pour and forget’ solution. It isn’t. The biggest mistake I see—the one that leads to the compound cracking and turning into dust under your feet—is skipping the primer. You must prime concrete before every leveling job because concrete is incredibly thirsty. If you don’t seal it first, the concrete will suck the moisture out of the leveler before it can properly bond, leading to a brittle, failed surface. I always recommend looking into mastering floor leveling pro secrets for perfect installations before you even open a bag of compound. Taking these extra steps is the difference between a floor that lasts thirty years and one that needs hardwood floor refinishing or a total tear-out because the base crumbled. Don’t let your investment turn into a cautionary tale; focus on the flatness first, and the beauty will follow.
Continuing from my own hard-earned lessons, I’ve realized that the difference between a ‘DIY look’ and a ‘pro finish’ comes down to two specific items that most people skip. I’m not talking about expensive power saws, but rather the tools that help you see what’s invisible. For me, a 10-foot aluminum straightedge and a 360-degree green beam laser are non-negotiable. I use the laser level move for perfectly straight hallways to ensure my first row is dead-on, because if you’re off by even a fraction of an inch at the start, your last row will be a diagonal disaster. These are part of the 7 tools you actually need for a professional DIY hardwood install that I tell everyone to buy before they even pick out their wood species. I once tried to ‘eyeball’ a subfloor dip using a standard four-foot level, and I ended up with a section of LVP that felt like walking on a trampoline. Now, I use the straightedge to bridge the floor and mark every low spot with chalk. It’s tedious, but it’s the only way to avoid flooring installation mistakes to avoid for lasting results. 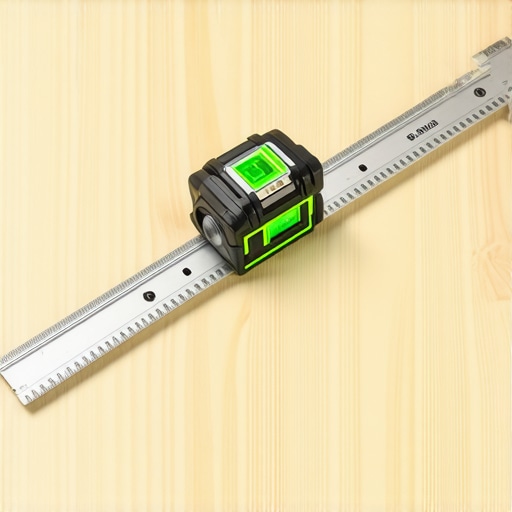
How can I keep these floors looking brand new for a decade?
Maintenance isn’t just about what you do; it’s about what you stop from happening. I’ve become the person who keeps a roll of Ram Board in the garage just in case. If we’re painting a room or moving furniture, I always deploy the cardboard shield for protecting new floors during paint. It sounds paranoid until you see a drop of oil-based primer hit your new white oak. For everyday life, I swear by the scrap carpet trick for heavy furniture moves. I glue small pieces of high-density carpet (pile side down) to the bottom of my heavy table legs. It’s a game-changer for those of us who like to rearrange the living room every six months. And if you have furry friends, you have to stop your pets’ claws from ruining your vinyl planks or hardwood by keeping their nails trimmed and using area rugs in ‘zoomie’ zones. I’ve also noticed a huge trend shifting toward ‘smart’ subfloors. We’re starting to see integrated moisture sensors that sync with your phone to alert you if a pipe leaks under your hardwood. It’s the kind of tech that will make hardwood floor care secrets obsolete because the floor will literally tell you when it’s in trouble. According to the Bona US technical specifications for Traffic HD waterborne finishes, the chemical resistance only reaches its peak after a full 7-day cure, so I strongly advise my readers to wait at least a week before putting heavy area rugs back down. I want you to try this: next time you’re prepping a room, get a laser level and check the height of your floor at the four corners. You’ll be shocked at how much a house settles, and catching those discrepancies early is the best way to ensure your floor stays quiet and solid forever.
Hard-Earned Lessons from My Worst Floor Fails
After decades of maintaining hardwood floors, I’ve realized that the ‘natural’ cleaning trend is often more about marketing than chemistry. One lightbulb moment for me was realizing that the squeak I hated wasn’t the wood—it was the subfloor crying for help. I also learned that if I had prioritized floor leveling during my first project, I wouldn’t have spent my weekends chasing clicking sounds with heavy rugs.
- The Pickle Smell is a Warning: If your house smells like a salad, your finish is likely dissolving. Switch to pH-neutral cleaners immediately to avoid needing early hardwood floor refinishing.
- Movement is the Enemy: Any floor that flexes is a floor that is dying. Always check for flatness before the first plank goes down to prevent joint failure.
- The Closet Test: Never, ever try a new polish or repair tactic in the middle of the room. Your coat closet is your laboratory for testing chemical reactions.
- Patience Over Power: Most flooring installation mistakes to avoid for lasting results come from rushing the acclimation process or the initial subfloor prep.
The Reliable Arsenal for Pristine Planks
You don’t need a warehouse full of gadgets, but you do need the right ones. I personally trust a 360-degree green beam laser more than any spirit level because it shows me the ‘waves’ in a subfloor across an entire room instantly. For protection, I always keep a roll of Ram Board handy; it’s the only way to ensure the cardboard shield for protecting new floors during paint actually holds up under heavy foot traffic. I also swear by a high-quality moisture meter; it’s the only objective way to know if your slab is truly ready. If you’re building your kit, check out the 7 tools you actually need for a professional DIY hardwood install for a complete list of essentials that won’t let you down.
Your Path to a Silent and Solid Home
Don’t let the fear of making a mistake stop you from starting your flooring installation. Every pro started with a few ruined planks and a hazy finish. The key is to respect the foundation and use the right chemistry. Whether you are performing a simple deep clean or performing a complex how to achieve flawless floor leveling before tile laying, remember that your home is an investment that deserves better than kitchen pantry leftovers. You’ve got the knowledge now—go make that floor shine the right way.
Have you ever tried a ‘natural’ cleaning hack that backfired on your hardwood, or are you currently battling a subfloor squeak that won’t quit? Let me know in the comments below.