
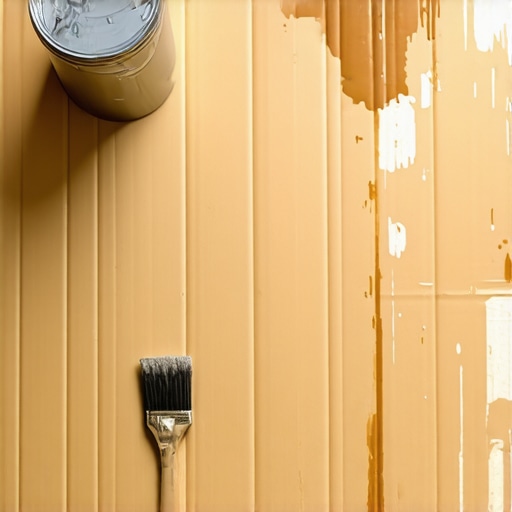
I still remember the smell of fresh polyurethane on my red oak floors. It was back in 2018, and I’d just finished a grueling week of sanding and sealing. Then came the “easy” part: painting the baseboards. I laid down some flimsy plastic drop cloths, thinking I was a total pro. Five minutes in, my ladder shifted, the plastic tore like wet tissue paper, and a glob of ‘Naval Blue’ latex hit my pristine floor. I nearly cried. That was the day a neighbor stopped by, saw my absolute panic, and introduced me to the “cardboard shield” method. It changed everything for me. Today, I’m going to show you why this low-tech solution is the only thing standing between your beautiful renovation and a permanent stain. [IMAGE_PLACEHOLDER]
Why Flimsy Plastic is Your Floor’s Worst Enemy
Look, we’ve all been there. You spend thousands on mastering hardwood floor refinishing or a painstaking flooring installation, only to risk it all with a five-dollar roll of thin plastic. It slides under your feet. It tears. Worst of all, it can trap moisture if you leave it down too long, leading to those flooring installation mistakes we all try to avoid. I learned the hard way that protecting your new floors during a remodel requires something with real backbone. Cardboard isn’t just for shipping boxes; it’s the professional’s secret weapon for impact protection and breathability.
Is Cardboard Actually Better Than Professional Drop Cloths?
You might be thinking, “Isn’t cardboard a massive hassle to haul around?” or “Won’t it scratch my finish?” These are valid fears. Early on, I made the rookie mistake of using dirty, gritty boxes from the grocery store. Big mistake—the dust underneath them acted like sandpaper. You need clean, corrugated rolls. According to the Painting and Decorating Contractors of America (PDCA), proper surface protection is the most overlooked step in residential repaints, yet it’s the one that prevents the most expensive insurance claims. Cardboard provides a rigid barrier that plastic simply can’t match, especially when you’re moving heavy ladders or dropping sharp tools.
Don’t Ruin Your Hard Work Before the Paint Dries
It’s gut-wrenching to see a perfectly leveled subfloor and a beautiful tile layout get marred by a single spilled bucket. If you’ve ever had to clean hardwood floors after a renovation, you know that dried paint tucked into the grain is a nightmare you don’t want to live through twice. Using a cardboard shield isn’t just about the spill; it’s about the peace of mind. You can walk, work, and even drop a screwdriver without that “heart-in-your-throat” feeling. Have you ever finished a project only to realize you’ve created five more repairs because you skipped the prep work? I’d love to hear your “oh no” moments. We’ve all been there, and trust me, your secret is safe with me. In the next section, I’ll show you exactly how to tape down these shields so they don’t move, and which tape won’t pull up your brand-new finish.
Prep the Floor Like Your Project Depends on It
Before you even think about laying down a single sheet of cardboard, you need to treat the floor like a cleanroom. Think of it like baking a cake; if there’s grit on the pan, it’s going to ruin the bottom of your masterpiece. I once rushed this part during a living room refresh. I threw down some heavy boxes over a floor I hadn’t vacuumed properly. Every time I stepped on the cardboard, it ground the tiny wood shavings into the finish like a diamond-tipped abrasive. By the time I lifted the protection, I had to look up mastering hardwood floor refinishing all over again because of the micro-scratches.
Remove Every Grain of Sand
Use a vacuum with a soft brush attachment, followed by a microfiber mop. You want the surface to be so clean you could walk on it in white socks without a speck showing. This is especially critical after you’ve finished precise floor leveling techniques to achieve flawless surfaces. If you leave even a small pebble of dried leveler, the weight of a ladder on top of cardboard will punch that pebble right into your wood or tile. Use the best way to clean dust after sanding hardwood floors to ensure no particles remain trapped under your shield. #IMAGE_PLACE_HOLDER_B#
Build a Seamless Fortress of Cardboard
Don’t just toss random shipping boxes on the floor and call it a day. You want heavy-duty, corrugated rolls—often called “Ram Board” in the pro world. It’s thick enough to handle a dropped hammer and breathable enough to let your finish cure. Imagine it as a suit of armor for your home. When I was protecting your new floors during a full kitchen remodel, I learned that gaps are the enemy. If you leave even a half-inch sliver of floor exposed, that’s exactly where the paint or thinset will find a way to land.
Master the Art of the Overlap
When laying your cardboard, overlap the edges by at least three inches. This prevents the sheets from sliding apart underfoot. Think of it like shingles on a roof; you want a continuous surface. I use a “bridge” method where I tape the cardboard sheets to each other, not the floor. This creates one massive, heavy sheet that stays put through its own weight. For the perimeter, check out the best way to tape off transitions for a clean look to ensure you aren’t leaving any vulnerable spots where different flooring types meet.
Use Tape the Right Way or Pay the Price
The biggest mistake I see DIYers make is using high-tack duct tape or cheap masking tape on a fresh finish. I’ve seen grown men cry when they pulled up their tape only to find the polyurethane coming up with it. You need a low-tack painter’s tape, specifically designed for delicate surfaces. Even then, I never leave it down for more than 48 hours if I can help it.
The Blue Tape Secret for Floors
If you’re worried about the tape’s grip, you can apply a “perimeter” of delicate blue tape first, then stick your heavy-duty shielding tape on top of that. This is similar to the blue tape secret for cleaner caulking—it’s all about controlled adhesion. If you’re dealing with a floor that isn’t perfectly flat, you might even use the flashlight test for checking floor flatness before glue to identify low spots where the cardboard might sag. Keeping the shield rigid prevents it from acting like a bellows, sucking dust in and out from the edges as you walk across the room.Now, let’s pull back the curtain on a debate that usually gets heated in contractor circles: level versus flat. Most DIYers obsess over getting a floor perfectly level, but I’ve seen perfectly level floors that were wavy enough to make a homeowner seasick. In my experience, flatness is the real hero. The National Wood Flooring Association (NWFA) specifies that for most installations, a floor must be flat to within 3/16-inch in a 10-foot radius. If you ignore this and just focus on the bubble in your level, you’ll end up with those annoying ‘hollow’ sounds under your planks. Use the 3-foot level test for checking subfloor flatness like a pro to spot the high and low spots that actually matter. 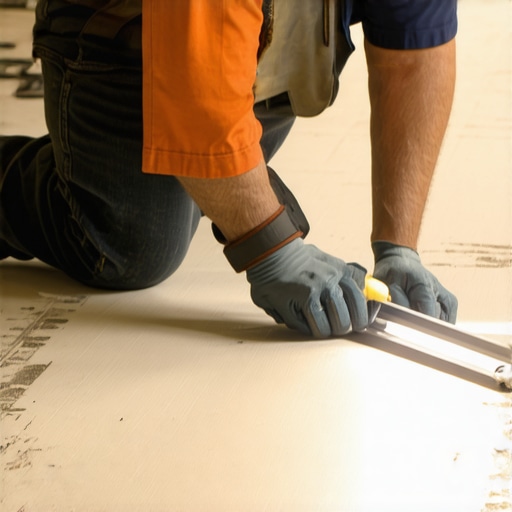
The Invisible Danger of Trapped Vapors
Here is the ‘oops’ factor that ruins more high-end jobs than I care to count: covering a floor before it’s ready to breathe. You might think your cardboard shield is ‘breathable,’ but if you lay it over a fresh finish or a damp slab, you’re essentially creating a greenhouse. This is why your hardwood finish is bubbling and how to fix it—vapors get trapped and cannot escape, forcing the finish to delaminate. Before you even think about protection, you must perform the bucket test to check your concrete slab for excessive moisture. Even with cardboard, if you tape the seams too tight, you are effectively slowing down the cure time.
Is Your Subfloor Strong Enough for Your Design Dreams?
Advanced installers don’t just look at how smooth a floor is; they look at ‘deflection.’ This is where most people get it wrong when planning expert hardwood floor and tile combinations. If your joists are too far apart, the floor will flex, and your expensive tile will crack no matter how much cardboard you used to protect it during the build. You need to check for subfloor flex before you lay rigid tile to ensure the foundation can handle the load. It’s a common trap: focusing so much on the surface protection that you forget the structural integrity underneath. Have you ever fallen into this trap and had to redo a whole section? Let me know in the comments; we’ve all had those moments where we wished we’d looked deeper.Once the protection comes up and the dust settles, you’re left with a floor that looks like a million bucks. But the real work starts now: maintenance. I see so many people spend a fortune on materials only to melt the glue or warp the wood within six months.
Stop the Steam Mop Madness
I know the commercials make it look easy, but why you should never use a steam mop on engineered wood floors is simple: high-pressure moisture is a silent killer for layered wood. Instead, stick to hardwood floor care secrets to longevity and shine like pH-neutral cleaners and microfiber pads. These tools won’t saturate the grain or cause delamination.
The Tool That Saves Your Vinyl Click-Locks
If you’re working with LVP, put down the heavy hammer and pick up a dedicated tapping block. Using a scrap piece of flooring as a block is a common rookie mistake that often leads to sheared-off tongues and weak joints. This is why you should always use a tapping block with vinyl; it distributes the force evenly across the entire profile of the joint. For the real gearheads, checking out 7 tools you actually need for a professional DIY hardwood install will save you multiple frustrating trips to the hardware store mid-project. 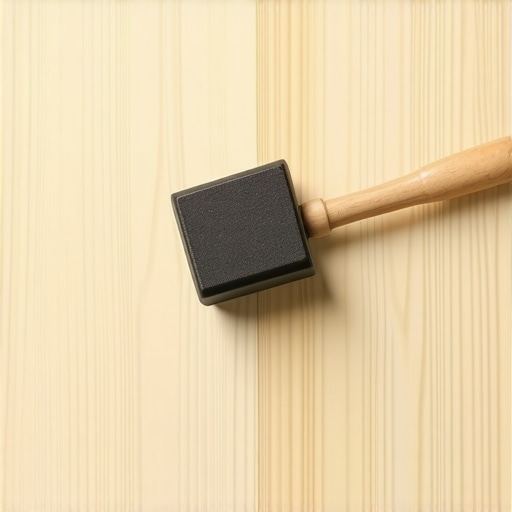
How can I make my flooring results last a lifetime?
Longevity isn’t about luck; it’s about structural movement and environmental control. The Tile Council of North America (TCNA) Handbook, specifically Method EJ171, emphasizes that movement joints are non-negotiable for large-tiled areas to accommodate thermal expansion. Without them, your grout will inevitably fail as the house settles. Beyond the technical, you need to know the best way to clean a new hardwood floor for the first time to avoid initial abrasive damage from construction grit. Looking ahead, I suspect we will soon see more AI-integrated leveling systems that use LIDAR to map your subfloor and tell you exactly where the low spots are before you even open a bag of compound. It’s an exciting time for homeowners who want professional-level precision. My challenge to you: before your next project, try the 3-foot level test on a room you think is already ‘fine’—you’ll be shocked at what you find. If you already have shifting issues, check out the simple way to fix a floating floor that moves to stop those annoying gaps before they grow into a full-scale replacement.
Why Your Best Prep Work Happens When No One Is Looking
I’ve learned that the secret to a flawless finish isn’t in the fancy topcoat; it’s in the obsessive vacuuming before the cardboard goes down. If you want to avoid the heartbreak of grit-scratches, you have to be the person who checks every corner twice. I always look for 7 signs your tile contractor is cutting corners on prep work whenever I’m on a job site, and skipping the subfloor clean-up is always the biggest red flag. The lightbulb moment for me was realizing that protection isn’t just about covering the floor—it’s about sealing it off from the chaos of the construction zone. [IMAGE_PLACEHOLDER]
The Toolbox That Keeps My Back and Floors Intact
If you’re serious about doing this right, you need more than just a roll of cardboard. I never step onto a job site without a heavy-duty tapping block, a 6-foot aluminum level, and a supply of low-tack delicate surface tape. You can find the full list of 7 tools you actually need for a professional DIY hardwood install to ensure you aren’t improvising when the stakes are high. I also recommend keeping a copy of the TCNA Handbook or reading up on mastering floor leveling pro secrets for perfect installations to understand the ‘why’ behind every technical step.
Your Dream Floor Is Just One Shield Away
Renovating your home can be overwhelming, but don’t let the fear of a spill stop you from starting. With a solid cardboard shield and the right prep, you’re already ahead of most DIYers. Every great flooring installation starts with a plan to protect what you’re building. You have the tools, the knowledge, and now the secret method to keep your surfaces pristine. Now, it’s time to revamp your home with expert flooring installation tips and see your vision come to life. Have you ever had a “perfect” project ruined by a single drop of paint or a scratched finish? Let me know your horror stories in the comments below!