
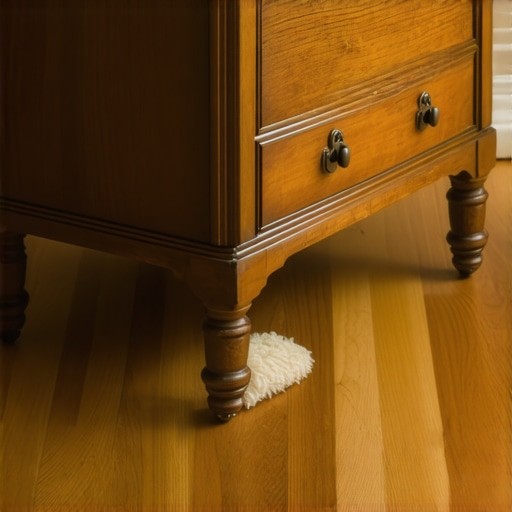
I will never forget the sound—that sickening, high-pitched screech of wood-on-wood that meant I had just permanently scarred my brand-new red oak floors. It was three years ago, and I was trying to move a solid walnut armoire just six inches to the left. I thought a folded-up beach towel was enough. It was not. The towel bunched up, a heavy leg caught the grain, and I spent the next three days scouring hardwood floor care secrets to longevity and shine while crying over a tub of wood filler. That moment of laziness cost me hundreds in repairs and a whole lot of pride. But it also taught me the single most effective trick in the book for anyone dealing with heavy lifting on delicate surfaces: the humble carpet scrap. If you have ever stared at a massive dresser and felt a wave of anxiety about your floor’s finish, this is for you. today, I am going to show you how to turn literal trash into the best floor-saving tool you will ever own.
Stop Treating Your Hardwood Like a Demolition Zone
Moving heavy furniture is the ultimate test for any home renovation project. Whether you have just finished mastering hardwood floor refinishing or you are rearranging a room after a fresh install, the risk of damage is incredibly high. Most people reach for those expensive plastic sliders from the big-box stores, but I have found that they often trap grit underneath, turning your furniture into a giant piece of sandpaper. By using carpet scraps—specifically with the fuzzy side down—you create a thick, soft buffer that glides across the surface while distributing weight more evenly. This is one of those flooring installation mistakes to avoid: never assuming a thin barrier is enough for a 300-pound object. You need bulk, and you need the right material.
Will This Actually Work Without Ruining My Finish?
I get the skepticism. It sounds too simple, right? You are worried the backing might be too abrasive or that the carpet will slip. The secret is in the orientation. When you place the pile side against your flooring, you are utilizing millions of soft fibers to cradle the weight. Early in my DIY journey, I actually made the mistake of putting the rough jute backing face down—don’t do that. That is how you end up needing to know how to remove scuff marks from your new luxury vinyl floors or worse. Beyond just saving your floors, this method is about saving your body. According to the American Chiropractic Association, improper lifting and moving techniques are a leading cause of back injuries in the home. By reducing friction, you are significantly lowering the force required to move the object, which keeps your spine happy and your floors pristine. While you might have 7 tools you actually need for a professional DIY hardwood install, this ‘non-tool’ is arguably the most important one for the day after the job is done. Have you ever tried to move a couch and heard that dreaded ‘scritch’ across your floor? Tell me your horror stories, and let’s get into the step-by-step of how to do this the right way.
Find the Right Scrap for the Job
First, you need to raid your local carpet outlet or your own basement. Not all carpet is created equal when it comes to protection. You want a high-pile or plush carpet—think the kind of shag you would find in a 1970s den. The thicker the fibers, the more cushioning you have against the hardwood. While you might be tempted to use leftover bits from a recent step-by-step guide to flooring installation and leveling success, make sure the backing is not that hard, abrasive plastic mesh. I remember helping a friend move a beast of a mahogany dining table last summer. We had just finished a deep clean—using the best way to clean a new hardwood floor for the first time—and the pressure was on. We did not have enough carpet scraps, so I tried using a piece of thin commercial rug. Bad idea. The table was so heavy it compressed the fibers instantly, and I could hear the wood protesting. We stopped, found some thick offcuts of Berber carpet, and the table suddenly moved like it was on ice. It was a total game-changer.
Check the Backing Before You Start
Before you commit to a scrap, run your hand over the back. If it feels like sandpaper or stiff plastic, it needs an extra layer of felt glued to it, or you should toss it. You are looking for a flexible, softer backing that won’t snap if it gets caught on a slight unevenness in the floor. This is especially vital if you are working around transitions; even if you have mastered how to get a seamless look with different flooring types, a stiff carpet back can catch a metal transition strip and scratch both the metal and the wood. 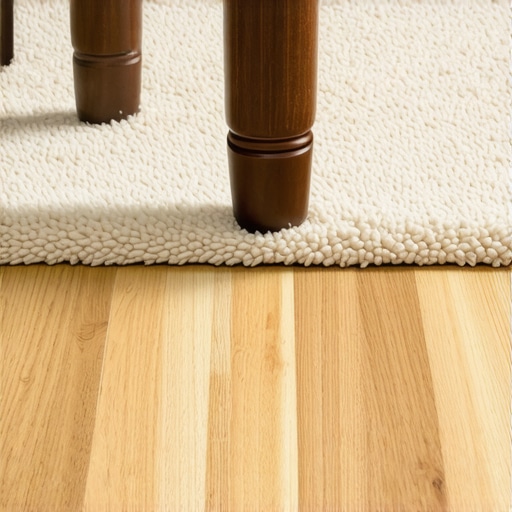
Cut Your Scraps to Fit the Feet
Cut your scraps into squares that are at least two or three inches wider than the furniture leg. If the scrap is too small, the leg will eventually slide off as you push, and that is a common mistake that ruins your luxury vinyl plank installation or hardwood finish. You want a ‘skirt’ of carpet around the foot of the furniture. For massive pieces like a sideboard or a piano, use long strips of carpet that run the entire depth of the piece rather than four small squares. This creates a sled-like effect that distributes the weight over a much larger surface area. If you are moving something like a refrigerator, you might even consider the cardboard trick for moving heavy appliances on vinyl, but for wood, the carpet’s pile is far superior for preventing micro-scratches.
The Fuzzy Side Always Faces the Floor
This is the non-negotiable rule. The soft, yarn side of the carpet is your lubricant. It reduces friction to almost zero. When you tilt your furniture to slide the scrap under, ensure the pile is facing down and the rough backing is hugging the furniture leg. If the furniture leg is particularly smooth or slippery, use a small piece of painter’s tape to secure the carpet to the leg temporarily. This prevents the ‘slip-out’ that happens when you hit a slightly raised plank. This attention to detail is part of how to protect your new floors during a full kitchen remodel or any heavy renovation. When you start the move, do not push from the top of the furniture. Push from as low as possible to keep the center of gravity over the carpet scraps. This prevents the furniture from tipping and digging a corner into your pristine floor. By treating the move like a slow, controlled glide rather than a shove, you ensure that all the work you put into 7 tools you actually need for a professional DIY hardwood install is not undone in thirty seconds of impatience.
Flatness Matters More Than a Level Surface
Most people think the goal of a subfloor is to be perfectly level, as in, zero degrees across the entire room. But here is the professional secret: a floor can be sloped like a mountain trail and still be a successful installation site, as long as it is flat. If you spend your time mastering floor leveling pro secrets, you will realize that ‘flat’ means no dips or humps, while ‘level’ refers to the horizon. If your floor is flat but slightly out of level, your furniture will still sit still and your planks won’t click and groan. However, if you have a perfectly level floor with a 1/4-inch dip in the middle, your floating floor will eventually fail. The National Wood Flooring Association (NWFA) explicitly mandates that subfloors must be flat to within 3/16-inch in a 10-foot radius. If you ignore this, you are fast-tracking a call to a repair man.
Why Your Leveling Compound Might Just Pop Off
Here is the ‘oops’ factor I see constantly: homeowners pouring self-leveler directly onto old concrete or plywood. It looks great for a week, and then you start hearing a hollow ‘crunch’ when you walk. This happens because they skipped the most vital step. You must understand why you must prime concrete before every leveling job. Without a high-quality primer, the thirsty subfloor will suck the moisture out of the leveling compound before it can properly bond. This results in the compound becoming brittle, leading to a situation why your self-leveling compound is cracking like a dry lake bed. It is a heartbreaking mistake because once it fails, you have to chip it all out and start from scratch. 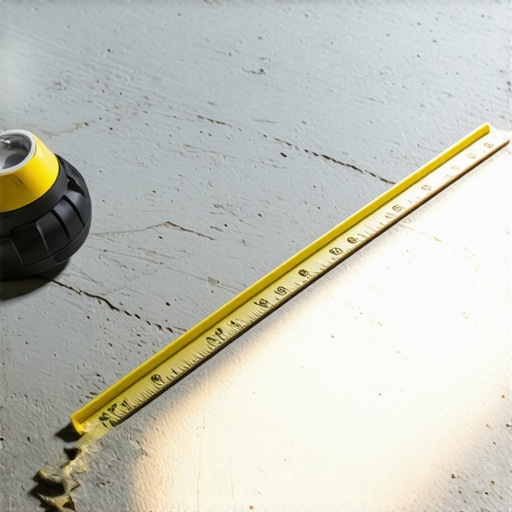
How Much Subfloor Bounce Can Your New Tile Actually Handle?
This is the advanced question that separates the pros from the amateurs. If you are moving from hardwood to a heavy tile, you have to calculate the L/360 deflection limit. Most DIYers assume that because the floor feels ‘solid’ underfoot, it can handle 500 pounds of porcelain. It cannot. In fact, why porcelain tiles crack more often than ceramic on wood is almost always down to subfloor deflection, not the tile quality. If your joists are too thin or spaced too far apart, the floor will flex, and your grout lines will be the first thing to shatter. Before you even look at how to achieve flawless floor leveling, you need to ensure the structure itself is rigid. I once saw a gorgeous kitchen remodel ruined because the owner didn’t realize their 1920s joists were never meant for a heavy stone floor.
The Myth of the Waterproof Label
We need to talk about the ‘waterproof’ marketing trap. Whether it is LVP or laminate, the label refers to the material, not the installation. Just because the plank won’t swell doesn’t mean water won’t seep through the seams and rot your subfloor. This is one of those flooring installation mistakes to avoid that can cost you thousands in mold remediation later. Always treat your floors as if they are water-resistant, not bulletproof. Have you ever fallen into this trap of over-trusting a ‘waterproof’ label or skipped the priming step? Let me know in the comments below, and let’s keep your floors from becoming a expensive disaster.
Invest in Tools That Don’t Guess
If there is one thing I have learned from years of DIY trials and errors, it is that your eyes are terrible at measuring moisture and levels. You might think that subfloor is dry because it looks gray, but wood is essentially a giant sponge that never stops breathing. This is why I never start a project without a pinless moisture meter. I personally use it to check the subfloor and the new planks every single day during the acclimation period. Knowing how to use a moisture meter to prevent floor failure is the difference between a floor that stays flat and one that cups like a Pringles chip six months later. Another non-negotiable for me is a high-end cross-line laser level. Forget the bubble levels; they are too small for a long room. Using the laser level move for perfectly straight hallways ensures that your first row is dead-on, which prevents the ‘stair-step’ gaps that drive every homeowner crazy.
How can I guarantee my floors survive the next ten years?
Maintenance isn’t just about sweeping; it is about knowing what to keep away from your finish. I see so many people ruin their hard work by using steam mops on wood. High-pressure steam is a death sentence for glue and wood fibers. Instead, stick to a microfiber mop and a pH-neutral cleaner. If you want the real hardwood floor care secrets to longevity and shine, it starts with grit management. A single grain of sand under a shoe can act like a diamond-tipped glass cutter. This is why I am a stickler for high-quality walk-off mats at every entrance. For the long haul, you need to monitor your home’s humidity. The National Wood Flooring Association (NWFA) Technical Manual C100 states that maintaining a relative humidity between 30% and 50% is critical for preventing permanent structural gaps or checking in the wood. If you let your house get as dry as a desert in the winter, no amount of mastering hardwood floor refinishing will save you from the inevitable cracks.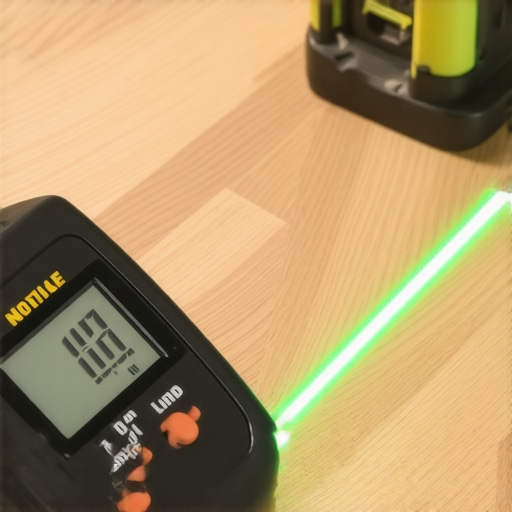
The Future of Flooring is Low-Gloss and High-Health
I am seeing a massive shift away from the plastic-looking, high-gloss polyurethane finishes of the 90s. The trend is moving toward matte, hard-wax oils that soak into the wood rather than sitting on top. This is a win for homeowners because it makes ‘spot repairs’ possible—you can fix a scratch in one area without sanding the whole room. When you are looking at the natural oil vs polyurethane debate for busy homes, the oil-based options are winning on both aesthetics and air quality. We are also seeing smarter leveling technology, like digital sensors that map your floor’s topography, helping you identify exactly how to achieve flawless floor leveling with half the compound. I highly encourage you to go out and rent a professional-grade moisture meter before your next install. It is a tiny step that provides the ultimate peace of mind. Don’t leave your floors to chance—measure the reality of your environment before you lay down a single plank.
The Hardest Lessons My Scarred Floors Taught Me
Looking back at that red oak disaster, I realized that the biggest flooring installation mistakes to avoid aren’t always about the physical install; they are about how you respect the material afterward. Here is what I wish I had known before I started: First, if you feel a ‘bounce’ when you walk, stop immediately. You need to know how to fix a bouncy floor with a few well-placed screws before adding any finish. Second, never trust your eyes over a tool. I once thought a subfloor was ‘good enough’ only to see it fail because I didn’t follow the ultimate guide to floor leveling for a perfect finish. Finally, humidity is the silent killer. A floor that looks perfect in July can develop massive gaps in January if you do not control the environment.
The Gear That Actually Saved My Sanity
If you are serious about protecting your investment, you need a toolkit that goes beyond a hammer and a saw. I swear by these three things: A Pinless Moisture Meter because guessing at dryness is how you end up with cupped boards. The NWFA Technical Manuals which are the gold standard for every pro and should be for you too. And finally, a high-quality Laser Level. Using the laser level move for perfectly straight hallways changed my life and saved me from crooked rows that would have haunted me forever. I also highly recommend looking into how to choose flooring that won’t kill your indoor air quality to ensure your beautiful home is also a healthy one. #IMAGE_PLACE_FINAL#
Your Floors Deserve This Level of Respect
Your home is likely your biggest investment, and the floors are the foundation of its character. Whether you are moving furniture with carpet scraps or finally tackling that uneven subfloor, remember that patience is your best tool. Don’t be afraid to slow down, measure twice, and protect the finish you worked so hard to achieve. You have the knowledge now to avoid the heartbreak I went through. Have you ever had a ‘moving day’ disaster that left a permanent mark on your floors? Let me know in the comments below!