
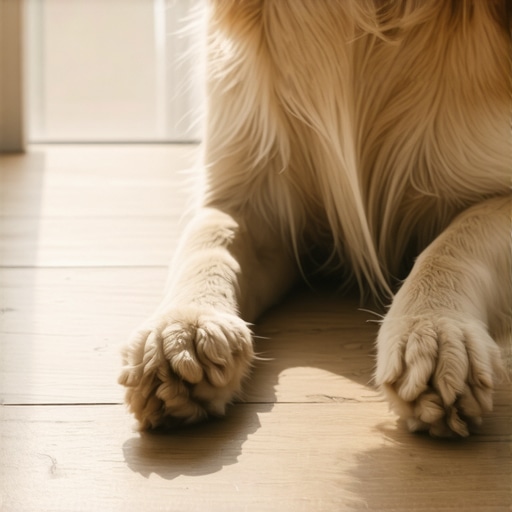
I remember the day clearly. I had just finished a grueling weekend marathon of flooring installation and leveling. The vinyl planks were pristine, reflecting the afternoon sun like a calm lake. Then, the mail carrier pulled into the driveway. My 70-pound Labrador, Cooper, didn’t just run; he launched. The sound—a frantic, metallic skritch-skritch-skritch—sent a cold shiver down my spine. I looked down, and there they were: tiny, shimmering white lines carved into my brand-new ‘scratch-resistant’ floor. It felt like a punch to the gut. If you have ever stood over a fresh scratch with a heavy heart, you know exactly how I felt in that moment. Today, I am going to show you how to stop the madness. We will look at why those scratches happen, how to choose the right materials, and the maintenance habits that actually protect your investment without turning your home into a high-security prison for your pets. Have you ever noticed a deep gouge that seemingly appeared out of nowhere after a play session? Drop a comment below; I would love to hear your horror stories.
Why Your Scratch-Proof Floor is Still Getting Beat Up
When I first started out as a DIYer, I fell for the ‘100% waterproof’ marketing and assumed that meant the floor was essentially bulletproof. I made the classic flooring installation mistake of skipping the high-end wear layer to save a few bucks. I learned the hard way that the overall thickness of the plank doesn’t mean a thing if the top coat is tissue-paper thin. According to experts at the American Kennel Club, a large dog’s claws can exert several hundred pounds of pressure per square inch when they are gaining traction. That is a massive amount of force for a thin layer of PVC to handle!
Is vinyl flooring actually as tough as the salesman claimed?
Most sales pitches focus on water resistance, but for pet owners, the real metric is the ‘mil’ rating of the wear layer. If you ignore this, you are basically inviting Cooper to sand down your floors. Before you even lay the first plank, you must ensure your subfloor is rock-solid. A bouncy subfloor causes the planks to flex, which actually makes the surface more susceptible to micro-fractures and surface damage. This is why I always emphasize precise floor leveling techniques before the actual LVP goes down. If you have already suffered a casualty, do not panic just yet; you can often fix a dent in your vinyl floor with a heat gun if you are careful. We are going to dive into the specifics of wear layers and protective coatings next.
Make Your Subfloor as Flat as a Frozen Lake
Think of your flooring as a skyscraper. If the foundation is tilted even a fraction of an inch, the whole structure eventually develops cracks. When you are dealing with heavy pets like Cooper, a subfloor that is not perfectly level causes the vinyl planks to shift and rub against each other. This friction weakens the locking mechanism, leading to those annoying gaps where dirt and pet hair congregate. I recommend using the laser level move for perfectly straight hallways and rooms to identify high and low spots before you even open a box of flooring. If you find dips deeper than 3/16 of an inch over a 10-foot span, you need to commit to the ultimate guide to floor leveling for a perfect finish. A flat floor doesn’t just look better; it distributes the weight of a running dog evenly, preventing the edges of the planks from catching and chipping under their claws.
Why You Must Prime Before the Leveler Pours
I once spent $400 on self-leveling compound for a kitchen renovation. I was in a rush and thought the concrete looked clean enough, so I skipped the primer. Two weeks later, the floor started sounding like I was walking on dried cornflakes. The compound hadn’t bonded to the dusty concrete and was literally shattering under the LVP. I had to rip everything up and start over. Now, I tell everyone: why you must prime concrete before every leveling job is not just about adhesion; it prevents the concrete from sucking the moisture out of the leveler too fast. If the moisture leaves too quickly, you end up with a brittle surface. This is a major reason why your self-leveling compound is cracking like a dry lake bed, making your finished floor feel hollow and unstable underfoot.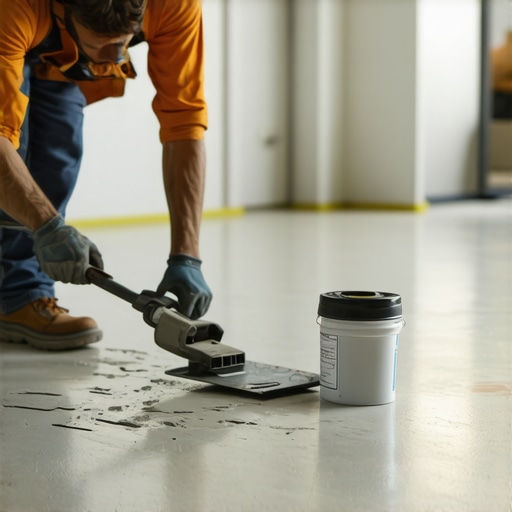
Pick the Right Armor for Your High-Traffic Zones
If you are choosing new flooring, you need to know how to spot high-quality engineered wood before you buy. For pet owners, the hardness of the top species (the Janka rating) is vital, but so is the finish. A factory-applied aluminum oxide finish acts like a suit of invisible armor. It is significantly tougher than standard polyurethane. If you prefer the look of Luxury Vinyl Plank (LVP), make sure you avoid the 7 mistakes that ruin your luxury vinyl plank installation, such as choosing a 6-mil wear layer when you really need a 20-mil commercial grade. Think of the wear layer as the thickness of a shield; a 6-mil layer is a buckler, while a 20-mil layer is a full-body tower shield.
Stop the Splintering Before the First Cut
When it comes to the actual install, precision is your best friend. Every time you cut a plank, you risk creating a rough edge that can catch on a pet’s paw or a cleaning mop. Use the tape trick for preventing splinters when cutting lvp planks to keep your edges surgical and clean. Once the floor is down, don’t ignore the upkeep. Following hardwood floor care secrets to longevity and shine will keep the surface slick enough that claws slide rather than dig. And if the worst happens and Cooper manages to leave a mark, you can learn how to patch a deep gouge in luxury vinyl planks without replacing the entire floor. Use a matching repair wax kit and a steady hand to fill the valley and buff it flush with the surrounding surface.
Let’s dig deeper into the stuff the big-box stores won’t tell you. Everyone says that a thicker underlayment equals a more luxurious, quieter floor. In my experience, that is a recipe for absolute disaster. If you put a thick, squishy pad under a floating floor, you create a ‘trampoline effect.’ Every time Cooper walks across the room, the planks flex too much, putting immense stress on the thin locking tongues. Eventually, those tongues snap, and you end up wondering why your lvp floor is clicking when you walk on it every time you take a step. Real pro-level comfort comes from a dense, high-compression underlayment, not a thick one. I’ve seen $5,000 floors ruined because someone thought they were doing themselves a favor by adding ‘extra cushion.’
Stop trusting your eyes when it comes to moisture
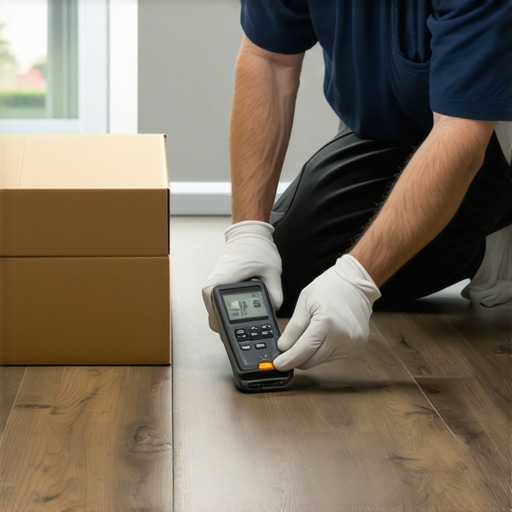
One of the biggest ‘oops’ factors in the industry is the assumption that a dry-looking slab is actually dry. I once consulted on a job where the homeowner was convinced their basement was ready for hardwood because it hadn’t flooded in twenty years. We did a calcium chloride test, and the vapor emission rates were off the charts. According to the National Wood Flooring Association (NWFA), subfloor moisture is the leading cause of floor failure. If you don’t know how to use a moisture meter to prevent floor failure, you are essentially gambling with your bank account. This is particularly true for concrete; you must understand why your basement floor needs a moisture barrier even if it feels dry, as hydrostatic pressure can push moisture through the slab and cause your beautiful new planks to cup or buckle within months.
Why does your ‘waterproof’ floor still need an expansion gap?
This is the question I get asked most by sophisticated DIYers. The marketing says the floor is waterproof, so people assume it is dimensionally stable like tile. That is a myth. While the water won’t damage the PVC core, the temperature changes in your home will cause the entire floor ‘raft’ to expand and contract. If you pin the floor against a wall or a heavy kitchen island, you’ll see why your vinyl plank floor is bubbling near large windows where the sun hits it. This is also why your hybrid flooring still needs an expansion gap around every single vertical obstruction. Have you ever fallen into this trap of skipping the gap because the floor felt ‘solid’? Let me know in the comments; we’ve all been there.
The hidden danger of radiant heat and levelers
If you are lucky enough to have in-floor heating, you need to be twice as careful with your prep work. Standard self-leveling compounds are often too brittle for the thermal expansion of heating pipes. This is a common reason why your floor leveler is cracking over radiant heat pipes. You need a fiber-reinforced compound that can handle the flex. I always suggest mastering floor leveling pro secrets for perfect installations by checking the manufacturer specifications for ‘flexural strength’ before you pour. Skipping this step leads to flooring installation mistakes to avoid for lasting results, as a cracked leveler will eventually telegraph through your vinyl or cause your tile grout to pop. Avoid the urge to rush; the nuance is where the longevity lives.
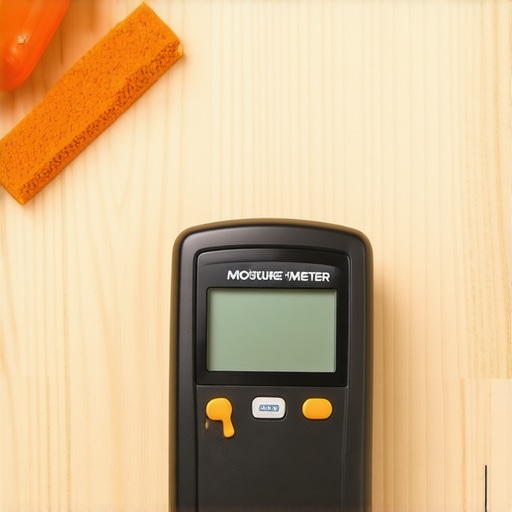
While we are on the subject of the ‘unseen,’ I have to talk about the contents of my toolbox. I see people spending thousands on high-end planks only to use a generic carpenter’s hammer and a cheap tape measure. If you want to avoid the most common flooring installation mistakes to avoid for lasting results, you need to invest in a few specific items. First on that list is a high-quality pinless moisture meter. I personally use one because it allows me to scan the entire subfloor without leaving a single mark. Knowing how to use a moisture meter to prevent floor failure is the difference between a floor that lasts thirty years and one that buckles in three. I also never step onto a job site without my dead blow hammer. Why? Because a standard metal hammer or even a rubber mallet can leave ‘ghost marks’ on delicate finishes. Understanding why you should use a dead blow hammer for floor capping changed the way I handle the final rows of an install. These are the items you’ll find in my 7 tools you actually need for a professional diy hardwood install list, and they are worth every penny of the investment.
How do I keep my floors looking like day one after a decade?
Maintenance is where most people lose the battle. They think that ‘durable’ means ‘indestructible.’ The Tile Council of North America (TCNA) notes in their official handbook that even the toughest porcelain can suffer from ‘lippage’ or finish degradation if cleaned with the wrong pH levels. I’ve seen beautiful travertine ruined because someone decided to stop using bleach on your natural stone floors too late. For your wood or LVP, the gold standard is consistency. Following hardwood floor care secrets to longevity and shine isn’t about deep cleaning once a year; it’s about micro-cleaning weekly with the right microfiber pads. If you need to move a heavy sofa, don’t just drag it; use the scrap carpet trick for heavy furniture moves to prevent those heart-breaking deep gouges.
Why the Next Generation of Flooring is All About the Core
Looking ahead, I predict we are going to see a massive shift toward mineral-core composites that prioritize dimensional stability over pure flexibility. We are already moving away from flexible PVC toward Stone Plastic Composite (SPC) because it handles temperature swings better. This makes the ultimate guide to floor leveling for a perfect finish even more critical, as these rigid cores are less forgiving of subfloor dips. We might even see ‘smart’ underlayments that can alert your phone if they detect a moisture leak under the planks. For now, the best ‘smart’ move you can make is to master the fundamentals. I want you to try this next weekend: get a scrap piece of your flooring and a repair kit, and practice how to patch a deep gouge in luxury vinyl planks. Mastering that one skill will take away 90% of the anxiety of living with pets and kids.
Lessons Carved Into My New Living Room Floor
Reflecting on my years of managing both a household full of pets and a career in DIY, I’ve realized that the ‘perfect’ floor doesn’t exist—only the best-prepared one. My first lightbulb moment was realizing that texture beats shine every time. A high-gloss finish highlights every micro-scratch from Cooper’s paws, whereas a matte or wire-brushed texture hides them in plain sight. I also learned that you can never over-test for moisture. Even if your slab looks dry, failing to learn how to use a moisture meter to prevent floor failure is the quickest way to watch your investment warp. Lastly, never underestimate the power of patience; giving your materials time to settle, especially knowing why bamboo floors need triple the acclimation time, prevents the clicking and shifting that ruins a high-end feel.
The Toolbox That Actually Protects Your Investment
#IMAGE_PLACEHOLDER_E#
If you want a professional result, you need to stop using the tools in the bargain bin. Here are the three items I never start a pet-friendly install without. First is a non-marring dead blow hammer. Using a standard metal hammer is one of the flooring installation mistakes to avoid for lasting results because it creates invisible fractures in the wear layer. Second, I always keep a high-quality repair wax kit on hand. Knowing how to patch a deep gouge in luxury vinyl planks has saved me hundreds of dollars in replacement costs. Finally, I swear by a laser level. Using the laser level move for perfectly straight hallways ensures that my expansion gaps are consistent and my rows don’t drift, which is critical for maintaining a cohesive look.
Don’t Let the Fear of Scratches Stop Your Progress
At the end of the day, your home is meant to be lived in. It is a place for muddy paws, sliding toys, and the occasional spilled water bowl. By prioritizing the fundamentals—like mastering floor leveling pro secrets for perfect installations—you are creating a foundation that can withstand the chaos. You now have the roadmap for a step-by-step guide to flooring installation and leveling success that balances aesthetics with real-world durability. Don’t let the fear of a few scratches keep you from the home you’ve always wanted. Which part of the prep work are you most nervous about—the leveling or the moisture testing? Let me know in the comments below!