
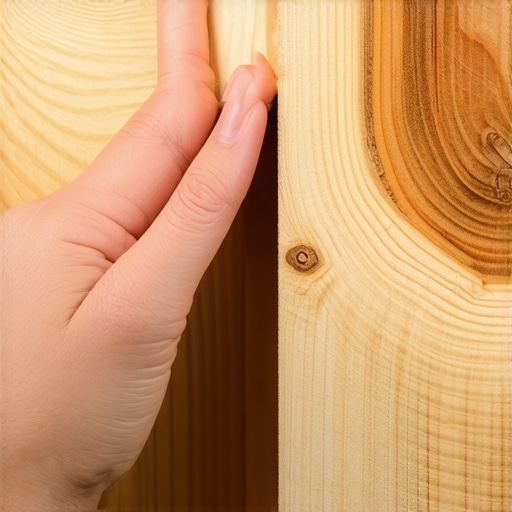
I still remember the ‘bargain’ pallet of engineered oak I hauled home for my first guest room. In the showroom, it looked stunning—deep grain, perfect matte finish, and a price that made my wallet sing. But the moment I dropped a screwdriver during the install, the ‘wood’ shattered like a dry cracker. I hadn’t bought a durable floor; I’d bought expensive sawdust held together by hope and a paper-thin veneer. It was a $2,000 mistake that taught me a brutal lesson: what is hidden beneath the surface is the only thing that keeps your home from looking like a construction zone in three years. Today, I am going to show you how to poke, prod, and inspect a plank so you never end up with a floor that fails your family.
Look Past the Pretty Surface to Find the Real Quality
If you are choosing the right hardwood floors for your home, the shiny top coat is the biggest distraction. High-quality engineered wood isn’t about the color; it is about the architecture of the plank. When you pick up a sample, look at the side profile. You want to see multiple layers of high-quality birch or eucalyptus plywood stacked in a cross-grain pattern. This core is what prevents the wood from warping when the humidity spikes in July. I once ignored this and ended up with planks that looked like Pringles. Don’t be me. Also, pay close attention to the thickness of the actual wood on top, known as the wear layer. According to the National Wood Flooring Association, a wear layer of at least 3mm is the gold standard because it allows for future sanding and refinishing.
Can you really trust a floor that costs less than your shoes?
It is the question every homeowner asks when they see those clearance prices at the big-box stores. Skepticism is your best friend here. Cheap engineered wood often uses a ‘dry-sawn’ or ‘rotary-peeled’ veneer that is so thin it can’t even handle a professional cleaning. If you are planning a DIY project, make sure you have the 7 tools you actually need for a professional diy hardwood install before you even open a box. I have found that spending an extra dollar per square foot now saves you five dollars in repairs later. Have you ever been burned by a ‘great deal’ on flooring that turned out to be a total dud? I’d love to hear your horror stories so we can all learn what to avoid. Before you start laying anything down, remember how to acclimate your hardwood properly to ensure the wood stays stable. Even the best quality planks will fail if they aren’t used to your home’s climate. Also, if you’re eyeing those trendy oversized boards, keep in mind why wide planks need more than just nails to stay flat over time. Now, let’s get into the nitty-gritty of the ‘scratch test’ and the ‘delamination dip’ that will reveal a floor’s true colors in seconds.
Put Your Samples Through the Stress Test
To truly understand if a floor is worth your investment, you have to treat the sample like a piece of evidence in a crime scene. Most people just look at the color and imagine it in their living room. Instead, take a common penny or a car key and apply firm pressure to the surface. If the finish flakes off or leaves a white, powdery trail, you are looking at a cheap brittle coating that will show every single footprint and pet nail. I remember a kitchen remodel in 2018 where the homeowner insisted on a budget-friendly maple. We didn’t do the scratch test, and within a week, their golden retriever had turned the hallway into a roadmap of gouges. Learning hardwood floor care secrets to longevity and shine starts with choosing a finish that can actually take a punch. If the sample dents too easily, the core density is likely low, meaning the floor will sound hollow and feel soft underfoot.
Why the Penny Test Beats the Marketing Brochure
Don’t let a salesperson tell you about the ‘hardness rating’ alone. Real-world durability is about the bond between the finish and the wood. When you scratch that sample, you are testing the adhesion. If the wood underneath is a completely different color than the stain, any minor scratch will stand out like a sore thumb. High-quality planks use a deep-penetrating stain or are naturally colored throughout the wear layer. While you are testing the surface, also consider the environment. You should how to use a moisture meter to prevent floor failure by checking your subfloor before the samples even arrive. If your subfloor is holding onto dampness, even the toughest finish won’t save you from the inevitable cupping. 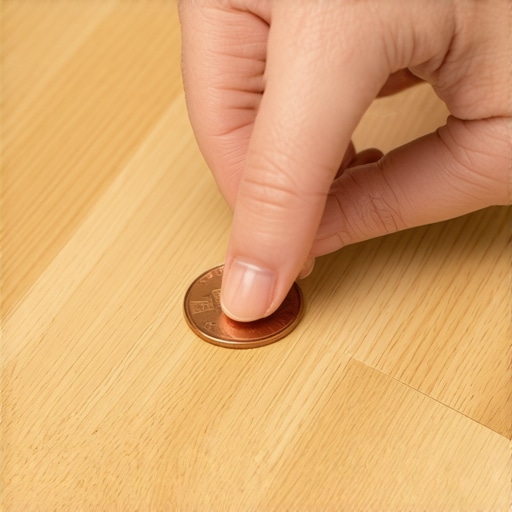
The Brutal Truth About Wet Sponges and Glue
This is what I call the ‘delamination dip.’ Take a small scrap or sample and leave it on a wet sponge overnight. This mimics a worst-case scenario like a leaky dishwasher. A high-quality engineered plank might swell slightly, but the layers will stay fused together. A cheap plank will start to peel apart like a soggy biscuit. This happens because the manufacturer used low-grade urea-formaldehyde glues instead of water-resistant adhesives. I’ve seen entire ‘luxury’ basements ruined because the glue failed at the first sign of a humid summer.
Fixing the Foundation Before the First Plank Drops
You can buy the most expensive wood in the world, but if your subfloor is wavy, your floor will squeak and eventually crack. Think of your subfloor as the chassis of a car; if it is bent, the car will never drive straight. I once tried to rush a job by skipping the leveling phase on a concrete slab that looked ‘fine’ to the naked eye. Two months later, the planks started ‘clicking’ because they were bouncing over a half-inch dip. Since then, I always refer back to the ultimate guide to floor leveling for a perfect finish to ensure a rock-solid base. If you are working with concrete, remember why you must prime concrete before every leveling job or your self-leveler will pull the moisture out too fast and crack like a dry lake bed. For those tricky areas like transitions to stairs, use the notched trowel hack for even glue coverage on stairs to ensure the wood stays put under heavy foot traffic.
I see it every single week on DIY forums: someone buys the most expensive European white oak only to wonder why their floor started clicking like a metronome after six months. The common wisdom tells you that if you buy a quality product, the rest will take care of itself. But here is the contrarian truth: a $12-per-square-foot plank will fail just as fast as a clearance-bin special if you don’t respect the physics of your home. We often focus on the wood, but we should be focusing on the air and the substrate. Most people assume that ‘level’ is the goal, but in the flooring world, ‘flat’ is actually more important. You can have a floor that is perfectly level—meaning it follows the horizon—but is full of micro-undulations that will eventually snap the locking mechanisms of your planks.
Stop confusing level with flat before you start
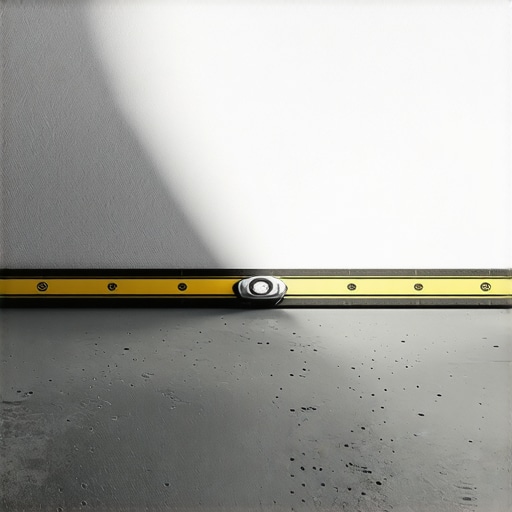
A floor can be on a slight 2-degree slope and still be a perfect candidate for hardwood, as long as it is flat. The National Wood Flooring Association (NWFA) states that a subfloor must be flat within 1/8 of an inch over a 10-foot radius. If you ignore this, every time you walk across the room, the wood flexes. That constant movement is what causes the finish to crack and the joints to separate. I always suggest using precise floor leveling techniques to achieve flawless surfaces before you even think about the layout. If you skip this, no amount of expensive underlayment will save you from that annoying hollow sound. Have you ever felt a ‘bounce’ in a floor that looked perfectly fine? That is the sound of a subfloor that wasn’t prepped correctly. I’d love to know if you’ve ever had to tear up a floor because of a hidden dip.
How do you balance aesthetics with physics in a large open-plan room?
The most advanced mistake I see is the ‘infinite floor’ trap. Modern home design loves wide-open spaces where the hardwood or tile flows from the front door all the way to the kitchen without a single transition strip. It looks incredible, but it is a ticking time bomb. Even the sturdiest hybrid materials need room to breathe. Without the the expansion joint secret for large tiled living areas, the entire floor acts as one giant sail, expanding and contracting with every weather change until it eventually buckles in the center. In my experience, you should never run a floating floor longer than 30 feet without an expansion break, even if the manufacturer says you can. If you are worried about the look, remember why your hybrid flooring still needs an expansion gap to prevent ‘tent-peaking’ during a humid summer.
The self-leveler trap that ruins your foundation
Here is the ‘oops’ factor that catches even seasoned pros: over-watering your self-leveling compound. People think adding a little extra water will make it flow better, but it actually destroys the chemical bond. This leads to a situation where your self-leveling compound is cracking like a dry lake bed under your brand-new floor. Once that compound turns to powder, your flooring loses its support and starts to sag. If you are dealing with a particularly bad concrete slab, you must ensure you are how to achieve flawless floor level before tile laying by using a high-solids primer first. Have you ever fallen into this trap? Let me know in the comments if you’ve seen a leveler fail after it seemed perfectly dry. Understanding these nuances is what separates a floor that lasts five years from one that lasts fifty.
If you want to graduate from ‘just okay’ to a pro-grade finish, you have to stop treating your tools as an afterthought. Most DIYers spend 90% of their budget on the wood and 10% on the tools, but it should be much closer to a 70/30 split. The most critical piece of gear I own isn’t my saw—it’s my pinless moisture meter. If you don’t know how to use a moisture meter to prevent floor failure, you are essentially flying blind. I’ve seen seasoned installers lose $10,000 in a single week because they assumed a concrete slab was dry just because it ‘looked’ grey. I follow the ASTM F2170 standard religiously, which requires using in-situ probes to test the relative humidity deep within the concrete, not just the surface tension. It’s the difference between a floor that stays flat and one that buckles before the first year is up. When you are using these probes, you are drilling into the slab to get a reading from the core, which is where the moisture truly hides. This is non-negotiable for anyone doing high-end work.
Stop gambling and start measuring your subfloor moisture
Longevity isn’t about the brand of cleaner you buy; it’s about humidity control and grit management. I always tell my clients that a floor’s worst enemies are dry winter air and the microscopic rocks stuck in your sneaker treads. Learning the hardwood floor care secrets to longevity and shine means investing in a high-quality humidifier to keep your home between 35% and 55% relative humidity year-round. When the air gets too dry, your wood shrinks, causing those unsightly gaps; when it’s too humid, it expands and crushes the edges of the planks. Also, don’t underestimate the cleanup phase. Knowing the best way to clean dust after sanding hardwood floors is vital because any leftover construction dust acts like an abrasive that eats through your topcoat. When you are ready to start your next project, make sure you have the 7 tools you actually need for a professional diy hardwood install to avoid mid-job panics. You need more than just a hammer; you need a proper tapping block and a heavy-duty pull bar that won’t bend when you are trying to snug up that last row.
How do I maintain my flooring investment over time?
Maintenance is a marathon, not a sprint. Every three to five years, you should consider a ‘screen and coat’ rather than waiting a decade for a full sand-and-refinish. This involves lightly abrading the top layer of finish and applying a fresh coat of polyurethane to restore the sheen and protection. By mastering hardwood floor refinishing expert tips for 2025, you can double the lifespan of your floor’s wear layer. 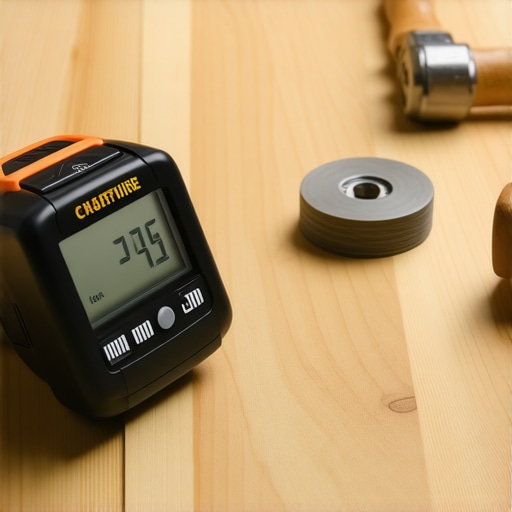 I’ve seen 100-year-old pine floors that look brand new because the owners were diligent about reapplying protection before the wood itself was exposed. If you wait until you see bare wood, you’ve waited too long, and you’ll be forced into a much more aggressive and expensive sanding process.
Smart tech is changing how we look at subfloors
We are moving into an era where flooring isn’t just a passive surface. The trend is shifting toward integrated tech—think silane-based adhesives that remain flexible for decades, absorbing the natural movement of the house without snapping. We are also seeing the rise of ‘smart’ underlayments that can detect subfloor moisture spikes and alert your phone via Bluetooth before the damage becomes visible. My challenge to you: before you lay your next row of planks, go buy a reliable moisture meter and test your subfloor in a dozen different spots. That one tool will save you more money than any clearance sale ever could. Don’t be the person who posts a photo of a buckled floor three months from now; be the one who did the prep work and has a floor that stays perfect for fifty years.
The Hardest Lessons I Learned About Real-World Durability
Over the years, I’ve realized that the ‘price per square foot’ is often a vanity metric. The real cost of flooring is the time and money you spend fixing mistakes three years down the road. One major lightbulb moment for me was realizing that moisture isn’t just a basement problem; it’s a ‘every floor, every time’ challenge. If you don’t respect the environmental conditions of your specific zip code, even the most expensive hardwood floors will eventually protest by cupping or gapping.
Another hard truth? A beautiful floor over a bad subfloor is just a temporary mask. I used to think I could ‘fix it in the mix’ with extra glue or thicker underlayment, but I quickly learned that flooring installation mistakes to avoid for lasting results always start with poor substrate preparation. If you hear a click or feel a bounce, it’s already too late—your subfloor is the culprit. I’ve even seen cases where homeowners desperately try how to fix a hollow sounding tile without tearing it up, but with hardwood, preventing that air gap through proper leveling is the only real solution for a silent, solid home.
The Gear That Separates Pros from Amateurs
I never step onto a job site without my core durability kit. If you are serious about a high-value finish, you need more than a hammer; you need the 7 tools you actually need for a professional diy hardwood install. Specifically, I trust a pinless moisture meter and a 10-foot straight edge more than my own eyes. I also highly recommend studying the ultimate guide to floor leveling for a perfect finish before you open your first box of planks. Why do I trust these specific resources? Because they focus on the physics of the house, not just the aesthetics of the showroom. Experience is great, but data-driven installation is what keeps your warranty valid.
Your Future Home Starts with a Solid Foundation
Installing new hardwood floors is one of the most rewarding home improvements you can undertake. It changes the way light reflects in your rooms, the way your home smells, and the very value of your property. Don’t let the technical details of moisture probes and leveling compounds intimidate you—let them empower you. By following these stress tests and prep steps, you aren’t just laying wood; you are building a legacy for your home that will stand up to kids, pets, and decades of life. Once your masterpiece is down, make sure to maintain that glow by following hardwood floor care secrets to longevity and shine. Now, go grab some samples and start scratching! Have you ever found a subfloor surprise that nearly ruined your project? Let me know in the comments below.