
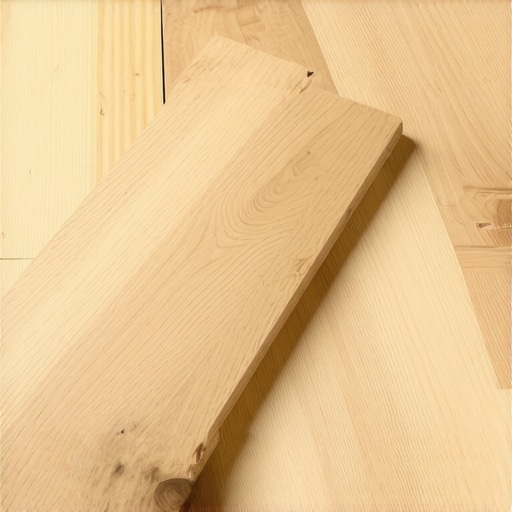
I sat on my living room floor, staring at a three-thousand-dollar investment that was literally curling up at the edges. I had done everything ‘by the book’—or so I thought. I used the best cleats, a top-tier pneumatic nailer, and I didn’t skip a single joist. Yet, there I was, watching my beautiful 7-inch white oak planks turn into tiny wooden half-pipes. It was a heart-sinking moment that taught me a hard lesson: when you go wide, the old rules of flooring installation simply don’t apply anymore. If you’re dreaming of those expansive, modern floors, you need to know that nails are just the beginning of the story. Today, I’m going to show you exactly how to avoid the ‘potato chip’ floor and ensure your wide planks stay as flat as the day they were milled. [image]
Your Nails are Losing the War Against Humidity
The truth is, wide planks have a lot of leverage against a single nail. When a 3-inch board expands, it is a relatively small force. When an 8-inch board expands, it is a powerhouse. I made the classic mistake of thinking more nails would solve the problem, but I was just creating more points for the wood to split. I didn’t realize back then that I should have been installing wide plank hardwood to minimize future gapping by using a glue-assist method. According to the USDA Forest Products Laboratory, wood is a hygroscopic material, meaning it behaves like a sponge, constantly swelling and shrinking based on the air around it. Without a secondary bond to the subfloor, those wide planks are going to move, and they will take your nails right along with them. Have you ever noticed your floor starting to ‘cup’ or feel springy just a few months after it was put in? It is usually because the mechanical fasteners alone could not handle the tension. Before you even open a box of wood, you absolutely must perform the 3-foot level test because even a tiny dip in the subfloor will cause a wide plank to bridge the gap and eventually squeak.
Is Glue Assist Actually Worth the Extra Mess?
I get it. You do not want to spend extra money on expensive polymer adhesives, and you definitely do not want to deal with the sticky mess while you are trying to keep your workspace clean. I used to think it was just a way for manufacturers to upsell me. But after seeing my own floor fail, I realized that glue is not just an extra—it is the primary stabilizer. It fills the microscopic voids between the board and the subfloor, creating a monolithic structure. I also learned the hard way that rushing the process and failing to acclimate my hardwood correctly meant the wood was already under stress before I even started. If you want a floor that lasts decades rather than months, you have to treat wide planks with a bit more respect than the narrow strips of the past.
Why Your Subfloor Needs to Be Flatter Than You Think
Before you even think about grabbing your nailer, you have to realize that a wide plank is less like a piece of wood and more like a massive lever. If your subfloor has a 1/8-inch dip, a narrow 2-inch board will simply follow the contour. An 8-inch wide plank? It bridges that gap like a structural beam. Every time you walk over it, the board flexes down into the void, pulling at the fasteners and eventually causing that maddening crackle sound. You must learn how to fix a squeaky subfloor before you lay your new floor by addressing the joist connections first. If the surface itself is uneven, you need to know how to level a plywood subfloor with shims and plywood scraps or use a high-quality compound. I once ignored a slight hump in a hallway, thinking the weight of the furniture would settle it. It didn’t. Instead, it created a pivot point that made the planks on either side lift like a seesaw.
Master the Glue-Assist Technique for Rock-Solid Boards
Once the floor is flat, the glue-assist is your insurance policy. Think of it as a permanent shock absorber. You aren’t coating the whole floor—that is a full-spread install. Instead, you apply a serpentine bead of urethane adhesive across the back of each board or directly onto the subfloor. This bond prevents the middle of the wide plank from cupping upwards when the humidity spikes. But do not just dive in. You absolutely must perform the moisture test you must do before gluing down wood because if that subfloor is damp, your expensive glue will just peel off in sheets. 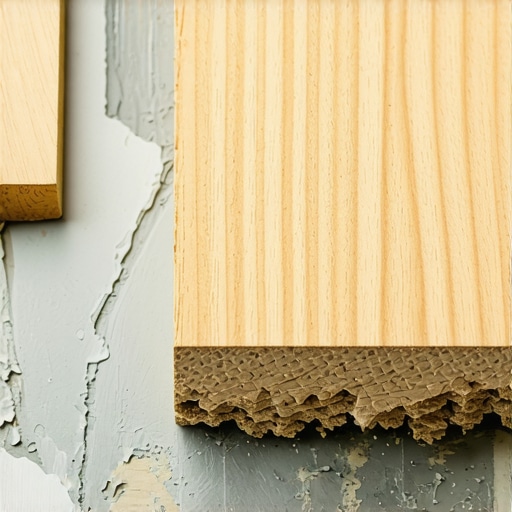
Leave Breathing Room at the Walls
Even with the best adhesive, wood needs to breathe. One of the biggest 7 mistakes that ruin your luxury vinyl plank installation—and hardwood too—is jamming the wood tight against the drywall. You need a 1/2-inch to 3/4-inch gap around the entire room. To make this look professional, you should learn the right way to undercut baseboards for a clean flooring finish. This allows the entire floor unit to expand and contract as a single entity without hitting a wall and buckling.
Essential Gear for Wide Plank Success
You do not need a warehouse full of machinery, but there are 7 tools you actually need for a professional diy hardwood install that make or break the finish. A high-quality flooring jack, for instance, is non-negotiable for wide planks. These boards are rarely perfectly straight from the mill. I remember my first glue-assist job where I tried to push a bowed plank in by hand. I ended up with glue all over my jeans and a gap I could fit a credit card into. A jack allows you to crank the board into position, holding it tight while the glue sets and you drive your cleats.You might think you have nailed the prep by getting the bubble in the center of your level, but here is the nuance most people miss: a level subfloor can still be a wavy subfloor. In my early days, I spent hours using self-leveler on a concrete slab, only to realize I had a ‘level’ floor with minor dips that the wide planks simply could not bridge. You have to focus on flatness over levelness. The National Wood Flooring Association (NWFA) explicitly states that for any plank wider than 3 inches, the subfloor must be flat within 3/16 of an inch over a 10-foot span. If you ignore this, no amount of glue will save you from the inevitable ‘hollow’ sound when you walk across the room. I highly recommend using the flashlight test for checking floor flatness before glue to find those hidden valleys that a standard bubble level might miss. If you find a dip, do not just pour more compound; you need to understand why your self-leveling compound is cracking like a dry lake bed if you apply it too thin or without the proper primer. 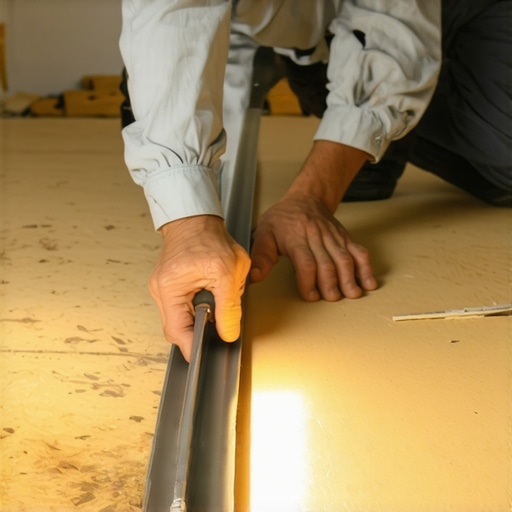
Why Does My Floor Sound Hollow Even After Gluing?
It is the question that keeps many DIYers up at night. You spent the money on the high-end adhesive, you followed the serpentine bead pattern, but certain spots still sound like a drum. Usually, this is because of ‘bridging.’ When a wide plank hits a small hump in the subfloor, it lifts the rest of the board off the adhesive. This is one of the most common flooring installation mistakes to avoid for lasting results. You must weight those boards down with sandbags or toolboxes while the glue cures to ensure 100% contact. I once ignored a slight hollow sound in a guest room, thinking the furniture would muffle it. Two years later, that board eventually worked the glue loose and started a rhythmic click every time the HVAC kicked on. To prevent this, you should be mastering floor leveling pro secrets for perfect installations before the first plank even leaves the box. Another ‘oops’ factor is racking from a single box. If you do not pull from at least three different bundles, you will end up with ‘box blocking’—unsightly color patterns that scream amateur hour. Have you ever fallen into this trap where the floor looked great in the box but patchy on the ground? Let me know in the comments. Lastly, remember that your subfloor structural integrity is paramount. If there is even a hint of bounce, use the simple test to see if your subfloor is strong enough for tile or heavy wood to ensure your foundation is not the weak link in your expensive upgrade. The old-school rule was to nail every 6 inches, but with wide planks, that creates a perforation line that can cause the tongue to split; modern pros suggest a wider fastener schedule when using glue-assist because the chemical bond is doing the heavy lifting.I used to think a moisture meter was a luxury for guys in white lab coats. Then I realized that guessing at the water content of my subfloor was essentially gambling with thousands of dollars. If you aren’t using a high-quality pin-less meter, you are flying blind. I personally swear by the Wagner Meters Orion series because it doesn’t leave holes in the finish, and it gives you deep-scan readings that tell you what is happening in the core of the wood, not just the surface. You also need a solid flooring jack. When you hit a board that has a slight bow—and with wide planks, you will—that jack is the difference between a tight seam and a gap that looks like a canyon. Check out my breakdown of the 7 tools you actually need for a professional diy hardwood install to see how I set up my kit for success. And if you are working over a concrete slab, please, do not skip the bucket test how to check your concrete slab for excessive moisture before you even think about opening a bucket of expensive adhesive. 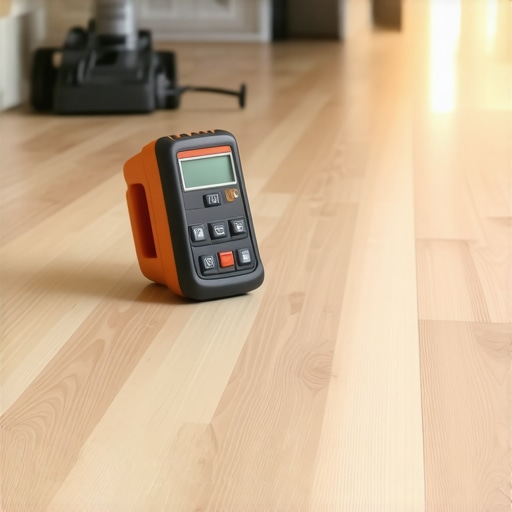
How Can I Stop the Gaps from Growing Every Winter?
The biggest threat to your floor isn’t your kids or your dog; it is your HVAC system. In the winter, your heater sucks the moisture out of the air, and those wide planks respond by shrinking. Because they are so wide, that shrinkage is much more visible than it is on skinny boards. You must maintain a consistent relative humidity (RH) in your home to prevent structural damage. According to the National Wood Flooring Association (NWFA) Technical Publication No. C100, hardwood floors perform best when the indoor environment is kept between 30% and 50% humidity and 60 to 80 degrees Fahrenheit. I highly recommend installing a whole-home humidifier that links directly to your thermostat. It is a ‘set it and forget it’ solution that protects your investment from dry-cracking. To keep that surface looking like a million bucks year-round, you should follow these hardwood floor care secrets to longevity and shine. Also, keep a sharp eye out for early warning signs near windows and appliances; knowing how to identify water damage in hardwood before it starts to rot can save you from a full tear-out if a minor leak occurs.
Why Engineered Planks are Taking Over the Modern Home
As we look toward the future of flooring, the trend is shifting rapidly toward ‘stability over solid.’ While old-school purists love solid wood, the engineering in modern planks—where multiple layers of wood are glued in cross-grain patterns—is becoming the gold standard for wide-width looks. They handle the seasonal expansion and contraction significantly better than solid oak or hickory. When you are elevate your space choosing the right hardwood floors for your home, consider a thick-wear-layer engineered product. It gives you the same aesthetic and sanding capability as solid wood but without the ‘potato chip’ anxiety of the past. Before you lay a single board, I challenge you to try the flashlight test for checking floor flatness before glue on your current subfloor tonight—you might be surprised at what those shadows reveal about your prep work.
Hard Truths from the School of Buckled Boards
I’ve spent years fixing floors that failed within six months, and the biggest epiphany I had was that wide planks are massive structural levers. They respond to the environment with incredible force, and if you treat them like narrow strips, you’re inviting trouble. One of the most vital flooring installation mistakes to avoid for lasting results is underestimating the physical power of wood expansion. I also learned that mastering floor leveling pro secrets for perfect installations isn’t about being a perfectionist; it’s about ensuring the physical survival of your investment. Finally, never trust your gut when it comes to humidity—always trust a calibrated moisture meter before the first plank is laid.
The Gear That Saved My Sanity
I personally swear by the Wagner Orion series moisture meter because it provides the non-destructive data you need to know when your house is truly ready for wood. For the actual work, I rely on high-grade urethane adhesives for the glue-assist because they offer the right balance of grab and flexibility. You should definitely check out my full list of 7 tools you actually need for a professional diy hardwood install to see how I tackle the inevitable bowed planks. And if you’re stuck on the prep stage, the ultimate guide to floor leveling for a perfect finish is my go-to resource for getting the foundation dialed in. [image]
Build a Floor That Lasts Generations
You’ve done the research, and now it’s time to get your hands dirty. Installing wide planks is a challenging but incredibly rewarding upgrade that completely changes the character of a home. When you take the time to prep the subfloor correctly and commit to the glue-assist method, your flooring installation will be a success that stands the test of time and daily life. Have you ever tried the glue-assist method on a wide plank floor? Let me know your results in the comments below!