
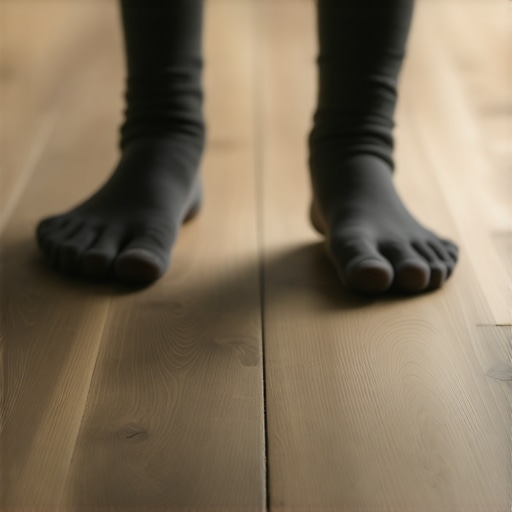
It was 2 AM. I was sneaking to the kitchen for a glass of water, trying my best to avoid the dog’s tail and that one creaky door hinge. Then, it happened. Click. Snap. Pop. Every step on my brand-new luxury vinyl plank (LVP) sounded like I was walking on a field of dry twigs. I had spent thousands of dollars and an entire weekend on this ‘dream floor,’ only for it to sound like a cheap plastic toy. It is a sound that does not just annoy your ears; it pierces your pride as a homeowner. We buy LVP because it is supposed to be the durable, quiet, modern solution to our flooring woes. But when it starts talking back to you, something is fundamentally wrong. I have been there, staring at the floor with a mix of frustration and regret, wondering if I had just made one of the most common flooring installation mistakes to avoid for lasting results. Today, I am going to help you identify exactly why your floor is making those rhythmic clicking noises and, more importantly, how we can silence them for good.
Why Your New Floor Sounds Like Bubble Wrap
I will be honest with you: early in my DIY journey, I was impatient. I thought a 1/4-inch dip in my subfloor wouldn’t matter because the vinyl was ‘flexible.’ I was dead wrong. That flexibility is actually the enemy when your subfloor is not perfectly flat. When you step on a plank over a low spot, the locking mechanism bends and rubs against the adjacent plank. That friction creates the clicking sound you hear. This is why the ultimate guide to floor leveling for a perfect finish is not just a suggestion; it is the law of physics for floating floors. If the foundation is not flat, the floor will never be quiet. According to the National Wood Flooring Association (NWFA), subfloors must be flat within 3/16-inch in a 10-foot radius to prevent mechanical failure in floating floors. Beyond just the subfloor, why cheap vinyl underlayment makes your floor sound hollow is another piece of the puzzle. If your underlayment is too thick or too soft, it allows too much vertical movement, which stresses those tiny plastic tongues and grooves until they protest with every footfall.
Will the Clicking Just Go Away on Its Own?
Many people hope the floor just needs to ‘settle.’ I used to tell myself that too, but reality is a bit harsher. While some minor expansion and contraction happen, a persistent click is usually a sign of a structural mismatch between the plank and the floor beneath it. If you ignore it, those locking tabs can eventually snap, leading to gaps that no amount of tapping will fix. Have you ever spent a fortune on flooring only to have it talk back to you with every step? Let me know in the comments if you are dealing with this right now. It is incredibly common, and the fix often involves going back to basics, like learning the best way to mix self leveler for a perfectly smooth surface before the first plank even hits the ground. Stick with me, and we will walk through the diagnostic steps to save your sanity and your shins.
Stop the Sound at the Source
To fix a floor that sounds like a tap dancer on caffeine, you have to find the ‘why’ before you can execute the ‘how.’ Grab a roll of blue painter’s tape and start walking. Every time you hear that distinct click, mark the spot. I remember a project in a guest bedroom where I ignored a small click near the closet, thinking the bed would weigh it down. Two months later, I was tearing up the whole room because that one tiny movement eventually snapped the locking tongue. Don’t be like me. Once you have your map, the first thing to check is the perimeter. A common culprit among 7 mistakes that ruin your luxury vinyl plank installation is failing to leave a proper expansion gap. If your planks are jammed tight against the drywall or baseboards, they have nowhere to go when the temperature changes. The floor bows slightly, creating a pocket of air underneath. When you step on it, the planks rub together—click! You can often fix this without a full tear-out by using the right way to undercut baseboards for a clean flooring finish to give the planks the 1/4-inch breathing room they crave.
Check for Subfloor Dips and Joist Issues
If the perimeter is fine, the problem is likely a low spot in the subfloor. Think of your LVP like a bridge; if the supports underneath are missing, the bridge will flex when a car drives over. To diagnose this, use a long straightedge—or even a 6-foot level—to see if the floor dips where you hear the noise. In older homes, the issue might even be deeper than the plywood. I once chased a ‘click’ for three days only to realize the subfloor itself was rubbing against a loose nail in the joist. Using the hammer test for finding loose floor joists saved my sanity by helping me find exactly where to add a few structural screws to stop the subfloor from moving independently of the framing.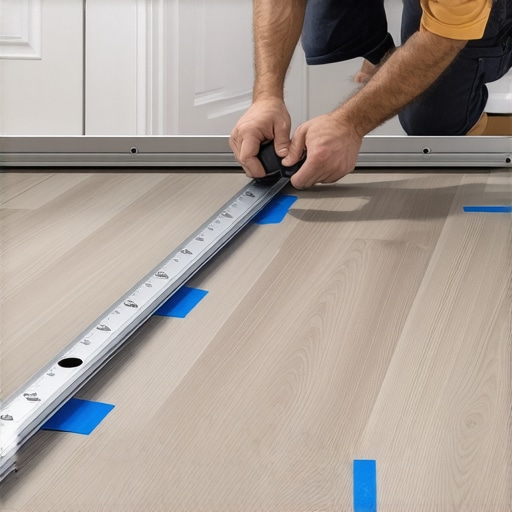
Address the Locking Mechanisms Directly
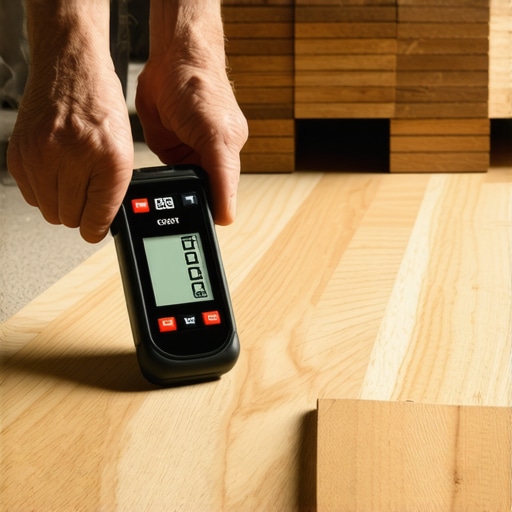
Sometimes the click is purely mechanical within the joint. This often happens if debris like a tiny grain of sand got trapped in the groove during the install. If you have a floating floor, you might be able to use how to fix a large gap in your floating floor row techniques to pull the planks apart just enough to vacuum out the joint or apply a specialized floor lubricant. For floors installed over cabinets or heavy islands, you might need to try the shimming hack for leveling subfloors under cabinets to alleviate the pressure that is pinching the planks into an awkward angle. Finally, never underestimate the power of environment. Excessive humidity can cause planks to swell and protest. Learning how to use a moisture meter to prevent floor failure is a pro move that tells you if your house is literally pushing your floors to the breaking point. If you find a high reading, a dehumidifier might be a cheaper fix than a new floor.While we often focus on the visual gaps, there is a deeper nuance that most DIYers—and even some pros—completely miss: the difference between a floor being flat and a floor being structurally sound. Most people think if they pour enough compound to make a surface look like a mirror, they have won. But here is the contrarian truth: a floor can be perfectly flat and still be a total failure if it lacks rigidity. According to the Tile Council of North America (TCNA), the industry standard for floor deflection is L/360 for ceramic and L/720 for natural stone. This means your subfloor should not bend more than a tiny fraction of an inch under a heavy load. If you ignore this and just try to mask the problem by leveling a plywood subfloor without adding weight or structural support, you are essentially building a house of cards.
Can Your Subfloor Actually Handle the Weight of That New Tile?
This is the advanced question that separates the experts from the amateurs. I once saw a homeowner install gorgeous, heavy porcelain over a subfloor that was technically flat but way too thin for the span of the joists. Within six months, the grout lines were crumbling because the floor was ‘breathing’ every time someone walked across the room. It is a classic example of why porcelain tiles crack more often than ceramic on wood when the prep work is not up to snuff. If you are dealing with a bouncy floor, you need to address the structural integrity before you even think about the finish. Have you ever fallen into this trap of prioritizing aesthetics over structure? Let me know in the comments. 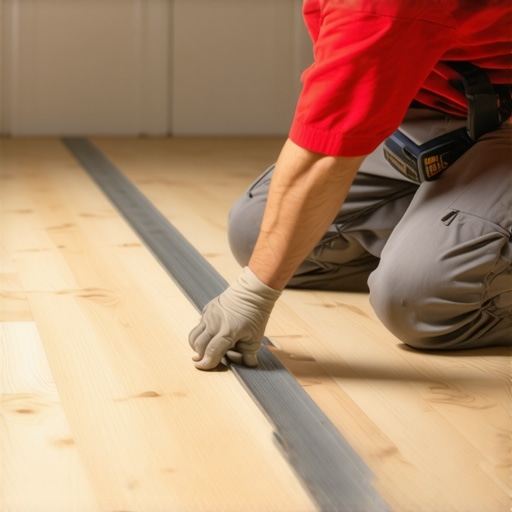
The Primer Trap That Destroys High-End Installations
One of the biggest ‘oops’ factors in advanced flooring is the chemistry of the bond. I have seen countless people spend a fortune on high-end leveling compounds only to watch them fail because they skipped the primer or used the wrong one. When you see why your self-leveling compound is cracking like a dry lake bed, it is almost always a bond issue. The porous concrete or wood sucks the moisture out of the leveler too fast, preventing the chemical reaction that gives it strength. In my experience, double-priming is not just an extra step; it is the only way to ensure the leveler does not peel off in sheets later. Another nuance is the ‘air trap.’ If you do not use a spiked roller, tiny air bubbles remain, creating weak points that eventually lead to hollow-sounding tiles once the thinset is applied. True mastering floor leveling pro secrets for perfect installations means respecting the chemistry of the materials as much as the geometry of the room. Do not let a thirty dollar bottle of primer be the reason your three thousand dollar floor fails.
The Gear That Separates Pros from Part-Timers
I’ve spent a lot of money on gadgets that ended up gathering dust, but there are a few essentials I never start a job without. If you’re moving beyond the basics, you need to stop using a standard carpenter’s hammer for floor adjustments. I swear by the dead blow; it delivers the force you need without the recoil that ruins a plank’s edge. This is why you’ll see it on my list of 7 tools you actually need for a professional diy hardwood install. Another non-negotiable is a high-quality moisture meter. According to the NWFA Technical Publication C100 on Moisture and Wood, your hardwood and subfloor should be within 2% to 4% of each other before you even think about nailing. Learning how to use a moisture meter to prevent floor failure is the literal difference between a floor that stays flat and one that cups like a potato chip within six months.
How can I maintain my new floors for decades?
Maintenance isn’t just about a weekly sweep; it’s about protecting the investment you just bled for. I’ve seen gorgeous installs ruined by people who think a steam mop is a safe choice. Please, I’m begging you, why you should never use a steam mop on engineered wood floors should be required reading for every homeowner. The heat and moisture can delaminate the layers faster than you can say ‘warranty voided.’ Instead, focus on pH-neutral cleaners and felt pads for every piece of furniture. If you’ve just finished a project, knowing how to clean hardwood floors after a major renovation is critical because that fine construction dust is basically sandpaper under your shoes. Looking ahead, I suspect we’ll soon see smart sensors embedded in subfloors that alert your phone if they detect rising humidity or a hidden leak. Until then, we are the sensors. Use hardwood floor care secrets to longevity and shine to keep that factory finish looking fresh.
Sanding Secrets That Save Your Sanity
If you find yourself refinishing an old red oak floor, don’t just wing the grits. I learned the hard way that skipping a step in the sequence leaves ‘pig tails’ that only show up after you apply the finish. Using the best grit sequence for sanding red oak to a mirror finish is how you get that professional glow. And for the love of your lungs, look into dust containment systems. Modern tech allows you how to sand a floor without creating a dust storm, so you don’t spend the next three years finding sawdust in your cereal. My best advice? Stop overthinking the minor imperfections and focus on the prep. Go buy a pin-style moisture meter today and check three different spots in your room. It’s the single most authoritative action you can take to ensure your floor stays quiet and stable for the next thirty years.
The Hardest Lesson I Learned About DIY Flooring Success
I’ve spent years chasing perfection, and if there is one thing I’ve learned, it’s that the floor you see is only as good as the subfloor you don’t. I once thought I could skip the expansion gap in a small hallway because it was just a tiny space. By the time summer humidity hit, the floor was buckling like a mountain range. Always leave that 1/4-inch gap; your floor needs to breathe just as much as you do. Another lightbulb moment came when I realized that subfloor prep is easily 90% of the job. If you spend more time with a 6-foot level than you do with a hammer, you’re doing it right. I’ve found that following a step by step guide to flooring installation and leveling success is the only way to avoid the heartbreak of a noisy walk. Finally, please don’t fall for the ‘settling’ myth. A click is a mechanical warning, not a growing pain. Addressing a click now saves the locking joints from permanent damage.
My Non-Negotiable Gear for Every Flooring Project
I don’t believe in buying every gadget at the hardware store, but these three items are always in my truck. First, a pin-style moisture meter. I never trust my eyes to judge if concrete or plywood is dry enough; I trust the data. Second, a high-quality dead blow hammer. Recoil is the absolute enemy of a tight joint, and a dead blow keeps the force where it belongs without damaging the fragile tongues of your planks. Third, a high-quality acrylic primer. I’ve seen way too many beautiful floors fail because the leveler didn’t bond, which is why you must prime concrete before every leveling job every single time. If you’re moving into more advanced work, you might even consider mastering hardwood floor refinishing expert tips for 2025 to round out your skillset.
Take Your First Step Toward a Silent Floor
Flooring projects can feel overwhelming when things start making noise, but there is nothing quite like the satisfaction of walking across a room that is as silent as a library. You now have the diagnostic tools to move beyond the frustration of a noisy luxury vinyl plank installation and build a foundation that actually lasts. Every expert was once a beginner staring at a clicking plank and wondering what went wrong. The difference is the willingness to slow down, check the levels, and fix the ‘why’ before finishing the ‘how.’ You’ve got this—just take it one plank at a time. Have you ever been haunted by a floor that clicks in the middle of the night or a bouncy floor that makes you feel uneasy? Drop a comment below and let’s troubleshoot your specific floor issue together!