
I remember the distinct sound of a joist protesting under the weight of my first big renovation project. I was standing in the middle of a 1920s guest bedroom, staring at a dip so deep it looked like a literal cereal bowl in the middle of the room. My initial plan was the standard rookie move: buy every bag of self-leveler at the local hardware store and pour until the floor looked like a mirror. But as I hauled the third fifty-pound bag up the narrow stairs, the house let out a low, ominous groan. That was my lightbulb moment. I realized that adding a half-inch of cement-based material across 200 square feet meant adding nearly a thousand pounds of dead weight to an aging structure. It was a recipe for a structural disaster. I needed a way to get that professional finish for my hardwood floor upgrade without essentially building a concrete patio on my second story. Today, I’m going to show you exactly how to flatten those waves using lightweight materials that won’t make your floor joists give up the ghost.
Don’t Turn Your Second Floor Into a Concrete Slab
The weight of traditional leveling compounds is something most DIYers completely ignore until the floor starts to sag even further under the new load. If you’re working on an upper floor or a crawlspace-supported structure, every pound counts toward your structural limit. I learned the hard way that fixing a bounce in your plywood subfloor isn’t just about getting things flat; it’s about maintaining the integrity of the house. Pouring thick layers of leveler is a dream on a concrete slab, but on plywood, it’s often a risky overkill. Instead, I’ve perfected a “build-up” method using wood-based materials. This approach ensures your flooring installation and leveling success without the “concrete pancake” effect that scares structural engineers. We are going to look at how to use shingles, roofing felt, and thin luan to feather out those low spots so seamlessly you’d swear you used a liquid product.
Is a perfectly flat floor actually possible without the heavy bags?
You might be skeptical because the big-box stores push those heavy bags of gray powder like they are the only solution. I thought so too, until I watched an old-school carpenter shimming joists and using layers of 30-pound roofing felt to feather out transitions. He showed me that checking subfloor flatness like a pro involves more than just dumping liquid and hoping for the best. According to the National Wood Flooring Association (NWFA), a subfloor only needs to be flat within 3/16 of an inch over a 10-foot radius for most luxury installations—it doesn’t actually have to be perfectly “level” relative to the horizon. This distinction is your best friend. By focusing on flatness rather than levelness, you can level a plywood subfloor with shims and scrap pieces, saving your back and your floor joists. Before we get into the tools, let me ask you: Have you ever felt that sinking feeling when you realized your subfloor was a roller coaster? I want to hear about your worst “floor-dip” nightmares in the comments. Now, let’s grab a straightedge and look at how we identify the trouble spots before we even touch a piece of wood.
Map the Mountains and Valleys First
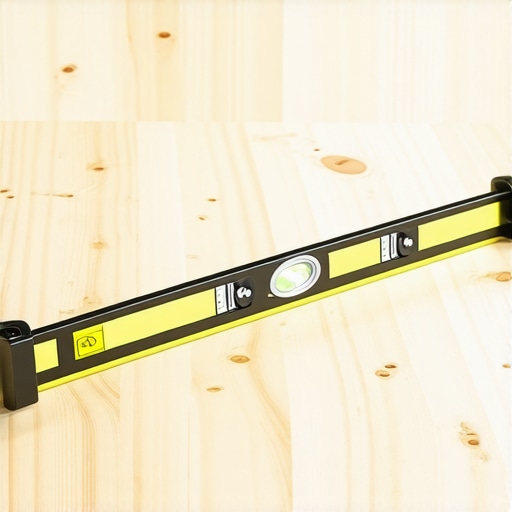
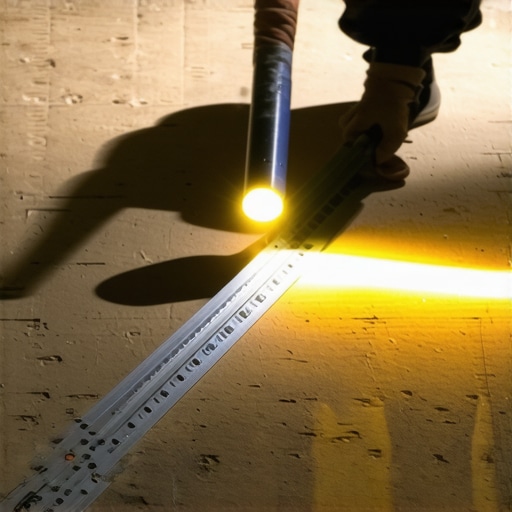
Before you even think about nailing down a single board, you have to know exactly where your floor is lying to you. I use a ten-foot straightedge—or even a perfectly straight 2×4 if I’m in a pinch—and sweep it across the room like a compass. To make it even more precise, I use the flashlight test for checking floor flatness before glue or nails. You lay the light flat on the floor and look for the beams shooting under your straightedge. If you see a canyon of light, that’s your target. In my old guest room, the “canyon” was nearly half an inch deep in the center. Identifying these zones is crucial for mastering floor leveling pro secrets for perfect installations without the guesswork.
Layer Your Way to Flatness Using Roofing Felt
Once the low spots are marked, it’s time for the “topographic” method. This is where 30-pound roofing felt becomes your best friend. Think of it like building a reverse pyramid. I start by cutting a piece of felt that fits the very deepest part of the dip. Then, I cut a slightly larger piece to go over that, and another even larger piece over that. By the time I’m three layers deep, the edges are naturally “feathering” out toward the level parts of the subfloor. This is a core part of a step-by-step guide to flooring installation and leveling success because it adds zero structural strain. I remember sweating over a particularly stubborn dip near a closet; I must have spent forty minutes just cutting concentric circles of felt, but when I ran the level over it, the dip had vanished into a smooth, gradual slope.
Fix the Flex Before You Lay the First Plank
A flat floor that moves is still a bad floor. While you are down there layering your felt, you need to check for any “give” in the plywood itself. If you hear a chirp or feel a bounce, you need to fix a squeaky subfloor before you lay your new floor by driving 2-inch screws into the joists. I used to think a few extra nails would do the trick, but nails back out over time. Screws are permanent. This stabilizes the base so your flooring installation fundamentals leveling for a seamless look actually holds up for decades rather than months. If the dip is too deep for felt, you might need to level a plywood subfloor with shims and plywood scraps, effectively shimming the low joists from above before the final underlayment goes down.
Bridge Large Gaps with Thin Plywood Scraps
If you’re dealing with a massive transition—say, where an old porch was enclosed and joined to the main house—roofing felt won’t be enough. You’ll want to use 1/8-inch or 1/4-inch luan (thin plywood). It’s lightweight and easy to staple down. In that 1920s house, the transition to the hallway was like stepping off a curb. I used a sheet of luan, feathered the edge with a belt sander, and suddenly my secret to seamless flooring transitions between kitchen and living rooms was just a few dollars worth of wood and some elbow grease. This prevents the “hollow” sound that occurs when luxury planks bridge a gap without support, which is one of the most common flooring installation mistakes to avoid for lasting results.
The Trap of the “Level” Obsession
Most DIYers and even some entry-level contractors get obsessed with the word “level.” They spend hours trying to make a 100-year-old floor perfectly horizontal to the earth’s core. But here is the contrarian truth: your floor doesn’t need to be level; it needs to be flat. If you try to force a level surface in a house that has settled, you often create massive height transitions at doorways that become trip hazards. I’ve seen people pour two inches of compound to find level, only to realize their ultimate guide to floor leveling for a perfect finish turned into a structural nightmare. By chasing levelness instead of flatness, you’re adding unnecessary weight and complexity. Focus on the 3/16-inch variance rule over ten feet, and you’ll save your sanity and your joists.
Is your subfloor actually stiff enough for that heavy porcelain?
This is where the “advanced” mistakes happen. You can have a floor as flat as a billiard table, but if it flexes, your tile installation is doomed. Many people assume that because a subfloor is flat, it’s ready for stone or large-format tile. However, the Tile Council of North America (TCNA) specifies an L/360 deflection rating for ceramic tile and a stricter L/720 for natural stone. This means the floor shouldn’t bend more than the length of the span divided by 360 when under load. Before you mix a single batch of thinset, you must check for subfloor flex before you lay rigid tile. If you skip this, you’ll eventually see why your tile grout is cracking at the room corners or, worse, across the face of the tiles themselves.

Don’t Ignore the Perimeter Expansion Secret
The biggest “oops” factor I encounter in high-end hardwood installs is the forgotten expansion gap. I once walked into a beautiful custom home where the wide-plank oak was buckling like a mountain range. The installer had done a beautiful job achieving flawless floor leveling before tile laying in the adjacent room, but they pinned the hardwood tight against the drywall. Wood is a living material; it breathes and moves with the seasons. Without a proper gap, the force of expansion can literally rip baseboards off the wall. This is why you need a perimeter expansion gap for every room, regardless of how stable you think the climate control is. It’s one of those flooring installation mistakes to avoid for lasting results that separates the weekend warriors from the masters.
The Self-Leveler Primer Mistake
If you do decide to use a liquid compound, the most common trap is skipping the primer or using the wrong one. I’ve seen countless projects fail where the self-leveling compound is cracking like a dry-lake bed because the subfloor was too thirsty. Plywood is incredibly porous; if you don’t seal it with a specific high-solids primer first, the wood will suck the water right out of the wet leveler. This prevents the chemical bond from forming and leaves you with a brittle, dusty mess. Have you ever fallen into this trap or noticed your floor sounding “hollow” after a few months? Let me know in the comments—I’d love to help you troubleshoot your specific subfloor headaches. To ensure your next project stays solid, always perform the simple test to see if your subfloor is strong enough for tile before proceeding with any heavy materials.
Every Pro Has a Secret Weapon in Their Bag
After years of wrestling with uneven subfloors and buckling planks, I’ve realized that the difference between a floor that lasts five years and one that lasts fifty comes down to the gear you trust. You don’t need a warehouse full of equipment, but there are 7 tools you actually need for a professional DIY hardwood install to avoid looking like an amateur. For me, the game-changer wasn’t the fancy miter saw; it was a simple dead blow hammer. I learned the hard way that a standard rubber mallet bounces and leaves marks, but why you should use a dead blow hammer for floor capping becomes obvious the moment you feel the energy transfer directly into the plank without any recoil. It’s about precision and saving your wrists from the repetitive strain of a 1,000-square-foot install.
Stop Guessing and Start Measuring
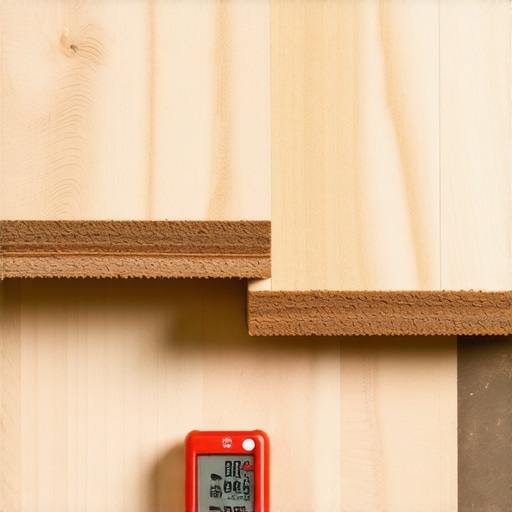
The most expensive mistake you can make isn’t buying the wrong tile; it’s ignoring the moisture levels in your home. I’ve seen beautiful wide-plank oak turn into a wavy mess because the installer didn’t know how to acclimate your hardwood without taking over the whole house. According to the NWFA Technical Publication No. A100, for solid strip flooring less than 3 inches wide, the moisture content (MC) of the wood and the subfloor should not differ by more than 4%. If you’re going wider, that margin drops to just 2%. I never start a job without performing the moisture test you must do before gluing down wood. It’s a ten-minute check that saves you a ten-thousand-dollar failure. Using a pin-style moisture meter allows me to see exactly when the wood has stabilized to the room’s environment, ensuring the ultimate guide to floor leveling for a perfect finish doesn’t get ruined by shrinking boards a month later.
How do I maintain my hardwood and tile transitions over the long haul?
Maintenance isn’t just about a quick sweep; it’s about protecting the structural integrity of your transitions. I always tell my clients that hardwood floor care secrets to longevity and shine start with preventing grit from reaching the surface. Sand is the enemy of finish. When it comes to those tricky areas where wood meets tile, keep an eye on the caulk or grout line at the transition. Houses move, and those gaps can open up. If you notice a crack, don’t just ignore it—refilling it prevents moisture from seeping under the edges of your hardwood, which is how to identify water damage in hardwood before it starts to rot. For daily cleaning, stick to PH-neutral cleaners and avoid the
Why I Finally Quit the Church of Liquid Leveler
The hardest lesson I learned after years of renovation was that liquid leveling compound isn’t a magic wand; it’s often a structural liability in older homes. My lightbulb moment happened when I realized that a floor doesn’t need to be perfectly horizontal to be good. In fact, forcing an old, settled house to be perfectly level often creates a domino effect of height issues at every door casing and staircase. I stopped worrying about the bubble on the level being centered and started obsessing over the 3/16-inch variance across ten feet. This shift in mindset saved me thousands of dollars and literally hundreds of pounds of unnecessary weight on my joists. I also learned that flooring installation mistakes to avoid for lasting results almost always start with rushing the prep work. If you take the time to feather out a dip with roofing felt, you aren’t just saving your back; you’re ensuring the wood can still ‘breathe’ and move without the brittle cracking of cement underneath it.
The Three Items You Shouldn’t Start Without
If you are serious about skipping the heavy bags, you need a different kind of toolkit. I never walk onto a job site without a 10-foot aluminum straightedge; it is the ultimate truth-teller for your subfloor. Beyond that, I swear by 30-pound roofing felt because its thickness is consistent, making it the perfect ‘shim’ for gradual transitions. But the most important tool in my bag is a high-quality pin-style moisture meter. Performing the moisture test you must do before gluing down wood is non-negotiable. I trust a meter over my intuition every time because even a perfectly flat floor will fail if the subfloor is holding too much moisture from a recent crawlspace leak. These tools provide the data you need for mastering floor leveling pro secrets for perfect installations without the guesswork.
Walk Proudly Across Your New Floor
There is a specific kind of pride that comes from walking across a floor you leveled yourself, knowing it’s solid, silent, and structurally sound. You’ve moved past the amateur mistake of ‘pour and pray’ and embraced the techniques that master carpenters have used for decades. By focusing on flooring installation fundamentals leveling for a seamless look, you ensure that every step you take feels firm underfoot. Don’t let the complexity of subfloor prep intimidate you; it’s just a series of small, manageable layers. Take your time, trust your straightedge, and your hardwood floors will reward you for a lifetime. Did you discover a hidden ‘canyon’ in your floor during the flashlight test? Tell me how deep the dip was in the comments below!