
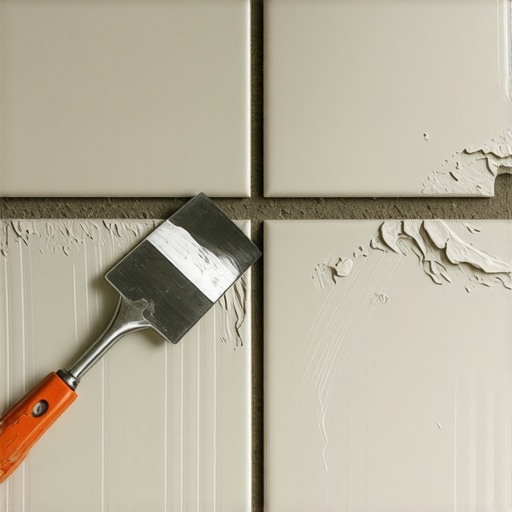
I’ll never forget the first time I proudly invited my father-in-law over to see my “masterpiece” of a kitchen remodel. I had spent three days meticulously laying down beautiful, large-format porcelain tiles. As he walked across the room, carrying a heavy toolbox, every third step produced a hollow, echoing clack that sounded like a cheap xylophone. My heart sank. I knew exactly what I had done wrong before he even opened his mouth. I had used a tiny 1/4-inch V-notch trowel for 12×24 tiles because I thought it would be easier to spread the thinset. I was wrong. Dead wrong. That one small choice turned my expensive renovation into a ticking time bomb of cracked grout and loose stones. If you’ve ever walked across a floor and felt like there was a secret cavern underneath your feet, you’re likely a victim of the trowel size error. Today, I’m going to show you exactly how to avoid this heartbreak and ensure your floor feels as solid as a sidewalk.
Stop Building Musical Floors with the Wrong Tools
The math is simple, but the consequences of getting it wrong are massive. When you use a trowel that is too small for the size of your tile, you aren’t getting enough thinset to collapse and create a full bond. According to the Tile Council of North America (TCNA), a proper installation requires at least 80% mortar coverage in dry areas and a staggering 95% in wet areas like showers. When you skimp on the ridge height, you end up with air pockets. Those air pockets are the reason you’re searching for how to fix a hollow sounding tile without tearing it up later. I see people make flooring installation mistakes all the time, but this one is the most avoidable. It’s not just about the “sound”—it’s about the structural integrity. A hollow tile is a weak tile. Drop a heavy pot on a well-bonded tile, and nothing happens. Drop that same pot on a hollow spot, and you’ll be staring at a spiderweb crack before you can say “thinset.” Have you ever noticed a specific spot in your home that sounds different when you walk on it?
Is a specific trowel size actually worth the extra effort and mess?
I get the skepticism. Using a larger 1/2-inch square-notch trowel feels like you’re making a mess and wasting material. You might think, “Surely the weight of the tile will just squash the mortar down anyway?” That’s the trap I fell into. I learned the hard way that why your trowel teeth are ruining your thinset coverage isn’t just a technicality; it’s the difference between a floor that lasts thirty years and one that fails in three. Even if you’ve done a great job with precise floor leveling techniques, the wrong trowel will sabotage all that prep work. It’s a classic case of 7 signs your tile contractor is cutting corners—or in this case, you might be accidentally cutting corners on yourself. We’re going to dive into the exact ratios and ridge patterns that guarantee a silent, rock-solid finish.
Pick the Right Trowel for Your Specific Tile
If you’re laying down standard 12×12 squares, a 1/4″ x 3/8″ square-notch trowel is usually your best friend. But once you move into the world of large-format tiles—anything where one side is longer than 15 inches—you need to step up to a 1/2″ x 1/2″ square notch. I remember trying to install massive 24-inch planks in my own mudroom with a small notch. I thought I was being “clean” and efficient. Within a month, the tiles were shifting because they weren’t actually sitting in the mud; they were just floating on top of it. Learn from my mess: installing tiles like a pro means understanding that the trowel isn’t just a spreader; it’s a precision depth gauge. If you have unevenness in your subfloor, don’t just add more mud—start by how to achieve flawless floor leveling before tile laying to ensure you aren’t fighting gravity.
Comb Your Ridges in One Direction Only
This is where most DIYers fail. They swirl the thinset like they’re icing a birthday cake. Don’t do that. You want straight, parallel lines across the shortest width of the tile. When you press the tile down and move it slightly perpendicular to the ridges, those straight lines collapse into each other and push the air out the sides. If you swirl, you trap air in little pockets. Think of it like trying to stick two pieces of Velcro together—it works best when the fibers are aligned and can interlock. I once saw a guy swirl his thinset on a hardwood floor upgrade project, and the air pockets actually caused the grout to crack within weeks because the tiles were flexing. Using the why your trowel teeth are ruining your thinset coverage knowledge is vital for a silent floor.
Don’t Forget to Back-Butter Your Tiles
Even with perfect ridges on the floor, you need a “bond coat” on the tile itself. Use the flat side of your trowel to scrape a thin layer of mortar onto the back of the tile. It’s like putting glue on both sides of a craft project. It ensures that the large ridges on the floor have something to grab onto immediately. 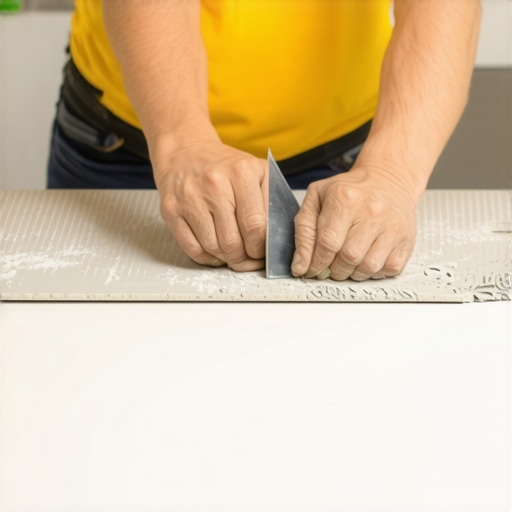 This simple step—which takes ten seconds—is the difference between a floor that lasts and one that requires you to research how to fix a hollow sounding tile without tearing it up. If you’re working on flooring installation fundamentals, back-buttering is your insurance policy. I used to skip this on small backsplashes, but for floors, it is non-negotiable. It bridges the gap between the tile’s factory-smooth underside and the textured subfloor.
How to Check Your Coverage in Real Time
Every ten tiles or so, pull one back up immediately after setting it. I know it’s a pain, but it’s the only way to know for sure. If you lift the tile and see large areas of the back that are still clean, you aren’t using a big enough trowel or you aren’t pressing hard enough to collapse the ridges. You want to see 90% to 100% mortar coverage. If you are struggling with a perfect finish, this check is the only way to catch errors before the thinset cures. I once found a section of my hallway where the subfloor had a slight dip I missed during the 3-foot level test. By pulling a tile up, I realized I needed to “key in” more mortar in that specific spot to keep everything level. It saved me a weekend of demolition later on.
Stop Chasing Level When Flatness Is What Actually Matters
The biggest myth I see repeated in every big-box store aisle is that a ‘level’ floor is the same thing as a ‘flat’ floor. In my experience, you can have a floor that is perfectly level (meaning it follows the horizon) but is as wavy as the Atlantic Ocean. Conversely, a floor can be slightly sloped but perfectly flat. If you’re laying large-format tile, flatness is your god. If the floor isn’t a true plane, those large tiles will ‘lippage’ at the corners, creating trip hazards that no amount of grout can hide. The National Wood Flooring Association (NWFA) and the TCNA both emphasize that flatness standards are non-negotiable—usually 1/8 inch over a 10-foot radius. I always recommend using the 3-foot level test for checking subfloor flatness like a pro before you even open a bag of thinset. If you skip this, you’re just guessing.
The Chemistry Trap That Ruins Your Self-Leveler
Here is an ‘oops’ factor that breaks my heart because it’s so common: over-watering the mix. When people see how thick self-leveling compound is, they instinctively add an extra quart of water to make it ‘flow better.’ This is a disaster. Modern leveling compounds are precision-engineered chemical soups. Adding too much water separates the aggregates from the polymers, leading to a powdery, weak surface that will eventually delaminate. This is exactly why your self-leveling compound is cracking like a dry lake bed months down the road. You must use a graduated measuring bucket. Precision is the difference between a step-by-step guide to flooring installation and leveling success and a total tear-out.
Can Your Joists Handle the Load of Modern Heavy Tiles?
Most homeowners assume that if the current floor is solid, it can handle anything. But today’s trend toward 24×48 inch porcelain slabs adds significant ‘dead load’ to your structure. You need to understand deflection. If your joists flex even a millimeter more than the L/360 standard (the length of the span divided by 360), your rigid tile will crack. You should always learn how to check for subfloor flex before you lay rigid tile to ensure your foundation is actually stiff enough. 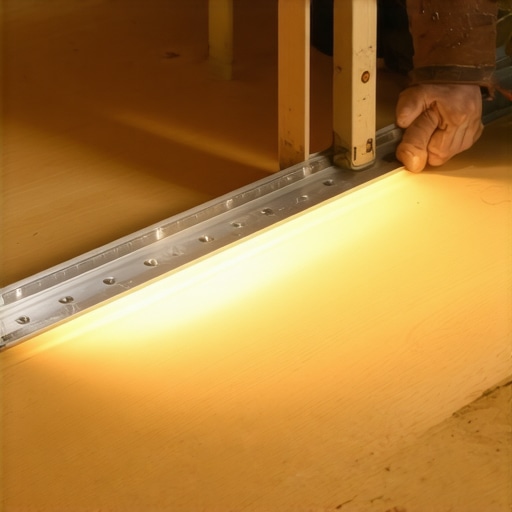 I once saw a beautiful marble floor in a Victorian home turn into a jigsaw puzzle of cracks because the installer didn’t account for the bounce in the old Douglas fir joists. Before you lay the first tile, how to fix a squeaky subfloor before you lay your new floor is often the first step in reinforcing that structure. Don’t forget that moisture plays a role here too; use the bucket test to check your concrete slab if you’re working in a basement. Have you ever fallen into this trap of assuming your floor was ready when it really wasn’t? Let me know in the comments below, and let’s troubleshoot your project together.Once you have your subfloor prepped and your joists reinforced, the actual physical labor begins, and this is where your choice of equipment determines whether you are going to have a relaxing weekend or a total physical breakdown. I used to be the guy who tried to mix five bags of thinset using a standard cordless drill and a cheap paint paddle. It was a nightmare. The motor started smoking by bag three, and I ended up with “dry chunks” in my mix that created annoying bumps under my tiles. Today, I do not touch a bag of compound without a dedicated high-torque mixer. Learning the best way to mix self-leveler for a perfectly smooth surface requires a tool that can maintain consistent RPMs without introducing too much air. Air is the silent enemy of a flat floor; it creates tiny pinholes that can ruin your final finish and weaken the bond. For my hardwood projects, I have learned that a simple hammer and a prayer will never cut it. You really need a specific set of 7 tools you actually need for a professional DIY hardwood install to ensure every plank is snug and the gaps are non-existent. One tool I will never skip again is a professional-grade pinless moisture meter. The National Wood Flooring Association (NWFA) technical guidelines specifically state that the moisture content of your subfloor and your wood planks should be within 2% to 4% of each other before you even think about nailing them down. If you ignore this technical detail, you are just inviting your floor to buckle or gap the first time your HVAC system kicks on in the winter.
How do I keep my new floor looking brand new for decades?
Once the dust settles and the tools are put away, maintenance is where most homeowners unfortunately drop the ball. I see people spend thousands of dollars on high-end floors only to destroy them in six months with a twenty-dollar steam mop. Please, hear me on this: stop using steam cleaners on wood or laminate. It forces pressurized moisture into the seams and will eventually make your finish peel or the edges swell. Instead, focus on hardwood floor care secrets to longevity and shine like using specialized pH-neutral cleaners and high-quality felt pads on every single piece of furniture. If you have installed tile, keep a very close eye on your grout lines in the first year. If you notice any hairline fractures, it might not be a cleaning issue—it could be why your grout is crumbling in the shower corners due to natural house settling or lack of flexible caulk in the change-of-plane joints. 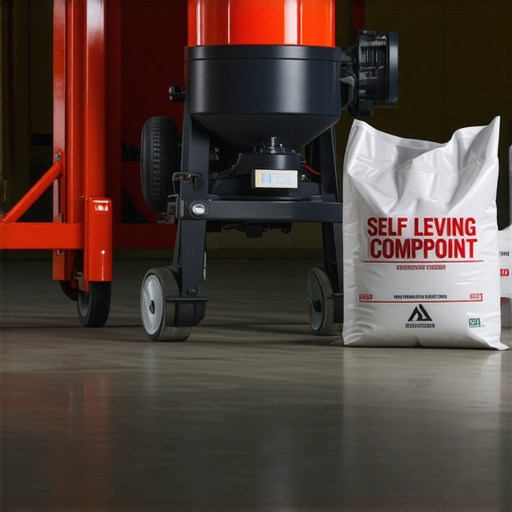 Looking into the future, I predict we are going to see a massive shift toward “thin-set-free” suction-based installation systems for large-format porcelain slabs, allowing for even faster remodels with significantly less mess. But until those technologies are mainstream, precision with traditional tools remains the gold standard. For your very next tile cut, I want you to try the wet saw water trick for cleaner porcelain cuts to see just how much a tiny physical adjustment can change the professional quality of your finish. My best advice? Go out and buy a quality moisture meter before your next hardwood project—it is the best investment you can make to protect your home.
Hard Truths About Tile and Wood I Had to Face
After years of installing floors, I’ve realized that the most expensive mistakes are usually the ones you can’t see until the project is finished. Here is the wisdom I gained the hard way through trial and error:
- Subfloor strength is non-negotiable. Before you even look at tile patterns, perform the simple test to see if your subfloor is strong enough for tile. If there is any flex in the joists, your grout will inevitably fail.
- The trowel dictates your bond. I used to think I could compensate for a small trowel with extra pressure, but why your trowel teeth are ruining your thinset coverage is a lesson in pure physics—you need specific ridge heights to allow air to escape.
- Level isn’t the same as flat. You can have a sloped floor that looks amazing if it’s flat, but a wavy floor will always cause lippage and tripping hazards that ruin the aesthetic.
- Moisture testing is your insurance policy. Always perform the moisture test you must do before gluing down wood to avoid the heartbreak of cupping and buckling six months later.
The Gear That Saved My Sanity
You don’t need a warehouse full of tools, but these specific items are the difference between a DIY look and a professional result that lasts a lifetime.
First, never guess your layout; use the 3-foot level test for checking subfloor flatness like a pro to identify dips before they become problems. Second, invest in a dedicated high-torque mixer. Trying to mix heavy compounds with a standard drill often results in why your self-leveling compound is cracking like a dry lake bed due to poor consistency and air entrainment. Finally, make sure you have the right 7 tools you actually need for a professional DIY hardwood install, specifically a tapping block and a heavy-duty pull bar, to keep your seams tight without damaging the delicate wood edges.
Transforming Your Space One Row at a Time
Starting a major renovation can feel overwhelming, but when you break it down into these technical milestones, the mystery disappears. Your home deserves a foundation that doesn’t creak, pop, or crack under pressure. By focusing on the preparation and using the correct trowel size, your flooring installation will not only look incredible on day one but will remain a solid, silent part of your home for decades to come. Don’t be afraid to take it slow and check your work as you go—the satisfaction of walking across a silent, perfectly flat floor is worth every extra minute of prep. Have you ever encountered that dreaded hollow sound after finishing a tile project, or did you catch a leveling issue just in time? Let me know your experiences in the comments below!