
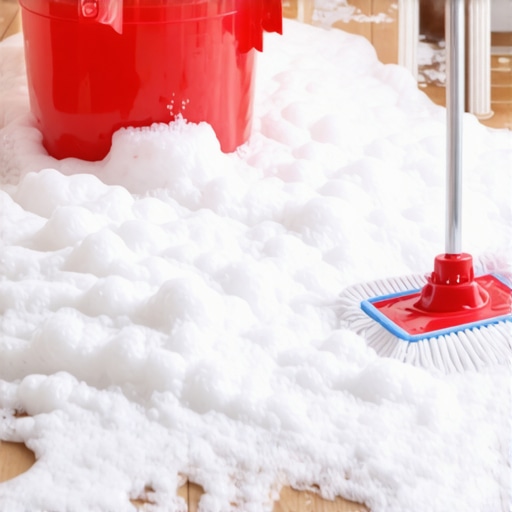
I’ll never forget the pride I felt looking at my first real apartment—the kind with those beautiful, wide planks that caught the afternoon sun just right. In my excitement to keep it pristine, I grabbed the biggest bottle of blue dish soap I could find, thinking that if it could handle a greasy lasagna pan, it would make my floors sparkle like a diamond. I was so wrong. Within three days, every time I walked across the kitchen, my socks made a faint peeling sound. My floors weren’t just clean; they were a giant, house-sized piece of flypaper. I had accidentally created a dust-trapping nightmare that took me three weekends to fix. It was a classic ‘helpful neighbor’ fail, and today, I’m going to save you from making the same mistake by explaining why that sudsy bucket is actually doing more harm than good to your home’s finish.
We often think of ‘clean’ as synonymous with ‘bubbles,’ but when it comes to your flooring, that’s a dangerous assumption. Whether you’ve just finished a complex tile installation or you’re trying to preserve the deep glow of your wood, the chemistry of your cleaner matters. I want to show you how to avoid the residue trap and keep your surfaces as beautiful as the day they were installed without the sticky aftermath.
The Invisible Film Destroying Your Floor’s Shine
The core issue is that dish soaps are formulated as surfactants—chemicals designed to latch onto grease and hold it in suspension. In a kitchen sink, this works perfectly because you are rinsing the plates with a constant stream of fresh water. On a floor, however, most of us just move a damp mop around. You aren’t actually removing the soap; you’re just painting a thin, microscopic layer of detergent across your room. According to the American Cleaning Institute, soap residues left on surfaces act as a ‘soil magnet,’ meaning every bit of pet dander, outdoor dirt, and lint will now bond to your floor rather than being swept away. This is a common pitfall even for those who follow the best hardwood floor care secrets to longevity and shine, only to see their efforts dulled by a hazy, grey buildup.
I’ve seen this mistake lead to much bigger problems, like people thinking their finish is failing and considering hardwood floor refinishing, when in reality, they just need to strip off three years of Palmolive. This buildup is particularly stubborn on natural surfaces. For instance, just as you should stop using bleach on your natural stone floors to prevent etching, you must avoid dish soap to prevent the ‘scum’ that eventually turns your grout lines from crisp white to a dingy tan.
Is a Little Bit of Soap Really That Big of a Deal?
You might be wondering if diluting a tiny drop in a gallon of water is really going to ruin your life. Here’s the reality: even at high dilutions, the pH of many dish soaps is too high for the delicate sealants used on modern floors. Over time, that slightly alkaline solution can break down the protective topcoat. I learned this the hard way when I tried to figure out how to clean hardwood floors after a major renovation and ended up with a floor that looked ‘cloudy’ no matter how much I buffed it. Have you ever felt like your floors look dirtier ten minutes after you mop them than they did before you started? That’s the soap residue talking back to you. I’m curious—have you ever noticed a sticky film after cleaning, or have you found a ‘secret’ cleaner that actually works without the gunk?
Understanding these chemical reactions is just as vital as knowing your flooring installation fundamentals. If you don’t get the maintenance right, the prep work doesn’t matter. In the next section, I’ll break down exactly what you should use instead to get that streak-free finish we all crave.
How to Reset Your Floors and Stop the Stick
Before you can start a proper maintenance routine, you have to undo the damage of the sudsy bucket. Think of it like a detox for your floorboards. If you’ve spent years layering soap, a simple damp mop won’t cut it. You need to strip that residue to reach the actual finish. I recommend a mixture of one cup of distilled white vinegar to a gallon of warm water. The mild acidity of the vinegar breaks the bond between the soap film and the flooring material without eating through your protective sealant.
The Great Vinegar Reset
I learned this lesson in my first condo. I’d spent months cleaning with heavy dish soap, and my kitchen floor looked like it had been coated in grey wax. When I finally realized what was happening, I tried a regular mop, but the film just smeared. I ended up on my hands and knees with a 1:1 mixture of water and vinegar and a stiff (but not wire) brush. Watching the murky, brown slurry lift off what I thought was a clean floor was both satisfying and horrifying. If you find yourself in this position, remember that hardwood floor care secrets to longevity and shine start with a truly clean surface, not just a glossy-looking one. If the residue is particularly thick, especially after a DIY project where you might have been mastering hardwood floor refinishing, you may need a commercial-grade floor stripper specifically designed for your finish type.
Microfiber is Your Best Friend
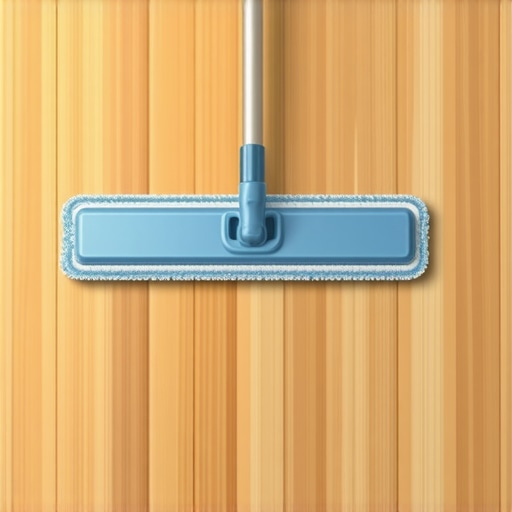
The tool you use is just as important as the liquid. Throw away those old-school cotton string mops. They are the heavy hitters of the cleaning world, but they mostly just move dirty water around and dump it into your grout lines. This is a common culprit for why your tile grout is cracking at the room corners or turning black; the moisture sits in the crevices and weakens the bond. Instead, use a flat-head microfiber mop. The tiny fibers act like microscopic hooks that actually grab the dirt and lift it off the floor instead of spreading it. It’s a similar logic to why the wet sponge move for professional grout lines is so effective during installation—it’s about controlled moisture and precise contact.
Know Your pH-Neutral Champions
Once you’ve stripped the old soap away, you need to use a cleaner that leaves zero residue. Look for products labeled pH-neutral. These are designed to clean without reacting chemically with your floor’s sealant. This is especially vital if you want to understand how to choose flooring that wont kill your indoor air quality, as many industrial soaps off-gas long after they dry. If you’re dealing with natural stone or delicate tile, you should also stop using bleach on your grout before you read this and switch to a dedicated enzyme cleaner. These products eat away at organic stains without leaving that sticky surfactant layer behind. I’ve found that using the right cleaner significantly extends the time between deep cleans, keeping the surface looking fresh even in high-traffic hallways.
We’ve talked about the surface cleaning, but let’s go deeper into what’s happening underneath. Most homeowners—and even some ‘pros’—mistakenly conflate a level floor with a flat one. This is a massive mistake that can compromise the integrity of your entire project. In my experience, a floor can be out of level (sloping slightly) and still be a perfect candidate for tile or wood, as long as it is flat. According to the National Wood Flooring Association (NWFA), a subfloor must be flat within 1/8 to 3/16 of an inch over a 10-foot span. If you have a ‘birdbath’ dip in the middle of your room, your planks will bridge over it, creating a trampoline effect that eventually breaks the tongue-and-groove joints. Achieving this requires precise floor leveling techniques to achieve flawless surfaces before you open a single box of flooring. 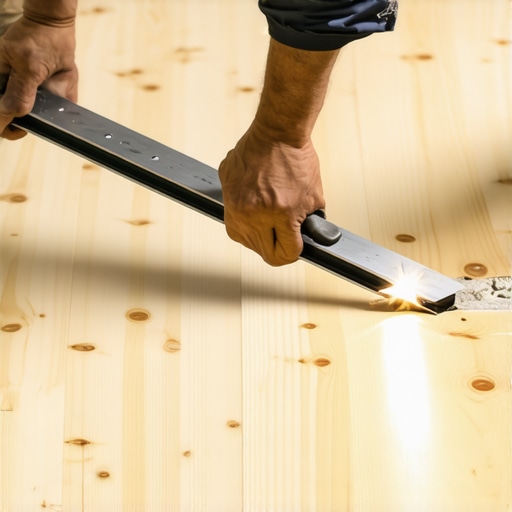
The Priming Trap That Ruins Self-Leveling Jobs
One of the most frustrating ‘oops’ moments happens when people try to fix those structural dips. You buy a bag of self-leveling underlayment, pour it out, and think your job is done. But if you skip the primer, the dry subfloor will act like a sponge, pulling the water out of the compound before the chemical bond can form. This is why your self-leveling compound is cracking like a dry lake bed within twenty-four hours. You must use a dedicated primer to seal the substrate first to ensure the compound flows and bonds correctly. If you’re dealing with an older home where you can’t add too much mass to the structure, you’ll need to figure out how to level a plywood subfloor without adding weight using custom shims or feather-finish patches instead of thick, heavy pours.
Why Does My New Floating Floor Click When I Walk on It?
If you’ve recently installed luxury vinyl and notice a rhythmic clicking as you walk across the room, you’ve likely fallen into the ‘vertical deflection’ trap. The Tile Council of North America (TCNA) emphasizes that subfloor rigidity and flatness are the single biggest predictors of installation longevity. When the subfloor isn’t flat, the locking mechanism of the plank is forced to move up and down under your weight. This is why your lvp floor is clicking when you walk on it—it’s actually the sound of the plastic joint rubbing and slowly failing. Another common culprit for sound issues is the trowel size error that leads to hollow sounding tiles; if the thinset ridges aren’t properly collapsed, you’re essentially walking on air pockets. Have you ever fallen into this trap where the floor looked great but sounded wrong? Let me know in the comments—I’ve spent plenty of my career ‘chasing the click’ and I’d love to help you avoid it.
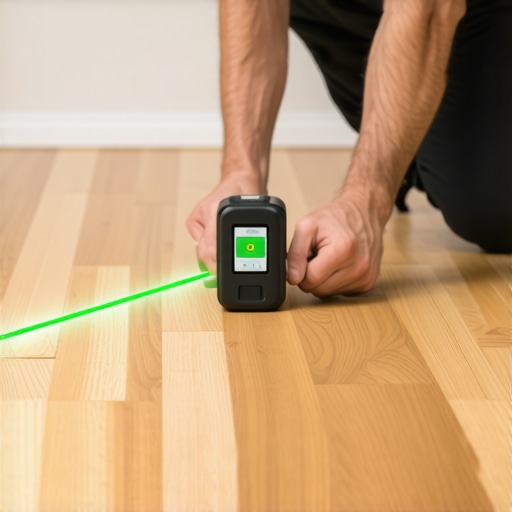
To avoid those annoying clicks and shifts, I’ve learned that the ‘eyeball test’ is the fastest way to fail. You need data. When I’m setting up a job, the first thing I pull out isn’t a hammer; it’s a high-end laser. Using the laser level move for perfectly straight hallways is how I ensure that a transition in the bedroom aligns perfectly with the kitchen sixty feet away. If you rely on a standard bubble level, you’re essentially guessing over long distances. I personally use a self-leveling 360-degree green beam because it’s visible even in bright sunlight, allowing me to map out high spots on the subfloor before a single drop of compound hits the ground. This level of prep is non-negotiable for how to achieve flawless floor leveling before tile laying without the guesswork.
Why My Moisture Meter Never Leaves My Toolbag
The most expensive mistake you can make is ignoring what you can’t see: humidity. I’ve seen $10,000 wide-plank installs cup and buckle within a month because the installer didn’t check the subfloor’s moisture content. I swear by the Wagner Meters Orion series because it’s pinless, meaning I don’t have to poke holes in expensive wood to get a reading. According to the National Wood Flooring Association (NWFA) Technical Manual, the moisture content of the flooring and the subfloor should typically be within 2% to 4% of each other before installation begins. Learning how to use a moisture meter to prevent floor failure is the difference between a floor that lasts thirty years and one that fails in three. It’s about more than just the wood; even your concrete needs to be tested to ensure you don’t need a moisture barrier to prevent why your self-leveling compound is cracking like a dry lake bed from the bottom up.
How Do I Keep My Floors Looking Flawless Over Time?
Maintenance is where most homeowners lose the battle, usually by being too aggressive. Once you’ve mastered hardwood floor care secrets to longevity and shine, you realize that less is almost always more. Beyond the vinegar reset we discussed, you need to manage the physical environment. I tell all my clients to invest in high-quality felt pads for every piece of furniture—not the cheap sticky ones that slide off, but the screw-in versions that stay put. If you’re moving heavy items, use the scrap carpet trick for heavy furniture moves to prevent those deep gouges that no amount of cleaning can fix. For the future, I predict we’ll see a massive shift toward AI-integrated subfloor scanners that can create a 3D topographical map of your room, showing you exactly where to pour leveler within a fraction of a millimeter. For now, we rely on the 10-foot straightedge and a steady hand. If you want to elevate your DIY game, I challenge you to go buy a moisture meter before your next project. It’s a small investment that provides massive peace of mind. Stop guessing and start measuring—your subfloor will thank you.
The Hard-Earned Lessons from a Decade on My Knees
If there is one thing I’ve learned from years of fixing botched DIY jobs, it’s that the smallest shortcuts always lead to the biggest headaches. I used to think that a floor was just something you walked on, but it’s actually a living part of your home’s ecosystem. The hardest lesson was realizing that ‘clean’ doesn’t mean ‘soaked in bubbles.’ I spent years fighting the hazy film of detergent before I embraced pH-neutral chemistry. I also learned that you can never trust your eyes alone. Whether I’m checking for flatness or trying to find the laser level move for perfectly straight hallways, I’ve realized that data—not intuition—is what makes a floor last decades. Prep work isn’t the ‘boring part’ of the job; it is the job. If you treat your subfloor with the same respect as your finish material, you’ll never have to worry about those annoying clicks or cracks.
The Gear I Grab for Every Pro-Level Job
I don’t leave my garage without a few specific tools that have saved my reputation more times than I can count. First, a high-quality pinless moisture meter is non-negotiable; it’s the only way to ensure your subfloor won’t destroy your new wood from the inside out. I also swear by a 10-foot straightedge to verify precise floor leveling techniques to achieve flawless surfaces before any thinset is mixed. For daily maintenance, I’ve retired all my old cotton mops in favor of a commercial-grade microfiber system. It’s a simple kit, but when combined with the right tile installation pointers that save time and money, it creates a professional result that most people think requires a whole crew of experts.
#IMAGE_PLACEHOLDER_E#
Stop Planning and Start Measuring
The journey from a sticky, residue-covered floor to a pristine, gallery-quality finish doesn’t happen overnight, but it is entirely within your reach. Don’t be afraid to strip away the mistakes of the past and start fresh with a vinegar reset or a proper subfloor leveling. When you finally apply those hardwood floor care secrets to longevity and shine, you’ll see the difference that professional-grade patience makes. Your home deserves a foundation that is as solid as it is beautiful, and now you have the blueprint to make it happen. Have you ever discovered a hidden subfloor issue after you thought you were finished with a project? Let me know your stories in the comments below!