
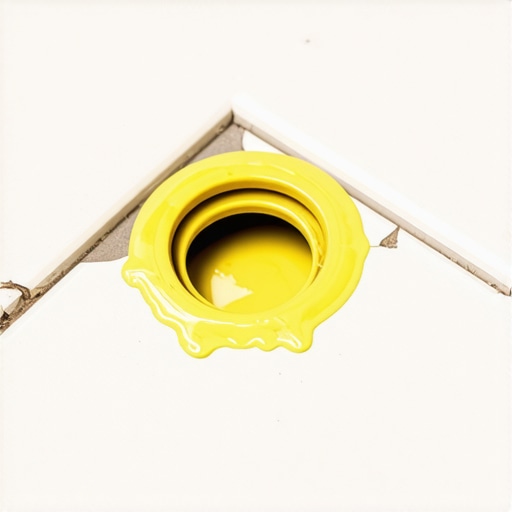
I remember the exact moment I realized I’d messed up. I had just finished laying some beautiful Carrara marble-look porcelain. It looked like a million bucks. I was proud, sweaty, and ready to call it a day. But when I went to set the toilet back onto its throne, things went south. Fast. The wax ring didn’t even touch the bottom of the toilet. I had spent days mastering floor leveling and getting those grout lines crisp, only to find myself staring at a two-inch gap that shouldn’t be there. It’s the kind of ‘uh-oh’ moment that makes your stomach drop because you realize the plumbing doesn’t care about your pretty tiles. You think you’re done, but the real work—the stuff that keeps your house from rotting—is just beginning. [image]
Stop Your Toilet from Leaking Under the New Tile
Most of us think that if we just buy a ‘jumbo’ wax ring, everything will be fine. I thought so too. I figured the extra squish would compensate for the height I added with the thinset and tile. Boy, was I wrong. If the toilet flange—that plastic or metal ring the toilet bolts to—sits below the level of your new floor, you are asking for a flood. Water is lazy. It takes the path of least resistance. According to the International Association of Certified Home Inspectors (InterNACHI), water damage from slow toilet leaks is one of the most common causes of rotted subfloors and mold growth in bathrooms. This is one of those flooring installation mistakes to avoid at all costs because the damage happens where you can’t see it until it’s too late. When I was first starting out, I ignored the flange height because I was so focused on the aesthetics. I didn’t realize that my beautiful work was hiding a ticking time bomb of moisture. You need to follow certain tile installation pointers to ensure your subfloor stays dry for decades.
Is a Flange Extender Actually Necessary?
You might be thinking, ‘Can’t I just stack two wax rings and call it a day?’ I’ll be honest: I tried that once in my own guest bathroom. It worked for about six months until the ‘tower of wax’ shifted under the weight of constant use. It started a slow, smelly weep into my subfloor that eventually forced me to learn how to get the smell of old pet urine out of floor joists because the stagnant water damage smelled remarkably similar. It was a nightmare. A flange extender is almost always the right answer when your tile height exceeds your flange height. Have you ever tightened those closet bolts only to hear a terrifying ‘crack’ from your new tile? Drop a comment below if you’ve been there; I promise you’re not alone in the ‘cracked tile’ club. Let’s look at how to measure your gap correctly before we start slapping down more wax.Before you even think about the wax, you need to know exactly how deep that hole is. Think of the flange like a dock and the toilet like a boat. If the dock is underwater, the boat can’t tie up properly. Put a straightedge across the hole on top of your new tile and measure from the bottom of that straightedge down to the top of the existing flange. This is where installing tiles like a pro step-by-step strategies for 2025 comes into play—you should have already cut your tile close enough to the flange to give yourself a solid surface. If you missed that, you might struggle with stability because the toilet base needs to rest on the tile, not the air.
Get the Measurement Right Before the Wax Goes Down
I remember a job on an old rental property where I didn’t use a straightedge. I just looked at it and thought, ‘Looks like half an inch.’ I bought a half-inch extender, but because I hadn’t used mastering floor leveling pro secrets for perfect installations in that specific corner, the tile was actually sitting three-quarters of an inch high. The wax ring didn’t compress. I had a ‘ghost leak’ for a month—no water on the floor, just a damp, earthy smell that slowly grew. It eventually cost me two grand to replace the subfloor because I was too lazy to spend two minutes with a tape measure. 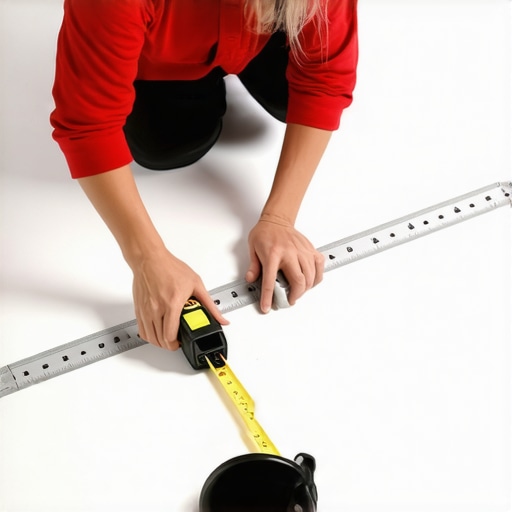
The Pencil Trick for Perfect Depth
The goal is to get the top of the flange sitting about 1/4 inch above the finished tile. If the flange is flush with the tile, you might get away with a jumbo wax ring, but an extender is safer. If the flange is even a fraction of an inch below the tile, an extender is mandatory. Lay a pencil across the tile and see if the flange can touch it. If there is daylight between the pencil and the flange, you’re in the danger zone. When I was learning the trowel notch secret for getting full thinset coverage, I realized that even a slight build-up of thinset can throw off your plumbing height by a critical 1/8 of an inch.
Why a Plastic Ring is Your New Best Friend
Most flange extender kits come with a variety of rings in different thicknesses. You stack them until the top ring sits slightly higher than the tile. But here is the secret: you cannot just stack them like LEGO bricks and walk away. You must apply a generous bead of 100% silicone between the original flange and each extender ring you add. This creates a waterproof and airtight seal. Without it, sewer gases can bypass the wax ring and seep into your bathroom. I’ve seen people skip this step because they were worried about making a mess, but it’s far less messy than a failing sewer seal.
Seal the Gap and Save the Subfloor
Once the rings are stacked and siliconed, you’ll need longer closet bolts. Standard bolts are usually 2.5 inches, but after adding tile, backer board, and an extender, you might need 3.5-inch bolts. Don’t force a short bolt to work; you’ll just end up stripping the threads or cracking the flange. It’s the same logic used when you realize why you need a transition strip between different flooring heights—you are compensating for a physical gap to ensure the system works as a whole. Ensure you have used a diamond bit if you need to drill through the tile for the new bolt holes, which is common if you had to widen the opening while how to cut a perfect circle in porcelain tile for plumbing to accommodate the new hardware.
I’ve seen too many DIYers—and even some pros who should know better—obsess over the bubble in their spirit level while completely ignoring the plane of the floor. Here is the contrarian truth: Your floor does not actually need to be ‘level’ to be successful; it needs to be ‘flat.’ A floor can be slightly out of level (sloping a fraction of an inch across a room) and still be a perfect candidate for tile or hardwood. However, if that floor isn’t flat, you are headed for a world of hurt. When you’re how to achieve flawless floor leveling before tile laying, you aren’t fighting gravity; you’re fighting lippage and structural stress.
Why a Level Floor Might Still Ruin Your Tile
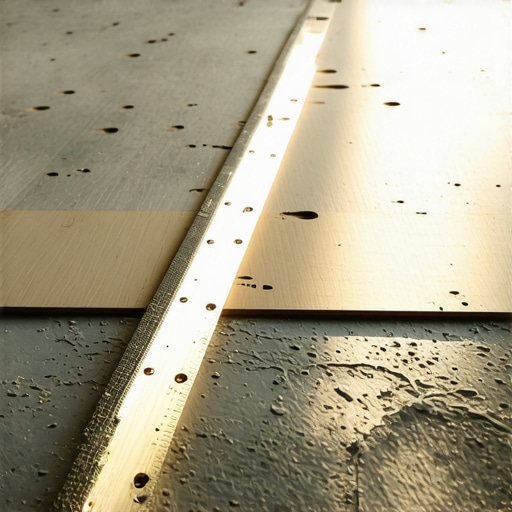
Most people assume that if they pour enough self-leveler, their problems will disappear. But self-leveler is often the site of the most expensive ‘oops’ moments in the industry. The biggest trap is failing to identify high spots before you pour. If you have a hump in the middle of your bathroom and you just pour leveler around it, you’re just raising the entire floor height, which leads right back to that toilet flange nightmare I mentioned earlier. You need to know the secret to getting a flat floor for large format tiles, which often involves a grinder, not just a bucket of goop. The Tile Council of North America (TCNA) specifies that for large format tiles, the floor must be flat within 1/8 inch over a 10-foot span. If you miss this, your tiles will ‘telegraph’ every bump, and you’ll end up with edges that catch your toes and grout that cracks within weeks.
What if My Self-Leveler Cracks Despite the Primer?
This is the advanced question I get all the time. You followed the instructions, you primed the wood, and yet, the next morning, it looks like a dry lake bed. This usually happens because of a failure to understand ‘pinholing.’ If the subfloor is too porous or if the primer wasn’t scrubbed into the wood fibers, air escapes the subfloor as the leveler cures, creating tiny bubbles that collapse into cracks. It’s one of the most frustrating floor leveling challenges common mistakes and how to avoid them because it usually requires a total tear-out. If you’ve ever seen why your self-leveler developed spiderweb cracks overnight, you know that sick feeling of wasting three hundred dollars in material in just twelve hours.
The Hidden Danger of Moisture in the Subfloor
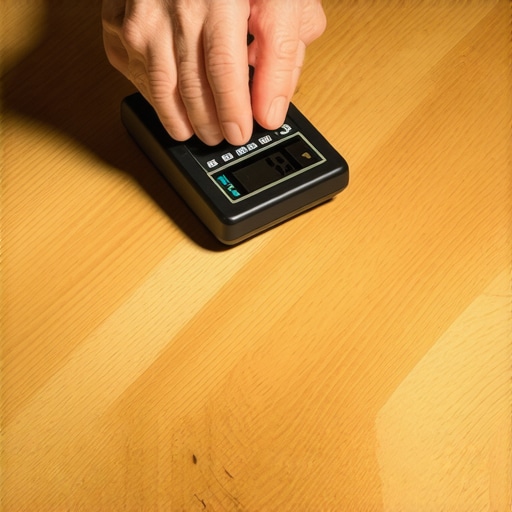
Before you even think about the aesthetics of your finish, you have to talk about what’s happening underneath. If you are transitioning from tile to wood, the moisture levels must be in sync. I’ve seen beautiful oak planks cup and crown because the installer didn’t know how to use a moisture meter before you lay wood floors. The subfloor and the flooring material should be within 2-4% of each other. Ignoring this is the fastest way to turn a high-end renovation into a warped, squeaky mess. Have you ever fallen into this trap of prioritizing the ‘look’ over the prep work? Let me know in the comments—I’ve made enough mistakes for both of us, and I’d love to hear your horror stories or how you fixed them.
I used to think my hands were my best tools, but my lungs and my lower back disagreed within five years of starting this business. If you aren’t using the vacuum attachment that actually picks up fine sawdust, you aren’t just making a mess; you’re ruining the finish of the floor before it even cures. Dust is the silent killer of a perfect polyurethane coat. On my last big project, a whole-house refinish, I realized that even the most expensive sanders are useless if the dust settles back into the grain. Speaking of longevity, mastering hardwood floor refinishing expert tips for 2025 requires more than just grit; it requires precision measurement. I never walk onto a job site now without my Lignomat moisture meter. The National Wood Flooring Association (NWFA) in their Technical Publication No. C100 emphasizes that hardwood should only be installed when the building is ‘enclosed and under the control of a permanent HVAC system’ for at least seven days. I take it a step further: I won’t even unload the planks until I know how to use a moisture meter before you lay wood floors properly across twenty different points in the house.
Why Your High-End Floor Needs Low-Moisture Love
Most homeowners make the mistake of babying their floors with the wrong chemicals. I’ve seen thousand-dollar tile jobs ruined because someone used a harsh acidic cleaner that reacted with the grout. If you’ve noticed the reason your grout color looks splotchy and uneven, it’s often because of improper cleaning or too much water during the initial wash. For wood, the rules are even stricter. You might be tempted to clean up after the move-in, but why you should never mop new hardwood for at least two weeks is a lesson I learned the hard way when I saw a fresh finish turn cloudy. You need to follow hardwood floor care secrets to longevity and shine to protect that investment from the wear and tear of daily life.
How do I keep this floor looking new for twenty years?
Maintenance isn’t about deep cleaning once a year; it’s about the daily habits that prevent damage. Use felt pads on everything—I even put them on the bottom of the dog’s toy box. As we look toward the next decade, I predict we’ll see ‘smart floors’ with integrated moisture sensors embedded in the subfloor that alert your phone if a pipe starts leaking behind a wall. Until then, you are the sensor. My best advice is to stop guessing and start measuring. Go out and buy a high-quality moisture meter today; it is the one tool that will save you from a five-figure failure and give you total confidence in your installation.
I used to think that once the last plank clicked into place or the final grout line was wiped clean, the job was over. But experience—and a few expensive failures—taught me that the real test of a flooring project happens in the weeks and months after the tools are put away. The difference between a floor that lasts twenty years and one that fails in two often comes down to the invisible work you do right at the finish line.
The Costly Truth About Cutting Corners That I Learned the Hard Way
One of the most important things I’ve realized is that your subfloor has a memory. If you try to bridge a gap or hide a dip with extra thinset, the floor will eventually find that weakness. Here are a few lightbulb moments from my years on the knee pads:
- Trust the tool, not the eye: I used to eyeball flatness, but now I know that how to check for high spots with a 10-foot straightedge is the only way to prevent lippage that catches your socks and ruins the aesthetic.
- Mixing is a science, not a suggestion: Whether it’s leveler or grout, I stopped ‘winging it.’ Knowing the secret to mixing the perfect bucket of self-leveler every time prevents the dreaded pinholing and cracking that haunts DIYers.
- The ‘Wet Finger’ Grout Test: If you wipe your grout joints too early with a soaking wet sponge, you wash out the pigment. This is the reason your grout color looks splotchy and uneven, and it’s a mistake you only make once before you learn to be patient.
#IMAGE_PLACEHOLDER_E#
My Non-Negotiable Gear for a Flawless Finish
I don’t believe in buying every gadget at the hardware store, but there are three things I never step onto a job site without. First is a high-quality moisture meter. Before I even think about [flooring installation], I have to know how to use a moisture meter before you lay wood floors to ensure the subfloor won’t warp my expensive planks. Second is a 10-foot straightedge—it’s more reliable than any laser for finding the dips that cause floor bounce. Finally, I always keep a specific vacuum attachment handy because the vacuum attachment that actually picks up fine sawdust is the only way to keep your finish from feeling like sandpaper. These aren’t just tools; they are insurance policies for your hard work.
Take the Leap and Transform Your Space
It’s easy to get paralyzed by the technical details, but remember that every pro started with a single crooked tile or a squeaky plank. The goal isn’t to be perfect on day one; it’s to be thorough enough that your mistakes are easily fixed. Your home deserves the upgrade, and you have the capability to do it right if you just take the time to measure twice and pour once. You’ve got the knowledge now to avoid the most common flooring installation mistakes to avoid for lasting results, so grab your spacers and get to work. Have you ever found a surprise leak or a major subfloor dip after you thought the job was finished? Let me know in the comments below—I’d love to hear how you handled it!