

I’m standing there, coffee in hand, staring at what looks like a teenage breakout on my basement floor. I had just finished rolling out the primer for a high-end self-leveling compound, expecting a smooth, glassy finish. Instead, the concrete was “breathing” right back at me, pushing up hundreds of tiny, frustrating bubbles. It’s a gut-punch moment. You’ve spent the money, you’ve done the heavy lifting, and now your foundation is literally rejecting the prep work. If you’ve felt that sinking feeling, you aren’t alone. Today, we are going to stop those bubbles in their tracks and make sure your next pour is flawless.
Old Concrete Has a Mind of Its Own
Old slabs are tricky. They look solid, but they are actually full of microscopic voids and pockets of air. When you roll on a primer, you’re essentially trying to plug those holes. If the air in those holes gets warm or the pressure changes, it pushes up through your wet primer, creating those annoying little domes. In my early days, I made the massive mistake of thinking a quick sweep and a prayer were enough prep. I didn’t realize that old concrete acts like a sponge for moisture. According to the American Concrete Institute, concrete is a porous material that can continue to “outgas” indefinitely as environmental conditions change. If you don’t address this, you’ll end up wondering why your floor primer is peeling off like a sunburn just a few days later.
Is my old slab just too far gone to save?
It is easy to get discouraged and think you need to rip out the whole floor, but that’s rarely the case. The real trick lies in the application and the environment. Most people skip the crucial step of mechanical profiling—basically scuffing up the concrete to give the primer something to bite into. If you’re seeing bubbles, it’s usually a sign that the primer is drying too fast on the surface while air is still trapped underneath. This is why the roller selection that prevents air bubbles in leveler is so vital to your success. By the time we’re done here, you’ll know how to manage the temperature and the substrate so you can move on to flooring installation fundamentals like leveling for a seamless look without the headache. Have you ever walked into your workspace only to find your hard work covered in blisters? Tell me I’m not the only one who has had to sand down a fresh coat of primer because of this!I remember a kitchen job in a 1920s bungalow where I thought I could skip the diamond grinder because the floor ‘looked’ clean enough. I rolled on my primer, felt like a hero, and went to grab a sandwich. When I came back, the floor looked like it had a severe case of chickenpox. Hundreds of tiny air pockets had erupted, ruining the surface. I spent the next four hours with the best tool for scraping glue off a concrete slab just to get back to square one. That day taught me that ‘clean’ is a surface level observation, but ‘prepped’ is a structural reality.
Grind Away the Ghost of Old Contaminants
Mechanical profiling is the only way to ensure your primer actually stays down. Think of your concrete like a giant piece of Velcro; if the ‘hooks’ are clogged with dust, old adhesive, or paint, the ‘loops’ of your primer won’t catch. You need to open those pores. Using a floor grinder or even a heavy-duty sander for smaller spots is non-negotiable. This process creates a ‘tooth’ on the slab. If you are dealing with a particularly stubborn surface, learning the best way to prep a dusty concrete floor for adhesive can save you from a complete bond failure. Once you’ve ground the surface, vacuum it like your life depends on it. A shop vac with a HEPA filter is your best friend here because even a thin film of dust acts as a bond breaker.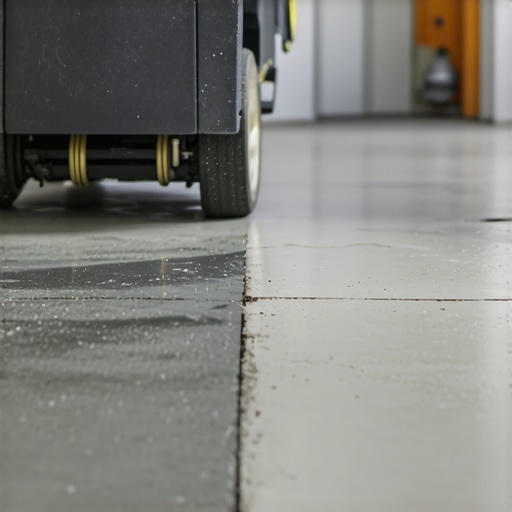
Test for Invisible Moisture Before You Pour
Concrete might feel dry to the touch, but it often holds a reservoir of water deep inside its capillaries. This is where outgassing happens. When the room warms up, that moisture wants out, and it will push through your wet leveler to get there. I always use the painters plastic trick for testing concrete moisture before I even open a bag of leveler. If you see condensation under that plastic after 24 hours, you have a moisture problem that needs a vapor barrier, not just a standard primer. Ignoring this is why people often see why your self-leveler developed spiderweb-cracks overnight. Taking that extra day to test prevents a week of demolition later.
Master the Mix to Save Your Sanity
Mixing is where most DIYers—and even some pros—lose the battle. If you over-mix or use a high-speed drill, you are literally whipping air into the batter. It’s like making a meringue when you actually wanted a pancake. You want a low-speed, high-torque drill and a specialized mixing paddle. Learn the secret to mixing the perfect bucket of self-leveler every time to keep the air out from the start. Also, keep an eye on the clock. If the room is too hot, you will find why your self-leveler is drying faster than you can pour it, which traps bubbles before they can pop. Using precise floor leveling techniques to achieve flawless surfaces means controlling the environment as much as the material. Keep the windows shut and the AC off during the pour to prevent the surface from ‘skinning’ over too quickly.The biggest lie in the flooring industry is the term ‘self-leveling.’ Most homeowners—and even some pros who should know better—think you can just pour the bag, watch it spread like water, and come back to a billiard-table finish. In reality, these compounds are ‘self-smoothing,’ not truly self-leveling. If you do not help the product along with a gauge rake or a spike roller, you will end up with ‘islands’ and ‘valleys’ that make getting a flat floor for large-format tiles an impossible dream. I have seen guys pour a thousand dollars of product only to find it slumped into the center of the room because they did not understand fluid dynamics. According to the Tile Council of North America (TCNA) Handbook, high-performing floors require substrate tolerances as tight as 1/8 inch over 10 feet for large-format installations. Gravity alone will not get you there; you need pro secrets for perfect installations to reach that specification. 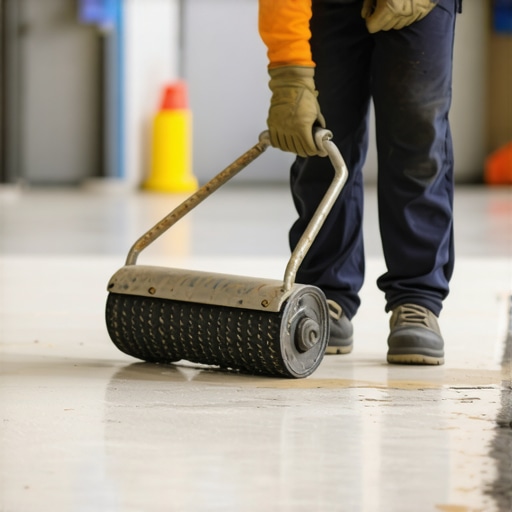
The Measuring Bucket Trap
The ‘Oops’ factor often hides in the measuring bucket. We have all been tempted to add ‘just a splash’ more water to make the mix flow better. Do not do it. Excess water causes the polymers to separate and rise to the top, creating a weak, chalky surface that will eventually flake off. This is often why your self-leveler didn’t bond to the wood subfloor or why it feels soft underfoot. If you have ever dealt with a ‘dusty’ finish even after the leveler dried, you likely fell into the over-watering trap. Always use a dedicated measuring pitcher, not just a line on a bucket that might be skewed by the angle of the floor.
Why does my leveler keep cracking despite the perfect pour?
If your subfloor has too much flex, no amount of leveler will save it. This is a common nuance people miss: leveler has high compressive strength but very little tensile strength. If the joists are undersized, you will notice why your LVP floor feels like it is bouncing as soon as you walk on it. You must stiffen the subfloor before the pour. Furthermore, for those with modern upgrades, choosing a leveler that won’t crack over radiant heat is the difference between a warm, cozy floor and a fractured mess. If the leveler is too rigid, the thermal expansion of the heating wires will snap it like a cracker. Have you ever fallen into this trap? Let me know in the comments.
The Spike Roller is Your Only Insurance Policy
I used to think a gauge rake was enough to get the job done. I’d pull the leveler across the room, it would look flat, and I’d walk away. But ten minutes later, those tiny pinholes would start appearing. That is when I realized that the roller selection that prevents air bubbles in leveler is the single most important factor in a professional finish. A spike roller doesn’t just move the product; it breaks the surface tension and allows the trapped air—that outgassing we talked about earlier—to escape before the material sets. I personally use a 1-inch spiked roller for most residential pours. If you skip this, you are essentially leaving your floor’s structural integrity to chance. According to ASTM F710, the standard practice for preparing concrete floors, the surface must be completely free of contaminants that inhibit bond, and mechanical agitation with a spike roller ensures the leveler actually bites into the pores you worked so hard to open.
How do I protect my subfloor bond for the long haul?
Maintenance starts the moment the leveler is walkable. If you are prepping for wood, you need to ensure the moisture levels stay consistent. I’ve seen beautiful installs ruined because someone didn’t use the painters plastic trick for testing concrete moisture even after the leveler was dry. Once your final surface is down, whether it is tile or timber, the goal is to prevent the substrate from shifting. For those going the wood route, hardwood floor care secrets to longevity and shine often boil down to humidity control. If the air gets too dry, the wood shrinks, pulling on the leveler below. If it’s too damp, the expansion can cause the leveler to delaminate from the concrete. It’s a delicate dance, but keeping your home between 30% and 50% humidity will keep that bond rock-solid for decades.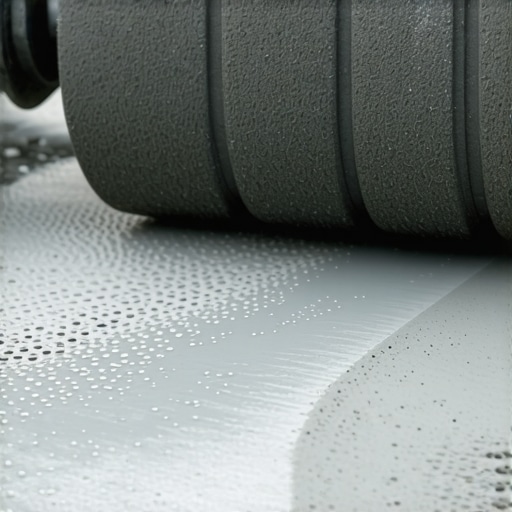
Digital Tools Are Replacing the Old Bubble Level
The future of floor prep is moving away from the 6-foot spirit level and toward high-accuracy laser scanning. I recently started using a 360-degree green beam laser to map out high spots before I even mix a bag. It’s a game changer. Instead of guessing where the ‘valleys’ are, you can see exactly where you need more depth. I predict that within the next five years, we will see affordable mobile apps that use LiDAR on your phone to create a topographic map of your slab. This kind of pro secrets for perfect installations is becoming more accessible to the average DIYer, making the ultimate guide to floor leveling for a perfect finish more about technology than just muscle. If you want to scale your results, invest in a quality laser level; it’s the difference between a floor that looks flat and one that actually is. My best advice for your next project? Double-prime those thirsty old slabs. Apply one coat, let it dry completely, and then hit it again. This creates a redundant seal that almost guarantees a bubble-free pour. Go grab a moisture meter today and test your slab—knowing the numbers is the first step to a floor that won’t fail you.
Lessons Bought with Sweat and Wasted Concrete
Over the years, I have realized that the most expensive floor isn’t the one made of exotic marble; it is the one you have to install twice because the prep work failed. One major lightbulb moment for me was realizing that environmental control is 90% of the battle. If you have ever dealt with floor leveling challenges like common mistakes, you know that a simple draft from an open window can skin over your leveler in minutes, trapping air forever. Another hard-won truth: your eyes will lie to you about what is level, but a laser never will. I also learned that patience with primer is a virtue that pays dividends; on an old, thirsty slab, that second coat of primer is your only insurance against the concrete ‘breathing’ into your expensive mix. If you want to dive deeper into how these layers interact, I highly recommend checking out this step-by-step guide to flooring installation and leveling success to refine your process.
The Gear and Guides I Bet My Reputation On
You do not need a truckload of gadgets to get a pro result, but you do need the right ones. Here is what I keep in my kit at all times and why I trust them:
- 360-Degree Green Beam Laser: This is the gold standard for mapping out a room. It takes the guesswork out of where to pour heavy and where to feather, ensuring you don’t waste material.
- High-Accuracy Moisture Meter: Before you even think about wood or tile, you need to know what is happening inside that slab. Learning how to use a moisture meter before you lay wood floors can prevent a total bond failure down the road.
- The TCNA Handbook: This is the industry bible. Whenever I am unsure about a specific substrate tolerance for large-format tiles, I look it up to stay within professional standards.
Build Your Perfect Foundation One Step at a Time
It is easy to feel overwhelmed by the chemistry and the timing of a big pour, but remember that every professional started exactly where you are—staring at a dusty slab and hoping for a smooth finish. By mastering the ultimate guide to floor leveling for a perfect finish, you are giving your home a foundation that will last for decades. Don’t let the fear of a few bubbles stop you from achieving that glassy, professional look. You have the tools, you have the knowledge, and now you have the plan. Now, go grab that spike roller and transform your space. Have you ever had a self-leveling project go sideways on you at the very last minute? Let me know in the comments below!