
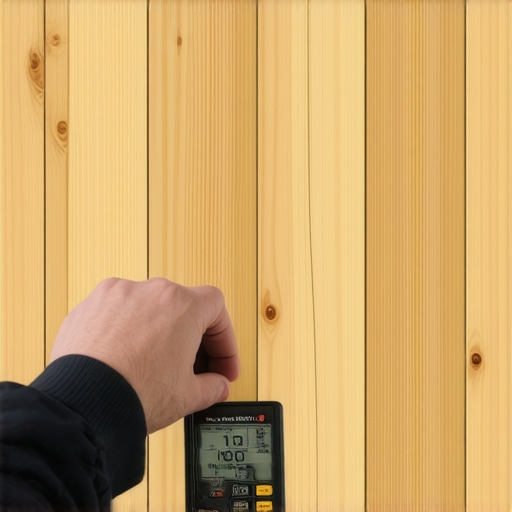
It was a damp Tuesday in April when I heard that first sickening, hollow pop. I had spent three grueling days on my knees, spacers in hand, meticulously laying down five-inch wide white oak planks. It was supposed to be my DIY masterpiece. Two weeks later, that masterpiece looked like a series of miniature wooden half-pipes. My boards were cupping so badly you could have run a finger under the edges. I had made the ultimate rookie mistake: I assumed the subfloor was dry because it looked dry. I skipped the one tool that separates the hobbyists from the pros. I didn’t use a moisture meter, and it cost me thousands. Now, I never touch a hammer until I see the numbers on that digital screen.
Stop Guessing and Start Testing Your Subfloor
Wood is a living, breathing material that acts like a giant sponge. If you lay it over a subfloor that is holding onto hidden humidity, those planks will suck it up and expand until they have nowhere to go but up. This leads to the nightmare of [why your hardwood floor is crowning and how-to-dry-it-out](https://tiletrendshop.com/why-your-hardwood-floor-is-crowning-and-how-to-dry-it-out). Most people think letting the wood sit in the room for a week is enough to acclimate it. I used to be one of those people. But acclimation is useless if you are putting dry wood onto a wet base. You need to know the specific moisture content (MC) of both your flooring and your subfloor to ensure they are within a safe range of each other—usually within 2% to 4% depending on the plank width.
According to the National Wood Flooring Association (NWFA), moisture-related issues are the primary cause of flooring failures and expensive insurance claims. It is not just about the installation day; it is about how those floors behave years down the line. If you want to avoid common [flooring installation mistakes to avoid for lasting results](https://tiletrendshop.com/flooring-installation-mistakes-to-avoid-for-lasting-results), you have to treat moisture as your number one enemy. Whether you are [mastering hardwood floor refinishing expert tips for 2025](https://tiletrendshop.com/mastering-hardwood-floor-refinishing-expert-tips-for-2025) or starting a fresh build, that little meter is your best friend. Have you ever finished a project only to watch the seams start to separate a month later? I want to hear your stories—drop a comment below and let’s talk about the lessons we have learned the hard way.
Can You Really Trust a Cheap Meter to Protect Your Investment?
I get it. You have already spent a small fortune on the wood, the adhesive, and the trim. The last thing you want to do is drop another hundred dollars on a gadget. You might be wondering if these sensors are actually worth the hype or if they are just another way for tool companies to reach into your pocket. Trust me, the cost of a meter is peanuts compared to the cost of ripping out a buckled floor. When you learn [how to keep your hardwood floors from gapping in the winter](https://tiletrendshop.com/how-to-keep-your-hardwood-floors-from-gapping-in-the-winter), you realize that it all starts with that baseline reading. A quality meter gives you the peace of mind that your home environment is stable enough for a [step-by-step guide to flooring installation and leveling success](https://tiletrendshop.com/step-by-step-guide-to-flooring-installation-and-leveling-success). In the following sections, I am going to walk you through exactly how to take those readings so you never have to deal with a ruined floor again.
Take a Straightedge to Your Floors Ego
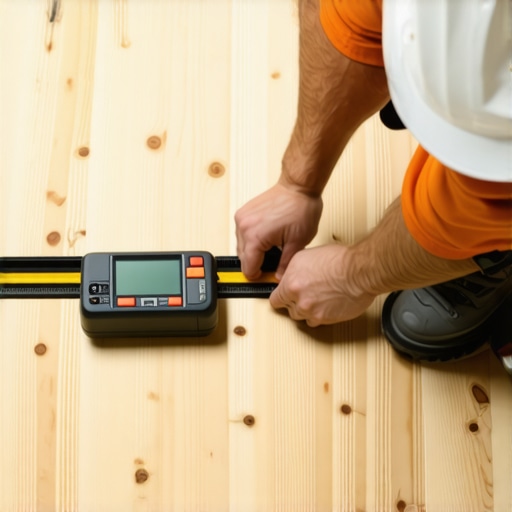
Before you even think about unboxing your hardwood, you need to verify that your subfloor is actually flat. Most people confuse ‘level’ with ‘flat.’ A floor can be slanted like a mountain trail and still be flat enough for wood, but a floor full of waves is a recipe for disaster. I think of the subfloor like a canvas; if the canvas is wrinkled, the painting will always look distorted. Grab a 10-foot straightedge and slide it across the room. If you see light shining through gaps larger than 3/16 of an inch, those are valleys that need filling. Learning how to check for high spots with a 10-foot straightedge is the first real step toward a professional finish. Ignoring these dips is exactly why your lvp floor feels like its bouncing when you walk later on.
Fix the Dips Without the Drama
Once you have identified the low spots, it is time to bring in the self-leveling underlayment. This stuff is magic, but it is temperamental. I remember a project in a cramped hallway where I thought I could skip the primer. I poured the compound directly onto the old plywood, and within minutes, the wood had sucked the water out of the mix. The leveler didn’t flow; it just sat there in a gritty, jagged pile. I ended up having to grind it down, which is a dusty nightmare no one should endure. Now, I always use a high-quality primer and follow the secret to mixing the perfect bucket of self-leveler every time to ensure a glassy surface. If you see air pockets forming in your wet mix, you need to understand why your self-leveler is bubbling over plywood before it sets up and ruins the floor’s integrity.
Master the Moisture Meter Ritual
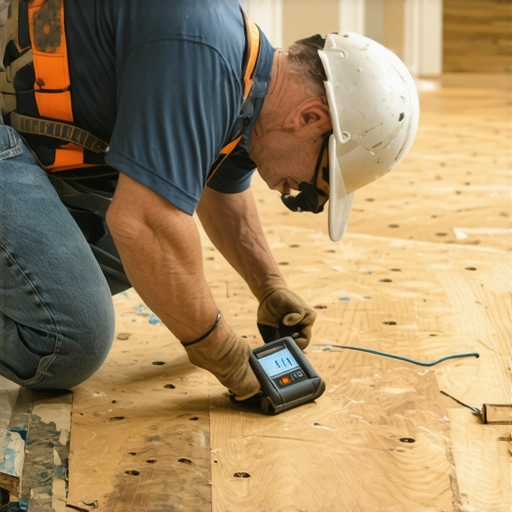
Now we get to the heart of the matter: the numbers. You need two types of readings. First, test the moisture of your new wood planks. Then, test the subfloor in at least twenty different spots per 1,000 square feet. If you are working over concrete, do not be fooled by a dry surface. Concrete is a porous slab that pulls ground moisture upward, which is often why your concrete floor is sweating under the rugs. Use a pinless meter for a quick scan and a calcium chloride test for a deep dive if the numbers look high. This data is your insurance policy. If the subfloor is at 12% and your hardwood is at 7%, you are looking at a 5% difference. That is too high for wide planks and will lead to gaps or cracks. You have to wait until those numbers crawl closer together.
The Dry Fit Rule for Peace of Mind
While you are waiting for the moisture levels to stabilize, use that time for a ‘dry fit.’ Layout your boards without any adhesive or nails. This allows you to see the grain patterns and ensure you are not putting two identical boards side-by-side. It is also the perfect time to employ the dry fit rule that prevents costly cutting mistakes at the walls. By the time your layout looks perfect, your moisture readings should be in the ‘green zone.’ This methodical approach is the backbone of mastering floor leveling pro secrets for perfect installations. It might feel like you are moving slowly, but in the world of flooring, slow is smooth and smooth is fast.
Most contractors will tell you that as long as the floor is flat, you are ready for tile. I am here to tell you that flatness is only half the battle. You can have a floor as flat as a frozen lake, but if it has too much ‘give’ or deflection, your beautiful porcelain will be in pieces within a year. According to the Tile Council of North America (TCNA), the industry standard for deflection is L/360 for ceramic tile and an even stricter L/720 for natural stone. This means the floor should not bend more than the span of the joists divided by 360 under a heavy load. If your subfloor feels like a trampoline, you are looking at the real reason your floor joists are making your tile crack. It is a structural issue, not a cosmetic one. To fix this, I often use the plywood sandwich trick for fixing bouncy floor joists before I even open a bag of leveler. Have you ever finished a job only to have a client call you back about a single hairline crack? Let me know in the comments if you have been haunted by deflection.
Why is Your 10-foot Straightedge Lying to You?
A straightedge tells you about the topography, but it does not tell you about the chemistry of your installation. I see people spend hours sanding high spots only to ruin the bond by using a cheap, non-modified thinset on large-format tiles. This is a massive ‘oops’ factor. Large tiles have almost zero flexibility, so they need a specialized mortar that can handle the sheer stress of the house shifting. If you cheap out here, you will learn about the hidden cost of using cheap thinset on large format tiles the hard way. This is also why how to back butter large format tiles the right way is not just a suggestion; it is a requirement for 100% coverage. Without that mechanical bond, your tile is just sitting on top of the floor, waiting to pop loose.
The Priming Mistake That Peels Like a Sunburn
Here is another nuance: not all primers are created equal. I have seen pros pour expensive self-leveler over old concrete only to have it fail because of ‘laitance’—that weak, powdery layer on top of old slabs. If you do not grind that off, why your floor primer is peeling off like a sunburn becomes a very expensive lesson. You also need to watch out for porosity. If the concrete is too thirsty, it will suck the moisture out of your leveler too fast, which is often the reason your leveler is setting up too fast. In my experience, a double-prime approach is almost always safer than a single coat when dealing with old, porous subfloors. It creates a waterproof barrier that allows the leveler to flow as it was designed to. If you are struggling with a tricky substrate, revamp your home with expert flooring installation tips and do not be afraid to over-prepare. The prep work is 90% of the job; the actual installation is just the victory lap.
Once you have mastered the prep, the actual installation feels like downhill skiing. But if you don’t have the right maintenance kit, you’re just counting down the days until the first scratch or separation. I’ve learned that high-quality results require high-quality cleanup. I never leave a site without using the vacuum attachment that actually picks up fine sawdust. Standard brushes or standard shop-vac heads often leave microscopic grit tucked into the corners or the grain, which can ruin a finish during the final coat or cause grinding wear under a floating floor. If you’re pouring leveler, a spiked roller is my secret weapon; it breaks the surface tension and pops those tiny bubbles that lead to pitting. According to the International Concrete Repair Institute (ICRI) in their Technical Guideline No. 310.2R, achieving the correct Concrete Surface Profile (CSP) is the only way to ensure your topping won’t delaminate under foot traffic. I use a diamond-cup wheel on a grinder for this, which sounds like overkill until you see a floor stay perfectly bonded for twenty years. ### How do I keep these floors looking brand new for a decade? Maintenance isn’t just about a weekly sweep or a quick wipe. It’s about humidity control and choosing the right chemicals. I tell all my clients that hardwood floor care secrets to longevity and shine start with a high-quality whole-house humidifier. If the air gets too dry, your wood will shrink, leading to the dreaded scenario of how to keep your hardwood floors from gapping in the winter. To avoid the most common flooring installation mistakes to avoid for lasting results, treat your floor like a high-performance engine: it needs the right fuel and regular checks. And please, for the love of your investment, why you should never mop new hardwood for at least two weeks after the finish is applied. The cure time is a chemical process, not just a ‘dry to the touch’ moment. If you rush it with water, you’ll cloud the finish forever. I also see a lot of issues at the transitions where two rooms meet. If you notice the reason your vinyl plank is separating at the thresholds, it’s usually because of improper expansion gaps or using cheap, flimsy T-molding. Spending an extra twenty dollars on a solid wood or metal transition is the best insurance policy you can buy. 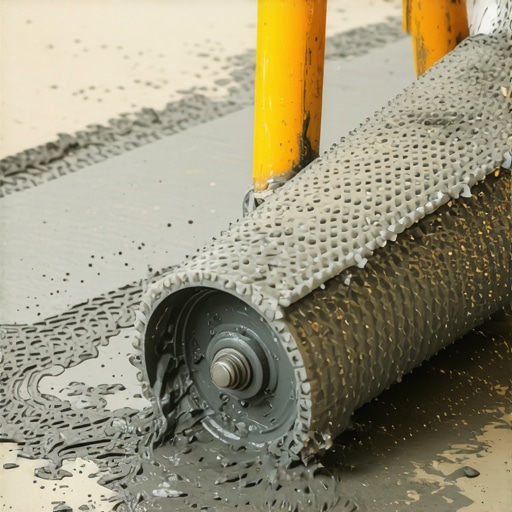 When it comes to tile, the maintenance starts with the grout. I always recommend a high-performance grout, but if you go traditional, you have to be vigilant. If you notice why your grout is falling out of the joints in the hallway, it is likely due to subfloor deflection that wasn’t addressed during the prep. Fix the structure, and the maintenance becomes easy. I genuinely believe the future of flooring lies in ‘active’ materials. We are already seeing the emergence of self-healing finishes and underlayments that can neutralize subfloor alkalinity on the fly. It won’t be long before we have sensors embedded in the flooring installation fundamentals leveling for a seamless look that can detect a pipe leak behind a wall before you even see a puddle. For now, focus on the fundamentals and stop looking for shortcuts. My challenge to you: on your next job, try the ‘double-prime’ method on your subfloor. Apply the first coat of primer, let it dry completely, and then apply a second coat before pouring your leveler. It takes an extra hour but virtually guarantees that the leveler won’t fail or bubble. Your future self will thank you for the extra effort.
What Decades of Buckled Planks and Cracked Grout Actually Taught Me
If there is one thing I have learned after twenty years of flooring installation, it is that the floor never lies. You can hide a bad cut under a baseboard, but you cannot hide a wet subfloor or a dip in the joists. The hardest lesson I ever learned was that ‘fast’ is usually the most expensive way to work. I used to think I was saving money by skipping the expensive primers, but I eventually realized that dust is the ultimate bond-breaker. If you do not vacuum like your life depends on it before you pour leveler, you are just building on a foundation of sand. I also realized that moisture is patient; it might not ruin your hardwood today or tomorrow, but it will wait six months for the seasons to change before it starts crowning. Finally, I learned that my eyes are my worst enemies—always trust the straightedge and the meter over what ‘looks’ flat.
Where I Turn When the Subfloor Becomes a Logic Puzzle
I do not expect you to have every answer, and neither do I. When a project gets complicated, I lean on a few non-negotiable resources. First, I always keep the TCNA Handbook within reach; it is the absolute authority for tile installation pointers that save time and money. For anything involving wood, the NWFA (National Wood Flooring Association) guidelines are the only rules I follow. As for tools, I never step onto a job site without a Wagner Orion moisture meter. It is a significant investment, but it provides the data you need to guarantee hardwood floor care secrets to longevity and shine from day one. I also recommend following the technical blogs from companies like Mapei or Laticrete—they spend millions on R&D so we do not have to guess about chemistry.
#IMAGE_PLACEHOLDER_E#
Stop Fear-Pouring and Start Prepping for Your Best Install Ever
It is easy to feel overwhelmed by the technicality of subfloor prep, but remember that every master installer started with a failed project and a bucket of ruined thinset. The difference between a floor that lasts five years and one that lasts fifty is simply the willingness to do the boring work. By focusing on flooring installation fundamentals leveling for a seamless look and taking the time to understand the ultimate guide to floor leveling for a perfect finish, you are protecting your home and your bank account. Go get that straightedge, test your moisture levels one more time, and build something you are proud to walk on. Have you ever had a subfloor surprise that nearly ruined your project? Let me know your stories in the comments below.