
I’ll never forget the rhythmic thud-thud-thud of a broom handle hitting my floorboards from the apartment below. It was 10:15 PM on a Tuesday. I was just pacing while on the phone, but to my downstairs neighbor, I might as well have been hosting a tap-dancing convention. It’s a miserable feeling, isn’t it? You love your home, but you’re constantly walking on eggshells because you know the subfloor is basically a giant drum. That night was my breaking point. I was exhausted from the confrontation and embarrassed that my own home felt like a source of stress for someone else. I knew I had to find a way to kill the noise without tearing out the entire structure or spending ten thousand dollars on acoustic engineering. I needed a solution that was practical, relatively affordable, and—most importantly—actually worked. After a lot of trial and error, I found the secret.
Your Upstairs Floor Doesn’t Have to Sound Like a Drum Kit
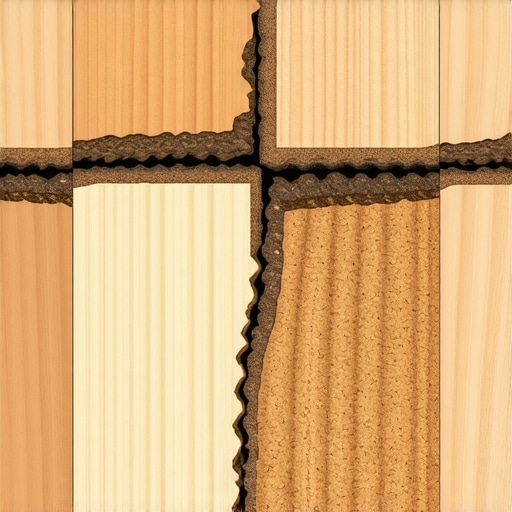
I spent weeks researching high-tech foams, heavy rubber mats, and even those weird spray-on insulators. But then I stumbled upon cork. At first, it seemed too simple. It’s just tree bark, right? But the science is wild. Cork has millions of tiny air-filled cells that act like microscopic shock absorbers. Unlike that flimsy foam that flattens out in six months—which is exactly why cheap underlayment makes your luxury vinyl sound hollow—cork holds its shape and keeps on absorbing those heavy heel strikes for decades. When I was choosing the right hardwood floors for your home, I almost skipped the underlayment entirely to save a few bucks. I thought the wood itself would be thick enough. That was a massive mistake that almost cost me my sanity. I ended up with a floor that creaked and echoed every time the cat ran across the room. I had to learn the hard way that a floor is only as good as what lies beneath it. If you don’t address the vibration at the source, no amount of thick carpeting will truly fix the thud.
Is a piece of wood bark really enough to stop the thumping?
I get it. You’re skeptical. I was too. I figured I needed some industrial-grade lead shield or three inches of concrete to stop the vibrations. But here is the thing: according to the International Building Code (IBC), an Impact Insulation Class (IIC) rating of 50 is the bare minimum for multi-family dwellings to ensure habitable comfort, and a high-quality 6mm cork layer can significantly outperform many synthetic alternatives by providing a natural ‘decoupling’ effect. It’s not just about softness; it’s about breaking the physical path of the sound wave. I made a huge mistake early in my DIY career by thinking I could just ‘tighten’ the floor with more screws to stop sound. Wrong. All I did was create more bridges for the noise to travel through. I ended up with flooring installation fundamentals issues because I didn’t understand how sound travels through solid objects. If you don’t break that connection between the finish floor and the subfloor, you’re just broadcasting your footsteps like a loudspeaker. Have you ever felt like you’re being ‘too loud’ just by existing in your own house? Does your current flooring make you feel like you’re living in a hollow box? We’re going to fix that today by looking at how this natural material can turn your noisy upstairs into a silent sanctuary.
Fix Your Subfloor Before You Lay a Single Sheet
You can’t just throw cork over a mess and expect it to perform. If your subfloor is dipping or peaking, your new floor will eventually flex and grind against those cork cells, wearing them down prematurely. I always start by checking the flat-plane of the room with a long level. If you find a valley, you need to master precise floor leveling techniques to achieve flawless surfaces before proceeding. Any bump in the subfloor acts like a pivot point that creates noise—the very thing we are trying to kill. A flat subfloor ensures that the underlayment makes 100% contact with the surface, leaving no air gaps that can amplify sound like the body of an acoustic guitar.
Seal Every Gap to Save Your Sanity
I remember my first attempt at leveling a second-story guest room. I was so focused on getting the perfect consistency of the pour that I completely ignored the small gaps where the subfloor met the wall. Ten minutes after pouring, I heard a rhythmic ‘splat’ coming from the kitchen downstairs. The leveler had found a hole and was raining down on my stovetop. It was a nightmare to clean, and I lost half my material. This is why you must learn how to stop your floor leveler from leaking through the subfloor using foam or caulk before you even open a bag. Once that surface is flat and dry, you’re ready for the real magic. You have to treat the room like a swimming pool; if it isn’t airtight, the leveler—and the sound—will find a way out.
Lay the Silence One Row at a Time
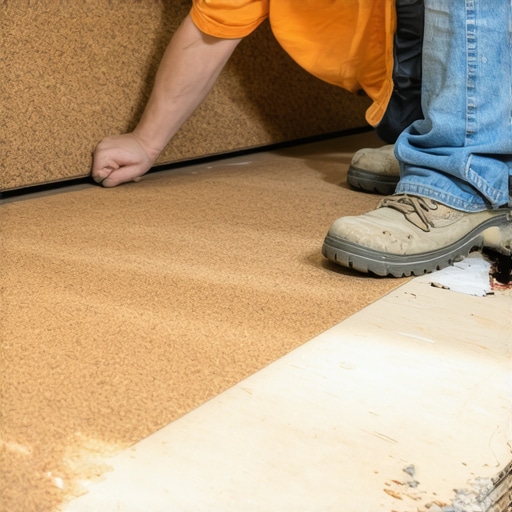
When you finally roll out that cork, don’t just shove it against the walls. Sound is like water; it finds the path of least resistance. If the cork or the hardwood touches the drywall directly, the sound will travel through the wall instead of being absorbed by the underlayment. This is one of the most common flooring installation mistakes to avoid for lasting results. Leave a 1/4-inch gap around the entire perimeter. You should also look at the ultimate guide to floor leveling for a perfect finish if you notice any remaining imperfections that might cause the underlayment to ‘bridge’ over a hollow spot. Stagger your seams just like you would with the top floor to ensure there isn’t a single continuous line for vibrations to exploit.
Stop the Bounce Before It Starts
If you walk across the room and feel the floor give way beneath you, the best underlayment in the world won’t help. That’s a structural issue. I’ve had success using the shim trick for fixing a bouncy plywood subfloor to stiffen up those loose areas. Once the subfloor is rock solid and perfectly level, following flooring installation fundamentals ensures that your cork stays in place and does its job. You want that cork to be the only thing moving—microscopically—to catch the impact of your feet. If the plywood is moving too, you’re just creating a friction-based squeak that will drive you crazy in six months.
Most DIYers think that if a 3mm cork underlayment is good, then stacking two layers for 6mm or adding a thick foam on top must be better. That is a dangerous myth. In my years on the tools, I’ve seen more floors fail because of ‘over-padding’ than almost anything else. When you create too much cushion, the locking mechanisms on your planks are forced to bend beyond their engineered limit every time you take a step. This leads to the hidden reason your floating floor is pinching or, worse, snapping the tongues right off the boards. You want density, not just thickness. If you choose a material that is too soft, you’ll eventually see why your luxury vinyl is peaking at the short joints as the floor shifts vertically under your weight.
Stop Chasing the Wrong Leveling Solution
Another trap involves the chemistry of your subfloor. I’ve seen people pour high-end cementitious leveler over old gypsum-based subfloors without a specialized primer. Within weeks, the whole thing delaminates. This is why your self-leveler is pulling away from the concrete or wood—it’s a chemical mismatch. You have to ensure you are using the secret to mixing the perfect bucket of self-leveler every time, but also matching the chemistry of what is already there. If you don’t, you’ll find why your self-leveler didn’t flow into the low spots correctly because it flash-dried from moisture loss into the subfloor. 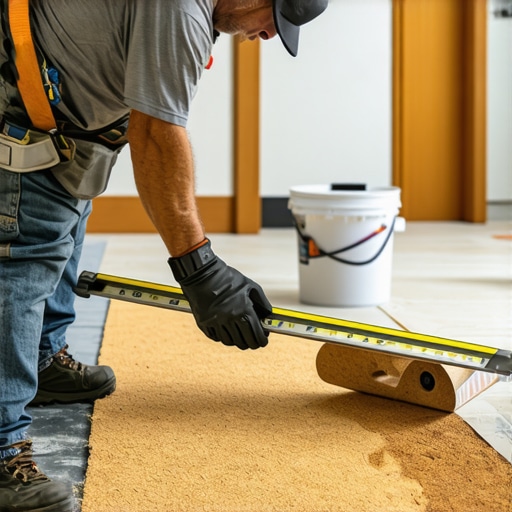
Can I just use more glue to fix a hollow sound?
It’s a common question from homeowners trying to avoid a full tear-out, but the answer is almost always no. According to the North American Laminate Flooring Association (NALFA), the performance of a floor is dictated by the deflection of the subfloor, which should not exceed L/360 (the span length divided by 360). If your floor is bouncing, the real reason your floor joists are making your tile crack or your wood floor is noisy isn’t a lack of glue; it’s a lack of structural rigidity. Adding more adhesive just creates a mess and doesn’t solve the underlying vibration. You might even find why your new floor is squeaking near the heat vents because the extra adhesive prevents the floor from naturally expanding and contracting. To get it right, you need to revisit mastering floor leveling pro secrets for perfect installations to ensure the foundation is immobile. Only then can you address the surface aesthetics. Have you ever fallen into this trap of trying to ‘cushion’ your way out of a noisy floor? Let me know in the comments.I used to think my four-foot level was enough until I realized that floor leveling is a game of millimeters. Now, I never start a job without a 10-foot straightedge. It’s the only way to be certain. You need to know how to check for high spots with a 10-foot straightedge because those tiny peaks are what eventually cause your floor to ‘clatter’ against the subfloor. I also swear by my digital moisture meter. According to the National Wood Flooring Association (NWFA) Technical Publication A100, professional installers must ensure the moisture content of the wood and the subfloor are within 2-4% of each other depending on the plank width. If you ignore this, the best cork in the world won’t save you from a buckling floor. It isn’t just about the tools you use during the install, but how you monitor the environment after the last nail is driven.
How do I keep my floor silent and shiny for years?
Maintenance is where most homeowners drop the ball. I’ve seen beautiful installs ruined because someone thought a steam mop was a good idea on a fresh finish. To avoid disaster, you have to learn hardwood floor care secrets to longevity and shine. My biggest rule? Control the air. Wood is a living thing that breathes with your house. If your home gets too dry in January, those boards will shrink, creating gaps that click and creak regardless of your underlayment. Knowing how to keep your hardwood floors from gapping in the winter is about humidity management and maintaining a consistent indoor climate. And for the love of your finish, understanding why you should never mop new hardwood for at least two weeks is a lesson you do not want to learn by watching your expensive stain cloud up and peel away. 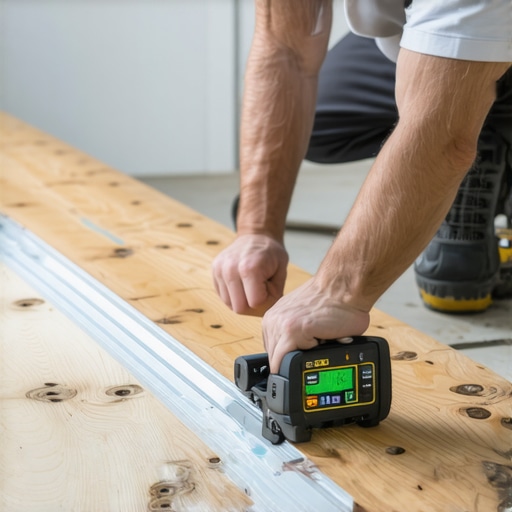 The future of flooring isn’t just about better materials; it’s about data. I’m already seeing the rise of ‘smart subfloors’ where moisture sensors are embedded into the underlayment to monitor for leaks or humidity spikes before they cause permanent warping. This tech will soon be as standard as smoke detectors. For now, your best defense is a solid foundation and a watchful eye. If you’re ready to graduate from amateur DIY to pro-level results, I challenge you to grab a straightedge and find the three biggest dips in your room tonight. Once you see them, you can’t unsee them, and mastering floor leveling pro secrets for perfect installations will become your new obsession. Don’t just lay a floor; engineer an environment that stays quiet for a generation.
Three Truths That Changed My Approach to Quiet Floors
After years of walking on squeaky boards and hearing every footstep from above, I realized that noise isn’t an inevitable part of home life—it is a design flaw. The first truth I embraced is that density beats thickness; a thin, dense layer of cork absorbs more vibration than a thick, airy foam that eventually collapses. Second, I learned that a single loose fastener can ruin the most expensive underlayment, which is why knowing how to stop your subfloor from squeaking with one screw is a fundamental skill every homeowner needs. Finally, I discovered that the layout phase is where the battle for silence is won or lost. I never skip the dry fit rule that prevents costly cutting mistakes because ensuring every piece sits perfectly tight prevents the friction that causes annoying clicks later on.
The Gear That Separates Amateurs from Professionals
If you want pro-level results, you have to stop eyeballing your subfloor and start measuring it with precision tools. My truck is never without a 10-foot straightedge; I have a full guide on how to check for high spots with a 10-foot straightedge because even a three-millimeter hump can turn your floor into a drum. I also rely heavily on my moisture meter to avoid the heartbreak of seeing why your hardwood floor is crowning and how to dry it out after a humid summer. For those dealing with older homes, mastering how to level a floor that has a 2-inch drop across the room is the only way to ensure your cork underlayment and finish flooring actually perform as intended.
#IMAGE_PLACE_HOLDER_E#
Take Back Your Peace of Mind
Your home should be your sanctuary, not a source of stress because you’re worried about waking up the neighbors or the kids. It can feel overwhelming to look at a bare subfloor and realize how much prep is needed, but the reward is a lifetime of silence. By following a comprehensive step-by-step guide to flooring installation and leveling success, you are investing in the long-term tranquility of your living space. Don’t rush the process; the extra day you spend leveling and sealing is the reason you’ll be able to walk across your kitchen at midnight without making a sound. Your successful flooring installation starts with the quiet confidence that you did the prep work right. Have you ever tried to fix a noisy floor only to realize the subfloor was the real villain? Let me know about your flooring triumphs and challenges in the comments below!