
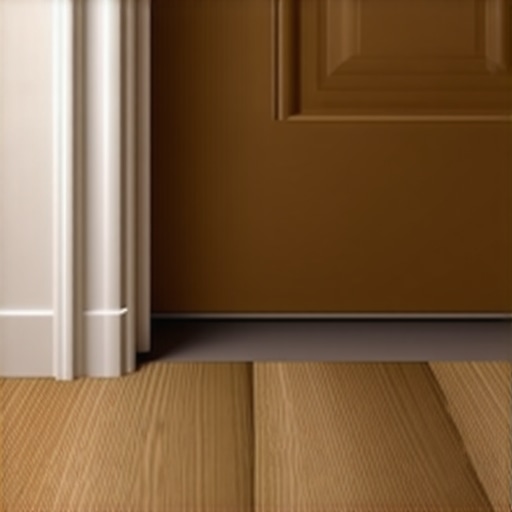
It started with a sharp thwack against my big toe as I carried a heavy laundry basket through the hallway. I looked down, expecting a loose rug, but instead, I saw a jagged dark line where my vinyl plank had pulled away from the transition strip. It felt like a personal betrayal. I had spent three days meticulously clicking those planks together, only to have the doorway look like it was coming apart at the seams. If you are staring at a similar gap right now, do not panic. I have been in those exact knee pads, and I know how frustrating it is to feel like your hard work is literally sliding away from you.
Your Floor Needs More Breathing Room Than You Think
A floating floor is a living, breathing thing—well, technically it is a shifting mass of polymer and limestone, but it behaves like it is alive. The reason your vinyl plank is separating at the thresholds usually comes down to one of two things: physics or a lack of prep work. I learned this the hard way during my first big DIY project in my basement. I thought ‘tight was right’ and jammed the planks flush against every wall and door casing. Within months, the floor had nowhere to go as it expanded, and the weakest points—the doorways—started to buckle and pull apart. According to the Resilient Floor Covering Institute (RFCI), vinyl flooring requires a minimum perimeter expansion gap of at least 1/4 inch to function correctly, as temperature swings cause the entire floor to grow and shrink. If you missed this, you are likely seeing one of the most common flooring installation mistakes to avoid for lasting results.
Does a tiny gap really matter in the long run?
You might think a small separation is just a cosmetic annoyance, but it is actually a sign of mechanical failure. When the planks separate at the threshold, they lose their locking integrity. This often happens because the subfloor underneath was not as flat as you thought. If you skipped the precise floor leveling techniques to achieve flawless surfaces, your floor is likely ‘flexing’ every time you walk through the door. That constant up-and-down motion acts like a lever, slowly prying the tongue and groove apart until—pop—you have a gap. Have you noticed your planks sliding back and forth when you step on them near the doorway?
Why Transitions Are the Weakest Link
Doorways are the highest-traffic zones in your home, and they are also where we often mess up the hardware. If you are struggling with how to fix a transition strip that wont stay glued down, you are already seeing the root of the problem. A loose transition allows the floor to migrate. Conversely, if you nailed your transition strip through the vinyl plank, you have pinned the floor in place, preventing it from moving naturally. This causes it to pull away at the joints further down the line. It is a delicate balance, much like figuring out why your luxury vinyl is peaking at the short joints elsewhere in the room. Today, we are going to stop the migration and get those planks locked back home where they belong.
Grab a Suction Cup or Try the Sticky Block Trick
You do not need to rip up the entire room to fix a two-inch gap at your doorway. Think of yourself as a chiropractor for your floor—you are simply giving it a much-needed adjustment. The most effective way to close a gap without causing damage is the ‘Sticky Block’ method. I remember vividly the first time I tried this in my guest room after a particularly humid summer. I had originally tried to pry the boards with a screwdriver—an amateur move that left a permanent gouge in the wear layer—before I realized there was a better way. I took a scrap piece of 2×4, applied heavy-duty double-sided carpet tape to the bottom, and stuck it firmly to the plank that had migrated. A few sharp taps on the side of the block with a rubber mallet, and the plank slid right back into its locking groove. If you are dealing with a larger area or heavier planks, a glass suction cup puller is your best friend. It provides the mechanical grip needed to move the mass of the floor without ever touching the delicate tongue-and-groove edges. 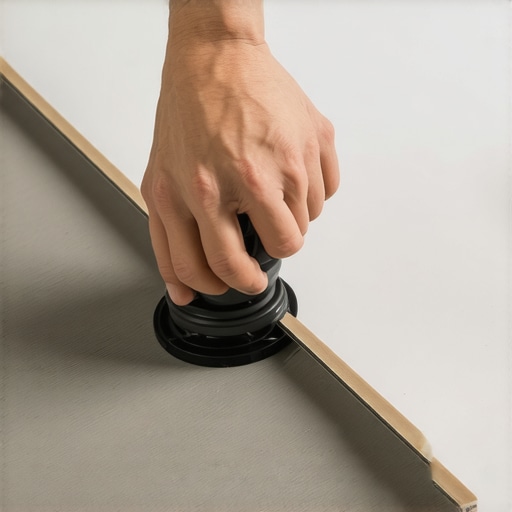
Glue the Grooves to Stop the Migration
Once you have successfully pulled the plank back into place, you have to address the ‘why’ or it will just slide out again next week. Usually, planks migrate because there is zero friction holding them to the subfloor. You can learn how to stop luxury vinyl planks from sliding under heavy furniture by using a technique called ‘spot gluing.’ Before you click the wandering plank back into its neighbor, apply a tiny, pea-sized drop of PVC-safe adhesive inside the groove. This does not turn your floating floor into a glue-down installation; it simply acts like an internal brake system for that specific high-traffic joint. This is a common tactic when you are also trying to figure out how to stop hardwood floors from gapping in the hallway, as doorways act as the primary stress points for any floor.
Level the Playing Field Under Your Planks
If the gap keeps returning despite your best efforts, the culprit is likely a dip in your subfloor. When the floor is not flat, every footstep creates a ‘trampoline effect’ that slowly pumps the joints apart. You might need to consult the ultimate guide to floor leveling for a perfect finish to see if your subfloor meets the industry standard of 3/16 of an inch over a 10-foot span. If your subfloor has a valley, the planks will never stay locked because they are constantly being forced to bend. This deflection is also why floating floors sound hollow when you walk on them. Addressing these low spots with precise floor leveling techniques to achieve flawless surfaces before installation—or during a targeted repair—is the only way to ensure the locking mechanism stays engaged for the life of the home.
Master the Art of the Floating Transition
The final piece of the puzzle is the transition strip itself. If your T-molding is loose, the floor has no physical boundary to keep it contained. Many DIYers struggle with how to fix a transition strip that wont stay glued down because they mistakenly bond the strip directly to the vinyl planks. This is a recipe for failure. The transition must be anchored firmly to the subfloor (using a track or construction adhesive in the center) while allowing the vinyl planks to sit freely underneath the ‘lip’ of the T-molding. This creates a hidden expansion zone that hides the edges while preventing the planks from walking out into the middle of the doorway.Once you have mastered the basics of pulling your planks back into place, it is time to look at the hidden nuances that separate a weekend warrior from a seasoned pro. Many DIYers assume that because luxury vinyl is marketed as a ‘forgiving’ material, the condition of the subfloor is secondary. This is a trap. I have seen countless homeowners invest thousands into high-end planks only to have the floor look like a topographical map within a year. Let’s dig deeper into the common myths that lead to failing thresholds and separated joints.
Why Too Much Cushioning Kills Your Flooring Joints
One of the most frequent mistakes I see is the ‘more is better’ approach to underlayment. You might think that adding an extra layer of foam will make your floor softer and quieter, but it actually creates a trampoline effect. Every time you walk across the floor, the excess padding compresses, causing the tongue-and-groove joints to flex vertically. This constant stress is exactly what causes the locking mechanism to fatigue and snap, leading to those frustrating gaps at your doorways. If you are dealing with a subfloor that is less than perfect, don’t try to hide it with foam; you need to address the root cause. This is a major reason why your lvp floor is showing telegraphing from the subfloor. Every bump and dip will eventually show through, regardless of how much padding you use.
Are you accidentally whipping air into your self-leveling compound?
When you realize your subfloor is out of level, your first instinct is to grab a bag of self-leveler and a high-speed drill. Stop right there. I learned the hard way that the mixing paddle speed that ruins your leveling compound is usually anything over 600 RPM. When you mix too fast, you whip air into the slurry. Once you pour it, those bubbles rise to the surface and pop, leaving hundreds of tiny craters. To get a truly professional finish, you must use the spiky-roller secret for a mirror-smooth pour. The roller breaks the surface tension and allows the air to escape, ensuring a flat, glass-like surface that will keep your vinyl planks locked together forever. 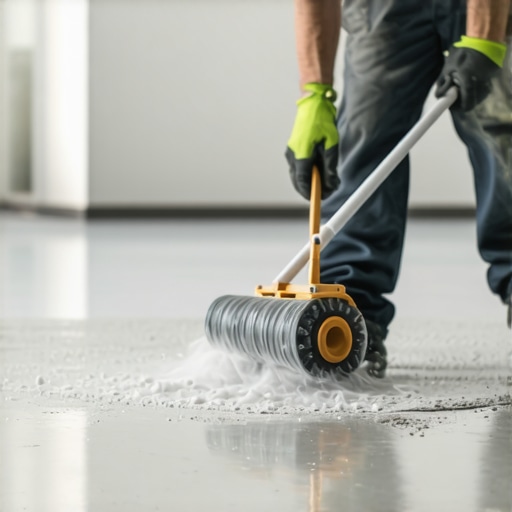
The Concrete Moisture Myth That Leads to Mold
There is a dangerous belief that ‘waterproof’ flooring means you don’t have to worry about moisture. While the planks themselves won’t rot, moisture trapped under a floating floor has no way to evaporate. This can lead to the growth of mold and the failure of any adhesives used near your transitions. According to the ASTM F710 standards, concrete subfloors must be tested for moisture vapor emission rates before any resilient flooring is installed. I always tell my readers to learn how to use a moisture meter before you lay wood floors or vinyl, even in a basement. If you find high moisture levels, you need a dedicated vapor barrier, not just a thicker plank.
Rip It Out and Start Clean
Sometimes, the gap at your doorway is a symptom of a subfloor that is simply too far gone to save. If you find yourself constantly resetting the same three planks, it might be time for a total reset. This usually happens when the original subfloor was poorly installed or has sustained water damage. If you decide to go this route, plan your logistics carefully. Knowing the 10-yard dumpster weight limit secret for heavy tile demo in reeds spring can save you from unexpected fees during the cleanup process. Have you ever fallen into this trap where a simple repair turned into a full-room renovation? Let me know in the comments.If you have decided to push through the frustration and fix the subfloor, you need to treat the foundation like a surgical site. One of the biggest ‘secret weapons’ in my van is not a power tool—it is a high-quality pinless moisture meter. I have seen people use cheapies from the hardware store, but those often give false negatives on concrete. I rely on the technology found in Wagner Meters’ Orion series because they use electromagnetic waves to scan the wood or concrete without leaving a single hole. Learning how to use a moisture meter before you lay wood floors is the difference between a floor that lasts and one that cups or separates within six months. While you have got the subfloor exposed, do not just hope the squeaks go away. You can actually learn how to stop your subfloor from squeaking with one screw by targeting the joists directly. I use a specialized kit that allows you to drive a screw through the subfloor and snap the head off below the surface. It is a game changer for hallway renovations where the noise is driving you crazy. Once the structural stuff is handled, you can move on to the pretty stuff, like mastering the secret to a perfect miter cut on baseboard corners to finish the room with professional flair. 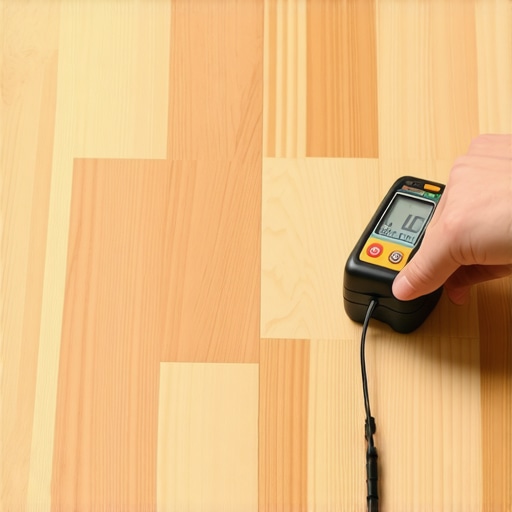
How do I maintain my floor’s integrity for the next decade?
Longevity is not just about cleaning; it is about environmental control. According to technical experts at the National Wood Flooring Association (NWFA), maintaining a consistent relative humidity between 30% and 50% is critical for preventing gaps in solid wood. For luxury vinyl, maintenance is simpler, but you must avoid high-heat cleaning tools. I always point people toward hardwood floor care secrets to longevity and shine because the same principles—gentle pH-neutral cleaners and felt pads under furniture—apply across the board. If you are in a region with harsh winters, remember that salt can be a silent killer for floors. If you are sealing outdoor areas, look for the specific concrete sealer that actually protects mccordsville driveways from winter salt to keep the tracked-in damage to a minimum.
Where Flooring Technology is Heading in 2025
Looking ahead, the industry is shifting toward ‘smart floors’ and ultra-durable hybrid materials. We are already seeing ceramic-infused wear layers that are nearly impossible to scratch. The real trend I am watching is the ‘dust-free’ revolution. If you eventually need a refresh, you should definitely look into the dust-free move for hardwood floor refinishing in kansas city. Modern HEPA-connected sanding systems mean you do not even have to empty your cupboards anymore. I challenge you to try the ‘sticky block’ trick I mentioned earlier on just one loose plank this weekend—you will be amazed at how much confidence a small repair gives you.
Three Hard Truths About Vinyl Gaps I Learned the Long Way
After years of fixing my own mishaps and helping neighbors with theirs, I have realized that patience is the most valuable tool in your belt. First, never underestimate the power of a 1/4-inch expansion gap; physics does not care about your aesthetic preferences. If you squeeze the floor too tight, it will find a way to pop elsewhere. Second, your subfloor is the boss of your planks. If you have not looked into how to achieve flawless floor leveling before tile laying or vinyl, the gaps will eventually return because the floor is ‘trampolining’ over a dip. Lastly, ‘click-lock’ is a promise, not a guarantee—you have to listen for that specific mechanical snap to know the joint is truly secure before you move to the next row.
What I Pack for Every Threshold Repair Job
I do not leave for a flooring repair without a few non-negotiables that make the job look professional instead of patched-together. First, a high-quality glass suction cup—it saves your fingertips and prevents you from damaging the delicate edges of the planks. Second, a 2×4 scrap block with heavy-duty double-sided carpet tape for the ‘sticky block’ maneuver I described earlier. I also always reference a step by step guide to flooring installation and leveling success to ensure I am not ignoring a localized moisture issue. Finally, a dead-blow mallet is significantly better than a standard rubber one because it does not bounce, providing a more direct transfer of energy to close those stubborn doorway joints without scuffing the wear layer.
#IMAGE_PLACEHOLDER_E#
Take the First Step Toward a Gap-Free Hallway
Fixing a floor can feel daunting when you are staring at a jagged gap, but remember that even the pros started with a single loose board and a lot of questions. You now have the insider knowledge to handle your flooring installation challenges with confidence. Do not let a small separation turn into a major structural headache; grab your tools this weekend and give that plank the gentle nudge it needs to get back into line. You will find even more inspiration and troubleshooting tips in my guide on how to revamp your home with expert flooring installation tips. Your home deserves a foundation that stays together, and now you know exactly how to make that happen. Have you ever tried the sticky block trick, or did you find another creative way to close your floor gaps? Let me know in the comments below!