
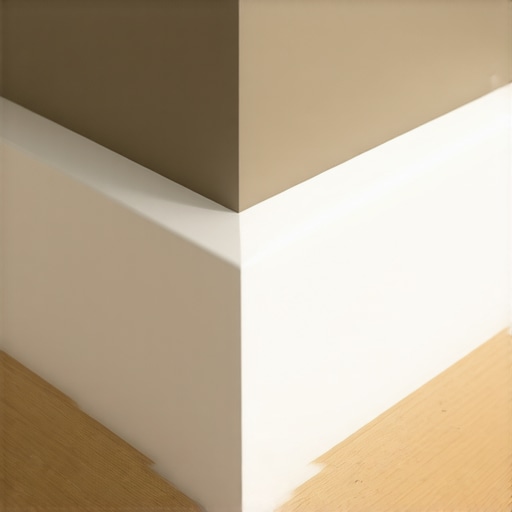
I was on my hands and knees, staring at a gap so wide I could have lost my car keys in it. My first attempt at installing baseboards was a disaster of epic proportions. I had a brand-new miter saw, a stack of expensive trim, and the confidence of a man who’d watched exactly one YouTube video. I set the saw to 45 degrees, chopped the wood, and walked over to the corner. It didn’t fit. Not even close. I tried to force it, but the wood just mocked me. I ended up using so much wood filler that the corner looked like a cake gone wrong. If you’ve ever felt that sinking realization that your “90-degree” walls are actually a cruel joke played by the builder, you aren’t alone. Today, I’m going to show you exactly how to stop fighting your house and start winning.
Stop Blaming Your Saw for Those Ugly Gaps
Early in my DIY journey, I fell into the trap of thinking my tools were broken. I figured if the dial said 45, and the corner was 90, the math should just work. But that’s one of the biggest flooring installation mistakes to avoid if you want professional results. The reality is that your house is a living, breathing thing that shifts and settles. According to the National Association of Home Builders (NAHB), standard framing tolerances mean that walls are rarely perfectly square, often deviating by several degrees due to lumber shrinkage and foundation settling. When I finally stopped blindly trusting the 45-degree mark on my saw and started measuring the actual angle of the wall, my life changed. You can revamp your home with expert flooring installation tips, but if you don’t master the miter, the whole room looks unfinished.
Do you actually need to be a math genius to fix this?
I know what you’re thinking: I barely passed high school geometry; how am I supposed to calculate bisected angles on the fly? Trust me, I felt the same way. I used to think a perfect fit required expensive laser levels and a PhD. The truth is much simpler. Before you even think about cutting, you need to ensure you aren’t dealing with floor leveling challenges that are throwing off your baseboard height. Have you ever spent hours on a single corner only to realize the floor itself was sloping away from the wall? It’s enough to make anyone want to throw their hammer through a window. Tell me, have you ever faced a corner so crooked that you considered just hanging a plant in front of it and calling it a day?
Get Yourself a Miter Protractor or Suffer the Gaps
The biggest lie you were ever told is that a corner is 90 degrees. It never is. If you want to stop the madness, you need a miter protractor. Think of this tool as a translator that speaks both ‘House’ and ‘Saw.’ You press the arms against the wall, read the dial, and it tells you exactly where to set your blade. I remember trying to trim out a small bathroom in a 1940s ranch where the walls were leaning so badly the corner was actually 94 degrees. I wasted three sticks of expensive oak before I realized that ‘eyeballing it’ is a recipe for expensive firewood. If you are also dealing with uneven subfloors, you might need to look into precise floor leveling techniques to achieve flawless surfaces before the trim can even sit flush. When the floor is wavy, your baseboard will follow those waves, making every miter joint look like a jagged mountain range.
Stop Mitering Your Inside Corners and Start Coping
On inside corners, professional carpenters don’t miter both sides. They ‘cope’ one of them. Mitering is like two people bumping heads; if either one moves, the gap opens up. Coping is more like a nested hug. You run one piece of trim straight into the corner. Then, you cut the profile of the second piece so it fits perfectly over the face of the first. This is a game-changer because as your house breathes—and it will—the joint stays tight. I first tried this in a laundry room after my first attempt looked like a disaster. I used a simple coping saw to remove the excess wood from the back of the trim. It felt like I was carving a sculpture, but when I pushed that piece into place, the joint literally disappeared. This technique is vital if you want to how to stop hardwood floors from gapping in the hallway because it handles the structural movement of the home without revealing ugly seams. 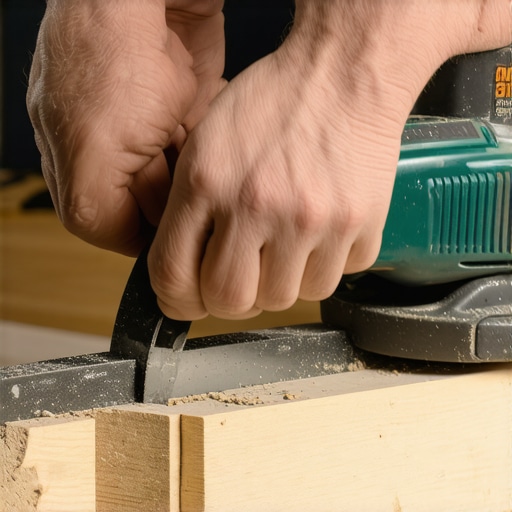
The 2-Degree Back-Cut Secret for Outside Miters
Outside corners are the most visible parts of your floor, and they are usually the ones that get bumped by vacuum cleaners. To get these tight, don’t just cut at 45 degrees. Use a ‘back-cut.’ This means you tilt your saw blade slightly so that the front edge of the wood—the part everyone sees—is longer than the back edge. By cutting at a 46-degree angle and slightly beveling the back, you ensure the tips of the wood touch first. This creates a hair-thin line that looks seamless. Before you nail these in, make sure you aren’t fighting flooring installation fundamentals leveling for a seamless look. If the baseboard is tilted forward because the floor is high at the wall, your outside miters will always open at the top.
Test Every Angle with Scrap Wood Scraps
Never use your ‘good’ wood for the first cut of a difficult corner. I always keep a bucket of 6-inch offcuts from my baseboard pile. Before I commit to a cut on a 12-foot plank, I take two scraps, cut the angles I think I need, and hold them up to the wall. This ‘dry fit’ saved me from a total meltdown when I realized a particularly nasty corner in my living room required a 47.5-degree cut on one side and a 43-degree cut on the other. It’s all part of a step-by-step guide to flooring installation and leveling success. By testing with scraps, you find the house’s secrets before you ruin your budget.
Level Isn’t the Same as Flat
Most people assume that the ultimate goal of floor preparation is to make the room perfectly level relative to the horizon. I’ve seen homeowners spend days chasing a ‘perfect’ bubble on a spirit level, only to realize their hardwood still squeaks and their tiles still crack. Here is the contrarian truth: Your floor doesn’t actually need to be level, but it absolutely must be flat. If a floor is slightly sloped but perfectly flat, your furniture won’t wobble and your joints won’t break. However, a ‘level’ floor with a 1/4-inch dip in the middle is a disaster waiting to happen. The Tile Council of North America (TCNA) provides a clear standard for this; they specify that for large-format tiles, the subfloor cannot vary more than 1/8 inch over a 10-foot span. Achieving this requires the secret to getting a flat floor for large format tiles, which often involves employing precise floor leveling techniques to achieve flawless surfaces. This is a nuance often lost on beginners who are too focused on the bubble in their spirit level and not the straightedge on the floor.
Your High-Speed Drill Is Ruining the Pour
The biggest ‘oops’ factor I see in the field involves the mixing process itself. When you are rushing to beat the clock, it is tempting to crank your heavy-duty drill to its highest setting to mix your self-leveling compound quickly. This is a massive mistake. High-speed mixing whips excessive air into the slurry, which leads to why self-leveling compounds bubbled over your subfloor and left you with a surface that looks like Swiss cheese. To avoid this, you must understand the mixing paddle speed that ruins your leveling compound—keep it under 650 RPM for a smooth, air-free mix. Once poured, you should use the spiky-roller secret for a mirror-smooth pour to release any remaining trapped air bubbles. If you skip these steps, you’ll end up with tiny pinholes that compromise the structural integrity of your adhesive bond. 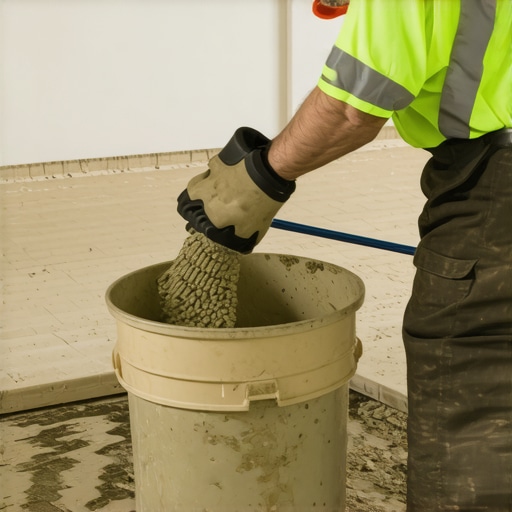
Why does my leveler keep cracking even after I used a primer?
This is the advanced question that separates the amateurs from the pros. You bought the expensive primer, you rolled it on, and yet you woke up to a spiderweb of cracks. Often, the culprit isn’t the primer itself, but the preparation of the substrate beneath it. If you are working on a concrete slab, you likely missed the concrete etching step you shouldnt skip before leveling. Without mechanical etching, the primer just sits on top of the ‘laitance’—a weak, milky layer of cement dust—rather than bonding to the solid, structural slab. This is precisely why your self-leveler developed spiderweb-cracks overnight; as the compound shrinks during the curing process, it simply pulls the weak surface layer right off the floor. It is a physical failure of the bond, not a chemical one. Mastering these nuances is the difference between a floor that lasts decades and one that fails in six months. Have you ever fallen into this trap where you thought you did everything right only to see cracks the next morning? Let me know in the comments.
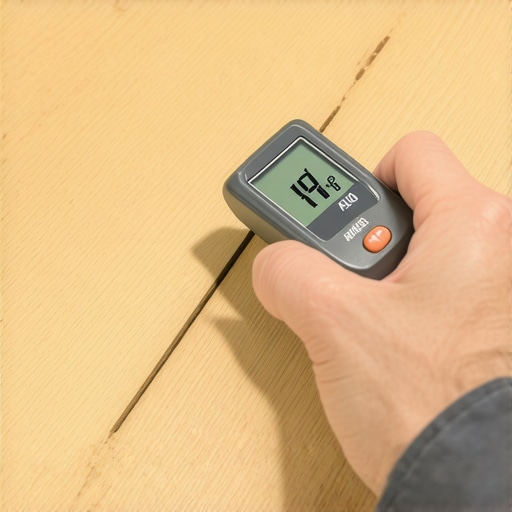
After I stopped making those messy mixing mistakes, I realized that the best work doesn’t just come from technique; it comes from having the right data. I used to ‘feel’ the wood to see if it was dry enough, but that’s a one-way ticket to a warped floor. Now, I never start a project without my Wagner Orion moisture meter. If you want to avoid a catastrophe, you absolutely must learn how to use a moisture meter before you lay wood floors. The National Wood Flooring Association (NWFA) notes in their Technical Publication No. A100 that a moisture content difference of more than 4% between wide plank flooring and the subfloor is a recipe for immediate failure.
The Only Two Tools That Actually Save Your Marriage During a Renovation
Beyond the meter, my oscillating multi-tool is the MVP of my kit. I use it for flush-cutting door jambs so the floor slides underneath perfectly. Without it, you’re left with ugly gaps that no amount of caulk can hide. If you are struggling with tile instead of wood, you might be wondering how to achieve flawless floor leveler before tile laying because even the best saw can’t fix a hump in the middle of the room. I recommend using a 10-foot straightedge to find those ‘hidden’ dips before you ever open a bag of thinset. It’s about being proactive rather than reactive.
How do I keep my hardwood floors looking brand new for years?
The secret isn’t a magic chemical; it’s consistency. I’ve seen homeowners spend $15,000 on white oak only to destroy the finish with a steam mop within six months. You have to understand the hardwood floor care secrets to longevity and shine if you want that investment to last. For me, that means a microfiber dust mop every morning and a pH-neutral cleaner once a week. If you’ve already got some scratches, don’t panic. You can look into mastering hardwood floor refinishing expert tips for 2025 to bring that glow back without a full sand-and-stain.
The Next Big Thing for Smart Homes is Under Your Feet
I genuinely believe the future of flooring is shifting toward ‘smart’ integration. We are already seeing subfloor sensors that can alert your phone if a pipe leaks under your hardwood before the wood even starts to cup. This is going to revolutionize how we handle warranties and maintenance. For now, though, we rely on our eyes and our prep work. If you’re doing tile, I swear by the blue tape secret for perfectly straight grout lines. It sounds simple, but it’s the difference between a DIY look and a ‘how-much-did-you-pay-a-pro’ look. My big challenge for you this weekend: don’t just ‘eyeball’ your next moisture check. Buy or rent a meter and see how far off your guess actually was.
Lessons from the Gap That Saved My Future Projects
Over the years, I’ve realized that flooring installation is less about the tools you own and more about how you respect the environment. My biggest ‘lightbulb moment’ was realizing that moisture is an invisible enemy. If you don’t take acclimation seriously, even the most expensive planks will fail. I also learned that patience during the prep phase pays off tenfold; you can find tile installation pointers that save time and money simply by slowing down. Another hard-won lesson: always check your subfloor for ‘telegraphing’—it is better to spend an hour sanding a high spot now than to feel it under your feet for the next twenty years.
The Short List of Gear That Actually Matters
You don’t need a warehouse full of tools, but these four are non-negotiable for me. First, a reliable moisture meter; it’s the only way to be certain your wood is ready. Second, a 10-foot aluminum straightedge to find those dips that a small level will miss. This is essential for the ultimate guide to floor leveling for a perfect finish. Third, a high-quality spiky roller—don’t underestimate the spiky-roller secret for a mirror-smooth pour when dealing with self-leveling compounds. Finally, a sharp coping saw; it turns frustrating inside corners into works of art. I trust these tools because they address the physical realities of a shifting home, not a theoretical blueprint.
Stop Planning and Start Your First Cut
It’s easy to get paralyzed by the fear of making a mistake, but remember: every professional you see was once staring at a ruined piece of trim just like I was. Your home doesn’t have to be perfect to be beautiful; it just needs to be structurally sound and thoughtfully executed. By focusing on flatness over levelness and coping over mitering, you are already ahead of 90% of weekend warriors. If you find yourself stuck on an older project, you can always look into mastering hardwood floor refinishing expert tips for 2025 to fix minor hiccups along the way. Go grab your safety glasses—your professional-grade flooring installation journey starts with the very next plank.
Have you ever spent an entire afternoon on a single corner only to realize the wall wasn’t even close to 90 degrees? Share your funniest flooring fails in the comments below!