
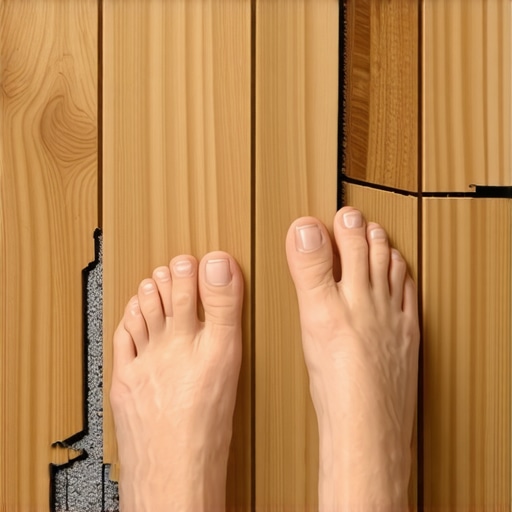
I remember the first time I finished what I thought was a ‘perfect’ laminate installation in my guest room. I stood up, wiped the sweat from my brow, and took one confident step toward the door. My heart sank faster than the floorboards. It didn’t feel solid; it felt like I was walking on a very expensive layer of sponge cake. That sinking sensation is enough to make any DIYer lose sleep, but over the years, I’ve learned that a ‘squishy’ floor isn’t a ghost in the machine—it is a physics problem with a very specific set of causes. If you are feeling that unsettling give under your heels, don’t panic yet. We are going to pinpoint exactly why your floor is behaving like a trampoline and, more importantly, how to ground it for good.
That Squishy Feeling Isn’t Just in Your Head
When I first started out, I made the classic rookie mistake: I assumed the underlayment would act like a magic carpet and hide all the sins of my subfloor. I was wrong. I ignored a slight dip near the window, thinking the planks were stiff enough to bridge the gap. They weren’t. This is where most people trip up during flooring installation mistakes to avoid for lasting results. A floating floor is only as good as the surface it rests on. If there is a void underneath, every step you take forces the tongue-and-groove joints to flex. Over time, this doesn’t just feel weird; it actually destroys the locking mechanism. According to the World Floor Covering Association, subfloor flatness is the most critical factor in a successful installation, yet it’s the one we most often rush. If your subfloor isn’t flat within 3/16 of an inch over a 10-foot span, you’re going to feel that bounce. You might even start hearing why your click-lock flooring is popping out at the joints because the stress is simply too much for the plastic or wood material to handle.
Is This Just How Floating Floors Are Supposed to Feel?
Many homeowners ask me if a little ‘give’ is just part of the deal with luxury vinyl or laminate. The short answer is no. While floating floors have a slightly different acoustic profile than nailed-down hardwood, they should feel firm. If yours feels hollow, you might have fallen for the trap of using why cheap underlayment makes your luxury vinyl sound hollow. Thicker isn’t always better; in fact, too much cushion creates a ‘trampoline effect’ that compromises the floor’s integrity. Have you noticed a specific spot in your house that feels like it’s sinking, or is the whole room a bit bouncy? I’d love to hear about your specific floor ‘hot spots’ in the comments so we can troubleshoot together. Before you pull up a single plank, you need to understand that the fix usually starts with the ultimate guide to floor leveling for a perfect finish. We’re going to look at how to diagnose the gap and whether you need to add more support or start from scratch with a better base.
Hunt Down Voids with a Straightedge
To fix a bouncy floor, you first have to see where the air is hiding. You cannot trust your eyes in a large room; shadows and light tricks will lie to you. I always start by learning how to measure subfloor flatness before you start installing. Grab a long, rigid metal straightedge. As you slide it across the floor, look for spots where light peeks underneath. If you can slide a stack of two or three pennies into a gap, that is a ‘valley’ that will eventually cause your planks to flex and snap. You should also be looking for the opposite problem, so make sure you know how to check for high spots with a 10-foot straightedge. A high spot acts like a fulcrum, making the planks on either side ‘teeter-totter’ every time you walk by.
Level the Playing Field with the Right Pour
Once you have mapped out the dips, it is time for the liquid gold: self-leveling underlayment. This stuff is a lifesaver, but it is temperamental. I learned early on that you can’t just dump it and hope for the best. You need the secret to mixing leveler for a glass smooth finish, which usually involves a high-speed drill and the exact—and I mean exact—amount of water specified on the bag. Before you pour, always apply the best primer for installing leveler over plywood. Without primer, the wood will suck the moisture out of the leveler too fast, causing it to crack and crumble like an old cookie rather than forming a solid, flat rock. 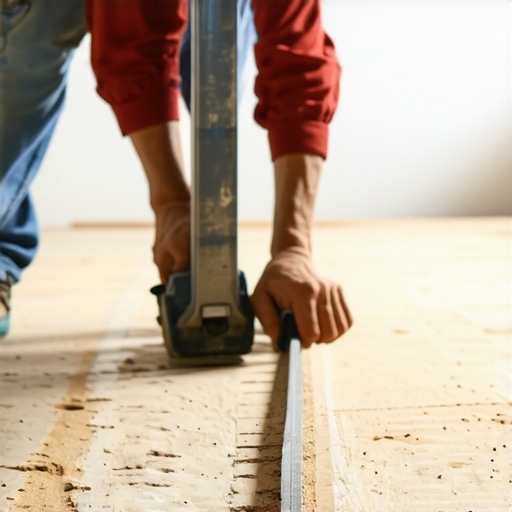
Don’t Let Your Leveler Escape Through the Cracks
Here is a micro-story from my ‘hall of shame.’ During a renovation in a 1920s bungalow, I started pouring leveler in the kitchen without checking the perimeter. Ten minutes later, I went into the basement and found a gray waterfall pouring through the floorboards onto the washer and dryer. It was a nightmare. Now, I never pour without knowing how to dam a doorway before pouring self-leveler. Use foam tape or even a bead of caulk to create a ‘bathtub’ for your leveler. This ensures the material stays where you need it—filling that 1/4-inch dip—instead of decorating your basement.
Beef Up Your Subfloor from Underneath
Sometimes the squishiness isn’t about a gap under the plank; it is about the subfloor itself being too thin or the joists being spaced too far apart. If you walk across the room and the china cabinet rattles, leveler won’t save you. You might need to employ the shim-trick for fixing a bouncy plywood subfloor if the wood is just loose against the joists. For more serious structural ‘trampoline’ effects, I’ve had great success using the plywood sandwich trick for fixing bouncy floor joists. By sistering the existing joists or adding blocking, you turn a flimsy base into a tank-like foundation. This rigidity is the only way to ensure your click-lock joints don’t fail prematurely under the weight of daily life.
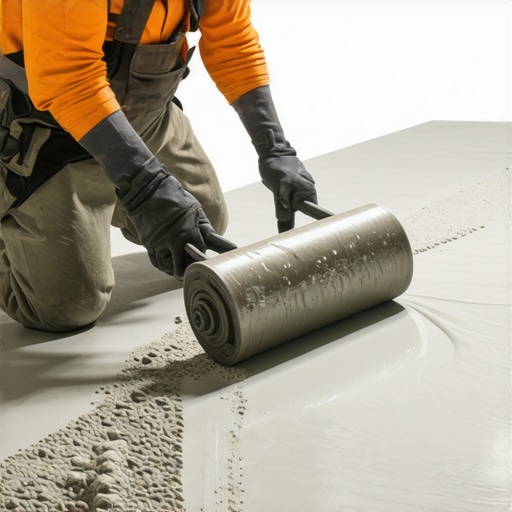
Let’s dig deeper into the ‘self-leveling’ myth. Most DIYers and even some pros think they can just pour the bag and walk away. This is the fastest way to ruin a project. You need to use precise floor leveling techniques to achieve flawless surfaces because gravity isn’t as helpful as the marketing on the bag suggests. If you don’t actively help the material along, it will ‘mound’ instead of flow. I always recommend learning how to use a spiked roller for the perfect leveling pour. This tool breaks the surface tension and releases trapped air. If you skip this, you’ll likely end up wondering why your floor leveler pitted during the drying process, leaving you with a moonscape instead of a mirror finish.
Then there is the ‘Oops’ factor regarding speed. I’ve seen people mix three bags at once, only to realize the reason your leveler is setting up too fast for them to spread it is usually a temperature or mixing ratio error. You typically have about 10 to 15 minutes of working time. If you miss that window, you aren’t leveling anymore; you’re just making a mess. Have you ever had a batch of leveler harden in the bucket before you could get it all down? Let me know in the comments.
Why Does Leveler Sometimes Look Like Swiss Cheese?
This is an advanced nuance that catches even seasoned renovators. You’ve primed, you’ve poured, and suddenly tiny bubbles start popping up through the liquid. This usually happens because you’re dealing with why your self leveler is bubbling over plywood. Plywood is naturally porous. As the heavy, wet leveler sits on top, it pushes air out of the wood fibers. If your primer layer wasn’t 100% continuous, that air has nowhere to go but up through your expensive pour. According to the National Wood Flooring Association (NWFA), failure to properly seal a subfloor can lead to a significant reduction in bond strength and surface smoothness. This isn’t just about looks; it’s about the structural integrity of the entire flooring system.
Another common mistake is ignoring the invisible enemy: moisture. Even if your floor looks perfectly flat, you must know how to use a moisture meter before installing wood floors. If the subfloor is holding onto dampness, that self-leveler might actually act as a vapor barrier, trapping water underneath and eventually causing why your self leveler is pulling away from the concrete or wood. This leads us back to flooring installation fundamentals: leveling for a seamless look. You aren’t just creating a flat plane; you’re creating a chemically stable environment. Never skip the one step people skip during waterproof flooring installation in McKinney, which is the final verification that the base is dry and cured. If you don’t respect the chemistry of the pour, the physics of your first step will always let you down.
That is why I’ve become a bit of a gear snob when it comes to the preparation phase. If you want to graduate from ‘DIY-er who got lucky’ to ‘pro-level results,’ you need to stop relying on a 4-foot bubble level. I personally swear by my 360-degree cross-line laser. It doesn’t just show you a dip; it paints a topographical map of your entire room in bright green light. Using precise floor leveling techniques to achieve flawless surfaces becomes ten times easier when you aren’t squinting at a bubble. I also never step onto a job site without a high-end pinless moisture meter. If that subfloor is even slightly too damp, your leveling compound or your expensive hardwood is on a countdown to failure. Most people rush the ‘dry time,’ but I’ve found that waiting an extra 48 hours is the difference between a floor that lasts 30 years and one that fails in three.
How do I maintain my level floors over the long haul?
Maintenance isn’t just about cleaning; it is about environment control. You can have a perfectly level subfloor, but if you don’t know how to keep your hardwood floors from gapping in the winter, those joints are going to flex and eventually squeak. I always recommend installing a whole-home humidifier to keep the wood from shrinking away from the leveler. And please, for the sake of your finish, learn why you should never use a steam mop on click-lock floors. The heat and moisture from those mops can penetrate the joints, soften the underlayment, and create the very squishiness we just worked so hard to fix. Stick to the hardwood floor care secrets to longevity and shine that rely on pH-neutral cleaners and micro-fiber pads. 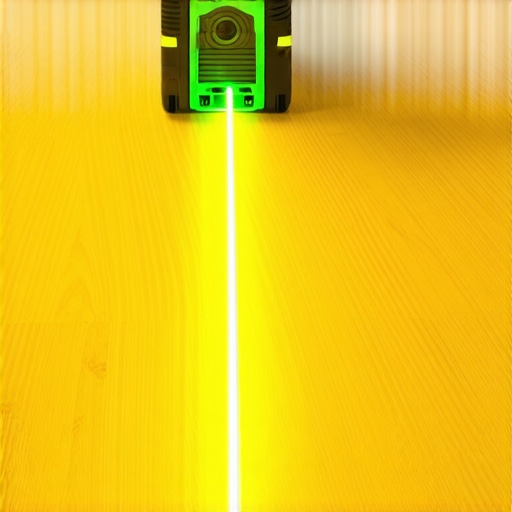
Don’t Let Your Transitions Become Your Weakest Link
Even a perfectly flat floor can feel ‘cheap’ if the transitions are sloppy. I often see people do a great job on the main field but then ignore why your thresholds are always the first thing to break. If there is even a 1/8-inch gap under your T-molding, it will eventually crack. This is also why your threshold is making a clicking sound when you walk between rooms. I’ve started using a tiny bead of flexible construction adhesive under my tracks to ensure they are dead silent. Looking ahead, I predict we are going to see ‘smart’ underlayments that can actually detect moisture spikes before they cause cupping, but until then, we have to rely on our tools and our patience. According to the Tile Council of North America (TCNA) Handbook, specifically the EJ171 standard for expansion joints, failure to plan for movement is the primary cause of flooring failure in large open-concept spaces. This applies to your leveling too—you must leave space for the house to breathe. Before you lay your first tile, make sure you’ve mastered how to achieve flawless floor leveling before tile laying. My challenge to you: On your next project, spend twice as much time on the prep as you do on the installation. Grab a laser, map those dips, and don’t pour a drop of leveler until you’ve double-checked your moisture levels. Your feet will thank you every morning for the next two decades.
Three Hard Truths About Floor Prep That Saved My Sanity
Over the years, I’ve realized that the ‘self’ in self-leveling is a bit of a marketing lie. If you don’t help the material move, you’ll end up with a mess. Here are the lightbulb moments that changed my approach: First, air is your enemy. Those tiny bubbles are more than an eyesore; they’re structural weak points that can lead to crumbling later. Second, speed kills quality. Most people fail because they don’t have a plan for the narrow 15-minute window when the leveler is actually workable. Third, trust the numbers, not your eyes. I used to think I could ‘feel’ a level floor, but now I know that precision requires the right instruments. Navigating floor leveling challenges: common mistakes and how to avoid them is simply part of the growth process for any dedicated DIYer.
The Survival Kit Every Flooring DIYer Needs
I don’t start a job without a few specific items in my truck. A high-quality cross-line laser removes the guesswork and shows you exactly where the dips are without having to crawl on your knees with a bubble level. I also swear by a pinless moisture meter; it is the only way to achieve mastering floor leveling pro secrets for perfect installations by ensuring your subfloor is dry enough to bond. Finally, I always follow the step-by-step guide to flooring installation and leveling success to keep my workflow organized from the first pour to the last plank. These tools don’t just save time; they save your back and your budget.
Build a Foundation That Doesn’t Give an Inch
At the end of the day, your floor is the most used ‘tool’ in your home. It’s the stage where your family lives, and taking that extra day to ensure your subfloor is rock-solid isn’t just about technical perfection; it’s about long-term peace of mind. Your next flooring installation should be one that you never have to think about again because it was grounded in proper preparation. Go get that laser out and start mapping those valleys—your future self will thank you for every extra minute spent on the prep work. #IMAGE_PLACEHOLDER_E#
What’s the one spot in your house that’s driving you crazy with its ‘squish’ or bounce? Let me know in the comments below and let’s troubleshoot the fix!