
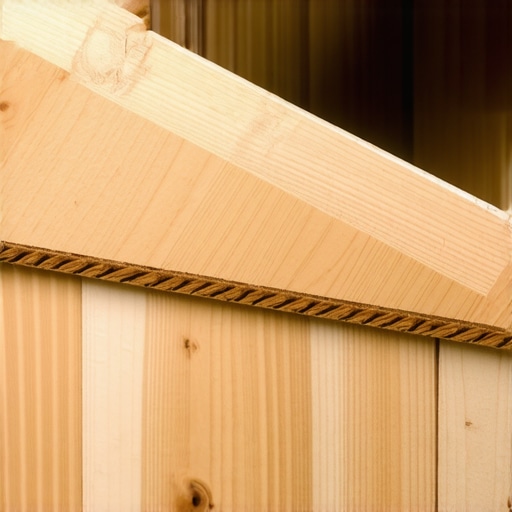
I’ll never forget the sound—a sharp, plastic snap that echoed through my hallway just as I was showing off my “perfect” DIY weekend project to my brother-in-law. I looked down, and there it was: a proud little ridge where two planks used to meet seamlessly. It wasn’t just an eyesore; it was a trip hazard and a blow to my ego. I spent the next three hours trying to stomp it back into place, which, as you can probably guess, did absolutely nothing but make my feet sore. If you’re currently dealing with joints that won’t stay flat, I’ve been in your shoes, and I’m here to tell you that you don’t have to live with a floor that feels like a trampoline.
Stop Tripping Over Your Living Room Floor
The problem with click-lock flooring is that it’s marketed as “so easy a child could do it.” While the locking mechanism is clever, it’s also incredibly sensitive to what’s happening underneath it. When those joints start popping out, it’s usually your floor’s way of screaming for help. We’re going to dive into why this happens—from subfloor dips to the dreaded lack of expansion space—and I’ll show you the exact steps to get that flush, smooth surface back. According to the National Wood Flooring Association, subfloor flatness is the single most common cause of installation failure, often requiring a deviation of no more than 3/16-inch over a 10-foot span.
Is my flooring just poor quality?
It’s easy to blame the box of planks you bought on clearance, but even the most expensive luxury vinyl or laminate will fail if the foundation is off. I learned this the hard way during my second remodel. I thought I could skip the prep work and ended up making the rubber mallet mistake that damaged your click-lock edges, essentially breaking the tiny locking “tongue” before the floor was even finished. If you’ve ever wondered if your subfloor was the culprit, you need to know how to measure subfloor flatness before you start installing.
The Hidden Reason Your Planks Are Moving
Sometimes, the issue isn’t what you did during the install, but what you didn’t do. Wood and vinyl are living, breathing things—well, technically they expand and contract with the weather. If you didn’t leave enough room at the edges, the floor has nowhere to go but up. I always recommend the quarter trick for checking expansion gaps in luxury vinyl floors to ensure you’ve given your home room to breathe. Have you noticed your floors acting up more during the summer months? Sometimes heat is the enemy, and why your luxury vinyl planks are separating in the sun is a topic every homeowner with big windows should understand. Let’s get into the nitty-gritty of the why so we can move on to the how.
Find the Pinch Point and Set it Free
The very first thing I do when I see a joint popping up is head straight for the walls. You need to pull up your baseboards or shoe molding to see if the floor is actually touching the drywall. If there is zero gap, the floor is ‘pinched.’ Imagine trying to lay a 10-foot rug in a 9-foot-11-inch room; eventually, it has to hump up in the middle. I once helped a neighbor whose floor was buckling so badly you could trip over it. We pulled the trim and found that the installer had wedged the planks tight against a stone fireplace. Using a multi-tool to trim just a quarter-inch off those planks allowed the whole floor to ‘relax’ and lay flat within minutes. You must review common flooring installation mistakes to avoid for lasting results to ensure you aren’t fighting physics.
Attack the Hollow Spots Underneath
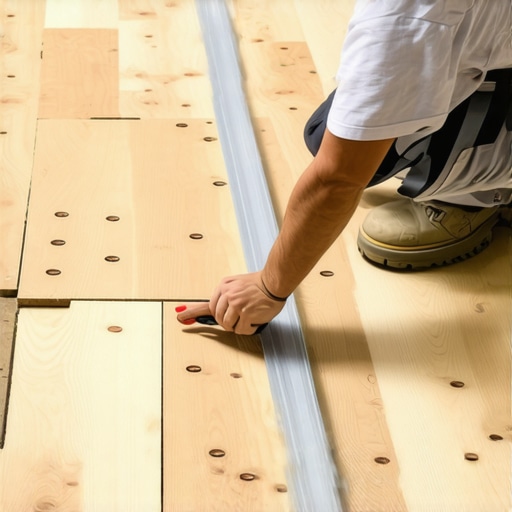
If your gaps are fine but the floor still feels like a trampoline, you’re likely dealing with a subfloor dip. You can’t just keep tapping the planks together; you’re trying to close a gap that is being pulled open by gravity every time someone walks over it. Grab a long straightedge or a 6-foot level and slide it across the area where the joint is failing. If you see light shining under the level, that’s your ‘valley.’ To fix this properly, you have to follow a step-by-step guide to flooring installation and leveling success, which usually involves pulling up those specific planks and filling the low spot with a high-quality patch or leveler.
Stop the Bounce Before the Snap
Sometimes the subfloor isn’t just uneven—it’s structurally ‘bouncy.’ I remember a guest bedroom project where the floor felt solid until you walked into the center, and then the whole floor would dip nearly half an inch. No click-lock system on earth can withstand that kind of vertical movement without snapping. I had to go into the crawlspace and reinforce the joists. If you find yourself in a similar situation, the shim trick for fixing a bouncy plywood subfloor can provide that missing rigidity without requiring a full structural rebuild. If you ignore the bounce, your planks will eventually shear off their locking tongues, leaving you with a permanent gap that no amount of glue can fix.
Mix Your Way to a Level Foundation
For those massive dips that a simple shim won’t fix, self-leveling underlayment is your best friend. But be warned: if you mix it too thick, it won’t flow; if it’s too thin, it won’t hold. I’ve learned through several messy trials that the secret to mixing leveler for a glass smooth finish lies in the precise water-to-powder ratio and using a high-torque drill. You want the consistency of a milkshake. Once poured, it will seek out those valleys and create the flat plane your click-lock floor desperately needs. For a deep dive into the prep work, consult the ultimate guide to floor leveling for a perfect finish to ensure your repair doesn’t become another project next year.
Stop Buying the Thickest Underlayment You Can Find
Most people walk into a big-box store and assume that the thickest, squishiest underlayment will make their floor feel like a luxury hotel. This is a massive mistake. In fact, that extra “cushion” is often what is murdering your joints. Think about it: a click-lock system relies on a rigid mechanical bond. If you put a rigid plank over a soft, compressible foam, every step you take causes the joint to deflect downward. Over time, this repetitive bending causes fatigue in the thin plastic or wood fiber tongue.
Does more cushion actually protect my click-lock joints?
No, it’s quite the opposite. According to the North American Laminate Flooring Association (NALFA), using an underlayment that is too thick or has too much “vertical deflection” is a leading cause of broken locking systems. You want high density, not high thickness. If you’ve already noticed a hollow sound when you walk, you might be realizing why cheap underlayment makes your luxury vinyl sound hollow and unstable. 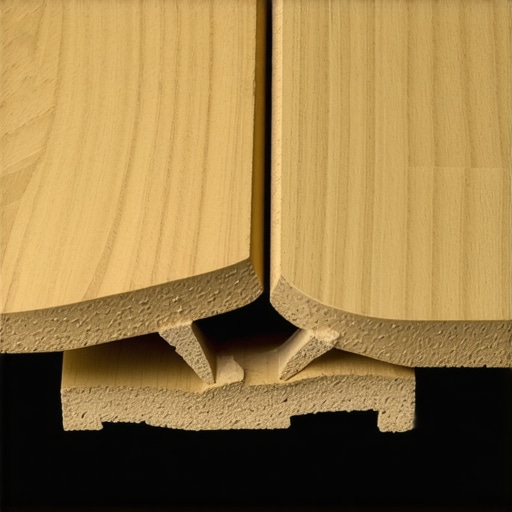
Master the Invisible Prep Work
If you’ve committed to leveling the floor, don’t fall into the “pour and hope” trap. I see so many people buy the expensive bags of leveler but skip the small bottle of dedicated primer. Plywood and concrete are thirsty; if you don’t seal them first, they will suck the moisture out of your leveler before it has a chance to flatten out. This leads to pinholes and a brittle surface that will eventually crack under your new floor. You need to be mastering floor leveling pro secrets for perfect installations, which starts with a dedicated primer. Once you pour, don’t just use a trowel. I’ve found that knowing how to use a spiked roller for the perfect leveling pour is the difference between a floor that looks flat and a floor that actually is flat.
Stop Chasing Perfection with Shims
There’s a common myth that you can “fix” a low spot by just stacking extra layers of underlayment or cedar shims under the planks. Please, don’t do this. You are creating a pivot point. When you step on one side, the other side of the plank lifts like a seesaw, putting immense pressure on the joint. Instead of hacking it together, use precise floor leveling techniques to achieve flawless surfaces. It takes an extra 24 hours for the compound to dry, but it saves you a decade of frustration. Have you ever fallen into the “extra padding” trap thinking it would make the floor warmer or quieter? Let me know in the comments.Once you’ve conquered the subfloor, you might think you’re in the clear, but the difference between a floor that lasts five years and one that lasts fifty often comes down to the gear you used during the final stretch. I used to eyeball everything until I realized that a $50 moisture meter could have saved me from a $5,000 replacement. You absolutely must be how to use a moisture meter before installing wood floors because wood is essentially a sponge. The National Wood Flooring Association (NWFA) is very clear: for planks wider than 3 inches, the moisture content between your flooring and subfloor should differ by no more than 2 percent. If you ignore this, you’re just waiting for the wood to cup or gap. Also, if you’re working with tougher materials, don’t kill your standard miter saw blade; why you need a specific blade for cutting bamboo planks is a lesson in both safety and precision.
How do I maintain my flooring over the long haul?
Maintenance isn’t just about sweeping; it’s about humidity control. I tell everyone that the most important tool in their house isn’t a vacuum, but a hygrometer. You’ve worked hard to learn hardwood floor care secrets to longevity and shine, but that all goes out the window if your house is as dry as a desert in January. I’ve seen beautiful installs ruined because homeowners didn’t know how to keep your hardwood floors from gapping in the winter. And please, put the steam mop away. I’ve seen the moisture from those things delaminate luxury vinyl in a matter of months, which is exactly why you should never use a steam mop on click-lock floors. 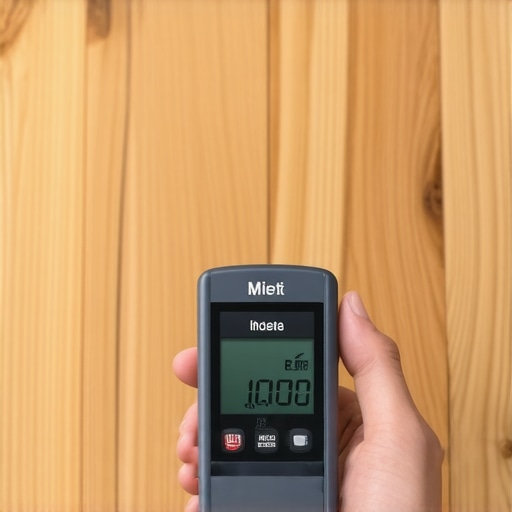
Avoid the Swirls When it is Time to Refinish
Fast forward ten years: your floor has seen some life. Maybe there are scratches from the dog or a faded path from the sun. This is where you decide to refinish or replace. If you have solid wood, refinishing is a gift, but it’s a high-stakes game. I’ve seen DIYers ruin floors by rushing the sanding process, making the sanding mistake that leaves swirl marks on your wood that only show up after the first coat of poly is applied. You have to be meticulous and stay updated on mastering hardwood floor refinishing expert tips for 2025. Looking ahead, I predict we’re going to see a massive shift toward ‘smart’ underlayments that can detect moisture leaks before they rot your subfloor. But until that’s standard, you are the primary defense system. My challenge for you: Before you start your next row of planks, go buy a moisture meter and check three different spots in your room. It’s the one pro move that will change your perspective on installation forever.
Hard-Earned Truths from the School of Broken Planks
After years of wrestling with floating floors, I’ve realized that the ‘easy’ label on the box is a bit of a marketing trap. The biggest lesson I ever learned was that a job is only as good as the time you spend on the stuff no one will ever see. I used to rush the subfloor check, but after seeing a $2,000 floor fail because of a tiny ‘valley’ I ignored, I never skip the prep. You have to anticipate floor leveling challenges and common mistakes before you open the first box of planks. Another lightbulb moment was realizing that ‘tight’ isn’t ‘right’ when it comes to walls. If those planks don’t have room to dance with the changing seasons, they will eventually bow. It’s better to have a slightly larger gap hidden by trim than a floor that pops under your feet in August.
The Gear I Pack for Every Flooring Battle
I don’t step onto a job site without a few specific items that act as my insurance policy. First, a heavy-duty 10-foot straightedge is non-negotiable; you need to know how to check for high spots with surgical precision. I also rely heavily on a high-torque mixing drill for my levelers to avoid those annoying lumps. For anyone serious about durability, checking expert flooring installation tips regularly keeps you updated on the best new adhesives and primers. These tools aren’t just gadgets; they are the difference between a floor that squeaks and one that stays silent for a decade. #IMAGE_PLACEHOLDER_A#
Turn Your Next Project Into a Legacy
Fixing a popping floor or tackling a new layout isn’t just about home value—it’s about the satisfaction of walking across a room and feeling nothing but solid, flat earth. Don’t let the fear of a little extra prep work stop you from achieving professional results. When you take the time to master your flooring installation, you’re building something that will hold up your family’s daily life for years to come. Once the work is done, don’t forget to implement hardwood floor care secrets to longevity and shine to keep that surface looking brand new. You’ve got the knowledge, now go grab your straightedge and get started!
Have you ever discovered a hidden dip in your subfloor halfway through an install? Let me know how you handled it in the comments below!