
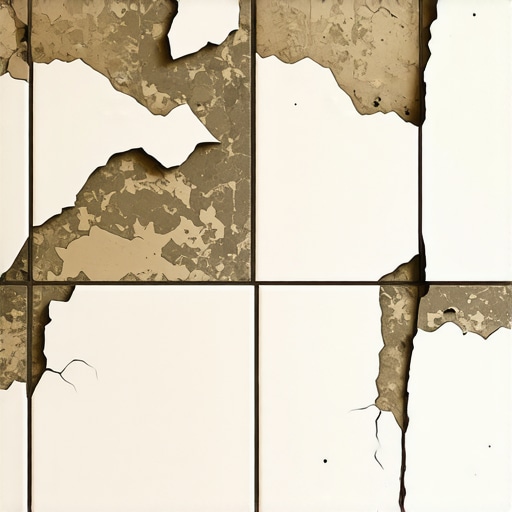
I remember the exact moment I heard the first ‘crunch.’ It was three months after I’d finished what I thought was a genius kitchen remodel. I had decided to save myself a weekend of back-breaking labor by tiling directly over my old, mustard-yellow sheet linoleum. I figured the glue was tight, so why not? Then, while carrying a pot of pasta to the sink, a tile under my left foot shifted. That sickening sound of cracking grout haunted me for weeks. It wasn’t just a small fix; the entire floor was failing because I chose a shortcut over the right technique. Today, I’m going to share exactly why that shortcut is a trap and how you can avoid the same expensive heartbreak.
Stop Dreaming of Shortcuts That Don’t Exist
I learned the hard way that linoleum is essentially a giant, flexible plastic cushion. Tile, conversely, is rigid and unforgiving. When you put something stiff on top of something bouncy, the bond will eventually snap. I see so many folks trying to bypass the teardown, but you end up with new tile floors making cracking sounds within a single season. The problem isn’t usually your tile; it’s the ‘give’ in the vinyl underneath. If the subfloor isn’t rock solid, your grout becomes the shock absorber, and it isn’t designed for that job. I made the mistake of thinking my thinset would just ‘grip’ the shiny surface, but most standard mortars won’t even stick to the wax coating of old flooring. If you don’t address the foundation, you’re just throwing money at a temporary mask.
Is skipping the removal actually worth the risk?
Many DIYers ask if they can just use a ‘super-primer’ to make it work. While there are specialty products out there, the Tile Council of North America (TCNA) emphasizes that any installation is only as stable as the substrate it’s bonded to. If that old linoleum decides to peel or bubble—which it often does when hit with the moisture from new thinset—your entire project is ruined. I’ve spent more time helping neighbors fix flooring installation mistakes like this than I have actually laying new tile. Have you ever felt that ‘bounce’ in a floor and wondered if it was safe to tile over? Trust me, your gut is usually right. You might need to look into the ultimate guide to floor leveler or a proper underlayment instead of praying the old glue holds. Before you pick up that trowel, we need to look at what’s really happening under your feet.
Strip it Down to the Bones
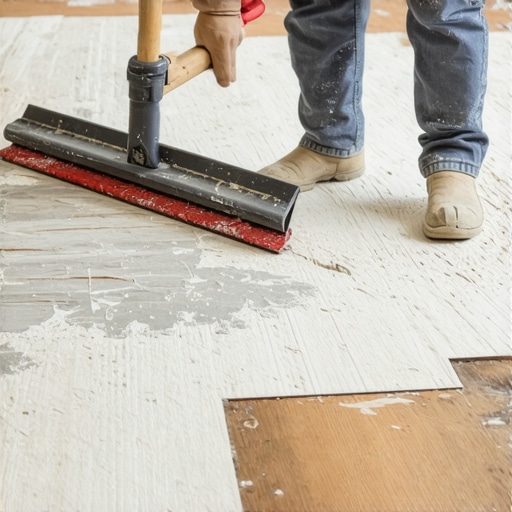
First thing’s first: that linoleum has to go. Think of it like trying to build a skyscraper on a marshmallow—it doesn’t matter how expensive the steel is; the base will fail. I remember a humid Tuesday in July when I spent six hours wrestling with a 4-inch floor scraper. The previous owner had used a black mastic that felt more like hardened obsidian than glue. I learned that day that if you don’t get the subfloor clean, your mortar is basically just sitting on top of dirt. You need to get down to the bare plywood or concrete. If you find yourself fighting old mortar instead of vinyl, you will definitely need to know the best way to remove thinset from a plywood subfloor to ensure your new bond is actually permanent. Scraping until your knuckles ache is the price of admission for a floor that lasts twenty years instead of twenty months.
Check Your Foundation for Hidden Flex
Once the old flooring is gone, you have to play detective. Walk the room and listen closely. Is there a squeak near the fridge? Does the floor feel like a diving board when you jump? Tile is incredibly strong but has zero flexibility; it hates movement. If your joists are spaced too far apart or have weakened over time, you are looking at a future of spider-web cracks. I usually employ the plywood sandwich trick for fixing bouncy floor joists to stiffen everything up before I even think about opening a bag of thinset. It is like adding a brace to a shaky table—it makes the entire surface act as one rigid, unyielding unit. You should also take a moment to learn how to measure subfloor flatness before you start installing because even a 1/8-inch dip can cause lippage that will catch your toes every single morning.
Get the Surface Glass-Smooth
Most DIYers think “level” means “flat,” but in the tile world, they are siblings, not twins. Your floor can be sloped toward a drain but still perfectly flat, which is what you need for a professional look. If you see dips, valleys, or craters in the plywood, self-leveling underlayment is your best friend. However, it is also a fickle beast. I once poured a whole five-gallon bucket of leveler only to realize I had not plugged a small gap near a radiator pipe—I ended up leveling my basement ceiling instead of my kitchen floor! Always verify how to stop your floor leveler from leaking through the subfloor before you start the pour. Once you have a stable, sealed base, use the secret to mixing leveler for a glass smooth finish to avoid those annoying clumps that create bumps under your tiles. A smooth start ensures that why your trowel size is ruining your tile bond won’t be a concern later, because your notches will sit perfectly even on a substrate that is finally ready for its new life.
Let’s dig deeper into a nuance that even some seasoned pros gloss over: the massive difference between a floor that is ‘level’ and one that is ‘flat.’ Everyone tells you to buy a level, but in my experience, a perfectly level floor that has waves in it is far more dangerous for tile than a slightly sloped floor that is dead flat. If you are chasing a bubble on a vial while ignoring the 1/8-inch dips in your plywood, you are setting yourself up for structural failure. This is especially true now that modern trends favor massive porcelain planks. The Tile Council of North America (TCNA) Handbook is very clear: for large-format tiles, the substrate cannot deviate more than 1/8 inch in 10 feet. If you ignore this, you’ll end up with ‘lippage’—where one tile edge sits higher than the next—and trust me, it’s a nightmare to clean and a major tripping hazard.
Forget the ‘More is Better’ Mortar Myth
One of the biggest traps I see DIYers fall into is thinking a bigger trowel or a thicker layer of mortar will compensate for a wonky subfloor. It won’t. In fact, using an oversized notch without proper technique often leads to air pockets that cause tiles to crack under the weight of a refrigerator or even a heavy footstep. I always tell people to look into the trowel notch secret for getting full thinset coverage. It’s not just about the amount of mud; it’s about the collapse of the ridges. If those ridges don’t collapse into a solid bed, you’re essentially walking on air. This is also why your large format tiles need back buttering every time. Skipping that thin ‘scratch coat’ on the back of the tile is like trying to glue two pieces of wood together by only putting glue on one side—it might hold for a day, but it won’t survive a decade of real-world use. 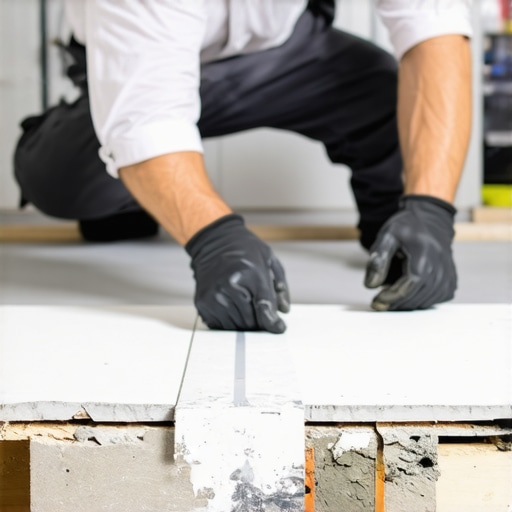
How do you know if your thinset has already failed before the tile even touches it?
There is a ‘silent killer’ in flooring installation called ‘skinning over.’ I’ve seen homeowners mix a massive bucket of mortar, get distracted by a phone call, and then wonder why their tiles are popping up two weeks later. If the surface of the mortar looks dull or feels dry to the touch, it has lost its ability to bond chemically. You must learn how to stop thinset from skimming over before you set tile to ensure your floor stays put. I’ve learned these tile installation pointers that save time and money the hard way—usually by having to rip up an entire morning’s worth of work because I was too stubborn to re-spread a fresh batch. Have you ever fallen into this trap and ended up with a toe-stubbing edge? Let me know in the comments. If you’re already dealing with a bumpy surface, you should check out how to fix a lippage problem in your new tile layout before the grout dries and seals your fate.
Don’t Trust Your Eyes with a Short Level
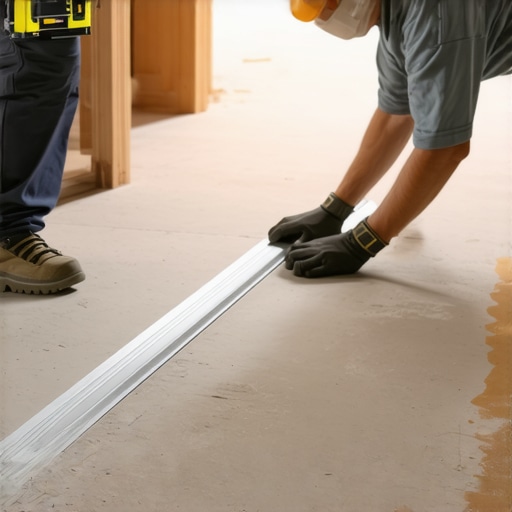
I’ve spent too many hours on my knees to tell you anything other than the truth: your standard 4-foot level is a liar when it comes to large-scale floor preparation. If you want to graduate from ‘good enough’ to professional-grade results, you need to invest in a 10-foot straightedge. I personally use a lightweight aluminum box beam because it doesn’t bow or warp over time. When you are looking for those subtle dips that ruin a tile job, you need to learn how to check for high spots with a 10-foot straightedge specifically across the center of the room. It’s the difference between a floor that looks okay and one that feels like a sheet of ice. If you find a valley, don’t just dump leveler and hope for the best. I always suggest the ultimate guide to floor leveling for a perfect finish as your roadmap. When I pour, I never go without my spiked roller. It seems like an unnecessary specialty tool until you see how it breaks surface tension and releases the air bubbles that cause pitting. Using how to use a spiked roller for the perfect leveling pour ensures that the chemistry of the leveler works for you, not against you.
How do I keep my new floor looking brand new?
Maintenance is where most homeowners lose their ROI. You’ve spent thousands on materials and weeks on labor, so don’t kill it with a bottle of generic ‘all-purpose’ cleaner from the grocery store. For those of you who chose the warmth of timber, following hardwood floor care secrets to longevity and shine is non-negotiable. I’ve seen beautiful oak floors ruined by steam mops in under a year. If you have natural stone or high-end tile, you must be even more careful. You should why you should never use acid-based cleaners on natural stone because they literally eat the finish of the stone, leaving it dull and porous. I always recommend a pH-neutral cleaner and a dedicated microfiber system. To truly scale your success, think about the future of your home’s value by installing tiles like a pro step-by-step strategies for 2025 which focus on high-durability grouts and epoxy-based systems that never need scrubbing.
The Future of Floors is Smarter and Thinner
As we look toward the next few years, I predict a massive shift toward ‘ultra-thin’ large format porcelain (LFP) that mimics natural materials with frightening accuracy. These materials require even more precision than what we’ve discussed today. The technical data sheets from manufacturers like Ardex—specifically for high-performance mortars like Ardex X 77—warn that environmental factors can reduce your ‘open time’ by half in drafty rooms. This means the margin for error is shrinking. If you want to stay ahead of the curve, my best advice is to stop viewing the subfloor as a ‘hidden’ layer and start viewing it as the most important part of the architecture. Before your next big project, I challenge you to try one advanced move: use a moisture meter on your subfloor, even if you think it’s dry. It’s the one pro habit that separates the masters from the amateurs. Give it a shot on your next project and see how much more confidence you have when that first tile hits the mud.
What Pro Installers Never Mention About the Hidden Costs of Speed
One thing I learned after years of scraping is that your subfloor has a ‘memory.’ If you leave even a trace of old adhesive, it can react with the moisture in your new thinset, creating a chemical barrier that prevents a true bond. I’ve seen beautiful ceramic layouts fail because someone was too tired to scrape that last 5% of black mastic. Another lightbulb moment for me was realizing that the ‘ping’ test is your best friend. Once your floor is set, lightly tap the tiles with a wooden handle; a hollow sound is the universe telling you that you skimped on coverage. It’s better to find that out now than when a heavy appliance cracks the tile six months later.
My Survival Kit for the Perfect Flooring Finish
If you are serious about avoiding flooring installation mistakes, you need more than just a bucket and a trowel. I swear by my 10-foot aluminum box beam—it never lies, unlike those cheap plastic levels. I also never start a project without consulting the TCNA Handbook; it’s the definitive guide that takes the guesswork out of movement joints and substrate requirements. For anyone working with wood or plywood, I highly recommend learning how to use a moisture meter before installing wood floors or tile substrates, as trapped dampness is the number one cause of long-term failure. These tools transformed me from a weekend warrior into someone who actually trusts their own work.
Take the First Step Toward Your Forever Floor
Laying tile is more than just a home improvement task; it’s an investment in the sanity of your daily life. There is a profound sense of pride that comes from walking across a floor that doesn’t creak, pop, or shift. By following this step-by-step guide to flooring installation and leveling success, you aren’t just putting down ceramic or stone—you’re building a foundation that will support your family for decades. Don’t be intimidated by the heavy lifting; the sweat you put into the prep work today is the reason you’ll be able to relax tomorrow. You’ve got the knowledge and the mastering floor leveling pro secrets for perfect installations in your back pocket, so go ahead and get that subfloor bone-dry and glass-smooth. Have you ever discovered a hidden disaster under your old linoleum after you started a remodel? Let me know your horror stories in the comments below!