
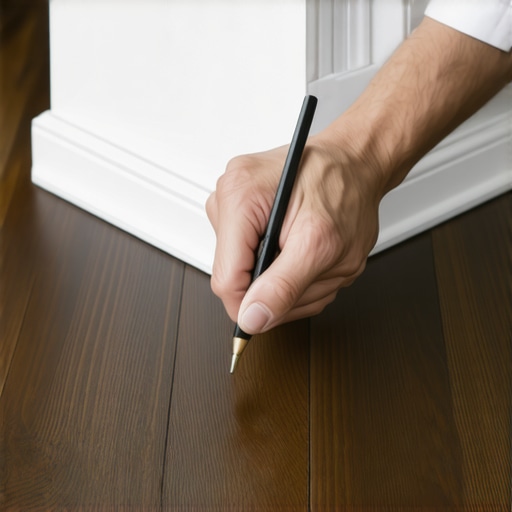
I was on my knees, sweating and staring at a three-quarter-inch gap that looked more like a canyon than a floor joint. I’d just finished laying down some beautiful planks, and I was feeling pretty proud of my flooring installation and leveling success—until I tried to install the baseboards. My 1920s bungalow has floors that roll like the Atlantic Ocean, and my perfectly straight molding was having none of it. I tried to force it down. I tried to “caulk it and walk it.” Neither worked. The caulk looked like a white snake crawling through the room, and the wood eventually pulled away anyway. That’s when I realized that if you don’t learn how to scribe, your house will always look like an amateur lived there. [image placeholder]
Stop Fighting the Floor and Start Scribing
The truth is, no floor is perfectly flat. Whether you are dealing with a bouncy floor joist or just a settling foundation, your walls and floors are in a constant state of disagreement. Most people try to hide the gap with quarter-round, which is fine, but it’s a bit like putting a bumper sticker over a dent in a Ferrari. If you want that high-end look where the wood meets the floor seamlessly, you have to learn the art of the scribe. I remember one of my biggest early mistakes: I thought I could just “eyeball” the cut. I ruined three lengths of expensive primed pine before I admitted I needed a system. I didn’t understand how to measure subfloor flatness properly, and I paid for it in wasted materials and frustration. Today, I’m going to show you the method that changed everything for me. We’re going to make that wood hug every dip and hump in your subfloor like it was grown there.
Does this actually work on really wonky floors?
You might be skeptical. If your floor drops an inch over four feet, can a piece of trim really follow that curve without snapping? The answer is a resounding yes—within reason. While you should always look into precise floor leveling techniques before the floor goes down, scribing is your “get out of jail free” card for those inevitable imperfections. According to the National Association of Home Builders, even new construction has tolerances that can leave visible gaps, so this skill isn’t just for old-house enthusiasts; it’s a necessity for any pro-level finish. Have you ever finished a room only to realize your baseboards were “floating” over a low spot? Drop a comment and tell me how you tried to hide it—I’ve seen everything from foam backer rods to literal piles of sawdust! To get this right, we need to talk about the physical tools you’ll need. You don’t need a fancy laser or an expensive jig. You need a simple compass, a sharp pencil, and a little bit of patience. Before we dive into the perfect 45 degree miter cut, let’s look at how we transfer the floor’s personality onto the wood.
To start, you need to set your baseboard exactly where it’s going to live. This means taking your mitered or coped pieces and pinning them to the wall with just a couple of finish nails—not enough to sink them, just enough to hold the wood steady. This is where the dry fit rule that prevents costly cutting mistakes becomes your best friend. If the wood is moving, your line will be trash. I once tried to scribe a piece of oak while holding it with one hand and tracing with the other. The result was a jagged mess that looked like a heartbeat monitor on a caffeinated squirrel. Don’t be like me; pin it first.
Set the Stage for a Flawless Fit
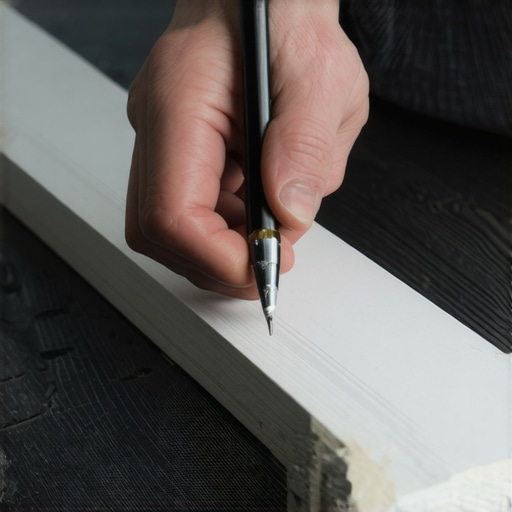
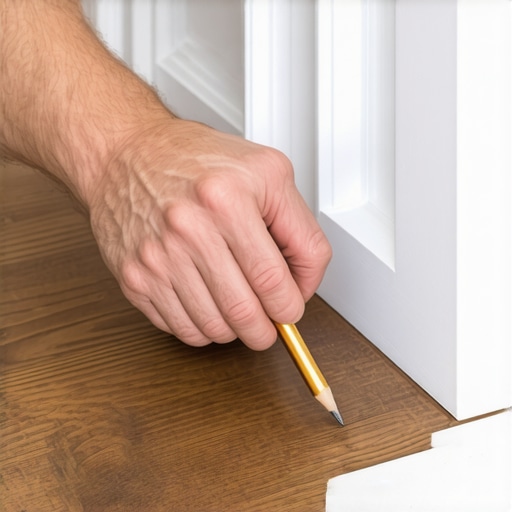
Once the board is secure, find the largest gap between the floor and the bottom of the wood. Open your compass until the metal point sits on the floor and the pencil tip sits on the wood at that widest point. This is your ‘constant’ measurement. If the gap is half an inch at its deepest, your compass must stay locked at exactly half an inch for the entire run. This ensures that when you cut the wood, the highest point of the floor will just barely touch the bottom of your trim while the rest of the board drops down into the valleys.
Lock Your Compass and Trace the Curve
Keeping the compass perfectly vertical is the secret sauce. If you tilt it forward or back, your measurement changes and the board won’t sit flush. I think of it like mastering floor leveling pro secrets: it’s all about the preparation of the surface before the final finish. Move the compass slowly across the entire length of the board. The pencil will mimic every dip, hump, and ‘ocean wave’ your floor has to offer. I remember a kitchen remodel in a 1940s farmhouse where the floor had a two-inch heave in the middle. By tracing carefully, I managed to make a massive piece of base-mold look like it had been custom-poured into place.
Cut at an Angle for Maximum Contact
After you have your line, it’s time for the surgical part. You aren’t just cutting straight down. You want to ‘back-bevel’ the cut. This means angling your jigsaw blade—or better yet, your belt sander—so you’re removing more material from the back of the board than the front. This creates a sharp, thin edge on the face of the wood that can bite into the floor. This is especially helpful if you’re working with the right hardwood floors for your home that might have a slight texture or grain. If you just cut it square, any tiny pebble or high spot on the subfloor will prevent the face from touching the ground. I’ve found that a 15-degree back-bevel is usually the ‘sweet spot’ for a tight fit.
Verify Your Work Before the Final Nail
Check your progress often. Don’t cut the whole line and then hope it fits. Cut a section, test the fit, and sand down the high spots. Even if you’ve studied how to measure subfloor flatness, the actual wood will tell you what it needs once you put it against the wall. If you find the board is still ‘riding high,’ look for where the wood is hitting the floor first. That’s your pivot point. Shave a little more off there, and the rest of the board will drop into place. This process is a game of millimeters, and your patience is the most important tool in the box. When you finally see that wood hugging the floor with zero gap, the satisfaction is better than a cold beer on a Friday afternoon.
I often hear DIYers and even some pros say that if the floor is wonky, you should just dump five gallons of self-leveler and call it a day. Here is the contrarian truth: Self-leveling compound is often the wrong tool for the job. If you are installing hardwood and your floor has a structural slope but is otherwise flat, pouring leveler can actually create more problems than it solves, especially regarding door transitions and baseboard heights. I’ve seen people spend a fortune on compound only to realize they’ve created a ‘step-up’ into the room that looks like a tripping hazard. Sometimes, the goal isn’t ‘level’—it’s ‘flat.’ Understanding how to measure subfloor flatness is far more important than chasing a perfectly horizontal line with a laser.
The Dangerous Myth of Self-Leveling Compounds
The term ‘self-leveling’ is a bit of a marketing lie. It doesn’t behave like water; it’s more like thick maple syrup. If you don’t help it along, you’ll end up with ‘waves’ rather than a flat surface. This is where mastering floor leveling pro secrets becomes vital. One of the biggest ‘oops’ factors I see is the pinhole disaster. If you don’t seal your plywood subfloor correctly, the wood will suck the moisture out of the leveler, causing air to burp up and leave tiny craters. I remember a job where a homeowner skipped the primer to save twenty bucks, and we spent two days grinding down ‘moon craters’ so the right hardwood floors wouldn’t crunch every time someone walked on them. Have you ever had a pour go wrong like that? Drop a comment and share your horror stories—I promise you aren’t alone!
Does a perfectly level floor even exist in the real world?
Technically, no. The National Wood Flooring Association (NWFA) standards actually allow for a deviation of 3/16-inch in ten feet. If you’re stressing over a 1/16-inch gap, you’re chasing ghosts. This is why scribing is the superior skill. Instead of trying to change the physics of the house, you’re adapting the material to the environment. When you’re revamping your home with expert flooring installation tips, you have to decide: do I fix the floor or fix the trim? If the floor is structurally sound but ‘rolling,’ scribing the baseboard is 100% the more professional, aesthetic choice. But be warned: if you forget to use a spiked roller for the perfect leveling pour, those air bubbles will haunt you regardless of how well you scribe.
The Hidden Trap of the Expansion Gap
Another nuance that trips up even seasoned installers is how scribing interacts with your expansion gaps. If you scribe your baseboard too tight and then pin it down with massive force, you can actually ‘pinch’ a floating floor. I’ve seen luxury vinyl plank buckling near the window because the scribe was so tight it acted like a clamp, preventing the floor from moving. Always ensure your scribe allows the floor to breathe underneath. For a truly high-end finish, consider using precise floor leveling techniques only where the floor meets heavy cabinetry, and use scribing for the decorative perimeter. This hybrid approach is what separates the masters from the ‘caulk-it-and-walk-it’ amateurs.
The One Tool That Saves My Reputation
Once you’ve mastered the scribe and your installation looks like a million bucks, the battle isn’t over. I’ve seen beautiful floors fail in six months because the installer ignored one invisible factor: moisture. If you don’t own a high-quality moisture meter, you’re just guessing. I personally use a pinless Wagner meter because I don’t want to poke holes in my expensive planks, but a pin-style meter is essential for checking your subfloor. Knowing how to use a moisture meter before installing wood floors is the difference between a floor that stays flat and one that cups like a Pringles chip. I remember a job in a coastal basement where the humidity was so high the boards expanded three inches across the room—if I hadn’t checked the levels, that floor would have exploded.
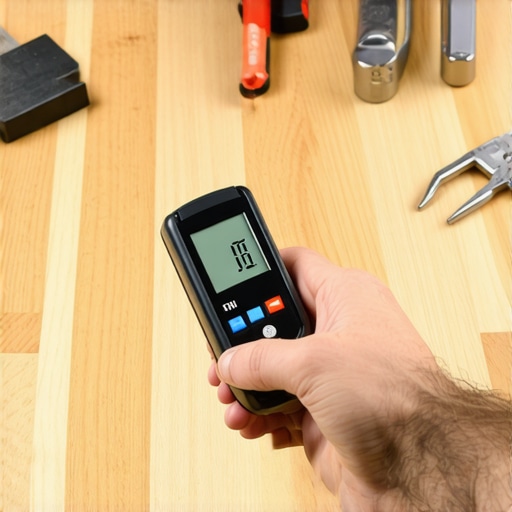
According to the National Wood Flooring Association (NWFA) Technical Publication A100, the moisture content between your wood and subfloor shouldn’t differ by more than 2% for wide-plank flooring. This is a non-negotiable rule. If you skip this, no amount of mastering hardwood floor refinishing expert tips for 2025 will save the wood once it starts to warp from the bottom up. I’ve learned to document these readings for every single room—it’s my insurance policy against call-backs.
How can I keep my hardwood floors looking brand new for years?
Maintenance is where most homeowners accidentally destroy their investment. The biggest culprit? Water. We’ve been conditioned to think more water equals a cleaner floor, but with hardwood and even many composites, water is the enemy. You need to follow hardwood floor care secrets to longevity and shine that prioritize dry or damp-only cleaning. If you want to avoid seasonal issues, learn how to keep your hardwood floors from gapping in the winter by maintaining a steady 30-50% humidity level in your home. This prevents the wood from shrinking and revealing those ugly gaps you worked so hard to scribe away.
Steam Mops Are Not Your Friend
I’m going to say something controversial: throw your steam mop in the trash. I know the commercials make it look satisfying, but you are literally blasting high-pressure vapor into the joints of your floor. This is exactly why you should never use a steam mop on click-lock floors. The heat breaks down the adhesive or the core of the wood, leading to peeling and swelling that isn’t covered by any warranty. Instead, stick to a microfiber pad and a pH-neutral cleaner. If you’re working with unique materials, like the secret to getting a perfect finish on reclaimed pine, you’ll find that a gentle touch always beats brute force.
The Future of Flooring Maintenance
I predict that in the next few years, we’ll see ‘smart’ subfloors becoming the standard. We’re already seeing sensors that can be embedded into the underlayment to alert your phone if there’s a leak or a massive humidity spike before the wood even reacts. It’s an exciting time to be a flooring enthusiast! Pro Tip: Buy a hygrometer for your living room today—it’s a $15 investment that tells you exactly when to turn on the humidifier to save your floors. Go grab one and let me know if your humidity levels are currently in the ‘safe zone’ for your wood!
Lessons from the Worst Floor I Ever Encountered
Looking back at my first few attempts, I realized that scribing is more of a mindset than a technique. I used to think I could compensate for a wavy floor by just pressing harder on the nails. That’s a fast track to split wood and ‘ghost’ gaps that reappear in winter. One lightbulb moment for me was realizing that the dry fit rule that prevents costly cutting mistakes applies to every single piece of trim, not just the expensive planks. Another huge takeaway? Always scribe your longest pieces first. If you mess up a ten-foot board, you can often cut it down and use it for a shorter run. If you start with the small stuff and mess up, that wood is just expensive kindling.
[image placeholder]
Tools That Make Scribing Feel Like Cheating
You don’t need a workshop full of power tools to get this right, but you do need a few specific items that I never leave home without. First, a simple metal wing compass is better than any plastic ‘scribing tool’ I’ve ever bought. It stays locked and doesn’t flex. Second, I swear by a sharp block plane for those final tiny adjustments where a sander is too aggressive. Most importantly, I never trust my eyes when it comes to the environment. Knowing how to use a moisture meter before installing wood floors is what keeps my tight scribes from buckling when the seasons change. For the final aesthetic touch, I’ve found the secret to splicing baseboards for a seamless look is to combine your scribe with a 45-degree scarf joint—it makes the transitions invisible.
Your Floor Doesn’t Have to Be Perfect to Look Incredible
At the end of the day, your house is a living, breathing thing. It moves, it settles, and it has character. You don’t need to stress yourself out trying to find precise floor leveling techniques that turn your home into a laboratory. Use the scribe to bridge the gap between your straight materials and your unique home. When you see that baseboard sitting flush against the floor, you’ll know you’ve leveled up your DIY skills from ‘good enough’ to ‘professional grade.’ Don’t be afraid to make a few wrong cuts while you learn—that’s just the price of tuition in the school of hard knocks. Mastering your hardwood floors is a journey, and every wavy floor is just another chance to practice your craft.
Have you ever tried to hide a massive floor gap with a ‘caulk-and-paint’ job only to have it look worse a month later? Let me know your best (or worst) cover-up stories in the comments!