
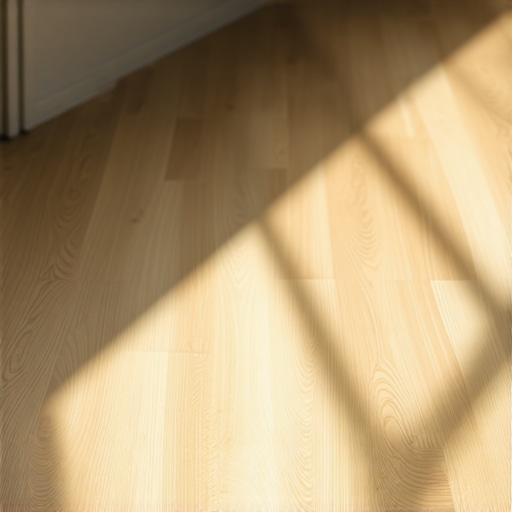
I remember standing in my living room last July, coffee in hand, watching the afternoon sun pour through the south-facing window. It should have been a peaceful moment, but then I caught it out of the corner of my eye—a weird, undulating ridge right in the middle of the floor. My beautiful, brand-new luxury vinyl planks were popping up like a miniature mountain range. I felt that sinking feeling in my gut. I’d spent three weekends installing that floor, and now it looked like a warped mess. If you’re seeing those same weird bumps or “tenting” near your glass doors or windows, trust me, you aren’t crazy, and your floor isn’t necessarily “junk.” You’re just dealing with the physics of heat and a few common flooring installation mistakes to avoid that even the best of us make when we’re in a hurry.
Thermal Expansion is the Hidden Enemy
Here is the hard truth: luxury vinyl is basically a high-tech plastic sandwich. When the sun hits it directly through a window, that surface can reach temperatures well over 100 degrees Fahrenheit. Just like a bridge expands in the summer, your floor grows. Early in my DIY journey, I made the classic mistake of “tight-fitting” my planks right against the door casing. I thought a snug fit meant better craftsmanship. Boy, was I wrong. Without a place for that extra material to go, the floor has no choice but to push upward. You might even find that your luxury vinyl planks are separating in the sun elsewhere because the buckling is pulling the joints apart. According to the Resilient Floor Covering Institute, vinyl can expand up to 1/32 of an inch for every 10-foot run with just a 20-degree temperature change. That doesn’t sound like much until it happens to 50 planks at once.
Is LVP actually worth the hype if it buckles?
You might be asking yourself if you bought the wrong product. I certainly did. But LVP is still one of the best choices for modern homes; it just needs a little breathing room. The problem isn’t the floor; it’s usually the hidden reason your floating floor is pinching against a wall or a heavy cabinet. Have you noticed your floor lifting only during the hottest part of the day? Drop a comment below if you’ve seen those ridges appear and disappear with the sun. Today, we are going to dive into how to fix that pinch point and use the quarter trick for checking expansion gaps so you never have to deal with a buckling floor again. We’ll look at everything from subfloor prep to the final trim adjustments that keep your floor flat and beautiful.
Find the Pressure Points Before You Pull Anything Up
You cannot fix a buckle by simply pressing it down with your foot or putting a heavy book on it. Trust me, I tried that with a stack of cast-iron pans, and the floor just popped up right next to them. You have to find where the floor is physically pushing against a boundary. Walk the perimeter of the room and look closely at the baseboards. If you used the quarter trick for checking expansion gaps and find a spot where you cannot slide a quarter between the plank and the wall, you’ve found your culprit. Often, the hidden reason your floating floor is pinching is a single plank that was cut a hair too long or a door casing that wasn’t undercut properly. Use a thin putty knife to feel behind the baseboard; if the knife won’t go down, the floor is trapped.
Trim the Plank Without Moving the Wall
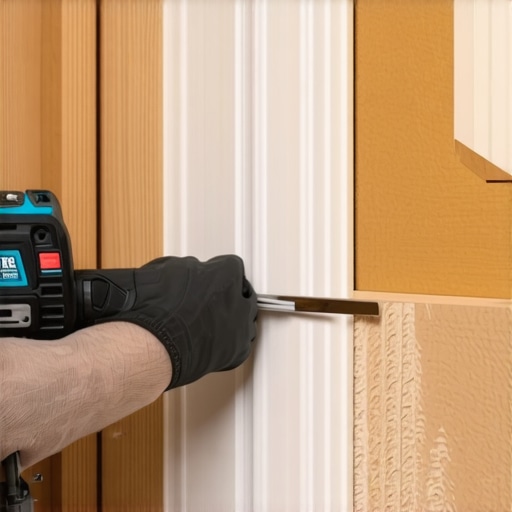
Once you locate the bind, you don’t need to dismantle the whole room. In my hallway disaster, I realized the buckle was caused by a single plank wedged against the door frame. Instead of a full teardown, I used an oscillating multi-tool. Carefully slide the blade between the wall and the floor to shave off about a quarter-inch of the vinyl. It’s a bit nerve-wracking the first time you do it, but it’s the most effective way to restore the expansion gap. If you find the subfloor is the issue rather than the gap, you might need to look into mastering floor leveling pro secrets because high spots in the plywood can also force planks upward when they expand. This is why it is so critical to how to measure subfloor flatness before you start installing anything. A floor that is uneven by even an eighth of an inch can cause the planks to ‘bridge’ and then pop up when the sun adds thermal stress.
Stop Heavy Furniture from Locking Your Floor in Place
Here is something people rarely talk about: heavy kitchen islands or massive oak armoires. If you have a floating floor and you set a 500-pound object on one end, you’ve essentially nailed that side of the floor to the subfloor. When the sun hits the other side and the floor tries to expand toward the heavy object, it hits a ‘wall’ of weight and buckles in the middle. This is likely why your lvp floor feels like its bouncing when you walk in specific zones. To fix this, you may need to create a discrete expansion joint near the heavy object using a T-molding. It breaks the floor into two smaller, independent sections that can move without fighting each other. Also, don’t forget the one step people skip during waterproof flooring installation which is checking for any debris or nails in the expansion track that might be acting like a literal wedge.
Hide the Work with Professional Trim Techniques
After you’ve trimmed the offending planks and the floor has settled back down—which can take a few hours or even a day after the heat subsides—you might worry about the gap looking ugly. Don’t. You can easily learn how to hide a bad cut under the baseboard like a pro by using shoe molding or quarter round. If the gap is particularly stubborn or the subfloor has a slight dip, you can use the shim trick for fixing a bouncy plywood subfloor from underneath if you have basement access, which stabilizes the vertical movement so the horizontal expansion doesn’t turn into a mountain range again.
Stop Obsessing Over Level and Start Looking for Flat
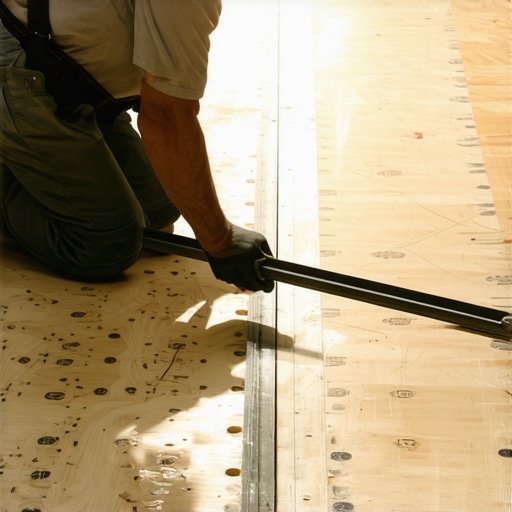
Most DIYers spend hours with a bubble level trying to make their floor perfectly horizontal. Here is the contrarian truth: your house is probably leaning three degrees to the left, and for most flooring types, that is perfectly fine. What is not fine is a subfloor that looks like a topographical map. The National Wood Flooring Association (NWFA) specifies that flatness is the critical metric—not levelness. If you have a dip that exceeds 3/16 of an inch over a 10-foot span, your LVP joints will eventually snap or separate. I have seen countless homeowners ignore this, thinking the underlayment will act like a cushion. It won’t. If you’re wondering why your lvp floor feels like its bouncing when you walk, it is almost always a flatness issue rather than a product defect. Before you lay a single plank, you must learn how to check for high spots with a 10-foot straightedge to ensure your surface is truly ready.
Does your subfloor have the right muscles for a tile upgrade?
When transitioning from carpet or vinyl to heavy natural stone, many people assume the plywood is enough. This is a dangerous trap. Tile is rigid and has zero tolerance for deflection—the fancy word for ‘bounce.’ If your joists are spaced too far apart or are undersized for the span, your beautiful new floor will turn into a spiderweb of cracks within six months. This is the real reason your floor joists are making your tile crack. You can’t just throw down more thinset to fix a structural wiggle. Have you ever noticed your grout popping out in high-traffic areas? That is a telltale sign of movement. Let me know in the comments if you’ve ever had a tile floor fail despite using the ‘best’ materials.
The Self-Leveler Myth that Leads to Dusty Disasters
Everyone says self-leveling underlayment is like pouring water on a floor—that it just finds the low spots and fixes everything automatically. That is the biggest myth in the industry. In reality, self-leveler is a finicky chemical cocktail. If you add even a cup of extra water to make it ‘flow better,’ you destroy the polymer bonds. This leads to a surface that is soft, chalky, and prone to pitting. This is why your floor leveler pitted during the drying process. You must follow the manufacturer’s water ratio to the exact ounce. Furthermore, failing to prime the wood is a recipe for failure; why your self-leveler is bubbling over plywood is usually because the wood sucked the moisture out of the mix too fast, creating air pockets.
Avoid the Trap of the ‘Easy’ Installation
One of the most advanced mistakes I see is skipping the layout phase. People start at the longest wall and just go. But houses aren’t square. By the time you reach the other side, you might be left with a sliver of a plank that is impossible to click into place. Mastering floor leveling pro secrets includes planning your ‘runout’ before the first bucket of glue or leveler is opened. Always use the secret to mixing the perfect bucket of self-leveler every time—which involves a high-shear mixer and a helper—to ensure you can pour and spread before the product begins to skin over. Have you ever fallen into the trap of the leveler setting up too quickly? It’s a stressful race against the clock that usually ends in a hammer and a chisel.
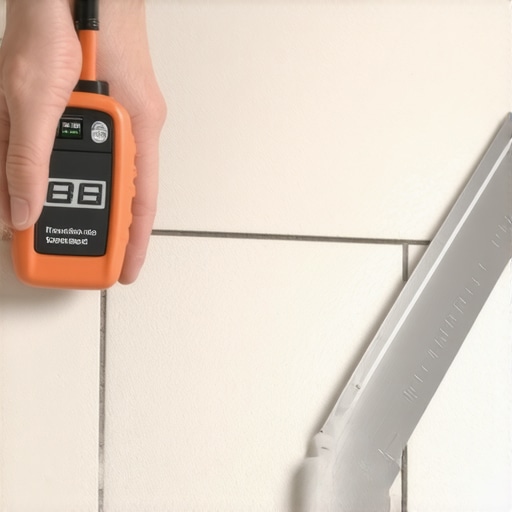
If you want to move from being a DIYer who got lucky to being the person neighbors hire for advice, you need to stop guessing. My biggest regret from my early days wasn’t the layout; it was the hidden moisture. I once laid a beautiful hickory floor over a concrete slab that felt bone-dry to the touch. Two months later, the boards were cupping so severely you could trip on the edges. Since then, I’ve learned how to use a moisture meter before installing wood floors as a non-negotiable first step. I personally use the Wagner Meters Orion 950 because it tracks equilibrium moisture content, telling me exactly when the wood is ready for its specific environment.
Know Your Subfloor Moisture Before It Ruins the Planks
When it comes to getting that glass-smooth surface for tile, you need more than just a bucket and a trowel. I’ve found that how to use a spiked roller for the perfect leveling pour is the single best way to release air bubbles that cause those annoying pits. It’s a $30 tool that saves you $300 in grinding time later. And speaking of cleanup, stop using your household shop vac for fine dust. It just blows the particles back into the air. I swear by the vacuum attachment that actually picks up fine sawdust with a HEPA filter—it keeps the workspace breathable and the subfloor clean enough for proper primer adhesion.
The Gear That Separates Pros from Amateurs
How do I maintain my flooring over the long haul?
Maintenance is where most people drop the ball. You spent thousands on materials, so don’t kill them with a cheap steam cleaner. I see it all the time: homeowners wondering why their LVP is peeling, and it’s almost always because they used high-heat steam. You need to know why you should never use a steam mop on click-lock floors; the moisture gets forced into the seams and swells the core. Instead, stick to a pH-neutral cleaner specifically designed for the finish. For my hardwood clients, I always share my hardwood floor care secrets to longevity and shine, which starts with high-quality felt pads on every single piece of furniture—no exceptions.
Looking ahead, I see the industry moving toward smart flooring systems—integrated moisture sensors that can alert your phone if a pipe leaks under your vinyl planks. Until that becomes standard, we have to rely on proper technique and industry standards. The Tile Council of North America (TCNA) Handbook specifically highlights the EJ171 standard for movement joints in tile, emphasizing that you must account for structural shifting even in the most stable homes. This is why how to achieve flawless floor leveling before tile laying is about more than just looks; it’s about structural longevity. When you are working with big slabs, remember why your large format tiles need back buttering every time to ensure 100% coverage and prevent hollow spots that eventually crack under pressure. If you really want to level up your game, go grab a 10-foot straightedge today and stop relying on your eyes. It is the simplest way to follow a step-by-step guide to flooring installation and leveling success and ensure your floor stays flat for decades.
Lessons Bought with Sweat and Scrapped Planks
Over the years, I’ve realized that flooring isn’t about the planks themselves; it’s about the invisible surface beneath them. My biggest ‘aha!’ moment came when I stopped blaming the manufacturer for every squeak and started blaming my own impatience. First, never trust your eyes—shadows can hide a half-inch dip that will destroy a click-lock joint in weeks. Second, primer is the cheapest insurance policy you will ever buy. If you skip it, your leveler will eventually delaminate, and you’ll be starting from scratch. Third, acclimation is a non-negotiable science. I’ve seen boards shrink and expand like they were breathing because they weren’t given time to reach equilibrium with the room’s humidity. Finally, if you are planning a transition, spend the extra time choosing the best tile for your hardwood floor upgrade to ensure the heights align perfectly without a massive trip hazard.
The Gear That Saved My Reputation and My Back
I don’t leave my driveway without a few specific items that transform a frustrating DIY project into a professional-grade installation. I always keep a 10-foot straightedge handy; it’s the only way to implement precise floor leveling techniques to achieve flawless surfaces. A standard 4-foot level just isn’t long enough to catch the long-wave undulations in a subfloor. I also swear by my Wagner moisture meter—concrete slabs are notorious for holding ‘hidden’ water that will peel your adhesive right off. And when I’m working with stone, I never skip the extra step of learning how to back butter large format tiles the right way. Without that full coverage, those expensive tiles are just waiting for a dropped coffee mug to shatter them. These tools aren’t just for show; they are the difference between a floor that lasts five years and one that lasts fifty.
Build a Floor That Outlasts the Mortgage
Your home deserves more than a quick fix. Taking the time to understand the physics of your subfloor and the requirements of your specific material is what separates a headache from a masterpiece. A successful flooring installation is 90% preparation and 10% laying the actual boards. Once the hard work is done and your floor is flat, stable, and beautiful, make sure you protect that investment. I always point my clients toward the right maintenance habits, like those found in these hardwood floor care secrets to longevity and shine. Don’t let a simple cleaning mistake ruin months of hard labor. You have the knowledge and the tools to do this right—now it’s time to get to work. What’s the one weird bump or mystery sound in your current floor that you’re finally ready to fix? Let me know in the comments below!