
I spent three grueling days on my knees in my sunroom, carefully clicking each plank into place. I was proud. It looked flawless. Then, July hit. I walked in on a Tuesday afternoon and nearly tripped over a gap big enough to swallow a credit card. My beautiful “waterproof” flooring had pulled away from the wall like it was trying to escape the house. It felt like a punch in the gut, especially after I’d spent so much time reading up on flooring installation mistakes to avoid for lasting results. I’d done everything by the book, or so I thought. But the sun doesn’t care about your book when it decides to turn your living room into a greenhouse. If you’re seeing your floor drift apart, don’t panic yet—I’ve been in those trenches, and we’re going to get those planks back together today.
The Afternoon My Floor Decided to Walk Away
The problem isn’t usually the quality of your floor; it’s the physics of the environment. LVP is primarily made of PVC, and like most plastics, it is incredibly sensitive to temperature changes. When direct sunlight hits your floor, it acts like a giant magnifying glass. According to the Resilient Floor Covering Institute (RFCI), resilient flooring can experience significant dimensional changes when exposed to extreme heat fluctuations, often reaching temperatures far higher than your thermostat suggests. I learned the hard way that a room set to 72 degrees can have a floor surface temperature of 110 degrees if the sun is hitting it. This is often the reason your vinyl plank is separating at the thresholds or near sliding glass doors. If you’ve also noticed that your lvp floor feels like its bouncing when you walk, heat-induced warping might already be starting its dirty work. Have you ever walked into a room and felt like your floor was literally shifting under your feet? It’s a jarring experience that usually means the floor has run out of room to grow.
Is LVP Actually Just a Cheap Plastic Disaster?
You might be sitting there thinking that you’ve been sold a lemon. I felt the same way, ready to rip it all out and go back to tile. But the truth is, LVP is a fantastic product—it just needs a little respect for the laws of thermal expansion. My early mistake was simple: I didn’t provide enough expansion gap at the perimeter, and I didn’t realize I needed to learn how to stop luxury vinyl planks from sliding under heavy furniture because as they expanded, they were being pinned down by my heavy oak sideboard. This forced the planks to pull apart at the weakest joints. We are going to dive into how to diagnose if your separation is a heat issue or a subfloor failure, and I’ll share the exact steps I used to save my sunroom without spending another dime on new material.
Grab a Suction Cup and Pull Those Planks Together
To fix those unsightly gaps without ripping your baseboards off, you need to harness the power of suction. I spent an entire afternoon trying to kick the planks back into place with grippy sneakers, and all I got was a sore ankle and a scuffed finish. Instead, get yourself a double-sided glass suction cup or a specialized floor gap fixer tool. You stick the tool onto the plank you need to move and give it a firm, controlled tap with a mallet toward the gap. However, be extremely careful here; I’ve seen homeowners ruin their entire investment by swinging too hard, leading to the rubber mallet mistake that damaged your click-lock edges and made it impossible for the planks to ever stay locked again. This method works because it uses lateral force to slide the floating floor across the underlayment, effectively walking the gap back to the perimeter where it belongs.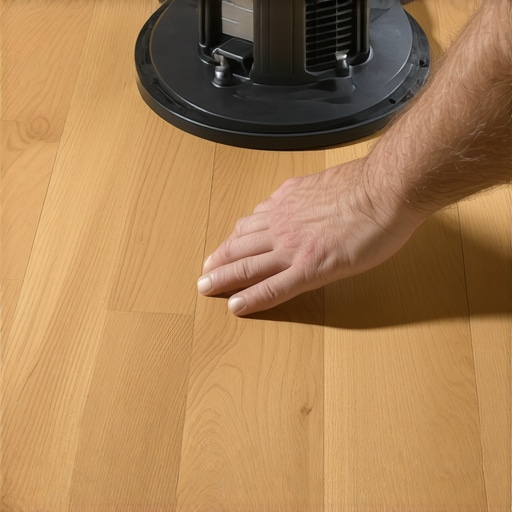
Give Your Floor Room to Grow
If you close the gap only to have it reappear a week later, your floor is likely being held hostage by your walls. A floating floor needs to breathe, and if you didn’t leave at least a quarter-inch gap around the edges, the planks will hit the drywall as they expand in the sun. When they hit that wall with nowhere to go, they buckle or, more commonly, they pinch and pull away from the adjacent plank. This is the hidden reason your floating floor is pinching and causing those gaps in the first place. I once had a client whose floor was so tight against the door frame that the heat from a sliding glass door caused the entire middle section to pop open like a zipper. To fix this, you have to pull the baseboards and trim back any planks that are touching the studs or drywall.
Check Your Subfloor for High Spots
Sometimes the gap isn’t about heat at all; it’s about what’s happening underneath. If your subfloor has a hump or a dip, the tongue and groove of the LVP are under constant vertical stress. Every time you walk over that spot, the joint flexes until it eventually snaps or slides out of its lock. Before you assume it’s just thermal expansion, you should how to check for high spots with a 10-foot straightedge to ensure your foundation is actually flat. I remember a job where we couldn’t keep the seams together in a hallway no matter how many times we tapped them back. It turned out the subfloor had a 1/2-inch rise that we completely missed during the initial rush. Mastering flooring installation fundamentals-leveling for a seamless look is the only way to prevent these mechanical failures. If your floor is bouncing or clicking, you might need to pull that section and consult the ultimate guide to floor leveling for a perfect finish before the damage becomes permanent. Once the subfloor is flat, those planks will stay put, even when the afternoon sun starts beating down again.
Now, if you’ve already checked your perimeter gaps and your floor is still acting up, we need to talk about the ‘self-leveling’ myth. Everyone tells you that you can just buy a bag of compound, mix it with some water, and pour it onto a crooked floor to watch the magic happen. In reality, self-leveler is closer to a precision chemical reaction than it is to pancake batter. I used to think ‘self-leveling’ meant the laws of gravity would do the work for me, but I quickly learned that without precise floor leveling techniques to achieve flawless surfaces, you’re just making a bigger, more expensive mess.
Stop Believing Your Leveler Will Do All the Work
The biggest contrarian view I hold is that ‘self-leveling’ is a terrible name for the product. It should be called ‘self-smoothing.’ If you pour it and walk away, it will follow the slope of your house. If your subfloor has a two-degree pitch, your leveler will just be a smoother two-degree pitch. According to the Tile Council of North America (TCNA), the substrate for large-format tiles shouldn’t vary more than 1/8 inch over 10 feet, and getting there requires active intervention with a screed or a spiked roller. If you just pour it and pray, you’ll end up wondering why your floor leveler pitted during the drying process or why it’s still not flat enough for your planks.
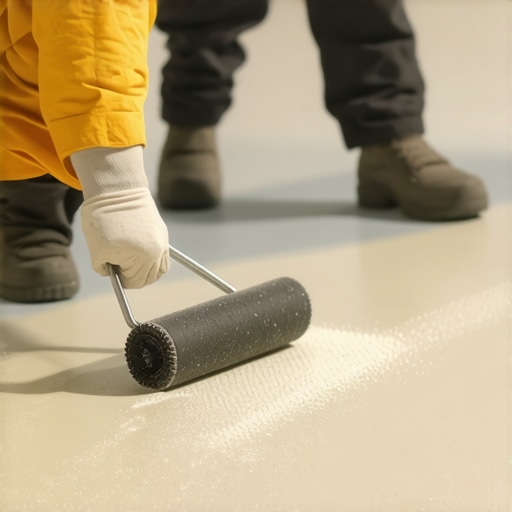
Why Is Your Leveler Setting Up Before You Can Even Move?
This is the advanced trap that catches even seasoned DIYers. You mix the bucket, start pouring, and by the time you go to spread it, the edges have already skimmed over. This happens because the subfloor is thirsty. If you don’t use a high-quality primer, the wooden or concrete subfloor will suck the moisture right out of the leveler, causing it to flash-set. I’ve seen projects ruined because someone didn’t realize why your self-leveler is drying faster than you can pour it, leading to ‘cold joints’ where one pour doesn’t blend with the next. This creates a ridge that is harder to fix than the original dip. You have to understand mastering floor leveling pro secrets for perfect installations, which starts with a double coat of primer to seal those pores.
Don’t Fall for the Over-Watering Trap
When the leveler feels too thick, the instinct is to add another quart of water. Don’t do it. Over-watering is the ‘Oops’ factor that leads to structural failure. Excessive water causes the sand to settle at the bottom and the polymers to float to the top, resulting in a chalky, weak surface that will eventually crumble under your LVP. I’ve spent hours helping people diagnose why your self-leveler didnt bond to the wood subfloor, and nine times out of ten, it was either a lack of primer or a ‘watery’ mix that never actually cured. You need to follow the secret to mixing the perfect bucket of self-leveler every time—measure your water to the exact ounce and use a high-torque drill to ensure a lump-free slurry. Have you ever fallen into this trap and watched your expensive leveler turn into a dusty mess? Let me know in the comments below.
I used to think my toolbox was complete with a hammer and a prayer. But after seeing my sunroom floor attempt its great escape, I realized that the professional finish comes from the tools you don’t find in a standard starter kit. For instance, I never start a project now without a pinless moisture meter. According to the National Wood Flooring Association (NWFA) Technical Publication No. A100, wood flooring must be within a specific range of the subfloor’s moisture content to prevent structural failure. If you ignore this, you’re just inviting your planks to buckle later. Learning how to use a moisture meter before you lay wood floors is the single most important step for long-term stability. You can’t have lasting beauty on a floor that’s warping from the inside out because of a damp slab.
The Specific Gear I Won’t Start Without
Beyond the meter, the oscillating multi-tool is my secret weapon. It’s the only way to get those clean undercuts on door jambs so the floor can slide underneath properly. Without it, you end up with ugly gaps that no amount of caulk can hide. I’ve learned that tile installation pointers that save time and money often boil down to having the right niche equipment—like a high-quality suction cup for LVP or a diamond-grit blade for porcelain. If you are planning a larger renovation, you might even consider mastering hardwood floor refinishing expert tips for 2025 to ensure your tools match the modern finishes being used today. Using the wrong grit or an outdated sander will leave swirl marks that you won’t see until the first coat of poly goes down.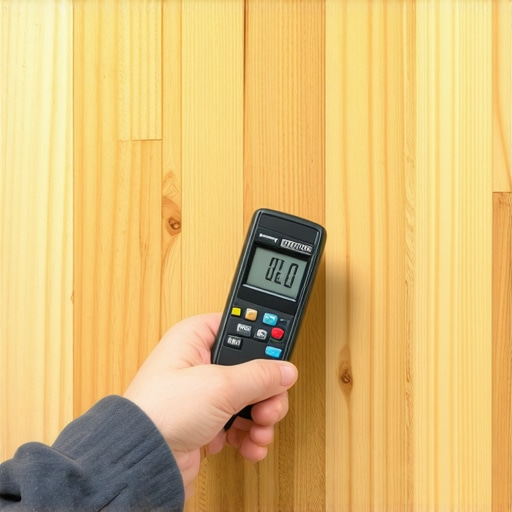
How do I keep these floors from failing five years from now?
Maintenance isn’t just about sweeping; it’s about climate and chemistry. If your home humidity swings wildly between seasons, your floor will never be happy. I also tell everyone to ditch the steam mops immediately. I know the commercials make them look like magic, but the truth about using steam mops on luxury vinyl planks is that they drive pressurized moisture into the seams, which can kill the adhesive bond and swell the core. Instead, stick to pH-neutral cleaners and a microfiber pad. For those with natural materials, finding hardwood floor care secrets to longevity and shine usually involves protecting the finish from grit and UV rays. Looking ahead to 2026, I expect we’ll see a massive shift toward ‘smart’ flooring systems with embedded sensors that can alert your phone if a subfloor pipe leaks or if the room’s temperature reaches a critical expansion point for your LVP. Until that tech becomes affordable, your best defense is a disciplined maintenance routine. I highly recommend you try one advanced move: purchase a dedicated hygrometer for your living room to track your indoor humidity for a month before you ever pull the trigger on a new floor installation.
What the Pro at the Supply House Finally Told Me
After years of trial and error in my own home and helping others, I realized that flooring installation is 90% preparation and 10% actually laying the planks. The biggest ‘lightbulb’ moment for me was accepting that the click-lock system is only as strong as the subfloor underneath it; if that foundation isn’t flat, no amount of force will keep those seams together. I also learned that heat is the silent enemy of LVP, and without a generous expansion gap, your floor is a ticking time bomb. Another realization: ‘self-leveling’ is a misnomer that often tricks homeowners into a false sense of security. True success comes from mastering floor leveling pro secrets for perfect installations rather than just pouring the compound and walking away.
My Personal Arsenal for a Flawless Finish
I don’t start a job anymore without a few specific items that make the difference between a DIY look and a professional result. First, a heavy-duty suction cup tool is non-negotiable for closing gaps in LVP without damaging the delicate click-lock edges. Second, I swear by my 10-foot straightedge to verify the subfloor before I even open a box of material. Third, a high-quality primer is the only way to ensure your leveler actually sticks to the substrate. If you’re tackling a complex project, reviewing floor leveling challenges common mistakes and how to avoid them will save you more money in ruined material than any discount coupon ever could.
Stop Overthinking and Start Laying That First Row
It’s easy to get paralyzed by the fear of a gapping floor or a cracked tile, but remember that even the pros started with a crooked first row and a messy bucket of thinset. You now have the knowledge to troubleshoot thermal expansion, fix existing gaps with lateral force, and prep a subfloor that will last for decades. Trust your tools, follow the physics of the material, and don’t be afraid to pull back a few rows if something doesn’t feel right. Follow this step-by-step guide to flooring installation and leveling success, and you’ll transform your home with a floor that stays tight and beautiful. Have you ever had a floor gap open up in the middle of summer, or did yours wait until the dry winter air to pull apart? Let me know in the comments below!