
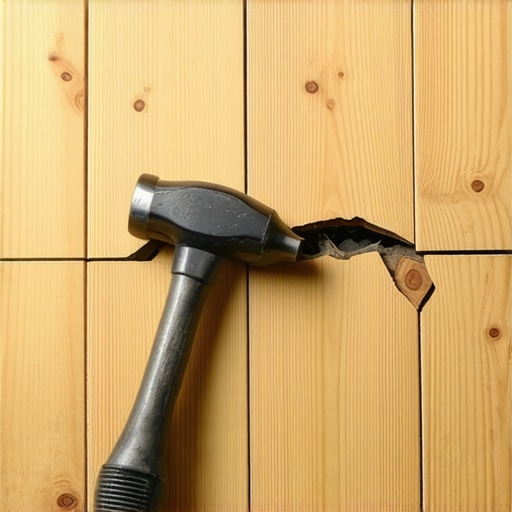
I stood there in my half-finished hallway, staring at a shattered plastic lip that used to be a precision-engineered locking mechanism. The sound wasn’t the satisfying ‘click’ I expected; it was a dull, sickening crunch. I had a brand-new white rubber mallet in my hand and a $4,000 pallet of flooring behind me. I thought I was being careful. I thought I was ‘seating’ the planks. In reality, I was mushrooming the very edges that were supposed to keep my floor from separating three months down the line. It is a heartbreaking moment when you realize your own ‘help’ is the reason you’ll be pulling up four rows of progress tomorrow morning. Today, I want to show you exactly why that mallet is often the enemy of a long-lasting floor and how to actually get those tight seams without the structural damage.
Your Mallet is More Dangerous Than You Think
When you’re deep into a project, it’s easy to get aggressive. You see a tiny gap and your instinct is to give it a good whack. But here is the reality: modern click-lock systems, whether they are luxury vinyl or engineered hardwood, are designed for geometry, not force. If your subfloor isn’t perfect—something you can fix by learning precise floor leveling techniques to achieve flawless surfaces—that mallet strike doesn’t just push the plank; it compresses the tongue. I learned this the hard way during a kitchen remodel where I bypassed the tapping block ‘just for one row.’ By the time I finished, half the short-end joints were compromised. This leads to the dreaded ‘bouncing’ effect, and if you’re wondering why your lvp floor feels like its bouncing when you walk, it’s often because those internal locking ribs were crushed during the install. Avoiding these flooring installation mistakes to avoid for lasting results is the difference between a floor that lasts twenty years and one that gaps in twenty days.
Wait, didn’t the pro on YouTube say I needed a mallet?
It’s the most common piece of advice in the DIY world, and it’s partially true. You do need a mallet, but you almost never need to hit the floor plank itself. The skepticism is real: ‘If I don’t hit it, how will it lock?’ The secret is the angle and the tapping block. When I first started, I used a standard black rubber mallet. Big mistake. Not only did the force ruin the edges, but the black rubber left carbon scuffs that were a nightmare to clean. According to the National Wood Flooring Association (NWFA), improper installation tools are among the leading causes of premature joint failure in floating floors. You need to ensure you aren’t ‘over-driving’ the joint. If you have to swing like you’re at a carnival high-striker, something is wrong with your alignment or your subfloor. Have you ever noticed tiny shards of plastic or wood fiber popping out of your seams while you work? If so, you’re already hitting it too hard. Have you faced this ‘crunch’ yet, or are you hoping to avoid it before you start your first row?
Your Subfloor Geometry Dictates Your Seams
Before you even open a single box of flooring, you have to realize that the mallet is merely a messenger for your subfloor. If there is a 1/8-inch dip in your plywood, no amount of ‘persuasion’ from a rubber hammer is going to make that seam stay flat. You are essentially trying to bridge a canyon with a rigid plank. To avoid this, you must master precise floor leveling techniques to achieve flawless surfaces. I once spent three hours trying to ‘hammer out’ a gap in a master bedroom, only to realize later that the subfloor had a subtle hump I’d ignored. If I had known the leveling secret for installing plank flooring over tiles or old concrete, I would have saved my wrists and the client’s material. When the floor is flat, the planks slide together like magnets; when it’s not, you’re just fighting physics.
Angle It In Like a Precision Puzzle Piece
The biggest mistake DIYers make is laying the plank flat and then hitting it sideways. Modern click-lock flooring is designed to be engaged at a 20-to-30-degree angle. Think of it like a seatbelt buckle: if you try to shove the metal tongue into the side of the plastic housing, you’ll just break it. You have to insert it at the specific angle the engineers intended. Once you feel the tongue seat into the groove, then—and only then—do you lower it and give it a light, celebratory tap. If you find yourself struggling, check for debris. A single grain of sawdust in that groove is enough to prevent a lock, which is why the vacuum attachment that actually picks up fine sawdust is more important than your mallet. For those working with tricky areas like hallways, knowing how to stop hardwood floors from gapping in the hallway often comes down to this first-row alignment rather than brute strength.
Why Your Moisture Meter is the Only Tool That Doesn’t Lie
I remember a project in a basement where the homeowner was adamant the slab was dry because it ‘looked gray.’ I didn’t argue; I just started tapping planks together. Three months later, the entire floor was peaking at the short joints. The invisible moisture from the concrete was expanding the planks from the bottom up, creating pressure that no mallet could ever solve. Now, I never start a job without checking the conditions. You must learn how to use a moisture meter before you lay wood floors to ensure the environment is stable. This is especially critical if you are trying to match new hardwood to a century-old subfloor, where the old wood might have a completely different moisture profile than your new, kiln-dried planks. If the meter says no, the mallet shouldn’t even come out of the bag.
Stop Your LVP From Sliding Without Using Force
In high-traffic areas, people often over-hammer the transitions because they fear the floor will move. But force actually weakens the very joints meant to hold the floor together. Instead of hitting it harder, you need to understand the friction and physics of your underlayment. Learning how to stop luxury vinyl planks from sliding under heavy furniture involves proper perimeter expansion gaps and the right underlayment, not tighter mallet strikes. If you over-drive the joint, you’re creating a stress point that will eventually snap when the house shifts. I’ve seen beautiful installs ruined because the installer thought ‘tighter is better’ and crushed the expansion overlap. Use a tapping block to distribute the load, and remember: you are seating the joint, not welding it.
While the rubber mallet is a beginner’s go-to tool, the pros know that successful installation is less about hitting things and more about managing environmental equilibrium. Let’s dig deeper into the nuances that separate a weekend DIY project from a lifetime architectural feature. Most people believe that following a ‘three-day acclimation’ period is enough to keep their hardwood from shifting, but this is a dangerous myth. Wood doesn’t have a calendar; it has a cellular structure that reacts to relative humidity. If your home’s HVAC isn’t running at its usual occupancy settings, that wood will never reach its proper state. Expert installers know that acclimation is only complete when the wood’s moisture content is within 2-4% of the subfloor. Ignoring this invisible metric is exactly [why your hardwood floor is crowning and how to dry it out](https://tiletrendshop.com/why-your-hardwood-floor-is-crowning-and-how-to-dry-it-out) later when the seasons change.
Acclimation is a Metric Not a Calendar Date
In my years on site, I’ve seen countless boards ruined because they were installed according to the ‘rule of three days’ without a single check from a meter. When dealing with massive planks, the stakes are even higher. You might discover [why wide plank flooring needs both glue and nails](https://tiletrendshop.com/why-wide-plank-flooring-needs-both-glue-and-nails) because the sheer surface area of the wood exerts forces that a simple mechanical fastener cannot resist. This isn’t just about making it stick; it’s about managing the inevitable expansion and contraction that occurs in every natural material. Have you ever fallen into this trap? Let me know in the comments. We often think more is better, but over-nailing can be just as destructive as under-nailing if it doesn’t allow for natural movement.
Why Does My Perfect Leveling Job Have Spiderwebs?
Self-leveling compounds are often marketed as a ‘pour and forget’ solution, but they are incredibly temperamental. If you notice tiny fractures appearing as the compound dries, you are likely witnessing a bond failure. This often happens because the substrate was too porous and sucked the water out of the leveler too quickly. You might be left wondering [why your self leveler developed spiderweb-cracks overnight](https://tiletrendshop.com/why-your-self-leveler-developed-spiderweb-cracks-overnight), and the answer usually lies in the primer—or lack thereof. Furthermore, the speed at which you mix the material matters. High-speed mixing introduces air, and if you don’t use [the roller selection that prevents air bubbles in leveler](https://tiletrendshop.com/the-roller-selection-that-prevents-air-bubbles-in-leveler), those bubbles will leave a ‘Swiss cheese’ texture that compromises your tile’s bond.
Large Format Tiles Demand More Than Just a Flat Surface
Modern trends are leaning toward massive tiles, but these present a unique challenge known as ‘lippage.’ The Tile Council of North America (TCNA) specifies that for tiles with any side longer than 15 inches, the subfloor must be flat within 1/8 inch over 10 feet. This is significantly more stringent than standard installs. Using an improper trowel size or [the hidden cost of using cheap thinset on large format tiles](https://tiletrendshop.com/the-hidden-cost-of-using-cheap-thinset-on-large-format-tiles) can lead to ‘hollow’ spots that crack under the weight of a chair leg. Before the grout goes in, you need to know [how to detect a hollow tile before the grout starts cracking](https://tiletrendshop.com/how-to-detect-a-hollow-tile-before-the-grout-starts-cracking) by performing a simple sound test across the surface. Brute force won’t help here; only [precise floor leveling techniques to achieve flawless surfaces](https://tiletrendshop.com/precise-floor-leveling-techniques-to-achieve-flawless-surfaces) will ensure those large tiles stay flat and sound for decades.
The ‘Oops’ factor in high-end tiling often comes down to the smallest of details, like the choice of thinset. Standard modified thinset doesn’t have the ‘grab’ required to hold a heavy porcelain slab on a vertical surface or a perfectly flat floor. If you try to save twenty dollars on a bag of mortar, you might find your tiles ‘slumping’ or moving after you’ve walked away for the night. Real expertise is realizing that the floor under your feet is a living, breathing assembly of layers. If one layer fails—whether it’s a dusty concrete slab or a poorly mixed bucket of leveler—the entire system is compromised. Have you faced this ‘crunch’ yet, or are you hoping to avoid it before you start your first row?
Once the last plank is seated and the spacers are pulled, the clock starts ticking on your floor’s lifespan. I’ve seen homeowners drop five figures on premium materials only to destroy the finish within six months because they followed a viral ‘cleaning hack.’ If you want your investment to survive, you have to transition from the mindset of an installer to that of a conservator. The first thing you need to do is throw away that steam mop. Seriously. Understanding the truth about using steam mops on luxury vinyl planks is vital; the localized heat can actually melt the adhesive bonds or delaminate the wear layer, leading to irreparable warping that no mallet can fix.
The Vacuum That Saves Your Grout Lines
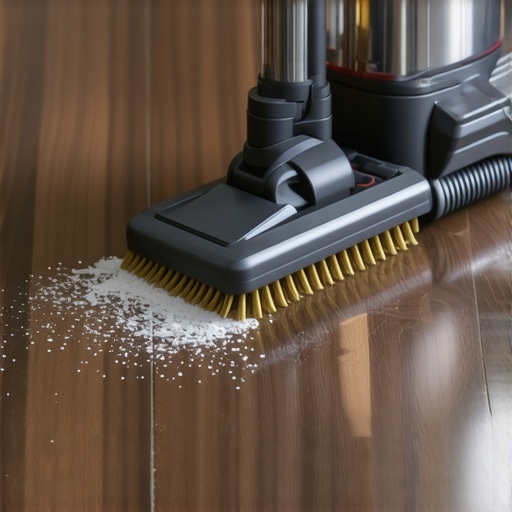
I don’t use a broom on my jobsites, and I don’t use one at home. Brooms just push microscopic grit into the bevels of your planks or the pores of your grout. Over time, that grit acts like sandpaper. I personally swear by a HEPA-filtered vacuum with a dedicated soft-bristle floor tool. Using the vacuum attachment that actually picks up fine sawdust is the only way to ensure that abrasive particles aren’t being ground into the finish. If you’re working on a renovation, you also need the best tool for scraping glue off a concrete slab before you even think about your next layer, because old adhesive residue is a magnet for moisture and mold.
How do I maintain my flooring investment over time?
Maintenance is less about deep cleaning and more about preventing environmental stress. For wood, this means keeping your home between 35% and 55% relative humidity. If you don’t, you’ll be looking up hardwood floor care secrets to longevity and shine much sooner than you intended. For tile, it’s about the pH of your cleaner. High-acid cleaners like vinegar will slowly eat away at your grout’s integrity. If you have matte finishes, you need to know how to remove scuff marks from matte porcelain flooring using specialized melamine pads rather than harsh chemicals. According to the Schluter-Systems DITRA-HEAT installation handbook, maintaining the ‘thermal equilibrium’ of a floor—especially those with radiant heat—requires a slow ramp-up of temperature to prevent the mortar from cracking under thermal shock. This level of detail is what separates a floor that merely looks good from one that remains structurally sound for thirty years.
Smart Sensors and the Future of Your Living Room
Looking ahead, the flooring industry is moving toward ‘intelligent surfaces.’ We are already seeing the integration of moisture sensors embedded within the underlayment that can alert a smartphone if a dishwasher leak starts migrating under the kitchen LVP. In the next decade, I predict we will see modular magnetic flooring systems become the standard for residential spaces, allowing homeowners to swap out damaged sections in seconds without any tools or adhesives. For now, we rely on technical mastery. If you’re planning a major upgrade, start by mastering hardwood floor refinishing expert tips for 2025 to ensure you’re using the latest low-VOC, high-durability finishes. My best advice for any serious DIYer? Stop guessing. Buy a professional-grade moisture meter today and use it every single time you step onto a new substrate. It is the one tool that will never lie to you about the readiness of your home.
The Hard-Won Secrets Behind a Silent Subfloor
After years of bruised knuckles and wasted material, I’ve realized that the ‘perfect’ floor is rarely about the floor itself; it’s about the preparation you do when no one is watching. One lightbulb moment for me was realizing that a dry-lay of your first three rows is more important than the final nailing. It allows you to see the pattern flow and catch any alignment issues before they become permanent. I also learned that if you hear a ‘crunch’ instead of a ‘click,’ you need to stop immediately. That sound is the flooring installation fundamentals leveling for a seamless look being compromised by debris or poor angles. Always remember: the subfloor is the skeleton, and the flooring is just the skin.
My Personal Arsenal for Flawless Seams
I never step onto a job site without my non-marring nylon tapping block. Unlike scrap wood, these specialized blocks absorb the shock while protecting the delicate tongue-and-groove system from mushrooming. I also highly recommend investing in a digital pinless moisture meter; it’s the only way to be sure your substrate is ready, and it’s a key part of mastering floor leveling pro secrets for perfect installations. Lastly, a set of adjustable perimeter spacers will save you from the nightmare of a shifting first row, which is essential for any step-by-step guide to flooring installation and leveling success. These tools turn guesswork into a science.
#IMAGE_PLACEHOLDER_E#
Transform Your Home One Plank at a Time
You have the knowledge now to move past the ‘mallet-only’ mentality. Professional flooring installation is a craft that rewards patience over power. By respecting the expansion gaps, checking your moisture levels, and leveling your substrate, you aren’t just laying a floor—you’re building a foundation for your home’s future. Don’t be afraid to take it slow; the most beautiful floors are the ones where the installer took an extra ten minutes to double-check the level. If you’re looking to push your skills further, consider mastering hardwood floor refinishing expert tips for 2025 to keep your work looking brand new for decades. Have you ever encountered a subfloor ‘hump’ or dip that nearly ruined your project? Let me know in the comments below!