
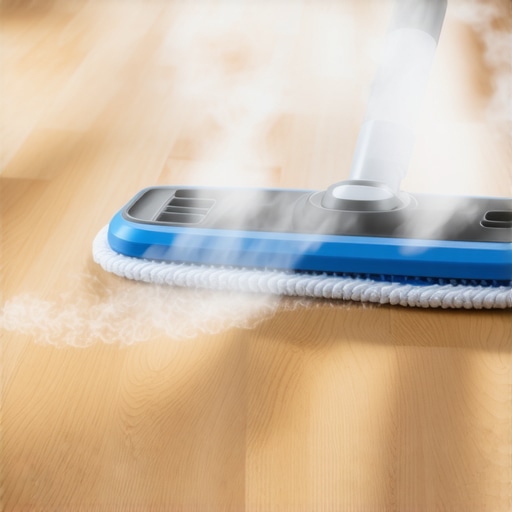
I remember the exact Saturday morning I thought I was being the ultimate home maintenance hero. I had just purchased a top-of-the-line steam mop, and I was ready to blast every microscopic germ off my brand-new luxury vinyl planks. I loved that satisfying hiss of steam hitting the floor. I thought I was sanitizing like a pro. But three months later, my heart sank. I noticed the edges of my planks weren’t lying flat anymore. They were doing what we call ‘peaking,’ where the joints push up against each other like a tiny mountain range. I had basically cooked my own floor. It was a thousands-of-dollars mistake that I do not want you to repeat, and today, I am going to tell you exactly why that ‘waterproof’ label on your flooring box is a bit of a trick when it comes to high heat.
The Hidden Danger of High Temperatures on Vinyl Planks
Luxury vinyl is a marvel of modern engineering, but at its heart, it is still essentially a sandwich of PVC, stabilizers, and plasticizers. When you hit it with pressurized steam, you aren’t just cleaning; you’re injecting moisture into the seams and subjecting the material to temperatures well above its design limit. I have seen beautiful installs ruined because homeowners didn’t realize that why you should never use a steam mop on luxury vinyl is often hidden in the fine print of the warranty. Unlike hardwood floor care secrets that focus on preserving a finish, vinyl care is all about protecting the structural integrity of the core. If that intense heat gets into the joints, the planks expand far too quickly. They have nowhere to go but up, leading to the exact reason why your luxury vinyl is peaking at the short joints. My floors looked great for a few weeks, but the cumulative effect of that heat eventually broke down the locking mechanism and the adhesive layers.
Can my floor really not handle a little heat?
It sounds like a bit of a marketing ploy to get you to buy special pH-neutral cleaners, doesn’t it? You might think, ‘It is plastic, so it should be fine.’ However, the Resilient Floor Covering Institute (RFCI) notes that most residential vinyl flooring is only tested to withstand temperatures up to about 85 degrees Fahrenheit. A steam mop can easily hit over 200 degrees at the nozzle. When my own floors started to feel weird underfoot, I realized I had created a problem similar to why floating floors sound hollow—the planks were no longer sitting flat and tight against the subfloor. I want to help you avoid that hollow, crunchy sound that signals your floor is failing. Have you noticed any weird buckling or lifting in your kitchen recently after a deep clean? Let me know in the comments because I have been there, and I know how frustrating it is to see your investment warp before your eyes.The good news is that keeping these floors alive is actually easier and cheaper than the steam mop route. It just requires a shift in how you think about ‘clean.’ If you treat your vinyl like a high-performance engine, you realize it needs specific care to stay in peak condition.
Get the Foundation Right Before You Even Mop
Before you even touch a cleaning solution, you have to understand that luxury vinyl behaves differently depending on what is underneath it. I remember a massive project I consulted on where the homeowner complained their vinyl felt ‘bouncy’ and started cracking at the seams. It turned out the subfloor was like a rolling hill landscape. If your floor isn’t flat, the planks flex every time you walk on them, which eventually snaps the locking tabs. This is why I always point people toward the ultimate guide to floor leveling for a perfect finish. I once tried to skimp on prep in my own laundry room, thinking the vinyl would ‘mask’ the divots. It didn’t. I ended up having to use the spiky-roller secret for a mirror-smooth pour to fix the mess I made. When your subfloor is perfectly level, your cleaning routine becomes much more effective because you aren’t fighting against weird dips and humps that collect dirty water.
The Mist Method and the Microfiber Secret
To clean your vinyl without ‘cooking’ it, you need to ditch the bucket of sloshing water. Think of your vinyl as a tight-fitting suit; it is water-resistant, but it doesn’t want to go for a swim. I use a high-quality spray mop with a washable microfiber pad. You only want to mist the floor with a pH-neutral cleaner. If you use something acidic or too alkaline, you risk stripping the wear layer, much like the common hardwood floor care secrets that emphasize protecting the finish. I keep a dedicated spray bottle with a mixture of distilled water and a drop of specialized vinyl cleaner. This prevents the white film or ‘cloudiness’ that often plagues LVP owners. 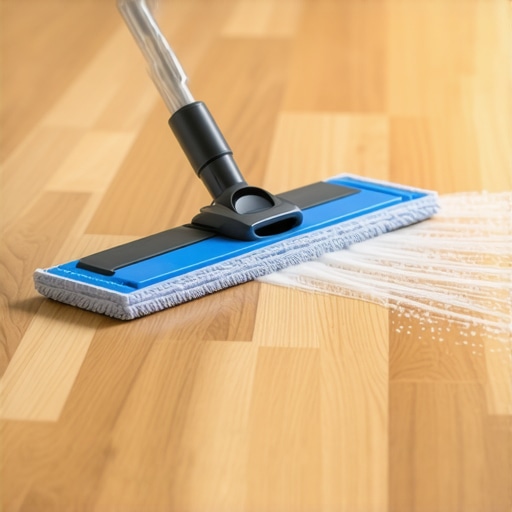
Don’t Skip the Moisture Check
Even if your floor looks great on the surface, moisture can be a silent killer from below. When I am doing an installation, I never trust my eyes. I always use tools to ensure the environment is stable. Knowing how to use a moisture meter before you lay wood floors or vinyl is a non-negotiable step. If you have moisture trapped under the planks, your cleaning efforts won’t matter; the floor will eventually fail from the bottom up. Also, remember that vinyl needs room to breathe. I have seen countless DIYers jam their planks tight against the wall, forgetting the expansion gap rule for radiant heated wood floors applies here too. If the floor can’t expand as it naturally warms and cools during your cleaning process, it will buckle. Stick to cold or lukewarm water, a light mist, and a microfiber pad that traps the dirt rather than pushing it into the seams.Now that you know the basics of vinyl care, let’s talk about the hard truth that many flooring ‘experts’ won’t tell you: most floor failures start long before the first plank is laid. We often hear that self-leveling compounds are the magic eraser for bad subfloors, but this is a dangerous oversimplification. I have spent years fixing ‘pro’ jobs where the installer assumed the compound would simply find its own level like water in a lake. In reality, these materials are closer to thick molasses. If you don’t actively move the product, you end up with why your self-leveling pour looks like a topographical map. The Tile Council of North America (TCNA) standards actually require a substrate flatness of 1/8 inch over 10 feet for any large-format tile or plank. Achieving that level of precision requires more than just pouring a bag and walking away; it requires a strategy.
Stop Waiting for the Leveler to Move Itself
Many people believe that as long as they buy an expensive bag of compound, the floor will magically flatten itself. This is the biggest myth in the industry. To get a professional result, you have to manage the flow. This means using a gauge rake to set the depth and a spiked roller to release trapped air. Without these tools, you’ll see ‘pinholing’ or small craters where air escaped too late. I learned this the hard way when I skipped the roller selection that prevents air bubbles in leveler on a large kitchen project. The result was a surface that looked like the moon’s landscape. It wasn’t just an aesthetic issue; those tiny bubbles compromised the strength of the entire layer.
How do I choose the right leveler for radiant heat?
Advanced installers know that heat changes the chemistry of your prep work. If you are working over an in-floor heating system, standard levelers will often expand and contract at different rates than the subfloor, leading to delamination. You need a fiber-reinforced or highly polymer-modified product. Knowing how to choose a floor leveler that wont crack over radiant heat is the difference between a floor that lasts decades and one that sounds like a bowl of Rice Krispies after the first winter. 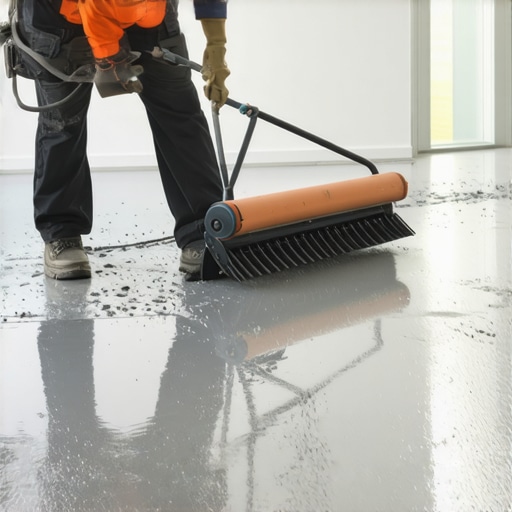
The Chemistry Behind the One Mistake That Ruins Your Polymer Bond
Here is the ‘Oops’ factor that catches almost everyone: the mixing speed. Most people grab a standard drill, stick a paddle on it, and go to town at full throttle. This is a massive mistake. High-speed mixing shears the polymer chains and whips massive amounts of air into the slurry. I always recommend using a dedicated low-speed, high-torque mixer. I have seen countless DIYers wonder why your self-leveler developed spiderweb cracks overnight, and 90% of the time, it’s because they mixed it too fast or added ‘just a splash’ of extra water to make it flow better. Over-watering is the fastest way to ensure your leveler turns into a chalky, brittle mess that won’t hold a bond.
Master the Spiky Roller or Prepare to Sand
If you want that mirror-smooth finish required for thin LVP, you must embrace the tools of the trade. Using the spiky-roller secret for a mirror-smooth pour isn’t just about bubbles; it’s about breaking the surface tension of the liquid so it can truly blend into the previous pour. If you miss this step, you’ll get visible ridges where one bucket ended and the next began. This is especially critical because the secret to getting a flat floor for large format tiles is all about that initial substrate preparation. Also, never forget that concrete is a thirsty sponge. If you skip the concrete etching step you shouldnt skip before leveling, the concrete will suck the moisture out of your leveler too fast, leading to a ‘flash dry’ where it hardens before it can flatten out. Have you ever fallen into the trap of thinking a leveler would fix everything without the proper prep work? Let me know in the comments, because we have all been there, and sharing those ‘fails’ is how we all get better at our craft.Once you move past the basics of not ‘cooking’ your floor with steam, you realize that professional results come down to the specific gear you have in your hands. I used to think I could get away with a standard mud mixer and a flat trowel, but my perspective shifted when I started using a dedicated 10.5-gallon mixing barrel and a low-speed, high-torque drill. If you are still using a high-speed construction drill, you are likely fighting air bubbles you can’t see until the floor dries. Using the mixing paddle speed that ruins your leveling compound as a cautionary tale, I now never exceed 600 RPM. This keeps the polymers intact and ensures the flow remains consistent. I also swear by a gauge rake set to the exact depth of my thinnest spot. It’s the only way to guarantee that you aren’t just moving liquid around, but actually building a flat plane. These precise floor leveling techniques to achieve flawless surfaces are what separate a ‘good enough’ DIY job from a floor that feels like a solid slab of stone.
How do I maintain my floor’s stability for the long haul?
Maintenance isn’t just about cleaning; it is about environmental control. According to the National Wood Flooring Association (NWFA) Technical Publication No. C200, maintaining a consistent relative humidity between 30% and 50% is critical for preventing the expansion and contraction that leads to gapping or peaking. I always tell my clients to invest in a small hygrometer. If you see the humidity spike in the summer, your vinyl or hardwood will move, no matter how perfect the install was. You should also revisit your hardwood floor care secrets to longevity and shine every few seasons, checking for any signs of ‘telegraphing’ where subfloor imperfections start to show through. 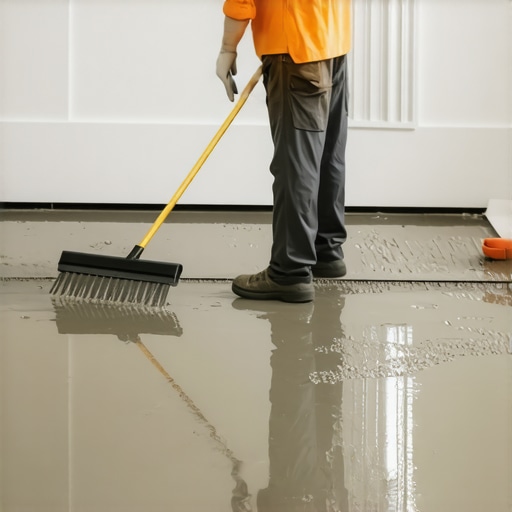 Looking toward the future, I expect we will see more ‘smart’ leveling compounds infused with carbon fibers that can actually report moisture levels via an app. But until then, we rely on mastering floor leveling pro secrets for perfect installations like the ones I have shared. To really take your craft to the next level, I challenge you to try the gauge rake method on your next small utility room project. It will change the way you view subfloor prep forever and save you from the nightmare of why your self-leveling pour looks like a topographical map. Don’t just pour and pray; manage the material and the environment to ensure your investment stays flat and beautiful for decades.
The Reality Check Most Flooring Brands Skip
If there is one thing I have learned after years of fixing buckled planks, it is that ‘waterproof’ is a marketing term, not a scientific law. Moisture might not soak into the vinyl core, but the steam and heat I used to love can easily destroy the bond underneath. I realized too late that floor leveling challenges common mistakes and how to avoid them usually start with overconfidence in the product’s durability. Don’t let a fancy label talk you out of using a pH-neutral cleaner and a simple microfiber mop.
Another lightbulb moment for me was accepting that subfloor prep is 90% of the job. I used to rush the leveling phase to get to the ‘fun’ part—the actual flooring installation. But if you don’t respect the dry times and the chemistry of your compound, you are just building on a house of cards. I now treat every subfloor like a canvas that needs to be perfectly flat, following flooring installation fundamentals leveling for a seamless look to ensure my work stands the test of time.
The Gear That Turned My Fails into Wins
I don’t go onto a job site without my specific toolkit anymore because the wrong gear is a recipe for frustration. Here is what I personally trust:
- A Low-Speed High-Torque Mixer: This is non-negotiable. Using a standard drill leads to the mixing paddle speed that ruins your leveling compound, which creates those annoying air bubbles.
- The Gauge Rake: This tool changed my life. It allows you to set a uniform depth across the whole room, which is the key to precise floor leveling techniques to achieve flawless surfaces.
- A High-Quality Hygrometer: I use this to monitor the room’s humidity before, during, and after installation to prevent the vinyl from shifting.
Your Foundation Defines Your Result
The secret to a floor that doesn’t creak, pop, or peak is simply patience and the right method. Whether you are tackling a small bathroom or a whole house, remember that your flooring installation is only as good as the prep work beneath it. Take your time with the ultimate guide to floor leveling for a perfect finish and don’t be afraid to redo a section if it doesn’t feel right. You’ve got this! Have you ever struggled with a self-leveler drying faster than you could spread it? Let me know in the comments below.