
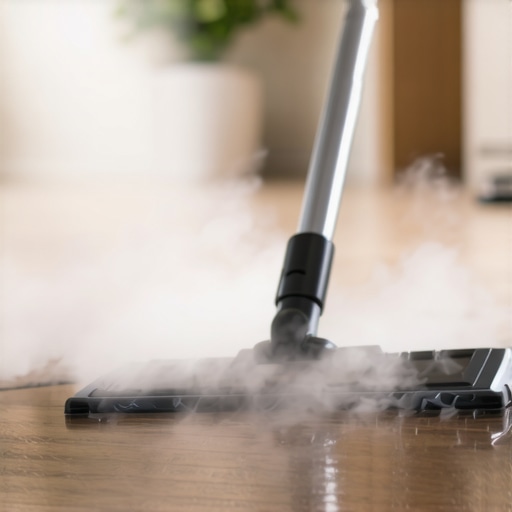
I was standing in my kitchen, admiring the way the afternoon sun hit my brand-new luxury vinyl planks. They were gorgeous. Naturally, I wanted to keep them that way. I pulled out my high-end steam mop, the one that promised to “sanitize with the power of nature,” and went to town. I thought I was being the ultimate responsible homeowner. Fast forward six months, and I started noticing the edges of my planks weren’t quite flush anymore. There was a tiny, nagging click every time I walked across the room. If you’ve ever wondered why your LVP floor is clicking when you walk on it, the culprit might be right in your cleaning closet. I had accidentally started a slow-motion disaster by being too aggressive with my cleaning routine. I want to save you from the same heartbreak and the expensive repair bills that follow. Today, we are going to dive into the science of why heat and vinyl are a recipe for disaster and how you can achieve a spotless floor without compromising the structural integrity of your home.
Your Steam Mop is Slowly Ruining Your Luxury Vinyl
Listen, I get it. We all want that “squeaky clean” feeling, and nothing feels more thorough than a blast of hot steam. But luxury vinyl isn’t your grandma’s ceramic tile. While LVP is tough, it has a secret weakness: extreme temperature changes and pressurized moisture. When you hit those planks with steam, you aren’t just cleaning the surface. You’re forcing moisture into the seams and using heat that can actually melt the adhesives or warp the core material itself. I learned this lesson by ruining a $3,000 installation in my first home. It’s one of those flooring installation mistakes to avoid for lasting results that nobody mentions until it’s too late. I was so focused on hygiene that I ignored the physics of the material I was walking on. Modern vinyl is often composed of layers, and the high-pressure vapor from a steam mop can delaminate those layers faster than you can say “warranty voided.” If you want your floors to last, you have to stop treating them like stone or porcelain.
Is a little bit of heat actually worth the risk?
You might be thinking, “But my mop has a ‘low’ setting!” or “It dries so fast, how can it hurt?” Here is the reality: even at lower settings, most steam mops exceed the maximum temperature ratings set by flooring manufacturers. In fact, the Resilient Floor Covering Institute (RFCI) warns that localized high heat can cause “peaking” at the joints, where the edges of the planks push against each other and lift. If you’ve noticed why your glue-down vinyl is curling at the edges, it’s often because the bond has been compromised by heat. I’ve seen beautiful floors turn into a series of mini-mountains just because someone wanted to “sanitize” their mudroom. Have you ever noticed your planks feeling a bit “bouncy” or uneven after a heavy cleaning session? Let me know in the comments, because you might be catching the damage early enough to stop it. We need to treat these floors with the same respect we give hardwood floor care secrets to longevity and shine, focusing on pH-neutral cleaners instead of brute force. The goal isn’t just to have a clean floor for today, but to have a beautiful floor ten years from now. Let’s look at the safe alternatives that actually work.
Ditch the Steam for pH-Neutral Power
To keep your vinyl looking like it was just installed, you need to think like a chemist rather than a power-washer. Most people reach for the nearest bottle of Dawn, but understanding why you should never mop your floors with dish soap comes down to the sticky residue it leaves behind. This film acts like a magnet for dirt, forcing you to scrub harder and eventually reach for that forbidden steam mop. Instead, use a pH-neutral cleaner specifically formulated for resilient flooring. Imagine your LVP is like a high-end waterproof jacket; the surface can handle a splash, but if you soak the fabric or use harsh detergents, you break down the protective finishes. I once made the mistake of using a generic ‘all-purpose’ cleaner in my hallway, and within a month, the matte finish looked like a splotchy mess. It took me three deep cleans with a proper neutralizer to get that factory glow back. 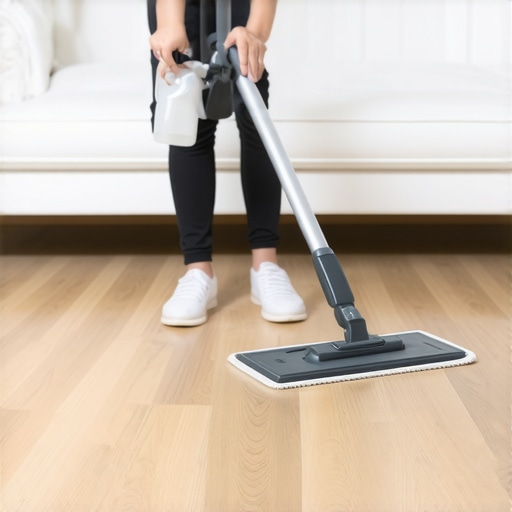
The Microfiber Method That Saves Your Seams
If you are still using a string mop and a bucket, you are playing a dangerous game with moisture. Luxury vinyl is waterproof from the top, but the click-lock joints are the ‘Achilles heel.’ When you slop water across the floor, it seeps into those tiny cracks and sits on the subfloor. If you didn’t have a perfect floor leveling for a perfect finish, that trapped water creates a breeding ground for mold and can cause the planks to shift or swell. Use a microfiber flat mop. I prefer the ‘mist and swipe’ technique. I keep a spray bottle of cleaner in one hand and the mop in the other. This ensures the floor is barely damp and dries in under sixty seconds. It’s a similar philosophy to hardwood floor care secrets to longevity and shine—minimal water is your best friend. I remember a client who flooded their bathroom during cleaning; they didn’t realize that even though the planks were plastic, the air trapped beneath them needed to stay dry to prevent that dreaded ‘squish’ sound.
Handling the Stubborn Grime Without Brute Force
We’ve all had those dried-on spills that seem to require a chisel. Before you get aggressive, try the ‘soak’ method. Place a damp, warm cloth over the spot for five minutes to soften the residue. If you find a mystery scuff that won’t budge, the the tape trick for cutting lvp without the mess mindset applies here too—sometimes a bit of painters tape or a specialized vinyl eraser can lift the mark without scratching the wear layer. I once tried to scrape dried paint off my kitchen floor with a metal putty knife and ended up having to learn how to patch a deep gouge in luxury vinyl planks because I was too impatient to let the cleaner do the work. If your floor feels ‘crunchy’ or you hear a clicking sound, it might be microscopic debris trapped in the joints. Address it with a high-suction vacuum first, never a broom that just pushes sand deeper into the gaps where it can grind away at the locking mechanism.If you’ve mastered the cleaning but your floor still sounds like a tap-dancer is following you, we need to talk about the foundation. Most homeowners assume that ‘self-leveling’ compound is a magic potion you just pour on the floor and walk away from. That is a dangerous myth. In my years of fixing failed installs, I’ve seen more ‘self-leveled’ floors that look like a mountain range than a flat surface. You can’t just dump it out; you have to manage the chemistry. This is where mastering floor leveling pro secrets for perfect installations becomes the difference between a floor that lasts and one that fails in a year.
Why does your leveler look like a topographical map instead of a mirror?
The ‘Oops’ factor usually starts with the drill. Most DIYers grab their highest-speed power tool and whip that compound like they’re making a meringue. Big mistake. High speeds trap air in the mixture, which leads to pinholes and weak spots. According to the ASTM F710 standard, which is the industry benchmark for preparing concrete floors to receive resilient flooring, the substrate must be properly prepared and the moisture levels checked before any pour. If you ignore the mixing paddle speed that ruins your leveling compound, you’re basically pouring brittle Swiss cheese onto your subfloor. This causes the dreaded ‘ghosting’ where you can see every swirl of the trowel through your thin vinyl planks later on.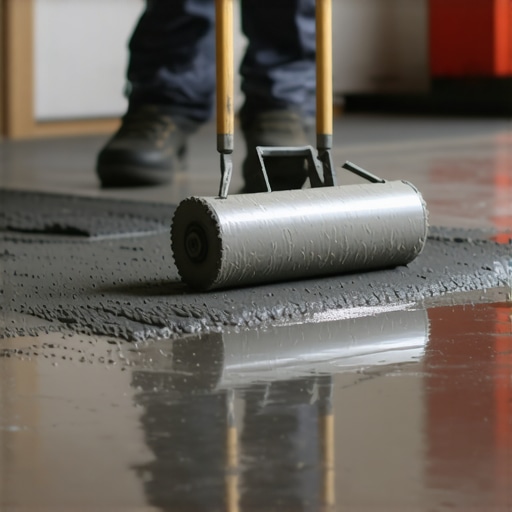 The second nuance people miss is the bond. You cannot pour wet compound onto dry, dusty concrete and expect it to stick. It’s like trying to tape a dusty box; it’s going to peel. Understanding why you must prime concrete before every leveling job is the ‘hidden’ step that separates the pros from the frustrated homeowners. Without primer, the thirsty concrete sucks the moisture out of your leveler too fast, causing it to crack before it even cures. I’ve seen $500 worth of material turn into a jigsaw puzzle because someone skipped a $30 bottle of primer. Have you ever poured leveler only to have it bubble up like a science experiment gone wrong? Let me know in the comments, because catching those bubbles early with a spiky roller is a lifesaver.
How do you avoid the hollow sound under your new planks?
If you’ve already laid your floor and hear that ‘thud-thud’ sound, you’re likely dealing with a dip you missed. This is why how to prevent ghosting marks on your self-leveling finish starts long before the floor goes down. You have to use a straightedge—not just your eyes. I once worked with a guy who swore his floor was ‘flat enough’ just by looking at it, only for us to find a half-inch valley once we applied the ultimate guide to floor leveling for a perfect finish measurements. That valley is what causes the clicking and eventually breaks the locking joints of your LVP. If you’re struggling with a pour that looks like why your self-leveling pour looks like a topographical map, the fix involves a lot more sanding and a lot less sleep. Avoid the trap: prime, mix slow, and measure twice.
Stop Eyeballing Your Layout and Use a Laser
I’ve spent years watching DIYers and even some ‘pros’ try to line up a long hallway using nothing but a chalk line and a prayer. It never works. If your first row is off by even an eighth of an inch, by the time you hit the other side of the house, you’ll be looking at a wedge-shaped disaster. I personally never start a job without my self-leveling cross-line laser. This isn’t just about being fancy; it’s about the the laser level move for perfectly straight hallways that ensures every plank sits exactly where it should. I use the Bosch GLL30 because it’s compact, but the brand matters less than the accuracy. When you can see a perfectly straight red line across three rooms, you stop guessing and start installing.
The Spiky Roller Secret to a Glassy Finish
Remember how I mentioned those topographical map disasters with self-leveling compound? Most of that happens because air gets trapped. My secret weapon is a spiky roller. It looks like something out of a medieval movie, but it is the only way to get a mirror-finish. As you roll it through the wet compound, it pops every tiny bubble and helps the material knit together seamlessly. It’s the spiky roller secret for a mirror smooth pour that most people skip because they don’t want to spend the extra thirty bucks. Trust me, it’s cheaper than sanding down high spots for two days. 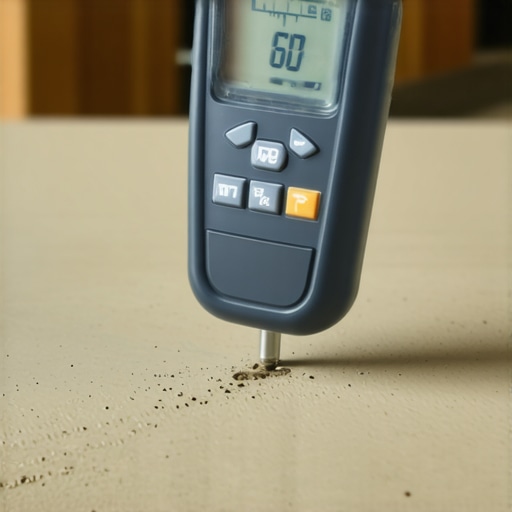
How do I maintain my floor’s integrity through the seasons?
Maintaining a floor isn’t just about cleaning; it’s about monitoring the environment. If you live in a climate with high humidity swings, you need a pinless moisture meter. I swear by the Wagner Meters Orion series. According to the National Wood Flooring Association (NWFA) technical manual, wood flooring should be installed within a specific moisture content range relative to the subfloor. If you ignore this, you’ll be searching for how to use a moisture meter to prevent floor failure before your first year is up. Even with modern LVP, why your hybrid flooring still needs an expansion gap comes down to the subfloor’s moisture pushing against the material. I check my subfloor moisture in at least twenty spots before a single plank drops.
The Future of Smart Flooring Preparation
Looking ahead, I predict we are going to see ‘smart’ subfloors becoming the standard. We are already seeing moisture sensors that can be embedded into the leveling compound, sending alerts to your phone if a leak starts under your kitchen cabinets. For now, we have to rely on good old-fashioned precision. I always use the pencil mark secret for perfectly centered tile layouts to ensure that even if the walls are crooked, the floor looks symmetrical. If you’re about to start a new project, I strongly encourage you to try the spray bottle hack for testing floor sealer coverage. It’s a five-minute test that tells you exactly if your concrete is ready to bond or if you’re headed for a delamination nightmare.
Hard Truths I Learned from a Broken Floor
After decades of working with everything from reclaimed oak to modern composites, I’ve realized that the most expensive materials can’t hide a rushed foundation. Here are the lightbulb moments that changed my approach forever.
- Waterproof is a marketing term, not a physical law. Just because the planks don’t swell doesn’t mean the subfloor won’t rot. Never skip the perimeter seal in wet areas.
- Your eyes are your worst measuring tool. I’ve seen 20-year pros guess at a dip and fail. Always use a straightedge to avoid that dreaded clicking later. If you’ve already finished and hear a thud, you might need to learn how to fix a hollow sound under your luxury vinyl before the joints snap.
- Cheap labor is the most expensive thing you can buy. Fixing a bad mastering floor leveling pro secrets for perfect installations job costs three times more than doing it right the first time.
- The cleaner is as important as the floor. Avoid the 5 mistakes that make cheap lvp look even cheaper by sticking to the manufacturer-approved solutions from day one.
The Gear That Stays in My Truck
I do not get paid to promote these brands, but I wouldn’t step onto a job site without them because they make the difference between a DIY project and a professional finish.
- Bosch GLL30 Laser Level: This tool completely replaced my chalk lines. It’s the easiest way to ensure your rows stay straight across multiple rooms.
- Wagner Orion Pinless Meter: I trust this because it doesn’t damage the wood or subfloor while giving me the deep-tissue moisture readings I need.
- A High-Quality Spiky Roller: This is my secret for getting that mirror-smooth finish on every pour. It’s worth every penny.
Ready to Build Your Forever Floor?
Taking on a flooring installation can feel like a mountain of work, but when you break it down into the right steps—leveling the subfloor, choosing the right luxury vinyl planks, and maintaining them with care—it’s one of the most rewarding home improvements you can do. You’ve got the knowledge now to avoid the steam-mop trap and the topographical leveler disasters. Go transform your space with confidence!
Have you ever discovered a cleaning “hack” that actually ended up damaging your floors? Let me know in the comments below so we can all learn from each other!