
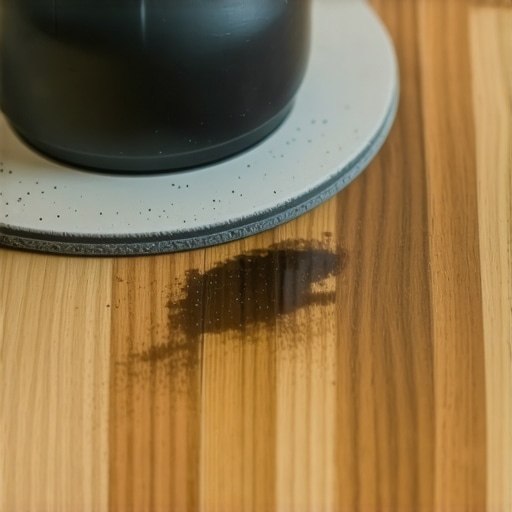
I stood there, heart sinking, as I peeled back the corner of a wool rug I hadn’t moved in a year. There it was—a dark, almost black, ink-like blotch right in the middle of my solid red oak floor. My old dog, Buster, had left me a parting gift months ago, and because I thought a quick blot with a paper towel was enough, the tannins in the wood had staged a full-scale rebellion. I felt like a failure. I actually considered just buying a bigger rug and calling it a day. But those hardwood floor care secrets to longevity and shine I’d been preaching to my neighbors? They were staring back at me, mocking my neglect. I knew I had to get the sander out, but I was terrified of leaving a permanent crater in the wood. [IMAGE_PLACEHOLDER]
Stop Hiding Your Floors Under Area Rugs
Dealing with a deep-set pet stain is a rite of passage for any homeowner with solid oak. It’s frustrating because oak is porous, and those stains aren’t just on the surface—they’ve moved in and unpacked their bags. When you are mastering hardwood floor refinishing, you learn quickly that oak is both your best friend and your harshest critic. The good news is that because it’s solid wood, we have the ‘meat’ to work with. We can sand, we can refine, and we can restore. I once made the mistake of thinking I could just hand-sand the spot with some 220-grit paper for five minutes. All I did was polish the dirt. It was a classic rookie move. You have to be aggressive but controlled. According to the National Wood Flooring Association (NWFA), oak’s high tannin content reacts chemically with the ammonia in pet waste, creating that distinct dark color that penetrates deep into the fibers. Have you ever uncovered a ‘mystery stain’ that made you want to move houses entirely?
Will a Hand Sander Just Make Things Worse?
Many of my neighbors ask me if they are going to ruin the ‘flatness’ of their floor by focusing on one spot. It’s a valid fear. If you aren’t careful, you’ll end up with a dip that catches the light every time the sun hits it. This is why understanding how to use a moisture meter is actually helpful even for repairs—you want to make sure the wood isn’t still damp before you start grinding away. If you jump in blindly, you might commit the sanding mistake that leaves swirl marks on your wood, which is arguably harder to fix than the stain itself. We’re going to walk through how to blend that repair so seamlessly that even the most judgmental relative won’t notice it during Thanksgiving dinner. We’ll also touch on how to fix a bubbly finish if your topcoat decides to be difficult later on. Let’s get that grit ready.
Aggressive Grit Without the Deep Crater
To tackle that ink-black mark, you have to be comfortable with the idea of removing some actual wood. I usually start with an 80-grit sandpaper on a random orbital sander. Think of your floor like a topographic map; you aren’t just trying to erase a drawing, you’re trying to lower the elevation of the stain until it meets the clean wood underneath. The trick to avoid the dreaded crater is to work in a radius four times the size of the stain. If the spot is three inches wide, your sanding area should be at least a foot wide. This creates a gentle slope that the eye can’t track. I learned this the hard way during a project in a 1920s bungalow where I focused too much on a single spot in the hallway. By the time the stain was gone, I had created a ‘scallop’ in the wood that looked like a shallow birdbath. I eventually had to learn how to check for high spots with a 10-foot straightedge just to figure out how much of the surrounding floor I needed to take down to make it look flat again. It was an exhausting lesson in patience.
Bleach the Black Out of the Grain
If you’ve sanded down 1/16th of an inch and that black ghost is still staring back at you, stop sanding. You don’t want to hit the tongue and groove. This is where chemistry saves your back. Wood bleach, specifically oxalic acid, is designed to react with the iron-tannin complex that turns oak black. You mix the crystals with warm water and brush it onto the spot. It’s like watching a magic trick in slow motion. Over about thirty minutes, the black fades into a dull grey. Just be careful—if you leave it too long or don’t neutralize it with a splash of white vinegar and water, you’ll end up with a ‘blonde’ spot that’s even harder to hide than the stain was. 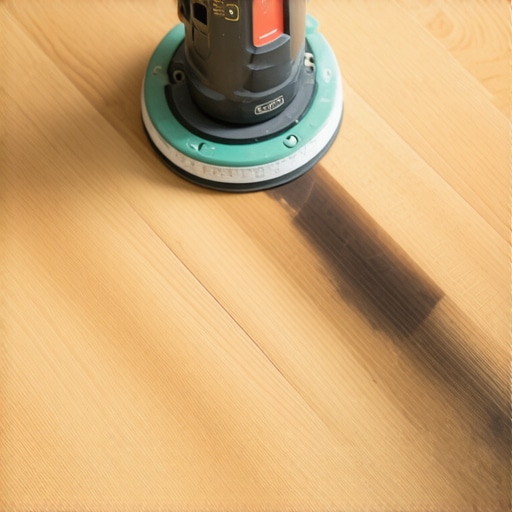
Feather Your Edges Like a Pro
Once the wood is dry and the color is back to a natural state, you need to step up through your grits. If you started at 80, you must move to 100, then 120. Skipping a grit is the sanding mistake that leaves swirl marks on your wood, and they will pop out the second you apply a finish. Use a bright LED work light held at a low angle to the floor; this ‘raking light’ reveals every tiny scratch you missed. If you’re working near a wall, remember the secret to sanding corners without leaving scuff marks is to finish those areas by hand, following the direction of the grain religiously. Before you even think about the topcoat, you need to ensure the surface is surgically clean. I use a vacuum with a brush attachment and then a microfiber cloth dampened with mineral spirits. This also gives you a ‘preview’ of what the wood will look like when wet. If the stain still shows when dampened, it’ll show under the poly. Finally, as you move toward the finish, remember that why you must sand between polyurethane coats becomes critical here—it’s the only way to build a level of protection that ensures Buster’s next ‘gift’ doesn’t reach the fibers again.Most homeowners treat self-leveling underlayment like magic in a bag. They think that once it hits the floor, gravity does all the hard work while they grab a coffee. That is a dangerous myth. In my experience, ‘self-leveling’ is a massive misnomer; it is actually ‘self-smoothing.’ If you do not physically guide the material into the corners or assist it in finding the low spots, you are going to end up with high ridges that make your future tile selection look like a series of speed bumps. This is why mastering floor leveling pro secrets for perfect installations becomes the difference between a floor that lasts decades and one that cracks within months.
Why Does My Self-Leveler Keep Pitting Over Plywood?
One of the most common ‘advanced’ mistakes I see is skipping the primer or, even worse, using the wrong one. If you see tiny pinholes or pits forming as the leveler dries, your subfloor is literally ‘inhaling’ the water from your mix, leaving air pockets behind. According to the Tile Council of North America (TCNA) handbook, substrate preparation—specifically achieving the correct surface profile and using a dedicated primer—is the single most critical factor for bond strength and finish quality. If you do not seal that plywood first, you will find out why your self-leveler is bubbling over plywood the hard way. I once had to grind down an entire living room floor because I rushed the primer step, and the resulting surface looked like the moon’s cratered landscape. 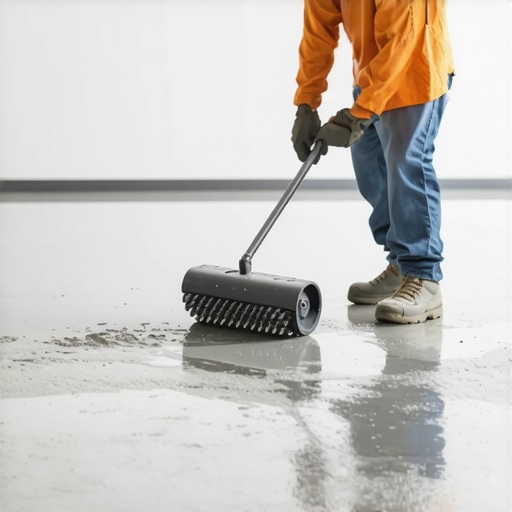
The Chemistry of a Perfect Pour
There is a specific ‘oops’ factor many people miss: the water temperature. If you use warm water to mix your bags, the chemical reaction accelerates, and the pot life drops from 20 minutes to about five. This is usually why your leveler is setting up before you can finish spreading it. Always use the coldest water possible to buy yourself time. Once it is on the floor, how to use a spiked roller for the perfect leveling pour is the secret to releasing surface tension and ensuring those layers blend into a glass-smooth surface. If you are moving from a wood floor to a new tile area, do not forget that why you need a transition strip between different flooring heights is not just about looks; it is about managing the expansion and contraction of two very different materials. Have you ever fallen into the ‘it will level itself’ trap and ended up with a mess? Let me know in the comments. Lastly, always keep the trowel notch secret for getting full thinset coverage in mind once that floor is finally flat—leveling is only half the battle.
The Toolbox Essentials That Saved My Sanity
I’ve wasted thousands of dollars over the years trying to ‘make do’ with standard homeowner tools. If you are serious about mastering hardwood floor refinishing, you need to stop treating your shop-vac like a professional dust extraction system. Standard filters allow microscopic particles to escape, which then settle into your wet polyurethane and create a sandpaper texture. This is why I always recommend the vacuum attachment that actually picks up fine sawdust to ensure the site is truly clean. Another non-negotiable is a high-end pinless moisture meter. I personally use a Lignomat because it doesn’t leave holes in my expensive planks, and knowing how to use a moisture meter before installing wood floors is the only way to prevent your investment from buckling or crowning six months down the line. 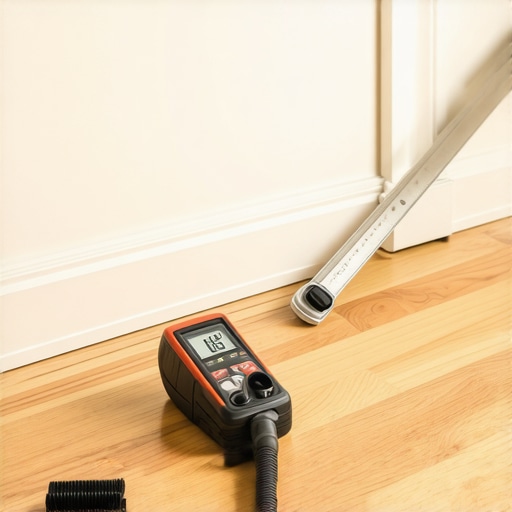
How do I maintain these surfaces over the long haul?
The secret isn’t a magical cleaning spray; it is climate control. Hardwood and tile are both sensitive to the environment, albeit in different ways. For wood, you must maintain a consistent relative humidity between 30% and 50%. If you fail at how to keep your hardwood floors from gapping in the winter, no amount of wood filler will save your pride. I’ve seen beautiful installs ruined because the homeowner thought a humidifier was optional. According to the Bona Professional Maintenance Guide, using the wrong pH-balanced cleaner can actually degrade the chemical bond of your finish over time, leading to premature peeling. This is a common part of flooring installation mistakes to avoid for lasting results that most people overlook until it is too late.
Why Humidity Is Your Floor’s Best Friend or Worst Enemy
Whether you are dealing with solid oak or high-end tile, the substrate remains the foundation. If the air is too dry, wood shrinks; if it’s too wet, the tile adhesive can struggle to cure properly. I always tell my clients that hardwood floor care secrets to longevity and shine start at the thermostat. I predict that within the next few years, we will see a massive shift toward smart flooring systems. Imagine subfloors embedded with Bluetooth sensors that alert your phone the second they detect a leak or a dangerous drop in humidity. We are already seeing these technologies in high-end commercial builds, and they will be the standard for residential luxury very soon. If you want to avoid floor leveling challenges in future renovations, start by stabilizing your home’s environment today. Before you start your next project, I challenge you to try the ‘cold water trick’ for your leveler—it is the simplest way to gain the extra five minutes of work time that ensures a glass-smooth finish.
Three Myths About Leveling That Almost Ruined My Kitchen
The biggest lie in home improvement is that self-leveling compound is a set-it-and-forget-it product. In reality, you are the conductor of that liquid orchestra. I have learned that if you do not physically guide the material into the corners with a gauge rake, it will settle exactly where you do not want it. Another common trap is the belief that a quick sweep is enough prep. I once lost a whole day of work because a thin layer of dust prevented my primer from bonding, leading to a leveler that peeled up like a giant grey potato chip. Lastly, do not assume your subfloor is flat enough for large tiles; even a small dip can lead to lippage that will trip you up for years to come.
The Gear That Never Leaves My Truck
I do not advocate for buying every gadget on the shelf, but three things are non-negotiable for me. First is the NWFA technical manual; it is the industry standard for wood flooring and has saved me from making expensive chemistry errors. Second, a pinless moisture meter like the Lignomat is essential because it tells you exactly when your wood is ready for finish without damaging the surface. Finally, I swear by a dedicated high-HEPA vacuum. Standard shop-vacs just blow fine dust back into the air, but a true HEPA system ensures that your topcoat remains smooth and debris-free. Following these standards is how you avoid flooring installation mistakes to avoid for lasting results.
Your Floor’s Next Chapter Starts Now
Fixing a deep pet stain or mastering how to achieve flawless floor leveling before tile laying is not just about home value; it is about the peace of mind that comes with a job done right. Do not be afraid to get your hands dirty and take your time with the prep work. When you apply those hardwood floor care secrets to longevity and shine, you are not just cleaning a surface; you are preserving a piece of your home. It is a process that rewards patience and attention to detail. Have you ever encountered a subfloor surprise that made you want to walk away from a project? Let me know in the comments!