
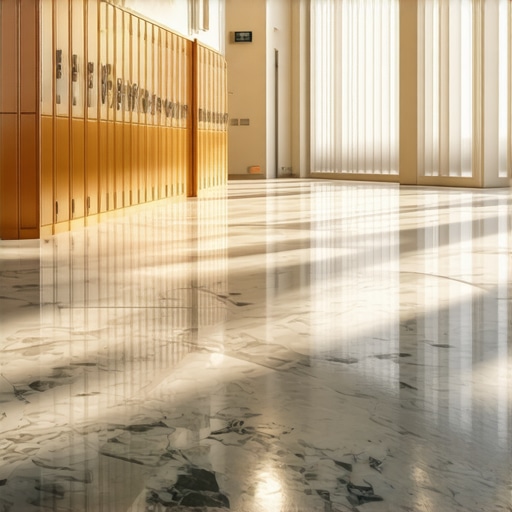
I stood in the middle of a bustling elementary school hallway last Tuesday, right as the lunch bell rang, and I had a complete “I told you so” moment. It wasn’t the proud kind, though. I was looking at a section of luxury vinyl plank (LVP) we’d installed only four years ago—it was already gapping and scuffed beyond repair. Right next to it, separated by a thin transition strip, was the original linoleum from 1968. Aside from a bit of wax buildup, that old linoleum looked like it could easily handle another five decades of stampeding fourth-graders. I realized then that in our rush to embrace the “new” and “easy” vinyl trend, we’ve been ignoring the workhorse that actually does the job better.
If you’ve noticed your own floors starting to fail, you might relate to the frustration of seeing [why your luxury vinyl plank is buckling near the window](https://tiletrendshop.com/why-your-luxury-vinyl-plank-is-buckling-near-the-window) or separating at the seams. Have you ever seen a vinyl floor fail in a high-traffic area, or are you still a believer in the plastic plank?
Why the Classroom Floor is Returning to Its Roots
For years, I was the first guy to tell school boards that vinyl was the future. It’s waterproof, it’s cheap, and it clicks together like Lego. But man, was I wrong about the long game. I made a massive mistake early in my career by recommending a high-end vinyl for a sunny corridor without realizing that [why your luxury vinyl planks are separating in the sun](https://tiletrendshop.com/why-your-luxury-vinyl-planks-are-separating-in-the-sun) is a very real nightmare for maintenance crews. Linoleum, on the other hand, is a totally different beast. It’s made from linseed oil, wood flour, and cork—stuff that actually gets tougher over time through a process called “seasoning.” Unlike vinyl, which is a sandwich of plastic and stickers, linoleum is homogeneous. That means the color goes all the way through. If a kid drags a metal desk across it, you don’t see a white plastic scratch; you just see more linoleum.
We’re seeing a massive shift back to this material because schools are finally looking at the “cost per year” rather than the “cost to install.” If you’ve been burned by [flooring installation mistakes to avoid for lasting results](https://tiletrendshop.com/flooring-installation-mistakes-to-avoid-for-lasting-results), you’ll appreciate why architects are circling back to the classics. Plus, there’s a surprising health factor: linoleum is naturally antimicrobial. According to researchers at the University of Glasgow, linoleum surfaces actually inhibit the growth of bacteria like MRSA, which is a huge deal when you’ve got hundreds of kids sharing the same air and floor space.
Isn’t Linoleum Way Harder to Keep Clean?
This is the biggest hurdle I hear from school janitors and homeowners alike. They remember the old days of stripping and waxing until their backs gave out. But today’s linoleum comes with factory-applied cross-linked polymers. You don’t need the harsh chemicals anymore. In fact, people often run into trouble because they treat it like tile; I’ve seen plenty of folks struggle with [the problem with installing tile over old linoleum](https://tiletrendshop.com/the-problem-with-installing-tile-over-old-linoleum) because they didn’t realize how stable that base layer actually was. Modern linoleum just needs a neutral cleaner and a damp mop. No more toxic fumes or weekend-long stripping projects. Today, I’m going to show you why linoleum is the secret weapon for any high-traffic space, from a kindergarten classroom to your own muddy mudroom. We’re going to look at the durability stats, the environmental impact, and the real-world maintenance costs that are making vinyl look like a temporary fix.
Get the Subfloor Right Before You Unroll a Single Inch
Before you even think about the linoleum, you have to look at the subfloor. I tell my crew it’s like a canvas for an oil painting; if the canvas is lumpy, the art looks like a mess. You need to know how to measure subfloor flatness before you start installing. I use a 10-foot straightedge to sweep the room. If you find a gap bigger than 1/8th of an inch, you’re looking at a future crack or a weak spot where the linoleum will prematurely wear. When we did a renovation at a local elementary school last year, we tried to eyeball a ‘slight’ low spot in the hallway. I thought we could just float it out with a bit of extra adhesive. Big mistake. Within six months, the linoleum had a visible dip that caught every janitor’s cart, eventually cracking the material. Now, I never skip the leveler or the precision check.
Stop the Pits and Bubbles From Ruining Your Base
Using self-leveling underlayment is the gold standard for linoleum prep, but it’s easy to mess up if you’re rushing. You have to know the secret to mixing leveler for a glass-smooth finish. If you over-mix with a high-speed drill or use too much water, the integrity of the pour is gone. I remember pouring a huge section on a Friday afternoon, only to come back Monday and see it looking like the surface of the moon. I hadn’t used a primer properly, which is exactly why your self-leveler is bubbling over plywood. The air in the wood pores has to go somewhere, and it usually goes straight up through your expensive compound while it’s setting. 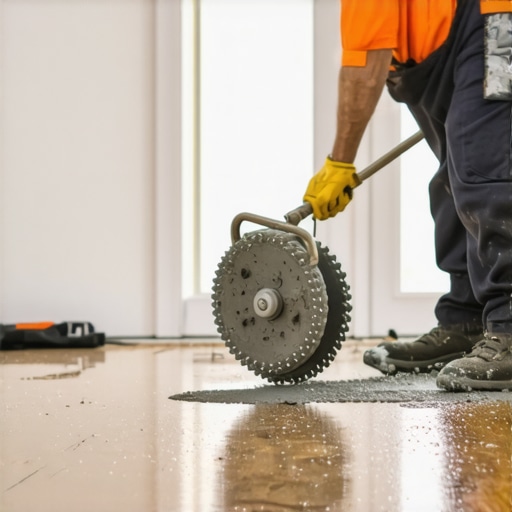 To fix this, I always use a tool that most DIYers overlook: a spiked roller. Knowing how to use a spiked roller for the perfect leveling pour is a game changer. It releases those trapped air bubbles and helps the material knit together into one seamless, dense sheet that can handle heavy school equipment without denting.
Treat the Seams Like They Are Part of the Structure
Once that base is rock solid, you focus on the linoleum’s unique installation needs. Unlike vinyl planks that ‘float’ and frequently fail at the joints when the building shifts, linoleum is a full-spread glue-down material. This means the adhesive is your best friend or your worst enemy. You also have to protect the edges of your workspace. Before you pour that leveler, make sure you know how to stop your floor leveler from leaking through the subfloor by using foam dams or simple caulk at the wall plates and plumbing penetrations. In commercial settings, I often utilize the flash cove secret for commercial vinyl installations—a technique where we run the linoleum right up the wall a few inches, creating a continuous surface with the floor. This creates a watertight ‘tub’ that prevents mop water from seeping into the drywall or framing. It’s the primary reason those 1960s schools still have pristine corners while modern builds often struggle with moisture damage and peeling baseboards. It takes more skill than clicking plastic planks together, but the result is a floor that doesn’t move, buckle, or separate even when the sun hits it all afternoon.
The Great Misnomer of Self-Leveling Compounds
Most DIYers and even some ‘pro’ contractors treat self-leveling compound like a magic potion—just pour it out and watch the laws of physics do the work. But here’s the contrarian truth: self-leveling compound doesn’t actually level itself. It’s more like thick syrup that wants to stay where you put it. If you don’t actively move it with a gauge rake or spreader, you’ll end up with a series of humps and valleys that are even harder to fix than the original subfloor. I’ve seen countless projects hit the wall because of floor leveling challenges common mistakes and how to avoid them. The biggest ‘oops’ factor? Mixing with a standard paddle at high speeds. This whips air into the mix, creating tiny craters as it dries. You have to use a low-RPM mixer to prevent the reason your leveler is setting up before you can finish spreading it, which usually leads to a frantic, botched application.
Why Does Your Perfectly Level Floor Still Crack Six Months Later?
You can have a floor that is laser-level, but if the structure underneath is ‘bouncy,’ your expensive linoleum or tile will fail regardless of the material quality. Many people ignore the subfloor’s ‘deflection’—the amount it bends under weight. According to the Tile Council of North America (TCNA), the success of any installation depends more on the structural load capacity than the surface leveler itself. This is the real reason your floor joists are making your tile crack even when the surface looks perfect. If you’ve got a bouncy floor, you need to implement the plywood sandwich trick for fixing bouncy floor joists before you even open a bag of leveler. 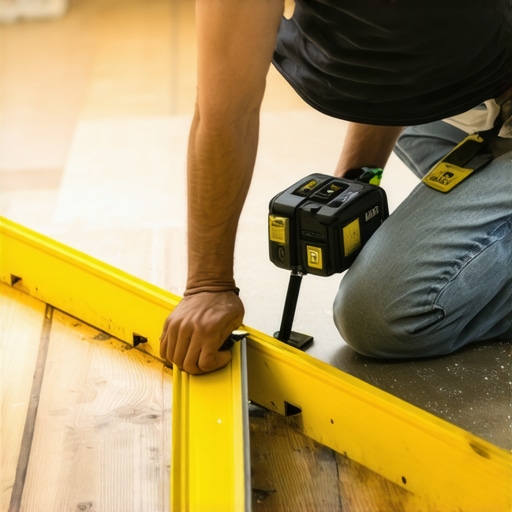 Failing to address the bond between the leveler and the wood is another advanced trap. If you don’t use the right primer to seal the substrate, you’ll experience why your self-leveler is pulling away from the concrete or plywood, essentially creating a floating sheet of brittle rock that will snap the first time someone walks on it in heavy boots.
The Nuance Between Level and Flat
In the world of high-end flooring, ‘level’ is a luxury, but ‘flat’ is a requirement. You can install a beautiful floor on a slight slope (level), but you cannot install it over a wave (flat). When you are learning how to achieve flawless floor leveling before tile laying, your goal should be a continuous plane, not necessarily a zero-degree horizon. This is a subtle distinction that saves hours of labor and avoids unnecessary material waste. By focusing on flatness, you avoid flooring installation mistakes to avoid for lasting results that often stem from over-correcting minor height differences that don’t actually affect the wear layer or the structural integrity of the final finish. Have you ever fallen into this trap of assuming level meant flat? Let me know in the comments.
After twenty years in the trade, I’ve realized that the difference between a floor that lasts ten years and one that lasts fifty isn’t just the material—it’s the precision of the tools you use and the discipline of your maintenance routine. If you want to move beyond the amateur level, you have to stop relying on your eyes and start relying on data. For instance, I never start a job without my Wagner moisture meter. Most failures happen because of invisible water vapor, so knowing how to use a moisture meter before installing wood floors or linoleum is the only way to guarantee your adhesive won’t fail. I personally follow the ASTM F2170 standard for in-situ relative humidity testing; if the slab is over 75% RH, we don’t pour leveler, period. That kind of technical strictness is what separates the pros from the guys who get called back for repairs six months later.
The Tools I Never Step on a Jobsite Without
Aside from the moisture meter, I’m a fanatic about mixing. I use a Collomix DLX paddle because it’s specifically designed to reduce air entrainment in thin-set and leveler. It’s a small detail, but it prevents the structural pitting that ruins a finish. When you’re following a step-by-step guide to flooring installation and leveling success, having the right mixing speed is as important as the water ratio. I also swear by a high-quality carbide-tipped scribe for linoleum cuts; it gives you a clean edge that fits tight to transitions without the need for messy caulking or unsightly gaps. 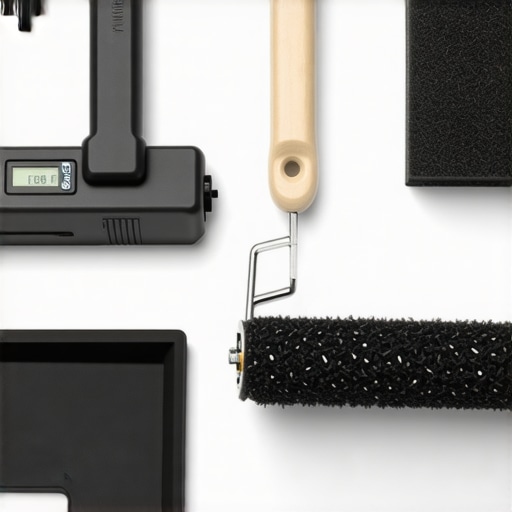
How do I keep my linoleum or hardwood looking new for decades?
Maintenance is where most homeowners go wrong by being ‘too clean.’ I’ve seen people destroy a beautiful installation by using steam mops or harsh detergents. To truly protect your investment, you need to understand hardwood floor care secrets to longevity and shine, which apply surprisingly well to linoleum too. The golden rule is to keep water to a minimum. For new installs, patience is your best tool—I always explain to clients why you should never mop new hardwood for at least two weeks. This allows the finish or the adhesive to reach full chemical hardness. For linoleum specifically, avoid any high-pH cleaners that can strip the linseed oil base; a simple neutral-pH cleaner and an occasional buffing will keep that ‘seasoned’ toughness alive. If you’ve inherited an older floor, you might be looking at mastering hardwood floor refinishing expert tips for 2025 to bring it back to life rather than replacing it with cheap plastic.
The Future of High-Performance Surfaces
Looking ahead, I predict we’re going to see a massive shift toward bio-based modular systems. We’re already seeing linoleum being sold in precision-cut tiles that offer the same antimicrobial benefits but with the ease of repair found in modular carpet. This eliminates the ‘seam anxiety’ that keeps many DIYers away from sheet goods. People are waking up to the fact that ‘waterproof’ vinyl often hides mold growth underneath, whereas breathable, natural materials like linoleum and properly sealed wood manage moisture much more effectively. I challenge you: on your next project, skip the big-box store plastic planks and try the ‘plywood sandwich’ trick to stiffen your subfloor before laying down a classic natural material. You’ll feel the difference in the very first step.
Lessons the 1960s Taught Me About Modern Floors
After decades of watching floors fail and floors endure, I’ve realized that the ‘fastest’ installation method is almost never the most durable. When you’re aiming for a surface that survives high traffic, remember these three hard-won truths: First, speed is the enemy of stability. We’ve been sold the dream of ‘click and go’ flooring, but there is no substitute for a full-spread adhesive. It binds the material to the structure, preventing the shifts that cause why your click-lock flooring is popping-out at the joints. Second, subfloor prep is 90% of the job. You can buy the most expensive linoleum in the world, but if you don’t master the ultimate guide to floor leveling for a perfect finish, the material will eventually telegraph every bump and valley beneath it. Finally, natural materials age with grace. Plastic scratches white and looks cheap within five years. Linoleum and wood ‘season’ and can often be saved. If you’re looking at an old floor, consider mastering hardwood floor refinishing expert tips for 2025 before you rip out something that has soul.
The Kit I Carry for Every Install
I don’t trust my gut anymore; I trust my tools. If you want results that look like a professional did them, you need to invest in the same gear we use. I never start a pour without a dedicated low-RPM mixer to avoid why your floor leveler pitted during the drying process. My toolkit always includes the TCNA Handbook, which is the industry standard for deflection limits. I also swear by the Collomix DLX Paddle because it pulls the material from the bottom up, ensuring you don’t get those annoying air pockets that ruin a finish. Most importantly, I use a Wagner moisture meter, because an invisible damp spot is the number one cause of adhesive failure in any high-end project.
Building a Floor That Outlasts the Mortgage
There is a unique kind of pride in walking across a floor you installed yourself, knowing that it isn’t just a temporary plastic sticker, but a solid, natural surface built on a perfectly flat foundation. When you take the time to master floor leveling pro secrets for perfect installations, you aren’t just renovating a room; you’re adding permanent value to your home. Don’t be intimidated by the technical specs—embrace them. The discipline you put into the subfloor today is exactly what will keep your flooring installation looking pristine for the next fifty years. Have you ever had a ‘waterproof’ floor fail on you unexpectedly? Let me know your horror stories or wins in the comments below!