
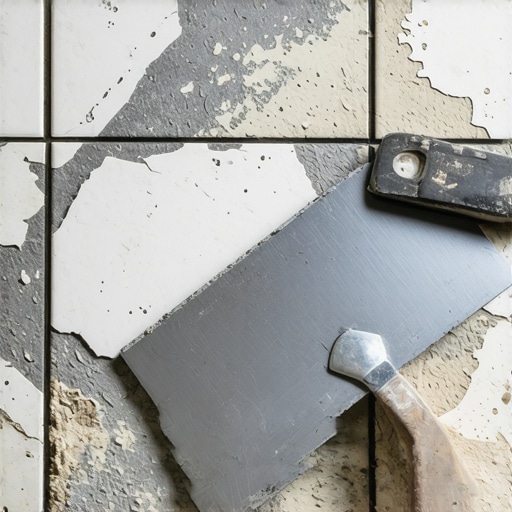
I still remember the sinking feeling in my gut when I stepped onto my freshly tiled guest bathroom and heard it. Click. Clack. That hollow, rhythmic sound is the heartbeat of a failed installation. I had spent three days on my knees, meticulously lining up grout joints and wiping away every smudge, only to realize that my tiles weren’t actually stuck to the floor. When I finally worked up the courage to pry one up, the back of the tile was almost as clean as the day it came out of the box. I had made one of the most common flooring installation mistakes to avoid for lasting results—I chose my trowel based on what felt easy to spread, not what the tile actually required. I was using a tiny 1/4-inch notch for a massive 12×24 tile, and it was a recipe for disaster.
The Crushing Sound of a Hollow Tile
We often focus on the pretty part of tiling—the colors, the patterns, and the best tile trends for complementing hardwood floors this year. But the real magic, the stuff that keeps your floor from falling apart under your feet, happens in the hidden ridges of the thinset. If those ridges aren’t high enough to collapse and create a solid bed of mortar, you’re essentially floating your floor on a cushion of air. I learned the trowel notch secret for getting full thinset coverage the hard way: by ripping up four hundred dollars worth of porcelain and starting over. Today, I’m going to make sure you don’t repeat my mistakes. We’re going to talk about why that specific notch size is the difference between a floor that lasts decades and one that cracks before the year is out. Proper coverage isn’t just a suggestion; it’s a structural necessity.
Wait, is a bigger notch really going to make a difference?
It’s a fair question to ask because a bigger trowel usually means more mess and more money spent on mortar. You might worry that it makes the floor too high or impossible to level. However, the Tile Council of North America (TCNA) specifies that you need at least 80% mortar coverage in dry areas and a staggering 95% in wet areas like showers. Without the right trowel, achieving those numbers is physically impossible. You can’t just “push harder” on the tile to make up for a lack of material. If the “valleys” between your thinset ridges are too deep and the “peaks” aren’t high enough, the air stays trapped, and the bond never forms. This is especially true for modern styles, where why your large-format tiles need back-buttering every time becomes a non-negotiable part of the process. I want to help you installing tiles like a pro without the back-breaking rework I had to endure. Have you ever finished a project only to find a “hollow” spot a few weeks later? I’d love to hear about your most frustrating tiling moment—I’ve likely been there too.
Forget Spreading Peanut Butter and Start Building Columns
Think of thinset not as glue, but as a series of tiny structural columns. When you use a trowel, those notches create ridges that allow air to escape as you press the tile down. If you just swirl the mortar around like you’re frosting a cake, you trap air pockets that eventually lead to those dreaded hollow sounds. I’ve found that the most critical first step is to how to measure subfloor flatness before you start installing. If the floor has a dip deeper than 1/8 inch over ten feet, no amount of extra thinset under the tile will save you. You’ll just end up with ‘lippage,’ where one tile corner sticks up like a tripped-up sidewalk.
Drag Your Trowel in Straight Lines Every Time
There is a common myth that swirling the trowel helps the tile stick better. It’s actually the opposite. I learned this during a frantic kitchen remodel where I was rushing to beat the clock. I swirled the mortar in some spots and combed it straight in others. When I did a ‘pull test’—lifting a tile right after setting it—the straight-line sections had 100% coverage, while the swirled sections looked like a dry honeycomb. Always comb your thinset in straight lines parallel to the short side of the tile. This creates a clear path for the air to rush out. When you set the tile, you should push it perpendicular to the ridges. This collapses the peaks into the valleys, creating a vacuum-like bond that is nearly impossible to break. 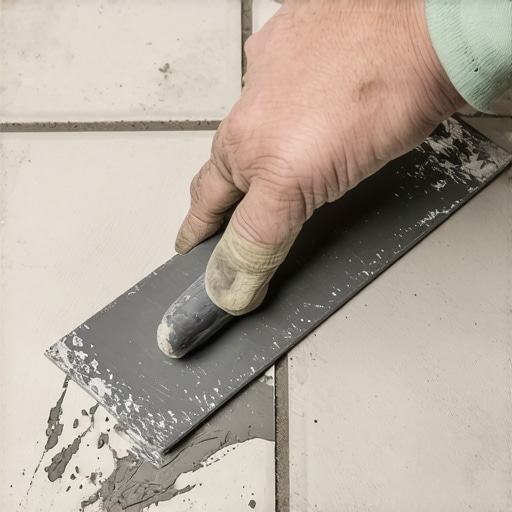
Give Your Tiles a Sticky Coat with Back-Buttering
If you are working with anything larger than a standard 12×12 square, you need to learn how to back butter large format tiles the right way. Think of this like ‘priming’ a wall before you paint. You use the flat side of the trowel to scrape a very thin layer of mortar onto the back of the tile. This fills in the microscopic pores of the porcelain. I remember skipping this on a small laundry room floor because I was tired. Two weeks later, a dropped detergent bottle cracked a tile because the center wasn’t truly bonded to the bed. It felt like a gut punch. Now, I never skip the back-butter; it’s the insurance policy that keeps the floor solid even if your floor leveling isn’t 100% perfect.
Watch the Clock to Prevent Thinset Skinning
Thinset has a ‘life’ of its own. If you spread too much at once, the surface starts to dry out and forms a ‘skin.’ Once that happens, the tile won’t grab, no matter how hard you press. You need to know how to stop thinset from skimming over before you set tile, especially in dry climates or breezy rooms. My rule of thumb is to only spread enough mortar for two or three tiles at a time. If you touch the ridges and they don’t stick to your finger, scrape it off and start fresh. It’s a pain to redo, but it’s a lot cheaper than replacing a whole floor. By following these steps, you revamp your home with expert flooring installation tips that turn a DIY project into a professional-grade masterpiece. This is where the trowel notch secret for getting full thinset coverage becomes your most valuable tool.Most people obsessed with a ‘level’ floor are actually chasing the wrong metric. In the industry, we differentiate between ‘level’—which is perfectly horizontal—and ‘flat’—which is a plane without dips or humps. You can have a floor that slopes two inches from one side of the room to the other, and as long as it is flat, your tile won’t crack. However, if that floor is perfectly level but has a 1/4-inch dip in the middle, your installation is doomed. To fix this, you must learn how to check for high spots with a 10 foot straightedge. According to the National Wood Flooring Association (NWFA), a subfloor should be flat within 3/16 inch in every 10-foot radius. If you ignore this, those expensive planks will eventually separate. 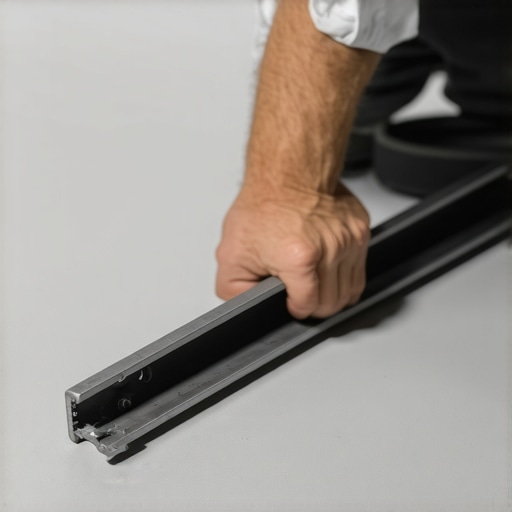
Is that bag of self-leveler really going to solve your floor’s ‘waves’?
Many DIYers assume that pouring a liquid compound means the floor will magically become a glass-like surface. This is a dangerous myth. Self-leveling compound is actually ‘self-smoothing,’ meaning it still needs human intervention to reach the edges and fill the deep valleys. If you don’t know the secret to mixing leveler for a glass smooth finish, you’ll likely end up with ‘islands’ of hardened material and ‘oceans’ of low spots. I once watched a friend pour three bags without using a primer, only to see the whole thing crack and peel like an old sunburn a week later. You absolutely must understand why your subfloor primer is bubbling on old concrete before you even open a bag of leveler. Without primer, the subfloor acts like a sponge, sucking the moisture out of the leveler before it can settle, resulting in a brittle, pockmarked mess.
The Priming Trap That Ruins Everything
One of the biggest mistakes I see is the ‘wet-on-dry’ error. People think they can just pour more leveler over a dry patch to fix a mistake. This creates a cold joint that will never bond properly. You need to achieve precise floor leveling techniques to achieve flawless surfaces by working in one continuous ‘wet’ session. This often requires a second set of hands to keep the buckets mixing while you spread. If you’ve ever tried to do this alone, you’ve likely seen why your leveler is setting up before you can finish spreading it. It is a race against the clock that most people lose because they underestimate the chemistry involved. To truly mastering floor leveling pro secrets for perfect installations, you have to treat it like a choreographed dance. Have you ever fallen into this trap of thinking the leveler would do all the work for you? Let me know in the comments. By focusing on flooring installation fundamentals: leveling for a seamless look, you ensure that every subsequent step, from the thinset to the final grout line, goes exactly as planned.I’ve realized over the years that the best results don’t come from working harder, but from having the right specialized gear. For example, if you are doing any self-leveling, stop trying to use a rake or a trowel to get it flat. I personally swear by the spiked roller. It seems like an extra expense, but when you see how to use a spiked roller for the perfect leveling pour, you’ll realize it’s the only way to pop those tiny air bubbles that lead to pitting. Pair that with knowing how to dam a doorway before pouring self leveler, and you’ve turned a chaotic mess into a controlled, professional environment.
How do I maintain my floors so they last forever?
The most common question I get is how to keep that just-installed glow. For hardwood, it’s all about moisture management. I never—and I mean never—let a steam mop touch my floors. I’ve seen countless homeowners ruin their warranties because they didn’t realize why you should never use a steam mop on click lock floors. The heat and moisture forced into the seams cause irreversible swelling. Instead, stick to the hardwood floor care secrets to longevity and shine that rely on pH-neutral cleaners and microfiber. According to the Forest Products Laboratory’s Wood Handbook, wood is a hygroscopic material, meaning it constantly exchanges moisture with the air. If you don’t control the environment, your floor will move regardless of how well you installed it. This is why I always tell people to invest thirty dollars in a hygrometer for the room.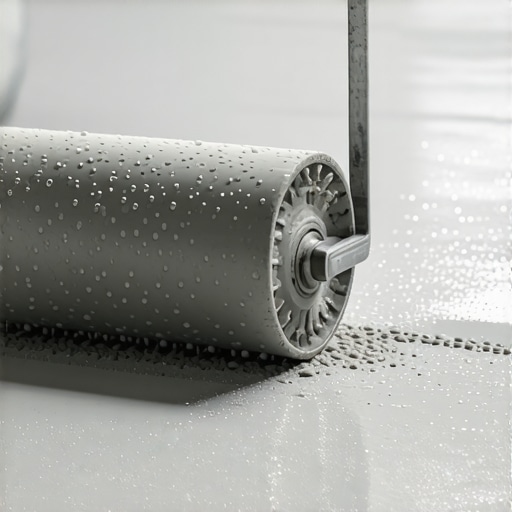 Looking ahead, I predict we are going to see a massive shift toward smart subfloors. We are already seeing prototypes of underlayments with built-in sensors that alert your phone if there’s a leak under your tile or if the subfloor moisture spikes. Until then, you have to be the sensor. I always use a professional-grade moisture meter. Learning how to use a moisture meter before installing wood floors is the single most important step for long-term results. It’s the difference between a floor that stays flat and one that cups like a Pringles chip six months later. My advice? Revamp your home with expert flooring installation tips by treating your tools as an investment in your home’s equity. If you’re about to start your next project, go buy a spiked roller right now—it’s the one pro secret that will immediately upgrade the quality of your leveling work.
Three Truths That Transformed My Tiling Game
Over the years, I’ve realized that the most expensive mistakes aren’t made with a hammer, but with a mindset. First, never trust your eyes over a tool. I used to think I could ‘feel’ if a floor was flat, but I was wrong every single time until I started using a dedicated straightedge. Second, respect the chemical nature of your materials. Thinset and leveler aren’t just mud; they are precise mixtures that react to the temperature and humidity of your room. If you don’t adjust your speed on a hot day, you’re asking for failure.
Third, I learned the hard way that a project is won or lost in the first hour of prep. Taking the time to follow a step-by-step guide to flooring installation and leveling success saves you ten hours of frustration later. It’s better to spend a full day cleaning and priming your subfloor than to spend a week prying up tiles that didn’t stick because of a little bit of dust.
Gears and Guides I Bet My Reputation On
If you’re serious about your home, you need to look past the bargain bin at the hardware store. I always keep a few specific items in my truck that make the difference. For any tile project, the TCNA Handbook is my bible; it sets the industry standards that prevent lawsuits and cracked grout. When it comes to the actual work, I never pour a floor without a spiked roller to remove air pockets. If you’ve ever wondered why your self leveler is bubbling over plywood, it’s usually because of trapped air that a roller would have solved in seconds.
I also recommend always having a high-quality moisture meter and a 10-foot straightedge. These aren’t just for professionals; they are for anyone who wants to learn how to achieve flawless floor leveling before tile laying. Finally, don’t forget the ‘low-tech’ essentials, like a simple piece of chalk for marking your layout after you apply the dry fit rule that prevents costly cutting mistakes. These tools provide the data you need to stop guessing and start building with confidence.
Your Foundation is the Real Masterpiece
At the end of the day, the tile and the wood are just the skin of your home. The skeleton—the subfloor and the mortar—is what actually carries the weight of your family’s life. Don’t be intimidated by the technicality of the process. Every pro you see was once a beginner who felt overwhelmed by notch sizes and drying times. By mastering the flooring installation fundamentals: leveling for a seamless look and taking these tile installation pointers that save time and money to heart, you are already ahead of 90% of DIYers. You have the knowledge; now you just need the courage to mix that first bucket. Have you ever encountered a subfloor that seemed impossible to get flat? Share your story in the comments—I’d love to help you troubleshoot it.