
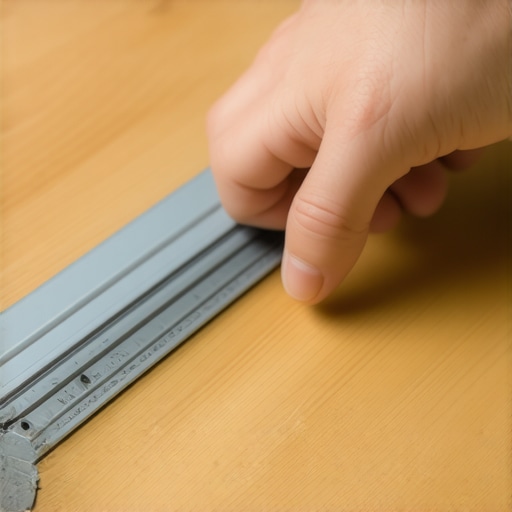
It was 2 AM, and I was tip-toeing to the kitchen for a glass of water, trying not to wake the kids. Every single step on the threshold between the kitchen tile and the hallway hardwood felt like stepping on a landmine of bubble wrap. Click. Snap. Pop. It wasn’t just loud; it was embarrassing. I’d spent weeks on that floor, yet here I was, defeated by a three-foot piece of aluminum. If you’re hearing that same annoying sound, I know exactly the frustration you’re feeling. It’s that nagging reminder of a job that isn’t quite ‘finished.’ Today, I’m going to show you how to identify the culprit and silence it for good, because you shouldn’t have to walk on eggshells in your own home.
Stop the Tapping Before You Lose Your Mind
When I first started tackling my own home renovations, I made the classic rookie error of rushing the ‘invisible’ parts. I remember a specific bathroom remodel where I was so excited to see the marble down that I ignored a 1/8-inch dip right at the doorway. I figured the transition strip would hide it. I was wrong. That strip became a tiny diving board, clicking every time it was compressed. It is one of the most common flooring installation mistakes to avoid if you want professional results. We usually think the clicking is the wood itself, but more often than not, it is the hardware or the adhesive failing under pressure. If you are dealing with a transition strip that won’t stay glued down, the clicking is often the sound of that bond snapping back and forth.
Is a tiny clicking sound actually worth the repair effort?
You might think you can just live with it, but that sound is actually a warning. According to the National Wood Flooring Association, subfloor flatness is the leading cause of secondary noise in flooring, and ignoring it can lead to structural wear over time. If your threshold is clicking, it means there is movement. Movement leads to friction, and friction eventually leads to cracks in your grout or splinters in your wood. Beyond the structural risks, it’s a psychological drain. Every time you walk over it, you feel that slight ‘give,’ and it reminds you of the flaw. We want to get you back to that feeling of a seamless look where the floor feels solid as a rock. Have you ever finished a project only to have it start ‘talking back’ to you with every footstep? Let me know in the comments, because I’ve definitely been there. To fix this, we first need to understand how to stop a floating floor from clicking when you walk, as the principles are almost identical. We’re going to look at the gap, the fasteners, and the subfloor prep that should have happened—and how to retroactively fix it without tearing up your whole house.To stop the noise, you have to think like a structural detective. The clicking sound is actually a cry for help from a gap that shouldn’t be there. Imagine your transition strip is a tiny bridge. If the abutments on either side aren’t the same height, or if the ground underneath the bridge has vanished, the bridge will bounce and clatter every time a car drives over it. Your feet are the cars, and that 1/8-inch of air is the problem. You need to apply precise floor leveling techniques to achieve flawless surfaces even after the main floor is already down. This movement is why your floor feels unstable.
Find the Hidden Hollow Spot Under Your Feet
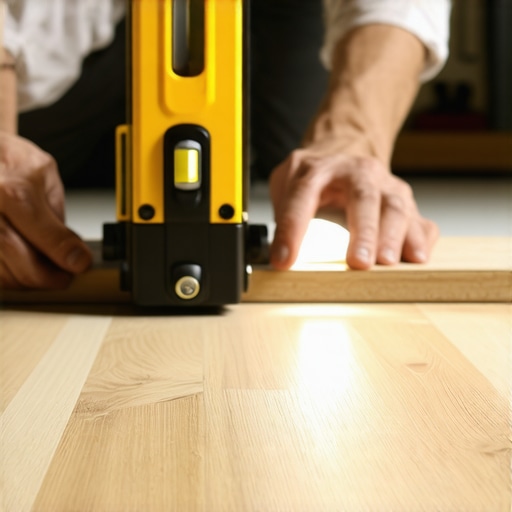 Before you reach for the hammer, you need to know exactly where the ‘give’ is. I like to use a simple ‘flashlight and straight-edge’ test. Lay a carpenter’s level across the transition. If you can see light peeking through underneath, you’ve found your culprit. This is where mastering floor leveling pro secrets for perfect installations really pays off. If the subfloor is the issue, the strip has nothing to bite into. I remember a kitchen entry in an old bungalow where I thought I could just use longer screws. I ended up splitting the subfloor and making the noise twice as loud because I didn’t address the void first. Don’t repeat my mistake. Use the hammer test for finding loose subfloor nails around the area to ensure the clicking isn’t actually coming from the plywood beneath the hardwood.
The Shim and Glue Strategy for Immediate Relief
If you don’t want to rip everything up, you can sometimes ‘backfill’ the void to create a solid foundation. For a transition strip that won’t stay glued down, I often use thin wood shims coated in construction adhesive. You slide them into the gap until the strip feels solid. It’s like putting a folded matchbook under a wobbly restaurant table, but more permanent. Once the glue dries, that ‘diving board’ effect disappears completely. This method prevents the annoying sensation of why your lvp floor feels like its bouncing when you walk.
Inject and Secure for a Permanent Threshold Fix
Sometimes the gap is too small for a shim but big enough to click like a metronome. This is where pressure-sensitive adhesive or even a low-expansion spray foam can be a lifesaver. You drill a tiny, 1/8-inch hole through the strip (or right next to it in a discreet spot), inject the adhesive, and then weight it down with something heavy—like a stack of those leftover tiles you have in the garage. This is a core part of any step-by-step guide to flooring installation and leveling success.
Fasteners That Actually Stay Put
If your strip uses a metal track, the clicking might be the track itself vibrating against the concrete or wood. Switch to concrete screws if you’re drilling into a slab, or use ring-shank nails for wood. Unlike smooth nails, ring-shanks have tiny ridges that act like barbs, locking into the wood fibers so they can’t ‘back out’ when you walk over them. If you’re working with a more complex layout, like when you transition from wood to a curved carpet edge, the mechanical fastener choice is the difference between a silent floor and a decade of annoying pops.The biggest lie the home improvement industry ever told us is that ‘self-leveling’ compound actually levels itself. In my early days, I would pour a bag, watch it spread like syrup, and walk away thinking I was a genius. I wasn’t. Self-leveler is a high-performance chemical soup that requires manual intervention to actually achieve the secret to getting a flat floor for large format tiles. If you just pour it and pray, you’ll end up with ‘humps’ and ‘valleys’ that are just as bad as the original dip, causing those same transition clicks we are trying to kill.
Stop Trusting the Marketing on the Bag
One of the most common floor leveling challenges is the assumption that gravity does all the work. It doesn’t. You need to ‘gauge’ it with a pin leveller or a notched squeegee. Without this, surface tension keeps the material from reaching the very corners where your transition strips sit. Have you ever fallen into this trap? Let me know in the comments.
Does the subfloor actually need to be level or just flat?
Here is the professional nuance: Your floor doesn’t technically have to be ‘level’ (perfectly horizontal to the earth) for the clicking to stop; it just needs to be ‘flat’ (no peaks or valleys). According to the Tile Council of North America (TCNA) Handbook, the industry standard for large tiles or long hardwood planks is a variation of no more than 1/8 inch over 10 feet. If you focus too much on ‘leveling’ an old house with a 2-inch sag, you’ll end up with a massive step-up at the door that creates a trip hazard. Instead, focus on flattening the transition zone to ensure mastering floor leveling pro secrets for perfect installations. This distinction between level and flat is what separates the veterans from the novices. 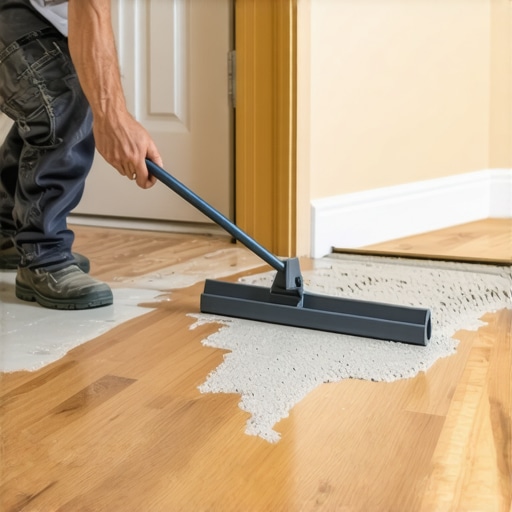
The Chemical Trap You Never Saw Coming
The ‘oops’ factor usually happens in the mixing bucket. Most DIYers try to save time by mixing half a bag. This is a fatal error. The chemical polymers in the powder aren’t always distributed evenly in the bag during shipping. If you don’t use the whole bag, you might get a mixture that is too heavy on sand or too light on the binder. This is exactly why your self-leveler developed spiderweb cracks overnight. If those cracks form under your transition strip, the bond fails, and the clicking returns within weeks. Always use the secret to mixing the perfect bucket of self-leveler every time: a high-torque drill and exactly the amount of water specified on the bag—not a drop more. Excessive water ‘washes’ the polymers away, leaving you with a brittle surface that turns into dust under the pressure of your footsteps. If your mix feels too thick, don’t just add water; check if you’ve fallen for the 5 reasons your self-leveler is sticking to the bucket instead of the floor. Pros often use a spiked roller to release trapped air, which prevents ‘pinholing’ that can weaken the structure beneath your floor. Addressing these hidden nuances is the only way to ensure that 2 AM trip to the kitchen remains truly silent and that your floor feels as solid as it looks.Once you’ve conquered the chemical battle of mixing leveler, you need to ensure the victory lasts. I’ve seen beautiful installs fail within six months because the homeowner treated the floor like it was invincible. To avoid flooring installation mistakes to avoid for lasting results, you have to realize that maintenance is just installation part two. My secret weapon isn’t a fancy saw; it’s a high-quality pinless moisture meter. I use the Orion 950 because it logs data over time. Before I even think about a transition strip, I need to know the subfloor isn’t holding onto hidden dampness. You should always how to use a moisture meter before you lay wood floors to prevent the wood from expanding and popping the adhesive later.
How do I maintain my floor transitions over time?
Keeping that silence requires more than just luck; you need to protect the bond between the floor and the subfloor. Avoid the temptation of a steam mop. I cannot stress this enough—it is the quickest way to ruin a transition. According to the truth about using steam mops on luxury vinyl planks, the heat can actually reactivate the adhesive or cause the plank core to swell, leading to that clicking sound returning. Instead, stick to a pH-neutral cleaner and a dry microfiber pad. This is a huge part of hardwood floor care secrets to longevity and shine. 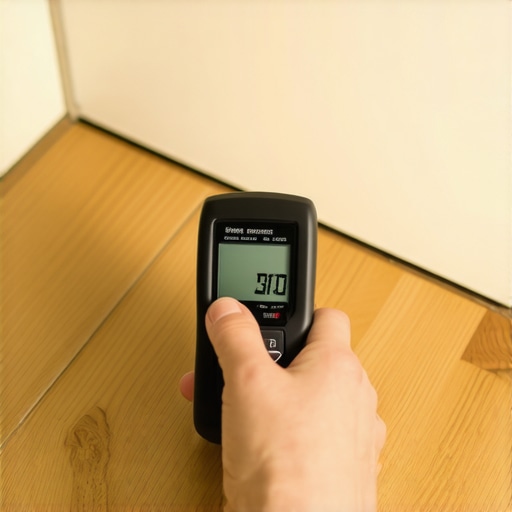
Stop the Steam Mop Before It Destroys Your Adhesive
Beyond cleaning, you must keep an eye on your home’s humidity. The Wood Floor Covering Association (WFCA) notes that wood floors perform best when indoor humidity is kept between 30% and 50%. If your house swings wildly from a swamp in the summer to a desert in the winter, no amount of glue will keep your transition strips silent. You’ll see why your engineered wood planks are bowing at the ends if you ignore this environmental balance. If you are planning a new project, check out tile selection tips for elegant hardwood floors in 2025 to ensure your materials are compatible with your local climate.
The Future of Your Floors Might Be Invisible
I am predicting that by 2030, we won’t even be using traditional metal or wood transition strips for most high-end installs. We are already seeing threshold-less designs that rely on high-performance cork expansion joints and laser-leveled concrete. The goal is a truly unified surface that feels like one continuous piece. If you’re feeling brave, I want you to try one thing this weekend: get a straight-edge and check the floor height at your bedroom door. If it’s off by more than 1/8 inch, don’t just buy a wider strip. Investigate the subfloor first. You’ll thank me the next time you’re sneaking to the kitchen for a midnight snack without waking the whole house.
Hard Truths from a Decade of Floor Fixing
After years of chasing phantom squeaks, I’ve realized that silence is a structural achievement, not a lucky accident. One of the biggest shifts in my mindset was learning that patience saves more money than any coupon. If I had known how to achieve flawless floor leveling before tile laying earlier in my career, I would have saved dozens of hours in retroactive repairs and stressful midnight call-outs. I also learned that “good enough” is the enemy of longevity. If you see a tiny 1/16-inch gap now, it will likely become a loud, irritating gap in six months as the house settles. Always remember that the environment dictates the behavior of your materials; wood breathes, and concrete sweats. Ignoring these natural laws is why many DIY projects fail prematurely, and addressing them head-on is the only way to get that rock-solid feel.
Gear That Makes the Difference
If you’re tired of guessing why your floor is “talking” to you, it’s time to stop using your eyes and start using data. I always keep a few specific items in my truck that I trust implicitly. First, a high-quality moisture meter is non-negotiable—knowing the hydration level of your subfloor prevents the nightmare of bowing planks before you even start. Second, a 10-foot straight edge is my best friend for identifying those “valleys” that cause clicking at the threshold. For those looking for more tile installation pointers that save time and money, investing in a proper high-torque mixing paddle for your drill is a game-changer. It ensures your leveler or grout is perfectly homogenous, avoiding those weak spots that lead to cracks. It is the same principle as why you should always mix the entire bag of grout at once—consistency is everything for structural integrity. Finally, I always refer back to the ultimate guide to floor leveling for a perfect finish when I’m dealing with an old house that has a complex 2-inch drop across the room.
Reclaim Your Quiet Home
Your home should be a sanctuary, not a source of frustration. Taking the time to master these installing tiles like a pro step-by-step strategies for 2025 will give you the confidence to walk through your hallway at any hour without a second thought. Don’t be intimidated by the technical details; every pro started with a squeaky floor and a hammer. By addressing the root cause—the subfloor flatness and the bond—you’re not just fixing an annoying sound; you’re preserving the value and comfort of your living space. You’ve got the tools and the knowledge, so go ahead and silence that click for good. Have you ever had a transition strip that just refused to stay quiet no matter how many times you glued it? Let’s swap stories in the comments below.