
I’ll never forget the 3:00 AM walk of shame across my own hallway. Every step was like stepping on a chorus of angry crickets. I was trying to be quiet, but the subfloor had other plans. It was embarrassing, honestly. I’d just finished what I thought was a decent flooring installation, but I’d skipped the most basic diagnostic tool in the shed: my own ears. I made the classic rookie mistake of assuming that if I didn’t see a nail head popping up, the subfloor was solid. I ended up having to pull up several planks later—a total nightmare that could have been avoided with a simple five-minute walk-around. If you’ve ever felt that ‘give’ under your feet or heard that rhythmic clicking, you know exactly what I’m talking about. Have you ever felt like your floor was literally talking back to you in the worst way possible? We’re going to fix that today.
Listen for the Thud That Saves Your Sanity
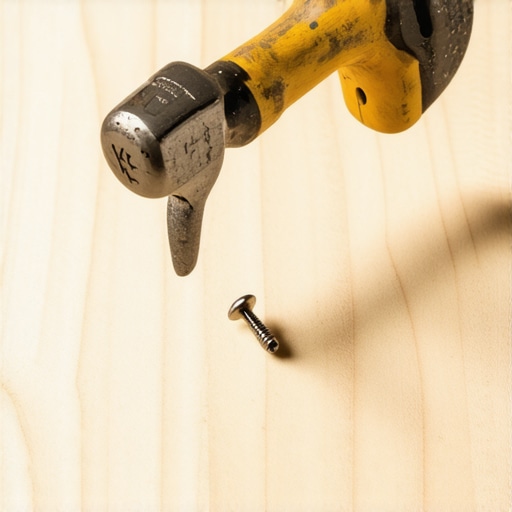
The secret isn’t some expensive sonar device or a fancy laser. It’s a 16-ounce hammer and a bit of patience. Before you even think about how to achieve flawless floor leveling before tile laying, you have to ensure the foundation isn’t moving. A loose nail acts like a tiny piston, sliding up and down in its hole, creating that friction-based noise we all hate. By gently tapping the subfloor with the head of a hammer, you aren’t looking for strength; you’re listening for the tone. A solid connection sounds like a dull, heavy ‘thud.’ A loose one? It has a hollow, higher-pitched ‘ring’ or a distinct rattle. According to the International Association of Certified Home Inspectors (InterNACHI), even a fraction of an inch of subfloor deflection can cause significant noise and eventually crack your grout lines or damage your finish. The physical sensation is just as important as the sound. When you strike a secure area, the vibration dies instantly in the wood. But hit a spot where the nail has pulled away, and you’ll feel a slight ‘bounce’ through the handle. This is why I always tell folks to do this before mastering floor leveling. If you level over a moving subfloor, you’re just putting a pretty band-aid on a broken bone.
Is Such a Simple Tool Actually Reliable?
You might be skeptical. In an age of smart tools, a hammer feels a bit prehistoric. But sound doesn’t lie. While moisture meters are great for hardwood floor care, they won’t tell you if a nail has lost its grip. I’ve found that combining the hammer test with the chalk dust secret for finding low spots is the only way to be 100% sure your floor stays silent. If you’re dealing with a squeak in a second-story subfloor, this is the diagnostic step you simply cannot skip if you want to avoid flooring installation mistakes. It builds a level of confidence that no visual inspection can match. I learned this the hard way after laying an entire room of tile, only to realize I had a ‘bouncer’ right in the middle of the doorway. Don’t be like past-me; be the neighbor who does it right the first time. Drop a comment below if you’ve ever had a squeak that drove you half-mad—I’d love to hear your horror stories.Once you’ve identified those hollow, rattling spots with your hammer, you need a way to track them. I like to keep a carpenter’s pencil behind my ear and draw a big, ugly ‘X’ right where the sound changes. Think of it like mapping out a minefield. If you miss even one of these spots, that tiny movement will eventually telegraph through your finished floor, leading to those annoying clicking sounds when you walk. I’ve found that combining the tap test with the chalk dust secret for finding low spots in subfloors gives you a visual and auditory roadmap of exactly where your floor is failing you.
Switch to Screws to Kill the Creak Permanently
Why not just drive another nail in? Because nails are smooth. Over time, as your house breathes and the wood expands or contracts, that smooth nail loses its friction. It becomes a slider. Screws, specifically subfloor screws with a ribbed head, act like anchors. They bite into the joist and won’t let go. I remember a job in a 1920s bungalow where I thought I could get away with just ‘adding more nails.’ Three months later, the homeowner called because the guest room sounded like a bowl of Rice Krispies. I had to pull up the transition strips and pull back the carpet just to get at the subfloor again. It was a humiliating lesson in why mechanical fasteners—screws—are the only way to go when you are learning how to fix a squeak in a second-story subfloor. 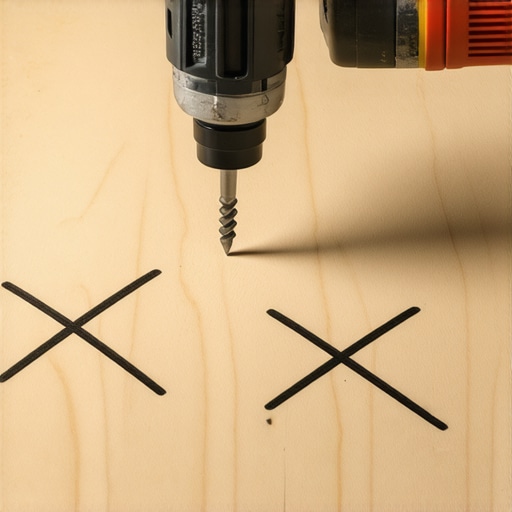
Drive Them Deep but Not Too Deep
When you’re driving these screws, aim for the floor joists. You can usually find them by looking for the original nail lines. Drive the screw so the head sits just slightly below the surface of the wood. You want it ‘counter-sunk.’ If the head sticks up even a hair, it becomes a pivot point for your tile or laminate. This is one of those flooring installation mistakes to avoid for lasting results. If you leave a screw head proud, and then try how to achieve flawless floor leveling before tile laying, the leveler will settle around the screw, but the pressure of your footsteps will eventually cause that screw to ‘ghost’ through the finish.
Prepare for the Pour Once the Joists are Quiet
Once the floor is rock-solid and silent, you can move on to the leveling phase. This is where the magic happens, but it’s also where things can go south quickly. I always use a primer before the compound to ensure a good bond. Without it, the dry wood will suck the moisture out of the leveler too fast, causing it to crack. To get that glass-like finish, I swear by the spiky roller secret for a mirror smooth pour. It pops the tiny air bubbles that can make your floor look like a moon crater. If you skip the rolling, you might end up wondering why your self-leveling pour looks like a topographical map instead of a flat surface.
Don’t Ignore the Seams Between Plywood Sheets
Finally, check the gaps between your subfloor sheets. Plywood needs a tiny bit of room to breathe, but if the gap is too wide, your thinset or leveler will just fall through the cracks. For tile work, ensure you have the plywood grade you need for a stable tile underlayment. If the seams have too much vertical ‘play,’ you’ll eventually see porcelain tile cracking over plywood seams. A quick bead of caulk or some specialized mesh tape over these joints can save you a world of hurt later. Keep your focus on the structural integrity now, and the aesthetic part will be a breeze.But here’s the contrarian truth most big-box stores won’t tell you: sometimes, a perfectly ‘level’ floor is actually a disaster in the making. While everyone obsesses over the bubble in the spirit level, the pros focus on flatness. You can have a floor that is perfectly level—meaning parallel to the horizon—but still has a ‘wave’ in it that will cause your large-format tiles to ‘lip’ or your hardwood planks to separate. In my experience, focusing on local flatness—the ‘1/8th inch in 10 feet’ rule—is far more critical than the overall levelness of the room. This is one of those flooring installation mistakes to avoid for lasting results that separates a weekend warrior from a craftsman. If you try to fix a massive slope by dumping three inches of leveler on one side, you’re adding thousands of pounds of dead weight that your floor joists might not have been designed to carry.
Why Does My Leveler Look Like a Moon Crater?
The most common ‘oops’ factor I see involves the drill. We’ve all been there, trying to save time by cranking the drill to its highest setting to get the lumps out. However, the mixing paddle speed that ruins your leveling compound is usually anything over 650 RPM. When you mix too fast, you fold air into the slurry. Once you pour it, those air bubbles rise to the surface and pop, leaving your floor looking like a topographical map of the moon. According to the Tile Council of North America (TCNA) Handbook, improper mixing and the failure to address ‘pinholing’ caused by air escaping the substrate can compromise the integrity of the entire installation. This is exactly why your self-leveling pour looks like a topographical map instead of a mirror. To prevent this, I always use the roller selection that prevents air bubbles in leveler. 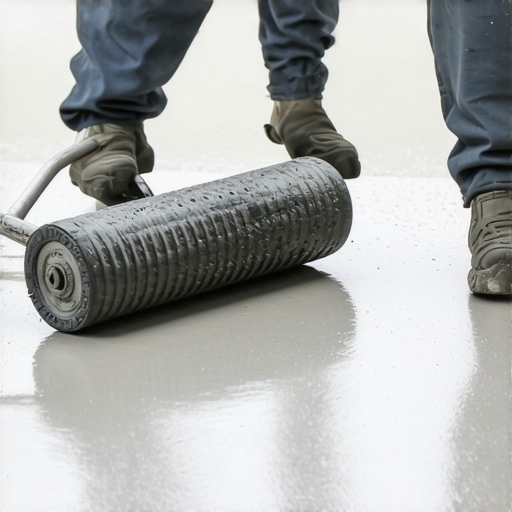 Another nuance people miss is the chemistry of the bond. If you’re working on an old house, you’re likely dealing with residues. This is why most floor levelers fail on top of painted concrete or old adhesive. The leveler doesn’t actually stick to the concrete; it sticks to the paint, which then peels off under the stress of the drying compound. You must perform the concrete etching step you shouldn’t skip before leveling to ensure a mechanical bond. I also swear by the spiky roller secret for a mirror smooth pour to break the surface tension and release trapped gases. It’s messy, sure, but it’s the difference between a floor that lasts decades and one that delaminates in months. Have you ever fallen into this trap of over-mixing or skipping the prep? Let me know in the comments—I’ve definitely been there myself during my early days of revamp your home with expert flooring installation tips. Mastering how to achieve flawless floor leveling before tile laying isn’t just about the pour; it’s about respecting the physics of the materials.Once you’ve conquered the leveling, the real battle begins: keeping it that way. I’ve seen beautiful installs ruined because the homeowner didn’t have a plan for the next five years. I personally never step onto a job site without a cross-line laser. It’s not just for the initial layout; I use it to audit my work a week after the pour. While most think a spirit level is enough, the laser level move for perfectly straight hallways is what identifies microscopic settlement that you simply cannot see with the naked eye. According to the National Wood Flooring Association (NWFA) technical manual, maintaining a consistent relative humidity between 30% and 50% is the only way to prevent seasonal gapping in natural materials. If you don’t own a hygrometer to track this, you’re essentially flying blind. I recommend a digital one that logs data over time so you can see if your HVAC system is actually doing its job during the humid months.
How do I keep my subfloor and finish from failing years later?
The answer is boring but vital: moisture control and surface protection. I always tell my clients to stop using vinegar on your hardwood floors immediately. The acid in vinegar slowly eats the finish, which eventually lets ambient moisture into the wood, leading to the very squeaks and buckling we just spent hours fixing. If you have dogs, you absolutely have to stop your pets’ claws from ruining your vinyl planks or hardwood by using high-quality rugs in ‘sprint zones’ and keeping nails trimmed. For the long-term, mastering hardwood floor care secrets to longevity and shine is significantly cheaper than a total refinish job in 2028. 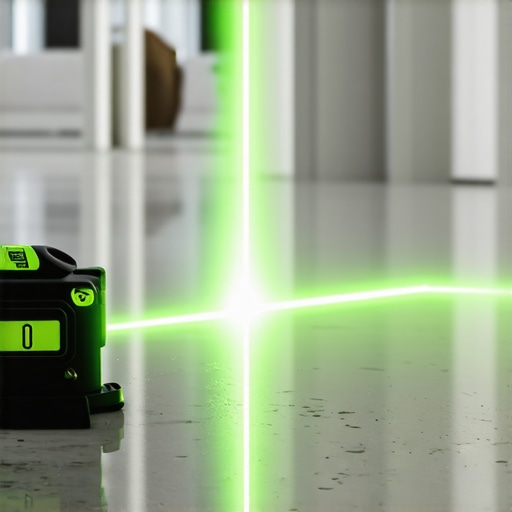
Invest in a Solid Moisture Meter for Peace of Mind
If you are scaling up and doing this for friends or as a side hustle, buy a pinless moisture meter. I use the Wagner Meters Orion series because it doesn’t leave holes in the floor but gives me a deep-depth reading of what’s happening in the subfloor. This tool is the only way to truly verify how to prep a concrete slab for glue down hardwood without guessing. Looking ahead, I suspect we’re moving toward ‘smart’ subfloors. We already have moisture sensors for roofs; it won’t be long before we’re embedding tiny sensors under our mastering floor leveling pours that ping our phones if a basement pipe starts leaking. Until then, we rely on mechanical excellence and the right habits. I want you to try one thing on your next project: don’t just look for gaps—use a 10-foot straight edge and a set of feeler gauges to audit your flatness. If you find a spot deeper than 1/8th of an inch, hit it with a localized pour before you lay a single tile. It’s the advanced move that prevents call-backs and keeps your reputation solid.
Hard Truths About What Lies Beneath Your Feet
After years of fixing DIY disasters, I’ve realized that the most expensive tool you have is your own patience. Most people rush the prep because they want to see the ‘pretty’ part of the project, but the magic happens when you treat the subfloor like the foundation of a skyscraper. If you ignore a 1/4-inch dip now, you’ll eventually be reading about how to fix a hollow sound under your luxury vinyl within six months. Another lightbulb moment for me was realizing that every house breathes; if you don’t account for expansion gaps, the best flooring in the world will eventually fail. It is not about being perfect; it is about giving the materials room to do their job correctly. Finally, never trust a visual inspection alone—your ears and a 16-ounce hammer are the most honest diagnostic tools you own.
Gear That Earned a Permanent Spot in My Truck
I don’t leave for a job site without a few non-negotiables that save me hours of rework. First, a heavy-duty 10-foot aluminum straight edge is far more useful than a standard spirit level for spotting floor ‘waves.’ I also rely on a high-quality pinless moisture meter to ensure the wood is stable before I even open a box of planks. For those tricky transitions where heights don’t match, I always keep the leveling secret for installing plank flooring over tiles in my back pocket. These tools aren’t just for professional show; they are your insurance policy against having to rip up your hard work a year later.
#IMAGE_PLACEHOLDER_E#
Take the Leap and Build Your Forever Floor
Starting a major renovation can feel overwhelming, but remember that even the most complex step-by-step guide to flooring installation and leveling success begins with a single screw into a noisy joist. You now have the diagnostic skills to listen for squeaks and the technical knowledge to pour a mirror-smooth leveler. Don’t be afraid to slow down and double-check your flatness with a set of feeler gauges. Your future self—the one walking across a silent, solid floor at 3:00 AM—will thank you for the extra effort you put in today during your flooring installation project. Have you ever found a hidden dip in your subfloor right before you were about to start laying tile? Let me know your close-call stories in the comments below!