
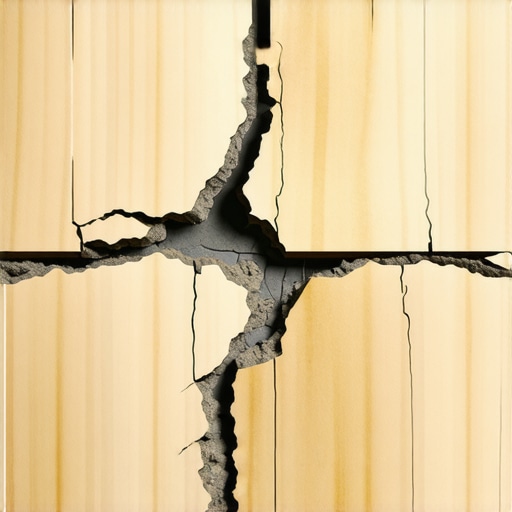
I’ll never forget the pride I felt after finishing my first big kitchen remodel. The tiles were straight, the grout was clean, and I thought I’d built something that would last a lifetime. Then, about six months in, I heard it. A sickening, sharp *click* when I stepped near the island. I looked down and saw a hairline fracture marching straight across the floor, perfectly tracking the seam of the plywood sheets underneath. It felt like my bank account just leaked through the floorboards. I’d spent weeks on that floor, only to realize I had missed the most critical part of the foundation. If you are staring at a similar disaster, or if you are about to lay tile and you’re worried your subfloor is going to ruin everything, I have been exactly where you are. We are going to dive into why these cracks happen and how you can outsmart the natural movement of wood.
Why That Rock-Solid Plywood Subfloor Is Actually Moving
Most homeowners think of plywood as a static, frozen surface. In reality, it’s a living thing that breathes, expands, and—most importantly—bends. When two sheets of plywood meet, that seam becomes a hinge point of extreme stress. Because they are incredibly dense, porcelain tiles crack more often than ceramic on wood because they simply don’t have any give. If the plywood underneath shifts even a fraction of a millimeter, the tile has to choose: bend or break. Since porcelain can’t bend, it snaps. Early in my career, I made the classic plywood mistake that causes grout cracks by assuming more screws meant more stability. I drove hundreds of them into the joists, thinking I’d locked everything down. I was wrong. The issue wasn’t the fasteners; it was the vertical deflection between the joists. The Tile Council of North America (TCNA) specifies that for a successful tile installation, the subfloor must meet a deflection rating of L/360, which basically means the floor shouldn’t bounce more than 1/360th of its span under a heavy load. If your joists are spaced too far apart or your plywood is too thin, you’re basically building on a trampoline.
Is Porcelain Just Too Fragile for My Old House?
You might be wondering if you should just throw in the towel and install something flexible like vinyl instead. It is a valid fear. Nobody wants to waste money on materials destined to fail. But I’m here to tell you that porcelain isn’t the enemy; it’s the lack of an isolation layer. Once you understand the flooring installation mistakes to avoid, you can put tile over plywood with total confidence. Have you ever walked across your kitchen and felt a slight spring in your step or heard a squeak near a seam? That’s the warning sign I ignored. Tell me, are you seeing cracks appearing in the grout lines first, or is the tile itself actually splitting? If you’ve got a bouncy floor, you might even need to fix a bouncy floor with a few well-placed screws before you even think about thinset. Let’s look at how we can bridge those gaps so your floor stays in one piece.
Stop the Bounce Before You Buy the Tile
To start, you need to eliminate vertical movement. Think of your joists like the skeleton of a building; if the ribs are weak, the skin will sag. I used to think a few extra nails would do it, but nails pull out over time. You need construction-grade screws. If you’ve got a springy floor, you have to how to fix a bouncy floor with a few well-placed screws by driving them directly into the center of the joists every six inches. I once worked on a 1920s bungalow where the floor felt like a diving board. We didn’t just add screws; we actually had to sister the joists from below to provide enough rigidity for the heavy porcelain. If you skip this mechanical stabilization, no amount of expensive mortar will save you from the inevitable snapping of the grout.
Find Every Dip Using the Chalk Dust Trick
Next, let’s talk about flatness versus levelness. Your floor doesn’t have to be perfectly level relative to the center of the earth, but it must be perfectly flat. Any dip in the plywood is a void where the tile isn’t supported from below. You can use the chalk dust secret for finding low spots in subfloors by rubbing a chalk box line across the surface and seeing where the dust doesn’t land. Those ‘valleys’ are where your tile will eventually snap under the weight of a refrigerator or even just a heavy guest. To fill these, you need a high-quality floor patch, but be careful—using a brittle or non-flexible product is why your subfloor patching compound is cracking under pressure later on when the house settles. 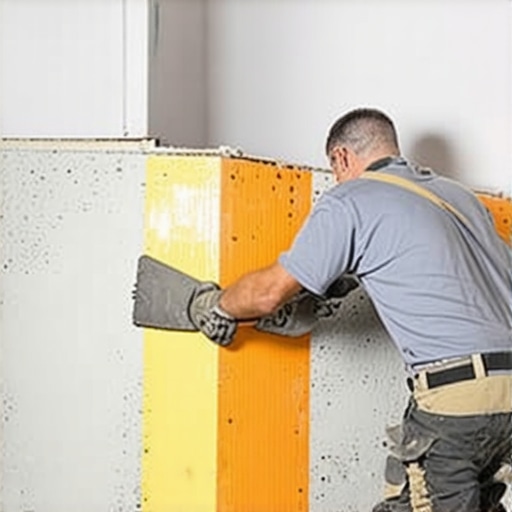
Flatten the Floor Without Overloading Your Joists
If your subfloor looks more like a rolling sea than a kitchen floor, you might be tempted to dump gallons of self-leveler everywhere. This adds significant weight that old joists might not be able to handle. In my early days, I almost sagged a ceiling in a basement because I over-poured on the floor above. You should learn how to level a plywood subfloor without adding weight by using targeted shims and thin sheets of luan or specialized lightweight compounds. This keeps the structure safe while giving you that glass-smooth surface needed for large format tiles.
The Uncoupling Membrane is Your Best Friend
Once the floor is stiff and flat, you must install an uncoupling membrane. This is usually a polyethylene ‘waffle’ mat that sits between the wood and the tile. It acts as a critical slip-sheet. When the plywood expands in the summer humidity, the membrane allows the wood to slide slightly underneath the tile without tugging on the porcelain itself. It’s essentially like putting a layer of ball bearings between two sheets of glass. Without this layer, the wood moves, the tile stays still, and the bond breaks.
Why Your Trowel Choice Makes or Breaks the Bond
Finally, the way you spread your mortar matters more than the brand of the bag. I remember a job in a high-rise where the client complained about a ‘hollow’ sound when they walked across their brand-new floor. I pulled up a single tile and saw the thinset looked like tiny, dried-up mountain ridges that never got squashed down. This happened because why your trowel teeth are ruining your thinset coverage—the installer used a notch that was too small for the tile size and didn’t back-butter the tile. Always collapse the ridges in one direction to let air escape. If air gets trapped, you create a pocket of weakness that leads to those hairline fractures we all dread.I see it all the time on job sites: a contractor spends hours with a six-foot level, only to have the tiles lipping by the time they reach the kitchen island. Here is the contrarian truth that separates the pros from the amateurs: a floor can be perfectly level and still be a complete disaster for large-format porcelain. Levelness is about gravity; flatness is about the plane. In my experience, focusing solely on the bubble in your level is one of the biggest floor leveling challenges you will face. According to the Tile Council of North America (TCNA) Handbook, for tiles with at least one edge 15 inches or longer, the subfloor cannot vary more than 1/8 inch in 10 feet. If you focus on ‘level’ but miss a slight hump, your tile will ‘bridge’ that gap, creating a hollow spot that eventually snaps under pressure. This is where mastering floor leveling pro secrets becomes the difference between a floor that lasts decades and one that fails in months. Another hidden nuance is the ‘more is better’ trap with adhesive. Most DIYers think if the tile isn’t sticking, they just need a thicker bed of mortar. In reality, the trowel size error that leads to hollow sounding tiles is usually about the air trapped behind the ridges, not the volume of the mud. If the bed is too thick, the thinset shrinks significantly as it cures, pulling the tile down unevenly and causing ‘lippage’—those annoying raised edges that catch your toes.
Why does my expensive self-leveling pour keep cracking?
It’s heartbreaking to watch a $200 pour of high-end leveler spiderweb within 24 hours. The trap here is almost always chemical. You must understand why you must prime concrete before every leveling job or even when pouring over plywood. Without a dedicated primer, the porous subfloor acts like a sponge, sucking the hydration out of the leveler before it can chemically bond. This results in a ‘dry’ cure that has zero structural integrity. You might have achieved precise floor leveling techniques, but without that bond, you’re just laying tile over a layer of crackers. 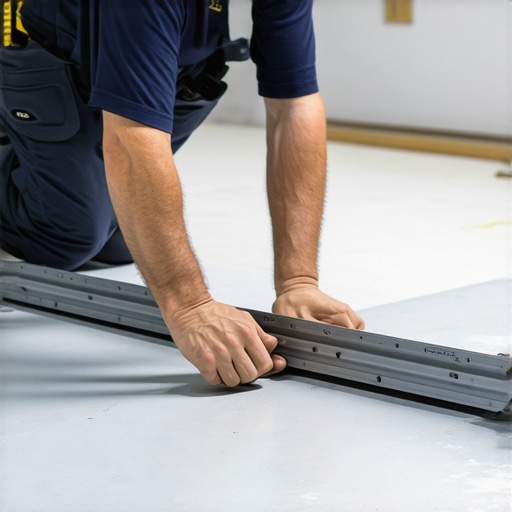 Finally, never underestimate the power of the perimeter. I have seen beautiful, expensive floors buckle upward because the installer forgot to leave a 1/4 inch gap at the walls. This is why your floor-to-wall gap is the most important part of LVP and tile alike. Houses breathe, and if your floor is locked tight against the framing, the only way it can move is up. Have you ever fallen into the ‘level vs flat’ trap or watched your self-leveler crack before you could even start? Let me know in the comments.Beyond just the technique, your gear determines your stress levels. I stopped relying on a standard 4-foot level years ago when I realized that cumulative error is real. Now, I use the laser level move for perfectly straight hallways to ensure my lines are dead-on from the front door to the back porch. But if there’s one tool that has saved me more money than any other, it’s a high-quality moisture meter. You might think the wood feels dry, but how to use a moisture meter to prevent floor failure is about knowing the relative humidity of the subfloor compared to your planks. The National Wood Flooring Association (NWFA) explicitly states in their Technical Publication A100 that a moisture difference of more than 4% between 3-inch wide oak planks and the subfloor is a recipe for cupping. I use a pinless meter because it doesn’t leave holes in expensive exotic woods, and it gives me a profile of the entire room in minutes.
How do I keep my floors from dulling out over time?
Maintenance is where most of my clients accidentally sabotage their investment. They spend thousands on a floor and then clean it with whatever is under the sink. You have to learn the hardwood floor care secrets to longevity and shine, which starts with throwing away the mop bucket. Standing water is the enemy of all organic materials. Also, why you should never mop your floors with dish soap comes down to pH levels; most soaps leave a filmy residue that attracts dirt like a magnet. For tile, you should use the spray bottle hack for testing floor sealer coverage to see if your grout is still protected. If the water doesn’t bead up, you are one spilled glass of red wine away from a permanent stain. 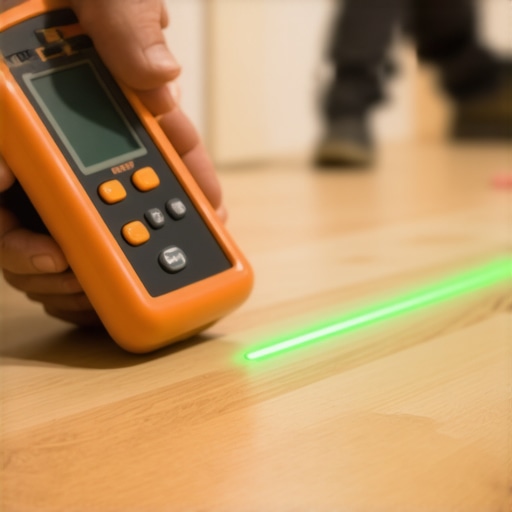
The High-Tech Future of Leveling
Looking ahead, I suspect we are moving toward robotic application systems for self-leveling compounds. We are already seeing LiDAR-equipped apps that can map the topography of a room and tell you exactly how many bags of compound you need for precise floor leveling techniques. This will eventually eliminate the ‘topographical map’ disasters we talked about earlier. In the meantime, stick to the the ultimate guide to floor leveling for a perfect finish to stay ahead of the game. My challenge to you: before your next install, go out and buy a moisture meter—it’s the cheapest insurance policy you’ll ever own.
Hard Truths from a Decade of Cracked Tiles
Looking back at my early failures, the biggest realization was that I was focusing on the beauty of the tile while ignoring the physics of the house. Here is what I wish I’d known before that first kitchen floor snapped:
- The ‘Good Enough’ Trap: If you think a subfloor is ‘mostly’ flat, the tile will prove you wrong within a year. Using how to achieve flawless floor leveling before tile laying isn’t about being a perfectionist; it’s about basic structural survival.
- Wood Never Stops Moving: Even if the house is fifty years old, seasonal humidity changes will cause plywood to expand. Without an uncoupling membrane, that movement is transferred directly to your grout.
- Screws are Cheap, Failures are Expensive: I never regret adding an extra box of subfloor screws to lock down a joist, but I always regret the one squeak I ignored.
#IMAGE_PLACEHOLDER_E#
The Three Tools I Refuse to Work Without
If you want to move beyond the amateur level, you need to stop guessing. My truck is always packed with a few essentials that handle the most common floor leveling challenges. First is the TCNA Handbook; it is the industry standard that takes the guesswork out of deflection limits. Second is a high-quality pinless moisture meter. Knowing if your plywood is too damp to accept thinset saves you from the nightmare of delamination. Lastly, I always keep a dedicated alkali-resistant primer on hand. Following the ultimate guide to floor leveling for a perfect finish means nothing if your self-leveler doesn’t actually stick to the wood.
Build a Surface That Outlasts the Mortgage
You now have the technical roadmap to turn a bouncy, uneven subfloor into a professional-grade foundation. It takes more time on the front end, but the peace of mind you get when walking across a silent, crack-free kitchen is worth every extra screw. This is the core of successful flooring installation: respecting the materials enough to prep them right. Have you ever discovered a hidden dip in your floor only after you started laying the tile? Let me know in the comments below!