
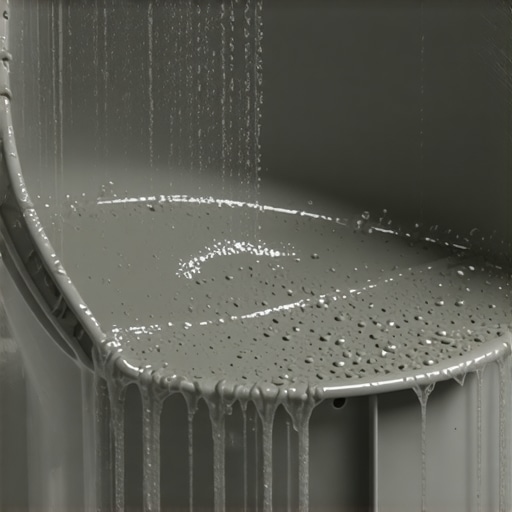
I stood there, sweating in my spiked shoes, watching forty dollars of premium compound turn into a stubborn brick inside my mixing pail. It was supposed to be the easiest part of my flooring installation journey. Instead, I was scraping the sides like a frantic baker with a bad batch of dough. If your leveler is acting like glue rather than water, you aren’t alone—and you probably haven’t ruined the whole job yet. I remember my first solo project where I ended up with a floor that looked like a mountain range and a bucket that I had to throw in the dumpster. It’s a visceral kind of frustration when you realize the material is winning. Today, I am going to show you exactly why that sludge is clinging to the plastic and how you can force it to behave so you get that mirror-finish you’re dreaming of.
Stop Fighting the Bucket and Start Leveling Your Floor
The first time I tried precise floor leveling techniques, I made the classic rookie mistake of assuming the ‘self’ in ‘self-leveling’ meant the product did all the work. It doesn’t. In fact, if your mix is staying in the bucket, it’s usually a sign of a chemical ‘flash set’ or a friction problem. I’ve seen DIYers lose an entire afternoon of work because they didn’t realize mixing speed changes everything. When you whip that paddle at full throttle, you aren’t just mixing; you are injecting heat and air into a delicate chemical reaction. Before you know it, you’ve triggered a premature cure. Understanding these floor leveling challenges is the only way to ensure your compound actually flows across the subfloor like it’s supposed to.
Is self-leveling compound actually more trouble than it is worth?
You might be tempted to just ‘eyeball’ your subfloor and hope for the best, or use a hand-troweled patch. But when you want to achieve a flawless surface before tile laying, a properly poured leveler is unbeatable. The trick is respecting the chemistry. According to studies on Portland-based polymers, high ambient temperatures can accelerate the hydration process by up to 50 percent, meaning your ‘cool’ bucket of water might be the very thing causing your leveler to seize up before it hits the floor. Have you ever felt that sinking panic when the mix starts thickening while you’re still pouring? I want to hear your horror stories in the comments, but first, let’s break down the mechanical reasons your bucket has become a magnet for your expensive compound.
Scrub the Slab Until It’s Hospital Clean
Before you even think about opening a bag of compound, you need to treat your subfloor like a surgical site. Any dust, oil, or old adhesive will act as a bond-breaker, ensuring your expensive leveler peels up in a few weeks like a bad sunburn. I learned this the hard way on a kitchen remodel in 2019 where I skipped the vacuum and just ‘swept’ the area. Three days later, I could hear a hollow crunching sound under my feet. To avoid this, the concrete etching step you shouldnt skip before leveling is your first line of defense. Think of it as opening the pores of the concrete so the leveler can actually grab hold. If you are working over old surfaces, the best way to prep a painted floor for new tile or leveler is to mechanically abrade the surface; otherwise, you’re just pouring liquid stone onto a sheet of glass.
Keep the Water Cold and the Paddle Slow
Temperature is the silent killer of floor leveling. If your water has been sitting in a hot van or if your room is pushing eighty degrees, your working time will vanish in seconds. I always use ice-cold water to slow down the chemical reaction. When you start mixing, resist the urge to go full throttle with your drill. High RPMs are the primary reason why self-leveling compounds bubbled over your subfloor. You want to fold the powder into the water like you’re making a delicate cake batter, not whipping a meringue. Using the mixing paddle speed that ruins your leveling compound results in thousands of tiny air pockets that will eventually pop and leave your floor looking like the surface of the moon.
Work in Fast Parallel Strips to Maintain a Wet Edge
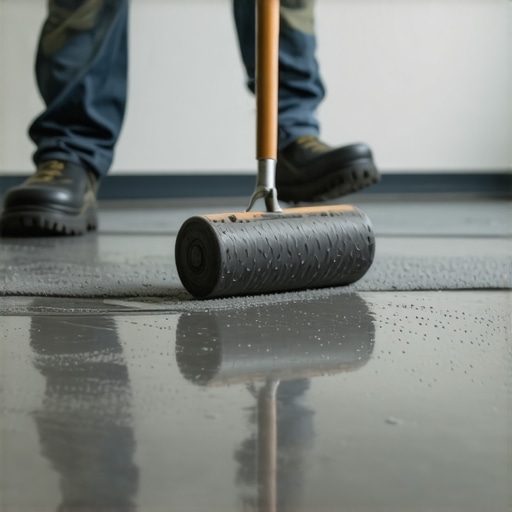
Leveling is a race against the clock, and the only way to win is to maintain a ‘wet edge.’ This means you never let the edge of a pour begin to skin over before the next bucket hits the floor. I once tried to level a large living room solo and ended up with a series of hard ridges because I couldn’t mix fast enough. Now, I always have a helper mixing while I pour. You should pour in long, continuous strips about 12 inches wide, moving across the room methodically. If you see a ridge forming, don’t try to trowel it out manually. Instead, use the spiky roller secret for a mirror smooth pour to break the surface tension and help the two batches blend seamlessly. This tool is the difference between a floor that requires hours of grinding later and one that is ready for choosing the right hardwood floors for your home immediately.
Manage the Air to Prevent Ghosting Marks
Even with a perfect mix, air trapped in the subfloor can migrate upward as the compound settles. This is where most flooring installation mistakes to avoid for lasting results happen. If you don’t use a specialized roller, you’ll end up with ‘ghosting’—those weird, cloudy outlines that look like water stains but are actually structural weaknesses in the cured material. To prevent this, how to prevent ghosting marks on your self leveling finish involves a two-step priming process that seals the subfloor completely. It’s like putting a primer on a wall; it stops the ‘thirsty’ concrete from sucking the moisture out of your mix too fast, which is the root cause of almost every crack I’ve ever seen in a finished pour.
Stop Obsessing Over Level and Focus on Flatness
Most beginners spend hours trying to make a floor perfectly level with the horizon, but here is the truth: your house is probably leaning, and that is okay. In my years of doing this, I have realized that “level” is a vanity metric; “flat” is what actually saves your project. If you are mastering floor leveler pro secrets, you know that a floor can be slightly sloped and still look spectacular, as long as there are no dips or humps. When you try to force a floor to be perfectly level in an old house, you often end up with a massive 2-inch transition at the doorway that trips everyone. Instead, focus on removing the waves. This is especially vital when avoiding flooring installation mistakes that lead to lippage.
Why does my compound keep cracking over plywood?
This is the advanced question I get most often. The culprit is almost always deflection—a fancy word for the subfloor bouncing when you walk on it. Most people think leveler adds structural strength, but it is actually quite brittle. If your joists are spaced too far apart or you used the wrong thickness of wood, the leveler will spiderweb within weeks. According to the Tile Council of North America (TCNA), your subfloor must meet strict L/360 deflection standards before you even think about a pour. To fix this, you need to ensure you have the plywood grade you need for a stable tile underlayment. If the base moves, the stone breaks. 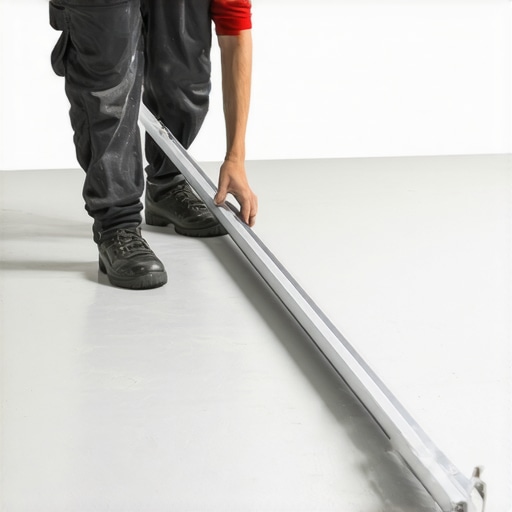
The Dangerous Myth of Adding Extra Water
We have all been there: the mix looks a little thick, and you think, “I will just add one more cup of water so it flows better.” Stop right there. This is the fastest way to trigger a segregation failure. When you exceed the manufacturer’s water-to-powder ratio, the heavy aggregates sink to the bottom while the polymers and water rise to the top. The result? A floor that looks okay but has a dusty, chalky surface that will never bond to thinset. This is exactly why your self leveling pour looks like a topographical map instead of a smooth sea. If it is too thick, you likely did not mix it long enough, or your room is simply too hot. Never water it down to save time. If you are working with specialized systems, always check how to choose a floor leveler that wont crack over radiant heat to ensure the chemical bond remains intact under thermal stress. Have you ever had a mix turn into a dusty mess on you? I would love to hear how you handled it in the comments below.
Ditch the Hand Trowel and Grab a Gauge Rake
If you are still on your hands and knees trying to push compound around with a flat trowel, you are fighting a losing battle against gravity and time. For any pour larger than a small bathroom, I personally swear by the gauge rake. It looks like a squeegee with adjustable feet, and it is the only way to ensure a uniform depth across the entire room. When I first started, I thought this was ‘pro-only’ gear, but it actually makes the job ten times easier for a beginner. By setting the pins to your desired thickness, you can move the material quickly without over-working it, which is essential to avoid why your LVP floor is showing telegraphing issues later on. Following the ASTM F710 standard—the industry benchmark for preparing concrete floors—requires a surface that is not just clean, but structurally sound and flat to within 3/16 of an inch over 10 feet. A gauge rake gets you there faster than any hand tool ever could.
Your Cross-Line Laser Level is a Secret Weapon
I don’t pour a single bag without my green-beam laser level sitting in the corner of the room. It creates a visible ‘datum’ line on the walls that tells me exactly how high the liquid needs to rise. Without it, you are just guessing. This precision is the foundation of the ultimate guide to floor leveling for a perfect finish. I’ve seen guys use ‘leveling pegs’ (those little plastic strips you trim to height), and those work too, but the laser gives you a real-time map of the entire surface as it fills. If you see the laser line disappearing into the ‘lake’ of compound, you know you’ve hit your mark. This prevents the heart-breaking realization that you’re an eighth of an inch short after the product has already set up. 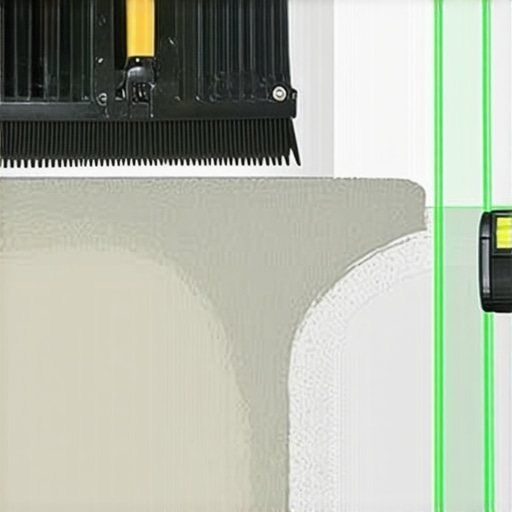
How do I ensure the leveler stays bonded to the slab for decades?
Maintenance and longevity start the moment the pour stops. You have to protect the wet surface from drafts and direct sunlight, which can cause uneven drying and surface cracks. I always tape off any HVAC vents and cover the windows. Looking forward, I suspect we will see the rise of carbon-fiber reinforced self-leveling compounds that virtually eliminate the need for lath or primers on tricky surfaces like old wood. But for now, sticking to the fundamentals of the roller selection that prevents air bubbles and proper priming is your best bet. Once the floor is cured and your final surface is installed, remember that hardwood floor care secrets to longevity and shine apply even to the subfloor’s health—keep your home’s humidity stable to prevent the subfloor from expanding and contracting against the leveler. I strongly encourage you to try the ‘laser datum’ trick on your next project; it will completely change how you visualize your floor’s flatness.
Hard Truths I Learned from Scraping Cured Sludge
One thing nobody tells you is that your first bag is your most dangerous. I used to think I could handle a large room alone, but flooring installation is a team sport. If you are solo, you are constantly fighting the clock and the bucket. My biggest breakthrough came when I realized that the chalk dust secret for finding low spots in subfloors saved me from pouring twice as much material as I actually needed. I have also learned that ignoring the old surface is a recipe for disaster. I once poured a beautiful mirror-finish over a semi-gloss paint only to watch it flake off a month later. Understanding why most floor levelers fail on top of painted concrete changed my prep game forever; now I always grind back to the raw slab to ensure a permanent bond.
The Reliable Gear I Keep in My Leveling Van
If you want results that look like a pro did them, you cannot use a standard kitchen bucket and a garden hoe. Here are the tools that changed my life and why I trust them: The Gauge Rake is non-negotiable for floor leveling because it ensures you are setting a precise depth rather than just pushing mud around. I also swear by a professional mixing paddle; avoid the eggbeater style and look for a paddle designed for high-viscosity cement to prevent air entrapment. Finally, there is the Spiky Roller. This is my secret weapon for every pour. As I mentioned in the spiky roller secret for a mirror smooth pour, it pops the micro-bubbles and makes the pour lines between buckets disappear completely.
Turn That Bumpy Subfloor Into a Blank Canvas
Do not let the technicality of floor leveling intimidate you. Every pro you see today started with a bucket of hardened waste and a lot of frustration at some point. Once you master the foundation, choosing the right hardwood floors for your home or laying down intricate tile patterns becomes the rewarding part of the project. You are building a floor that will last for decades, and that peace of mind is worth every drop of sweat in the prep phase. Go grab your level, find your high spots, and start pouring with confidence. Have you ever had a self-leveling project go wrong because the mix set up too fast? Let me know in the comments below!