
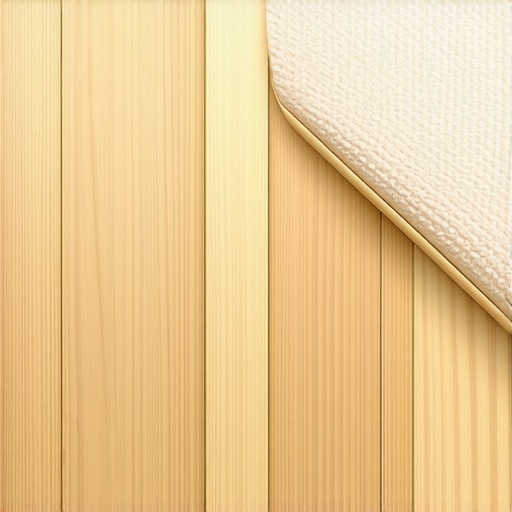
I was standing in the middle of my hallway, sweat dripping off my chin, staring at a piece of expensive white oak that I had just ruined. I wanted a soft, elegant arc where my hardwood met the new plush carpet, but instead, I had a series of awkward, straight-line cuts that looked more like a stop sign than a circle. It was a classic case of overestimating my jigsaw skills and underestimating the complexity of the task. That failure taught me that [flooring installation mistakes to avoid for lasting results](https://tiletrendshop.com/flooring-installation-mistakes-to-avoid-for-lasting-results) usually happen when we try to force a straight-line mentality onto a curved problem. Today, I want to save you from that same frustration. We are going to walk through the exact steps to create a seamless, durable, and gorgeous transition between wood and carpet that follows any curve your floor can dream up. I’ll show you how to handle the height differences and the trick to securing the carpet so it never frays.
Stop Fearing the Radius and Start Cutting
Transitions are the most scrutinized parts of any flooring project. If you nail the middle of the room but botch the doorway or the transition, the whole job looks amateur. When I first started, I thought I could just butt the wood up against the carpet and call it a day. I was wrong. Achieving a [precise floor leveling](https://tiletrendshop.com/precise-floor-leveling-techniques-to-achieve-flawless-surfaces) is only half the battle; the real magic is in the finish. According to the Carpet and Rug Institute (CRI), improper stretching and securing at transition points is one of the leading causes of premature carpet wear and delamination. You need a solid plan for the subfloor first. If your subfloor isn’t right, your transition will eventually fail, so make sure you follow a [step-by-step guide to flooring installation and leveling success](https://tiletrendshop.com/step-by-step-guide-to-flooring-installation-and-leveling-success) before you even think about the final trim. One mistake I made early on was neglecting the tack strip placement. I put it too close to the wood, and I couldn’t tuck the carpet edge deep enough to hide the staples. It looked terrible. Since then, I’ve learned that a 1/4-inch gap is your best friend. Have you ever tried to cut a curve and ended up with a jagged mess? Let me know in the comments if you’ve faced the ‘polygon’ nightmare like I did.
Does This DIY Hack Actually Last for Years?
You might be wondering if a flexible transition strip or a hand-scribed wood edge will actually hold up to the foot traffic of a busy household. I used to be a skeptic too. I worried that over time, the carpet would pull away or the [transition strip wouldn’t stay glued down](https://tiletrendshop.com/how-to-fix-a-transition-strip-that-wont-stay-glued-down) on the curve. But here is the reality: if you use the right adhesive and the correct tensioning techniques, that curved edge will be the strongest part of your floor. The secret lies in the ‘relief cuts’ you make on the underside of your transition piece, allowing the material to breathe and bend without snapping. Once you master this, you can move on to even more complex designs, like [expert hardwood floor and tile combinations](https://tiletrendshop.com/transform-your-space-with-expert-hardwood-floor-tile-combinations) that really elevate a home’s value. It’s all about patience and the right tools.
Map Out the Perfect Radius Before Cutting
Success in a curved transition isn’t found with a saw; it is found with a template. I once tried to ‘eyeball’ a curve in a master bedroom, thinking my hand was steady enough to mimic a compass. Halfway through, I realized I had created a wavy line that looked more like a mountain range than a professional finish. Now, I always use a piece of 1/4-inch plywood or heavy builder’s felt to trace the exact arc. This template becomes your holy grail. Before you even think about the wood, you must ensure the foundation is flawless. Any dip or peak in the subfloor will cause your transition strip to sit unevenly, creating a trip hazard. If you are dealing with significant height differences, you might need to look into how to level a floor that has a 2 inch drop across the room to ensure the surface is ready for the transition. If your subfloor is wood, be particularly careful about preparation; I’ve seen many DIYers skip the primer and wonder why your self-leveler didn’t bond to the wood subfloor after the first week of foot traffic. Once the subfloor is flat, lay your template down and transfer that line to your hardwood planks.
Bridge the Gap Between Hard Surface and Soft Fiber
The trickiest part of the ‘how-to’ is managing the height. Carpet has a padding that adds loft, while hardwood is dense and flat. To get that seamless look where the carpet seems to ‘tuck’ perfectly under the wood edge, you need to create a slight undercut. Think of it like a shelf. I prefer to use a router with a rabbeting bit to create a groove on the underside of the wood transition. This allows the carpet edge to be tucked neatly underneath. If you’re working with tile instead of wood, the logic remains similar—you need a clean edge. Learning how to achieve flawless floor leveling before tile laying is non-negotiable here because tile doesn’t flex like wood does. If the floor isn’t level, the tile will crack under the pressure of the transition.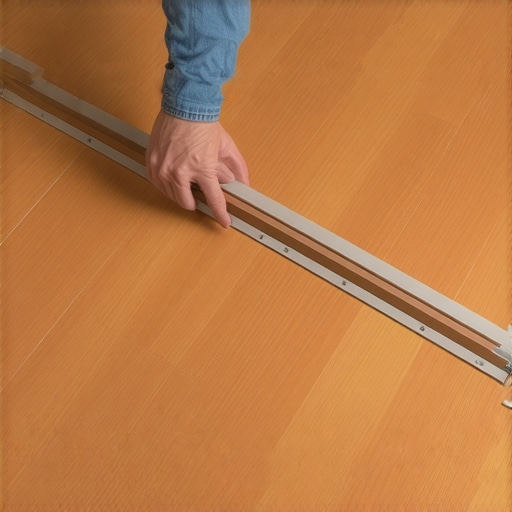
Master the Relief Cut and Secure the Edge
When you are working with solid wood or even some flexible transition strips, the material wants to stay straight. To make it follow your beautiful new curve, you have to perform ‘kerf’ cuts or relief cuts. These are shallow slices made on the back of the transition piece—never through the finished face—that allow the wood to bend without snapping. I remember a project in a Victorian hallway where I ignored this and snapped a $60 piece of oak right in half. It was a painful lesson in physics. Space your cuts about 1/2-inch apart for a tight radius, or 1 inch for a gentle sweep. After you have the bend right, the adhesive is your next hurdle. Mechanical fasteners like nails can be ugly on a transition, so a high-quality construction adhesive is your best bet. If you find the piece isn’t staying down, you may need to troubleshoot how to fix a transition strip that won’t stay glued down before the glue dries and leaves you with a mess. Secure the piece with heavy weights or blue painter’s tape while it cures. Finally, install your carpet tack strip exactly 1/4 inch away from the wood edge. This gap is the secret pocket where you will use a stair tool to ‘tuck’ the carpet, hiding the raw edges and creating that high-end, custom look that defines a professional installation.
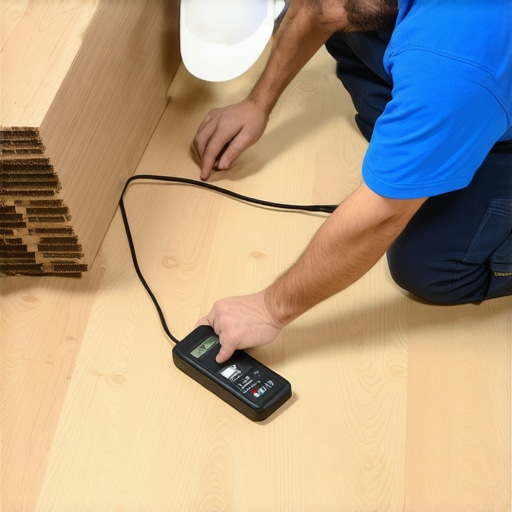
Most pros will tell you to let your hardwood ‘acclimate’ for 72 hours before you start cutting those beautiful curves. It is advice I followed religiously until a high-stakes project in a humid lakefront home taught me otherwise. In reality, acclimation isn’t a timer on a microwave; it is a biological equilibrium. If you rely solely on the calendar, you are gambling with your floor’s future. The National Wood Flooring Association (NWFA) states that for solid strip flooring, the moisture content (MC) of the wood and the subfloor should be within 4 percentage points of each other. For wider planks, that margin shrinks to just 2 percent. This is why you must learn how to use a moisture meter before you lay wood floors. If you skip this, that perfect curved transition you just worked so hard on will either gap until you can see the subfloor or buckle so hard it lifts the carpet tack strip right out of the ground.
Acclimation is About Chemistry Not Just Patience
The biggest myth in the industry is that ‘level enough’ is good enough for modern materials. I have seen countless homeowners spend thousands on premium materials only to wonder why your lvp floor feels like its bouncing when you walk. That bounce isn’t a feature of the padding; it’s a symptom of a subfloor that wasn’t truly flat. When you are bridging a curve between wood and carpet, that bounce becomes a pivot point that eventually shreds the carpet fibers at the transition. This is the ‘Oops’ factor most people miss: they focus on the visible top layer while the subfloor is actively working to destroy the bond. If you don’t address the structural integrity first by mastering floor leveling pro secrets for perfect installations, your transition is essentially a ticking time bomb. Have you ever fallen into this trap of trusting the calendar instead of a moisture meter? Let me know in the comments.
Why Your Perfectly Level Floor Might Still Feel Like a Trampoline
Even if you poured a self-leveling compound and it looks like a sheet of glass, you aren’t out of the woods yet. A common mistake is failing to prep the substrate, leading to a bond failure where the leveler actually lifts away from the floor. I’ve walked into jobs where I had to explain why your self-leveler developed spiderweb cracks overnight, and usually, it’s because the installer forgot the primer or ignored the dust. Without a chemical bond, the weight of your furniture and the tension of the stretched carpet will eventually cause that leveler to pulverize. When you’re integrating different textures, like expert hardwood floor and tile combinations, these micro-movements result in cracked grout lines and squeaky transitions that drive homeowners crazy. To ensure your hard work stays pristine, you need to understand the hardwood floor care secrets to longevity and shine, which starts long before the first coat of finish is applied. Remember, a floor is only as stable as the surface it sits on, and at the transition point, that stability is tested with every single step you take.
The Secret Weapon for Undercutting Door Jambs
After years of struggling with hand saws that left my knuckles bleeding, I discovered the oscillating multi-tool. If you are serious about a professional look, specifically when navigating that delicate curve where wood meets carpet, you need a high-quality plunge blade. I personally swear by the Fein MultiMaster because of its low vibration; when you are trying to revamp your home with expert flooring installation tips, precision is your only currency. This tool allows you to undercut door casings and baseboards so the transition piece slides underneath, hiding any expansion gaps perfectly. If you find your wood shifting later, it is usually because you didn’t leave room for it to breathe. Learning how to stop hardwood floors from gapping in the hallway often starts with these tiny, precise mechanical cuts made during the first hour of the job.
How do I keep these transitions looking sharp for a decade?
Maintenance isn’t just about a mop and a bucket; it is about managing the environment. The Wood Flooring Association of Australia (WFAA) notes that even with top-tier finishes, the ‘wear layer’ is what dictates the timeline for a screen-and-recoat process, especially at transition points where foot traffic is concentrated. To keep that curved edge from fraying or lifting, I recommend a bi-annual check of the tuck-in gap. If the carpet starts to bulge, use a carpet kicker to reset the tension. You should also revisit your hardwood floor care secrets to longevity and shine to ensure you aren’t using cleaners that degrade the adhesive holding your transition strip in place. For those who want to go the extra mile, mastering hardwood floor refinishing expert tips for 2025 will help you spot finish-wear before it reaches the raw wood. 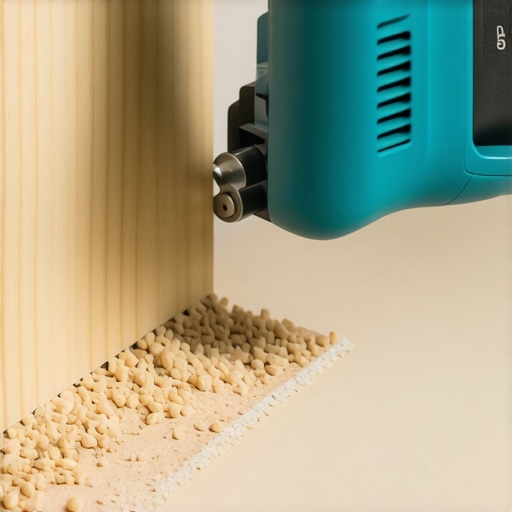
The Future is Resilient and Renewable
I predict that in the next few years, we are going to see a massive shift toward 3D-printed transition strips that can be custom-contoured to any radius you scan with your phone. We are already seeing tile selection tips for elegant hardwood floors in 2025 that focus on hyper-realistic textures that mimic natural curves. This technology will make the ‘kerf cut’ method I described earlier look like ancient history. Until then, you have to rely on the fundamentals. Using tile installation pointers that save time and money, like using a high-flexibility modified thinset for the transition zones, will ensure your floor remains a single, solid unit. If you’re ready to take your skills to the next level, I challenge you to try the relief cut trick on a scrap piece of oak this weekend. Once you see how easily the wood bends, you’ll never go back to straight lines again.
What Professionals Quietly Know About That Perfect Radius
After years of installing these, I’ve realized that the most important part of the transition isn’t the saw—it’s the prep work. First, never underestimate the power of a clean subfloor; I’ve learned that why your self-leveler is drying faster than you can pour it often comes down to ambient temperature and substrate moisture. Second, the ‘1/4-inch pocket’ is your holy grail. If you don’t leave that gap between your wood edge and the tack strip, you will never get a professional carpet tuck. Lastly, if you are working with an older home, you need to understand how to match new hardwood to a century-old subfloor to ensure the heights align perfectly before the first curve is cut. Don’t rush the process; the wood doesn’t care about your deadline, it only cares about its moisture equilibrium.
The Gear I Carry for Flawless Transitions
I don’t leave my workshop without a specific set of tools for these complex jobs. I highly recommend a digital moisture meter because wood is a living material that will fight your curve if it is not properly acclimated. For the subfloor, I always pay attention to the roller selection that prevents air bubbles in leveler, as a pin-hole-free foundation prevents the transition strip from rocking or squeaking later. Don’t forget your oscillating multi-tool for undercutting door jambs and mastering the secret to a perfect miter cut on baseboard corners when you finally finish the trim around your beautiful new arc.
#IMAGE_PLACEHOLDER_E#
Stop Sketching and Start Bending Your Own Floors
Creating a curved transition is one of those projects that separates the casual DIYer from the true craftsman. It requires patience and a willingness to learn from a few broken pieces of scrap wood along the way. But once you see that plush carpet tucking neatly under a perfectly kerfed oak radius, the satisfaction is unmatched. This is your chance to revamp your home with expert flooring installation tips that actually make a difference in aesthetics and resale value. Trust your template, mind your moisture levels, and don’t be afraid to make those relief cuts. Your floor is the foundation of your home’s character—make it count. What’s the most challenging transition or ‘weird angle’ you’ve ever encountered in your home? Tell me your story in the comments below.