
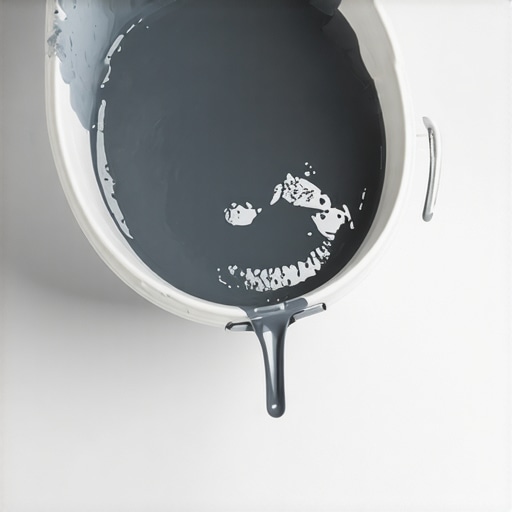
I remember standing in the middle of my half-finished kitchen three years ago, staring at what was supposed to be a ‘self-leveling’ floor. Instead, it looked more like a relief map of the Rocky Mountains. I’d followed the bag instructions to a T—or so I thought—but within ten minutes, the mixture had turned into a sticky, unworkable sludge. I spent the next two days with a diamond grinder, choking on dust and questioning my life choices. That failure taught me that the biggest lie in home renovation is the word ‘self’ in self-leveler. It doesn’t just do the work for you; you have to set it up for success. [IMAGE_PLACEHOLDER]
Stop Fighting Your Floor Leveler
The truth is, most people fail before the powder even hits the bucket. They grab a random stick, a drill that isn’t quite powerful enough, and hope for the best. If you want a surface that looks like a still pond, you have to master the science of the mix. Today, I’m going to share the exact routine I use to get those pro secrets for perfect installations consistent every single time. We aren’t just dumping and praying; we are engineering a flowable substrate that behaves exactly how we want it to.
Is a perfectly flat surface actually possible for a DIYer?
You might be worried that this is some pro-only magic that requires years of apprenticeship. It’s not. My biggest early mistake was using lukewarm water from a garden hose that had been sitting in the sun. I didn’t realize that the reason your leveler is setting up too fast is often just a matter of chemistry and temperature. According to the Tile Council of North America (TCNA), cementitious mixtures are incredibly sensitive; even a slight deviation in water temperature or volume can cause a ‘flash set’ or excessive shrinkage. Have you ever poured a bag only to have it turn into a rock before you could even spread it? Let me know in the comments, because I’ve been there too. Finding the secret to mixing the perfect bucket isn’t just about the water-to-powder ratio, though that’s vital. It’s about the ‘slump’ and the shear of your mixer. If you don’t get the air out, you’ll end up wondering why your self-leveler is bubbling over plywood later on. Let’s get into the nitty-gritty of why your previous attempts might have failed and how to fix them for good.You have to treat the subfloor like a swimming pool. If there is even a pinhole-sized gap around a radiator pipe or a loose knot in the plywood, gravity will find it. I learned this the hard way while working on a small laundry room remodel in an 1890s farmhouse. I thought a few strips of masking tape would hold the mixture back. Ten minutes after pouring, I heard a rhythmic ‘plip-plop’ from the basement. The leveler was raining down on my water heater. That is why you need to learn how to stop your floor leveler from leaking through the subfloor using spray foam or specialized caulk. Once the room is watertight, your focus must shift to the primer. Primer is not just ‘glue’; it is a chemical barrier that prevents the wood or concrete from sucking the moisture out of your mix too quickly. If you skip it, you will see tiny craters and wonder why your subfloor primer is bubbling on old concrete or plywood. 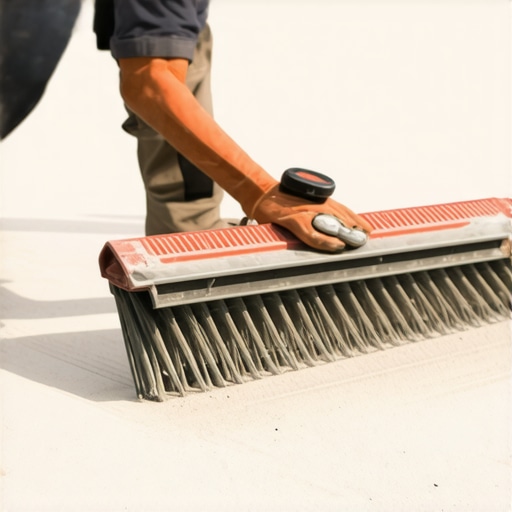
The Two-Bucket System is Non-Negotiable
You cannot mix one bag, pour it, and then start mixing the next in isolation. By the time the second bucket is ready, the first one has already started to ‘skin over,’ creating a nasty ridge that will haunt your step-by-step guide to flooring installation and leveling success. You need two people and at least three buckets: one for the active mix, one for the water measurement, and one as a ‘clean-out’ station. Think of it like a relay race. The mixer should not stop until the floor is finished. If the chain breaks, the floor fails.
Spin the Paddle Until the Lumps Vanish
When you finally drop that powder into the water, you are looking for a consistency like heavy cream—not peanut butter and certainly not water. Use a high-torque drill, but keep the RPMs low to avoid whipping air into the slurry. Excessive air is the enemy of a smooth finish. It leads to pinholes and weak spots. Before you start, always check for high spots with a 10-foot straightedge so you know exactly where to dump the most material. Most people over-work the leveler with a trowel, but the trick is to use a gauge rake to set the depth and a spiked roller to release those pesky air bubbles. This is the secret to mixing the perfect bucket and ensuring it actually moves where it is supposed to. If you find your progress slowing, remember that you are fighting a ticking clock; once the chemical reaction starts, the leveler will not ‘heal’ back into itself if you touch it too late.
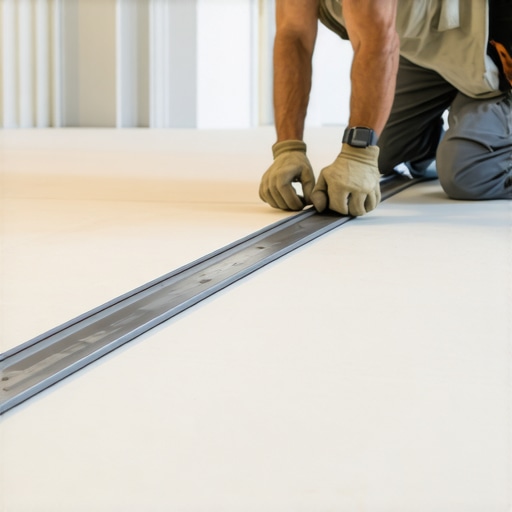
Now, here is where I usually lose the ‘weekend warriors’ who think the bag instructions are the end-all-be-all. Everyone talks about making a floor level, but in my years of doing this, I’ve realized that level is often the wrong goal entirely. If you’re installing large format tile or high-end hardwood, you should be chasing flatness over levelness. A floor can be slightly out of level across a twenty-foot room and still look magnificent, but if it isn’t flat to within an eighth of an inch, your installation is doomed to fail. You’ll end up with lippage that catches your toes or hardwood planks that click and groan every time you walk on them. To avoid these flooring installation mistakes to avoid for lasting results, you must prioritize the plane of the floor over the bubble in your level.
Stop Chasing Level and Start Demanding Flat
The biggest trap I see pros and DIYers alike fall into is ignoring the bounce. I once saw a homeowner pour three inches of leveler onto a bouncy plywood floor to stiffen it up. He ended up with a cracked, crunchy mess within six months because he didn’t realize that self-leveler is not a structural fix. It adds significant dead weight—about ten pounds per square foot at just an inch thick. If you haven’t used the shim trick for fixing a bouncy plywood subfloor or checked your joist spacing, you are just pouring money into a failing system. You need to ensure the foundation can support the new load before you ever mix a bucket.
Can your floor joists actually handle the weight of a perfect pour?
According to the National Wood Flooring Association (NWFA), the standard for floor deflection is L/360 for most ceramic tile and wood installations. This means a ten-foot span shouldn’t flex more than a third of an inch under a standard load. If you pour a heavy cementitious leveler onto a floor that already has too much give, you aren’t fixing the problem; you’re creating a heavy lever that will eventually snap your grout lines or dislodge your adhesive. This is the real reason your floor joists are making your tile crack. Before you even open a bag, you need to revisit the flooring installation fundamentals: leveling for a seamless look and ensure your structure is rigid enough for the material you’ve chosen.
If you’re moving toward mastering hardwood floor refinishing: expert tips for 2025, remember that wood reacts to moisture in ways stone doesn’t. A common nuance people miss is the hydration period. The leveler might feel dry to the touch within hours, but it is still off-gassing moisture for days. This leads to why your hardwood floor is crowning and how to dry it out later. You must how to use a moisture meter before installing wood floors to ensure your new substrate won’t destroy your expensive planks from the bottom up. Even if you are trying to how to install luxury vinyl over a concrete slab with high moisture, the leveler itself needs to be moisture-vapor-tolerant. Have you ever fallen into the trap of ignoring subfloor bounce and regretted it later? Let me know in the comments.
After years of wrestling with subpar gear, I’ve realized that the tool you use to prep the slab is just as important as the leveler itself. Most DIYers grab a cheap putty knife, but I swear by a long-handled floor scraper with a replaceable carbon steel blade. It is truly the best tool for scraping glue off a concrete slab because it allows you to use your body weight to shear off old adhesive without gouging the concrete. If you leave even a speck of old mastic or drywall mud, you will inevitably see why your floor primer is peeling off like a sunburn within weeks of the project finishing. For tile prep, I never skip the trowel notch secret for getting full thinset coverage because it ensures that once the leveler is down, your bond remains unbreakable through every season.
According to the ASTM F710 standard, concrete must be free of all bond-breaking contaminants and reach a specific pH level before you even think about pouring a topping. This isn’t just a suggestion; it’s the industry baseline for ensuring your flooring warranty stays intact. I have seen countless homeowners lose their shirts because they ignored the chemistry of the slab. When you move on to the actual installation, remember that tile installation pointers that save time and money always start with a clean, stable base. If you’re working with wood, you must learn hardwood floor care secrets to longevity and shine to protect that expensive investment from the daily grind.
How can I keep my new floors looking fresh for a decade?
The secret isn’t just in the cleaning; it’s in what you avoid. I see so many people ruin $10,000 worth of wood or luxury vinyl by using a steam mop. For the love of your subfloor, please understand why you should never use a steam mop on click-lock floors. The forced heat and moisture are a lethal combination for the core material, leading to swelling and delamination. Even if you are dealing with moisture-resistant materials, the truth about using steam mops on luxury vinyl planks is that they often void the manufacturer’s warranty. Stick to pH-neutral cleaners and a damp microfiber mop to maintain that flawless finish without compromising the bond of your self-leveler underneath.
Smarter Substrates and the Future of Leveling
Looking ahead, I am seeing a massive shift toward smarter, thinner substrates. We are moving away from massive, heavy three-inch pours and toward high-performance, fiber-reinforced compounds that offer insane tensile strength at minimal thickness. This tech is a game changer for aging-in-place renovations. These new mixtures allow for the low profile transition trick for wheelchair access, making homes more accessible without the clunky ‘speed bump’ transitions that used to be a requirement. When you combine these advanced levelers with innovative tile designs that elevate hardwood flooring style, you can create seamless, flush transitions between different materials that look like they were carved from a single piece of stone.
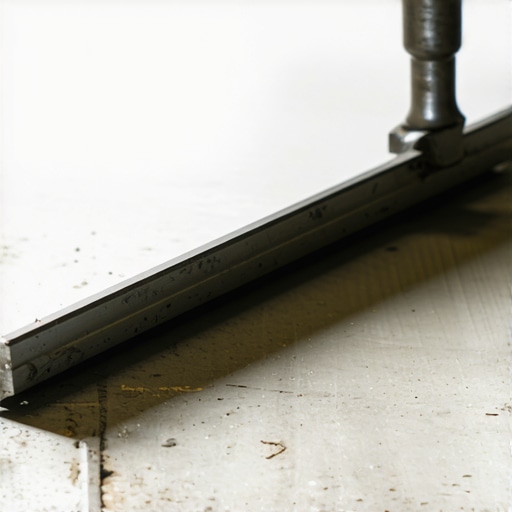
If you really want to elevate your craftsmanship, I challenge you to try this: Before you pour your next bucket, I want you to go out and get a professional-grade 10-foot aluminum straightedge. Seriously, go learn how to check for high spots with a 10-foot straightedge right now. You will be shocked to see just how much work your subfloor actually needs before you waste a single drop of expensive material. Mastering the flatness of the plane is what separates the weekend projects from the magazine-worthy masterpieces.
The Hard Truths Learned Over Five Gallon Buckets
Looking back at my first few disasters, the lightbulb moment wasn’t about the brand of leveler I bought, but how I respected the material. One thing nobody tells you is that a timer is your most valuable tool; if you aren’t pouring within six minutes of mixing, you’ve already lost the flow. I also realized that why your self-leveler didn’t flow into the low spots is often because you didn’t prime enough—the thirsty subfloor literally anchors the mix in place before it can move. Finally, always trust your straightedge over your eyes. If it says there’s a dip, there’s a dip, no matter how flat it looks under the shop lights.
The Kit I Never Start a Floor Without
If you want results that mirror the pros, you need to move beyond the basic hardware store bucket. I personally trust a 10-foot aluminum straightedge more than my own level; it’s the only way to truly how to check for high spots with a 10-foot straightedge across a large room. For mixing, I use a dedicated high-torque mixer—standard drills often burn out or spin too fast, whipping air into the slurry. I also highly recommend keeping the TCNA handbook nearby; it’s the bible for the industry and ensures your work meets the highest technical standards for installing tiles like a pro step-by-step strategies for 2025. Following a step-by-step guide to flooring installation and leveling success is much easier when you have the right mechanical advantages.
Stop Staring at the Bumps and Start Pouring
There is a unique kind of satisfaction that comes from walking across a floor that is perfectly, undeniably flat. It changes the entire feel of a home, turning a simple renovation into a high-end masterpiece. Don’t let the fear of a flash set or a few bubbles keep you from attempting this. With the right prep and a steady hand, your next flooring installation will be the one that everyone asks about. You have the tools and the knowledge now—it’s time to transform that subfloor into something spectacular.
Have you ever had a self-leveler pour go south because of the temperature or a leaky subfloor? Let me know your biggest floor fail in the comments below!