
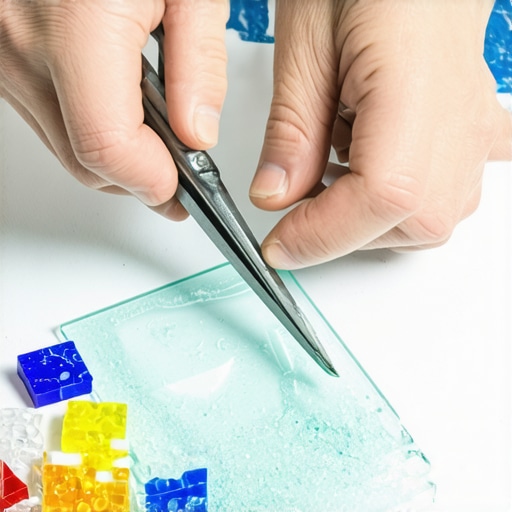
I’ll never forget the sound of that first $20 glass tile sheet splintering into a dozen useless shards. I was halfway through a backsplash project, feeling confident after successfully choosing the best tile for your hardwood floor upgrade, when reality hit. Glass isn’t just ‘pretty ceramic.’ It’s a temperamental material that demands respect. If you’ve ever stared at a pile of jagged waste and wondered if you’re just not cut out for DIY, I’ve been there. I remember looking at my bleeding thumb and my ruined materials, thinking there had to be a better way than just ‘hoping for the best.’ Today, we’re ending the frustrating ‘crunch’ and moving toward the satisfying ‘snap.’ I’m going to share the exact techniques and the hard-learned lessons that turned my frustrated sighs into flawless finishes. We are going to tackle everything from tool selection to the physics of why glass behaves the way it does.
Stop Shattering Your Budget Along With Your Tile
When I first started, I made the classic rookie mistake: I treated glass like it was a standard porcelain subway tile. I grabbed my old score-and-snap cutter and hoped for the best. Big mistake. Glass has internal stresses that react differently to pressure than traditional clay-based products. If you don’t use the right approach, you aren’t just cutting; you’re gambling with your wallet. This is why the dry fit rule that prevents costly cutting mistakes is even more critical when working with translucent materials. One wrong move and the crack propagates right through the center of your focal point, leaving you with an eyesore that you’ll notice every single morning when you make your coffee. Have you ever had a project where one single corner seemed determined to ruin your entire weekend and your budget? Let me tell you, once you learn the ‘score and light pressure’ method, you’ll never go back to brute force again.
Does the Right Equipment Actually Matter?
You might be tempted to skip the specialized nippers or the diamond glass blades, thinking your current setup is ‘good enough.’ I’m here to tell you it probably isn’t. Using the wrong tool is the fastest way to ensure your tile installation pointers that save time and money go completely out the window. Glass is an amorphous solid, meaning it doesn’t have a crystalline structure like stone, which makes its fracture patterns unpredictable if not scored correctly (Source: Corning Museum of Glass). I once tried to use a standard wet saw blade on a mosaic sheet, and the vibration alone caused the glass to delaminate from its mesh backing before the cut was even halfway through. It was an absolute mess. By the time I realized I needed a specialized continuous rim diamond blade designed specifically for glass, I had already wasted three sheets of premium mosaic. We’re going to walk through how to avoid that specific nightmare so your step-by-step guide to flooring installation and leveling success remains on track and stress-free. Stick with me, and we’ll turn those shards into a masterpiece.
Get Your Surface Dead Flat First
Before you even touch a cutter, you have to look at what’s underneath. Glass tile is incredibly unforgiving; unlike ceramic, it doesn’t mask subfloor imperfections. If there is a slight hump or a dip, the glass will eventually crack under the pressure of foot traffic or even just the drying process of the thinset. I remember a job in a tiny powder room—the kind where you can touch both walls at once—where I was trying to implement the tiling pattern that makes small livonia bathrooms feel twice as big using glass mosaics. I rushed the leveling, thinking I could make it up with extra thinset. Within an hour, three tiles had hair-line fractures because the subfloor had a 1/8-inch dip. I had to rip it all up. Now, I never skip a thorough check to how to measure subfloor flatness before you start installing. If things aren’t perfect, you need to know the secret to mixing the perfect bucket of self-leveler every time to create a glass-smooth base. 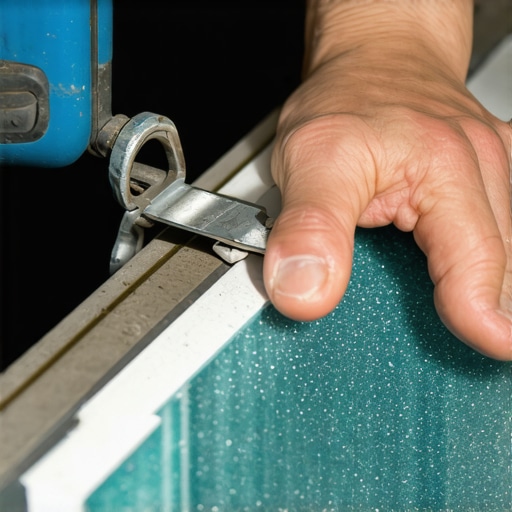
Score Like a Surgeon Not a Lumberjack
When using a manual snap cutter, the mistake most people make is applying too much downward force. You aren’t trying to cut through the glass; you are just trying to ‘tell’ the glass where to break. Use a single, continuous motion. If you go over the line twice, you create jagged edges. I call this the ‘feather touch.’ Think of it like a paper cut—shallow but precise. This is why the dry fit rule that prevents costly cutting mistakes is your best friend. Mark your lines, score once, and apply gentle, even pressure on the breaking bar. If it doesn’t snap easily, your score wasn’t deep enough or your alignment is off. Never force it, or you’ll end up with a mosaic of sharp regrets.
Let the Blade Do the Heavy Lifting
If you’re using a wet saw, speed is your enemy. Glass generates immense friction heat. I once tried to ‘rip’ through a 4×12 glass subway tile like I was cutting a 2×4 piece of pine. The trailing edge of the tile blew out into a thousand pieces. Now, I guide the tile slowly—slower than you think is necessary. To prevent the glass from vibrating and chipping, you can use the ‘masking tape trick.’ Apply a strip of blue painter’s tape over your cut line. It holds the surface tension and keeps those edges crisp. Also, check your thinset coverage. Using the trowel notch secret for getting full thinset coverage ensures there are no air pockets behind the tile that could lead to cracking later.
Hide the Adhesive with This Back-Buttering Technique
Because glass is often translucent, the ridges from your trowel will show through like an ugly skeleton. This ruins the high-end look you’re going for. You must use the flat side of your trowel to ‘butter’ the back of every single tile. When you learn how to back butter large format tiles the right way, you create a solid block of color behind the glass. This eliminates those unsightly trowel lines and provides a 100% bond. If you get thinset on the face of the tile, don’t panic, but don’t let it dry either. Use the trick for removing dry thinset from the face of a tile to keep your workspace clean and your finish professional.Many pros will tell you to ‘level’ the floor, but that’s a dangerous oversimplification. In my years of fixing failed installs, I’ve learned that level is about gravity, but flatness is about the plane. You can tile a floor that has a slight pitch—like a shower or a ramp—as long as it is perfectly flat. The real nightmare begins when you have a ‘wavy’ floor. This is where most flooring installation mistakes to avoid for lasting results originate. If you’re working with large format tiles or those temperamental glass mosaics we discussed, even a 1/16-inch dip can create ‘lippage,’ which is that annoying edge that catches your toe. I always tell my crew to how to check for high spots with a 10-foot straightedge before a single drop of thinset touches the ground. If you skip this, you’re just building your house on sand. 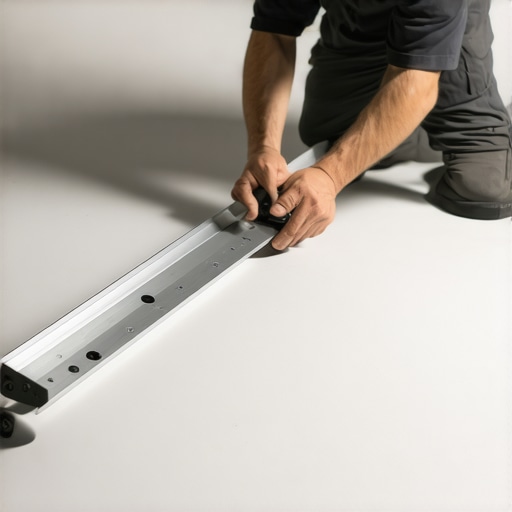
Why does my tile keep cracking even though the floor looks flat?
The answer often lies beneath the subfloor in a concept called ‘deflection.’ This is the hidden nuance that separates the weekend warriors from the experts. Even if your surface is as flat as a mirror, if your floor joists are too far apart or too thin, the floor will flex when you walk on it. According to the Tile Council of North America (TCNA) Handbook, the standard for ceramic tile is L/360, which means the floor shouldn’t bend more than the length of the span divided by 360. If you’re installing natural stone or glass, that requirement becomes even stricter at L/720. If you don’t address the bounce, you are essentially asking your grout and tile to act like a rubber band, which they simply cannot do. This is the real reason your floor joists are making your tile crack. In many older homes, I’ve had to implement the plywood sandwich trick for fixing bouncy floor joists just to give the tile a fighting chance.
Don’t Trust Your Eyes When it Comes to Moisture
When transitioning from tile to hardwood, people often make the mistake of assuming a subfloor is ready just because it looks dry. I once saw a premium white oak floor ruined because the installer didn’t realize the self-leveler was still off-gassing moisture from deep within. This leads to why your self-leveler is bubbling over plywood or, worse, cupping your expensive planks from the bottom up. You absolutely must how to use a moisture meter before installing wood floors to ensure the subfloor and the hardwood are within 2-4% of each other. Another ‘trap’ is the expansion gap. Many think a tiny gap is enough, but the hidden reason your floating floor is pinching is often a lack of space near heavy cabinetry or door frames. In regions like Texas, the one step people skip during waterproof flooring installation in mckinney is accounting for the extreme humidity swings that can cause even ‘waterproof’ materials to expand. Have you ever fallen into this trap where you thought the floor was ready, only to have a tile pop or a board squeak six months later? Let me know in the comments.I’ve spent a small fortune on gadgets that ended up in the junk bin, but a few remain non-negotiable in my kit. If you’re serious about a glass-smooth finish, you have to stop relying on a hand trowel to push leveler around. I learned the hard way that self-leveler isn’t truly ‘self-leveling’ without a little help. Now, I always show my crew how to use a spiked roller for the perfect leveling pour. It breaks the surface tension and releases those tiny air bubbles that otherwise turn into craters. While you’re at it, don’t underestimate the dust. Fine silica and wood dust are the enemies of a clean finish. I finally invested in the vacuum attachment that actually picks up fine sawdust, and it changed the way I prep for poly coats. No more ‘nibs’ or grit trapped in the seal.
How do I keep these floors looking brand new for a decade?
The biggest threat to your hard work isn’t foot traffic; it’s the cleaning products. I’ve seen $10,000 floors ruined by a $50 steam mop. You have to realize that moisture forced into the seams of a click-lock floor will cause the core to swell. This is why you should never use a steam mop on click-lock floors. Instead, stick to hardwood floor care secrets to longevity and shine that rely on pH-neutral cleaners and a barely damp microfiber pad. If you’re dealing with tile, remember that grout is a sponge. If you use the wrong mop water, you’re just pushing dirt into the pores, which is the mistake that makes new grout look 20 years old in under a month.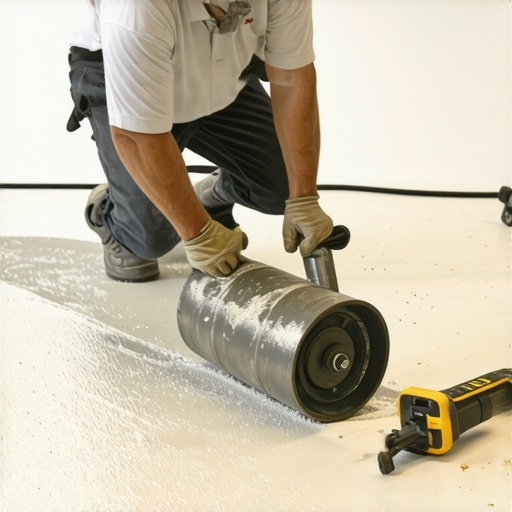 Looking ahead, I think we’re moving toward ‘smart’ subfloor systems. We’re already seeing sensors that can be embedded under the underlayment to alert homeowners of a leak before the wood begins to cup. Until then, we rely on the technical standards. According to the National Wood Flooring Association (NWFA), professional installers must ensure the moisture content of the subfloor and the wood flooring are within a tight 2-4% tolerance of each other for plank installs. I never even open a box of planks without first knowing how to use a moisture meter before installing wood floors. It’s the only way to guarantee your work won’t move when the seasons change. Try this tomorrow: Before you start your next tile or wood project, take ten minutes to walk the floor with a 10-foot straightedge and mark every dip with a pencil. It’s a simple, low-tech habit that will save you more money than any fancy laser level ever could.
What the Pros Never Mention About Those Glass Shards
Over the years, I’ve realized that the biggest mistakes don’t happen while the saw is running; they happen in the moments of impatience. I once thought I could ‘feel’ if a subfloor was dry, but moisture is a silent saboteur that doesn’t care about your intuition. This is why you must how to use a moisture meter before installing wood floors every single time. Another lightbulb moment for me was realizing that ‘level’ and ‘flat’ are two different languages. You can have a level floor that is wavy as a potato chip, and that waviness is what kills your glass tile. I always tell my team to how to check for high spots with a 10-foot straightedge to ensure the surface is truly ready for a premium bond. Finally, remember that glass is an ‘honest’ material—if you rush the prep, the finish will expose every single flaw.
Tools That Saved My Sanity on the Job
If you want to avoid the headaches I faced in my early days, there are a few items that are worth every penny of your budget. First, stop fighting the dust; using the vacuum attachment that actually picks up fine sawdust is the only way to ensure your workspace stays clean enough for high-end bonding and clear finishes. Second, when you are pouring your base, knowing how to use a spiked roller for the perfect leveling pour is a technique that eliminates the tiny craters that ruin glass tile aesthetics from the bottom up. I also highly recommend the TCNA Handbook for anyone doing professional-grade work; it is the industry bible for understanding deflection and joist spacing. I trust these tools and resources because they remove the expensive guesswork from an already complex process.
Go From Fragments to a Flawless Floor
Tackling a project that involves both glass tile and hardwood might seem like a recipe for stress, but with the right preparation, it becomes a masterclass in home transformation. Don’t be discouraged by a few broken shards at the start. Every pro you see today once stood over a pile of wasted material wondering where they went wrong. The difference is simply the willingness to slow down, measure twice, and apply the right flooring installation techniques. You have the tools and the hard-earned knowledge now—it’s time to turn that vision into a durable, beautiful reality. Have you ever heard that dreaded ‘crunch’ while cutting glass tile, or did you nail the snap on your very first try? Let me know in the comments below!