
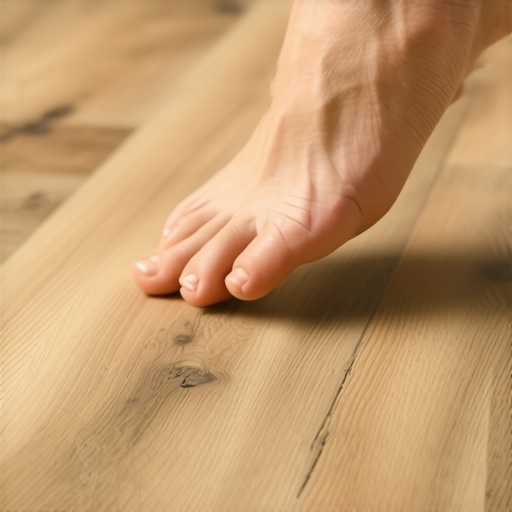
I stood there with a cold cup of coffee, looking at what I thought was a masterpiece of luxury vinyl planking. Then I took three steps toward the window. Squish. Bounce. Click. My heart sank. Every time my heel hit a certain spot, the floor didn’t just support me; it dipped and rebounded like I was walking on a stack of sponges. I’d spent fourteen hours on my knees, yet here I was, feeling like I’d installed a giant air mattress instead of a high-end floor. If you’ve ever felt that weird ‘give’ under your feet, you know exactly how frustrating it is.
That Annoying Bounce Is Not Just in Your Head
It is technically called vertical deflection, but around here, we just call it the bounce. Most homeowners assume they bought a bad batch of flooring, but the truth is usually buried an inch deeper. When your subfloor isn’t flat, your LVP essentially floats over a void. If you’ve noticed that your floating floors sound hollow when you walk on them, you’re already halfway to discovering why they feel like a trampoline. The bounce is a physical manifestation of a gap that should not be there, and ignoring it is the fastest way to ruin your investment.
Is LVP actually worth the DIY headache?
People love to say LVP is as easy as building blocks, but they often leave out the part about the foundation. I learned this the hard way during my first renovation when I ignored a ‘minor’ dip near a closet door. I thought the underlayment would cushion the difference. I was wrong. That tiny oversight is one of those flooring installation mistakes to avoid for lasting results that ends up costing you time and sanity later. If the floor isn’t solid, the luxury part of the name goes right out the window.
Why a Close Enough Subfloor Is Your Biggest Enemy
We need to get honest about flatness. Not ‘level’—you can have a slanted floor that is perfectly flat—but the absence of hills and valleys. According to the National Wood Flooring Association (NWFA), most flooring manufacturers require a subfloor to be flat within 3/16 of an inch over a 10-foot span. If you have a valley deeper than two stacked nickels, your floor will move. When a rigid plank spans a low spot, it acts like a bridge. Eventually, weight makes that bridge sag. If you didn’t spend time on the ultimate guide to floor leveling for a perfect finish, those planks are doing gymnastics every time you walk to the kitchen. Have you ever finished an entire room only to find one specific spot that makes you feel like you’re on a diving board?
The Hidden Risk of Ignoring the Movement
Aside from the annoying feeling, that bounce is a slow-motion disaster for your locking systems. Every dip puts stress on the plastic joints. I’ve seen countless cases where the reason your vinyl plank is separating at the thresholds was simply because the floor was bouncing too much, causing the clips to fatigue and snap. We are going to fix this, and it starts with understanding how to bridge those gaps before the first plank even hits the ground. It is about more than aesthetics; it is about keeping your floor in one piece.
Stop Guessing and Start Mapping the Valleys
You can’t fix what you haven’t measured. Grab a 10-foot straight edge—or a very straight 2×4 if you’re in a pinch—and sweep it across the room like a compass. You’re looking for ‘daylight’ under the bar. If you can slide a stack of three nickels under that straight edge, you have a dip that will cause a bounce. I remember a kitchen remodel where I thought the subfloor looked ‘fine’ just by eyeballing it. I skipped the mapping and went straight to planks. Two days later, I was pulling up hundreds of dollars of vinyl because the area near the fridge felt like a diving board. Now, I mark every low spot with a giant ‘X’ in carpenter’s pencil and note the depth. This is the core of mastering floor leveling pro secrets for perfect installations; it’s about knowing the terrain before you build on it. 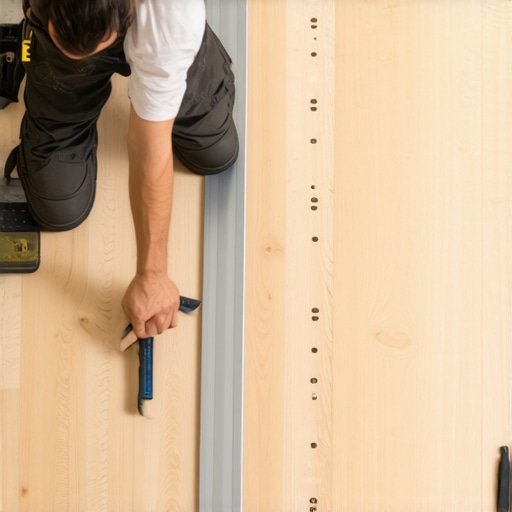
Silence the Squeaks Before You Level
Before you even think about pouring a compound, walk the floor. If it squeaks, it moves. If it moves, your leveler will eventually crack. Use the ‘heel-drop’ test: drop your weight onto your heels in suspicious spots. If you hear a rub or a chirp, you need to drive a screw through the subfloor into the joist. Learning how to stop your subfloor from squeaking with one screw is a five-minute fix that prevents a lifetime of annoying floor noise.
The Art of the Perfect Pour
When the dips are deeper than 1/8th of an inch, you need a self-leveling compound. This stuff is magic, but it’s also temperamental. If you mix it too fast, you’ll introduce air bubbles that turn your floor into Swiss cheese. I’ve seen DIYers use a high-speed drill and wonder why their floor looks like a sea of craters. You have to respect the mixing paddle speed that ruins your leveling compound to keep the mixture smooth and structural.
Never Skip the Primer
The biggest mistake I ever made was pouring leveler directly onto old plywood. The dry wood sucked the moisture out of the compound so fast that it didn’t have time to ‘level’—it just sat there in a clump. Worse, it didn’t bond. Within a month, the leveler was crunching under the LVP. You must use a dedicated floor primer to seal the wood. If you don’t, you’ll find out the hard way why your floor primer is peeling off like a sunburn. It creates a ‘bridge’ between the porous wood and the dense stone-like leveler.
Working with Feather Finish for Shallow Spots
Not every dip requires a full-room pour. For those shallow 1/16th inch valleys, a feather-finish patch is your best friend. Think of it like joint compound for your floor. I use a flat trowel to ‘skim’ the low spots, pulling the material tight so it blends perfectly into the high spots. This is one of those precise floor leveling techniques to achieve flawless surfaces that separates a pro job from a weekend hack. You want to avoid over-working the material; once it starts to set, leave it alone.
Manage the Set Time or Lose the Floor
Self-leveler waits for no one. In a humid room, you might have twenty minutes. In a dry, breezy room, you might have ten. I once tried to level a 200-square-foot room alone and ended up with a literal ‘cliff’ in the middle because the first bucket dried before I could pour the second. If you’re working a large area, have a partner mixing while you pour and spread. This avoids the floor leveling challenges and common mistakes that result in uneven ridges. Using a spiked roller can also help merge the pours and get a surface that is truly glass-flat, which is the secret to getting a flat floor for large format tiles or rigid LVP alike.Most people think they can hide a bad subfloor with a premium, thick underlayment. In my experience, that’s like trying to fix a pothole by throwing a thick rug over it. While a high-quality pad is great for sound, using it to compensate for a dip actually increases the ‘vertical deflection’ that snaps your locking joints. LVP is rigid; if the pad is too soft, the plank has nowhere to go but down when you step on it. This is exactly why your lvp floor is showing telegraphing from the subfloor even when you thought you buried the problem. Thick pads under rigid cores create a ‘trampoline effect’ that the manufacturers never intended. #IMAGE_PLACE_HOLDER_C#
Can I choose a floor leveler that won’t crack over radiant heat?
If you’re dealing with heated floors, you can’t just grab the cheapest bag at the big-box store. Radiant systems cause the subfloor to expand and contract more aggressively than a standard slab. You need a polymer-modified compound with high flexural strength to handle that movement. According to industry standards such as ASTM F2873, the compressive strength of your underlayment must be matched to the expected traffic and the substrate’s thermal movement. If you pick the wrong product, you’ll quickly see why your self-leveler developed spiderweb cracks overnight as soon as the thermostat kicks in. You have to learn how to choose a floor leveler that wont crack over radiant heat to avoid a total teardown of your new installation.
Stop Adding Extra Water to Make it Flow Better
Here is the ‘oops’ factor that ruins more DIY projects than anything else: the temptation to add just a splash more water. We’ve all been there. The mixture feels a bit thick, and you want it to reach that far corner without extra trowel work. Resist the urge. Over-watering destroys the chemical bond and causes the heavy aggregates to sink while the water rises to the top. This creates a weak, dusty surface that will eventually crumble under the weight of your furniture. This is one of those flooring installation mistakes to avoid for lasting results because once that bond is gone, your floor is basically floating on a layer of sand. If you’ve ever wondered why your self-leveling compounds bubbled over your subfloor, it’s often because that excess moisture stayed trapped or the air couldn’t escape the weakened matrix. Stick to the ultimate guide to floor leveling for a perfect finish and follow the manufacturer’s mixing ratio to the exact gram. It’s better to have a slightly thicker pour that you have to work with a rake than a watery pour that fails in six months. Have you ever fallen into this trap? Let me know in the comments.Once you’ve mastered the mix, the battle moves to the application. I never step onto a wet pour without my spiked shoes and a long-handled spiked roller. If you’re skipping the roller, you’re practically inviting tiny pinholes to ruin your finish. I learned this the hard way when a bathroom floor I leveled looked like it had been hit by a miniature meteor shower because of trapped gas escaping the subfloor. Choosing the roller selection that prevents air bubbles in leveler is what gives you that glass-like finish that makes LVP or tile installation a dream. When I’m dealing with larger areas, I stop guessing with a bubble level and break out the rotary laser. It’s the only way to catch how to level a floor that has a 2 inch drop across the room without losing your mind. In fact, the Tile Council of North America (TCNA) Handbook, specifically section ANSI A108.02, is very clear about this: for large format tiles, you cannot exceed a 1/8-inch variation over 10 feet. If you are off by more than that, you aren’t just risking a bounce; you’re risking lippage that will trip your guests and chip your tiles. This level of precision is exactly why I use precise floor leveling techniques to achieve flawless surfaces every single time. 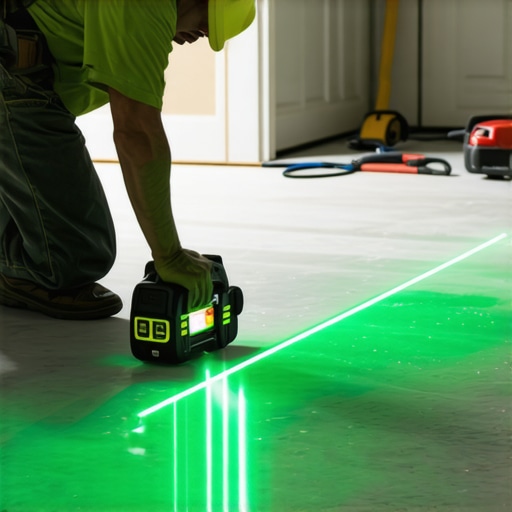
How Do I Keep My Floors From Shifting Over Time?
The work doesn’t stop once the planks are clicked in. Your subfloor and your finished floor are living, breathing entities that react to the air in your home. I’ve seen beautiful installs ruined because the homeowner thought they could skip a simple humidity check. Before you even lay your first piece of wood, how to use a moisture meter before you lay wood floors is the single most important skill you can have. If your subfloor is holding 12% moisture and your hardwood is at 6%, that floor is going to move, buckle, or gap as it seeks equilibrium. For the long haul, you need to protect that surface from the daily grind. I always tell my clients to ditch the aggressive chemicals and the viral cleaning ‘hacks.’ You’d be surprised at the hardwood floor care secrets to longevity and shine that simply involve microfibers and the right pH-neutral cleaners. And for heaven’s sake, stop using high-heat cleaning tools on your synthetic floors. I’ve written extensively about the truth about using steam mops on luxury vinyl planks—it’s the fastest way to delaminate your expensive new flooring and void your warranty. Looking ahead, I predict we’ll soon see Lidar-based apps on our smartphones that can map subfloor flatness to the millimeter in real-time, making my old 10-foot straight edge look like a relic from the Stone Age. But until then, precision and the right tools are your only defense. Try using a 360-degree laser level on your next project; once you see the ‘true’ level of your room, you’ll never go back to eyeballing it.
Hard Realities That Changed How I Prep Subfloors
Over the years, I have realized that the prep phase isn’t just a prerequisite; it is the actual job. Here are the lightbulb moments that saved my sanity: The shim is a lie. Trying to wedge shims or extra underlayment under LVP to fix a dip creates pressure points that eventually snap the locking mechanism. Substrate quality matters more than the finish. Using the wrong material under your leveler is a recipe for disaster; always ensure you have the plywood grade you need for a stable tile underlayment to prevent cracking. Moisture is a non-negotiable metric. I never pour a drop of compound or lay a single plank without knowing how to use a moisture meter before you lay wood floors. If the subfloor is holding moisture, the leveler won’t bond and your wood will eventually buckle. Finally, remember that 5 reasons your self-leveler is sticking to the bucket instead of the floor usually boil down to one thing: mixing speed and water temperature.
The Tool Kit That Delivers a Glass-Flat Finish
I don’t believe in eyeballing a floor anymore. To get results that rival a professional crew, I rely on a few specific resources and tools that take the guesswork out of the equation. First is a high-quality 360-degree rotary laser; it turns a guessing game into a high-definition blueprint of your floor’s topography. Second, a spiked roller is mandatory for every pour to avoid those tiny pinholes that happen when air gets trapped. Third, always have a bag of high-flex, polymer-modified compound ready, especially if you want to avoid why your self-leveler developed spiderweb cracks overnight. Mastering flooring installation fundamentals and leveling for a seamless look means investing in the right gear before the first bucket is even opened.
Take the Leap and Start Your Leveling Project
It is easy to feel overwhelmed by the technicalities of subfloor prep, but remember that every master installer started with a single, slightly uneven room. By taking the time to map your valleys and master the mix, you are ensuring your home stays beautiful and quiet for decades. If you follow a step-by-step guide to flooring installation and leveling success and respect the dry times, you will achieve a finish that looks like it cost thousands more than it did. Your future self—and your feet—will thank you for the extra effort today. Have you ever encountered a mystery dip that only appeared after you already clicked the last plank into place? Let me know in the comments below!