
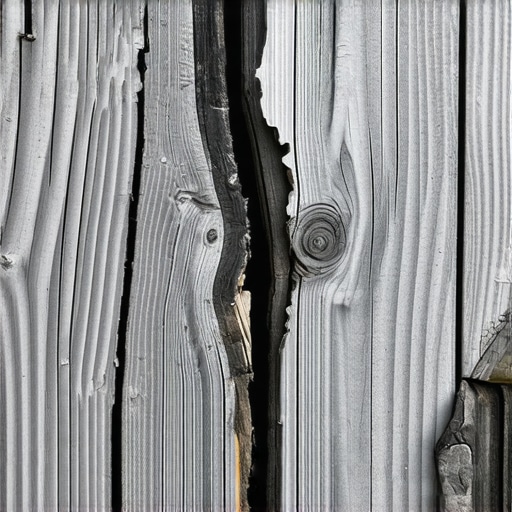
I’ll never forget the sound of my father-in-law’s heavy boots catching on the transition strip between my brand-new tile and the hallway oak. It wasn’t just embarrassing; it was a visceral reminder that I had failed at the most critical junction of the house. I had spent weeks obsessing over the grout lines, but I treated the threshold like an afterthought. Two weeks later, it was loose. A month later, it snapped. We’ve all been there—staring at that one piece of trim that refuses to stay put, clicking every time a foot hits it. Today, I’m going to show you why this happens and how you can stop the cycle of broken transitions for good by focusing on the foundation rather than just the finish.
Stop Tripping Over Your Own Mistakes
When I first started out, I made the classic rookie error: I assumed a bit of construction adhesive and a couple of finish nails could defy the laws of physics. I was wrong. The reason why your threshold is making a clicking sound usually boils down to a lack of support underneath. If there is even a millimeter of flex in your subfloor, that threshold becomes a seesaw. I’ve seen beautiful installs ruined because the self-leveler didn’t bond to the wood subfloor properly near the doorway, leaving a hollow pocket that eventually crushes the transition.
Will a specialized transition actually solve the problem?
You might be skeptical. You’ve probably seen those expensive T-molding kits and wondered if they are just a marketing gimmick. I used to think so, too, until I realized that standard flat-bars can’t handle the natural movement of a home. According to the National Wood Flooring Association (NWFA), wood can expand significantly with humidity changes—often up to 1/16th of an inch per foot of width—which puts immense pressure on your doorway joints. If you don’t account for this, you’ll find your vinyl plank is separating at the thresholds before the first season is over.
The Invisible Stress on Your Doorways
Think of your doorway as a bridge. It’s the point where two different structural systems meet, often with different heights and different rates of expansion. When you walk through a door, your entire body weight is concentrated on a strip of wood or metal barely two inches wide. It is the highest-traffic square inch in your entire home. If you’ve ever had a transition strip pull clean out of the concrete, you know exactly what I’m talking about. Have you ever noticed your thresholds loosening up specifically during the humid summer months? Let me know in the comments, because that’s the first clue to a much bigger structural issue we need to tackle. It’s time we stop blaming the ‘cheap’ materials and start looking at the mechanics of the install.
Eliminate the Bounce Before You Build
The first rule of transitions is that they aren’t meant to be structural. If your subfloor moves, your transition fails. Period. I remember a kitchen-to-dining-room job in 2018 where I thought I could ignore a slight ‘give’ in the subfloor. I dumped a bag of self-leveler without sealing the gaps around the HVAC duct or the perimeter walls. Within ten minutes, I heard a wet slap-slap-slap coming from the basement. I’d effectively rained wet concrete onto the homeowner’s furnace and laundry. The lesson? Spend double the time on prep. You need to know how to stop your subfloor from squeaking with one screw—or a hundred—ensuring every sheet of plywood is locked tight to the joists. If that plywood is rubbing against a nail, it will eventually wear down your transition adhesive from the inside out.
The Plywood Sandwich Fix for Weak Spots
If you feel a trampoline effect when you step near the door, you might need the plywood sandwich trick for fixing bouncy floor joists. This involves sistering new material to the side of the existing joists or adding solid blocking to prevent lateral movement. Think of it like putting a cast on a broken leg; you’re immobilizing the area so the ‘skin’ (your tile or wood) doesn’t crack under the pressure of foot traffic. Without this absolute rigidity, even the most expensive T-molding will eventually shear its screws or pop its adhesive bond because of the constant micro-vibrations.
Find the Low Spots Without Losing Your Mind
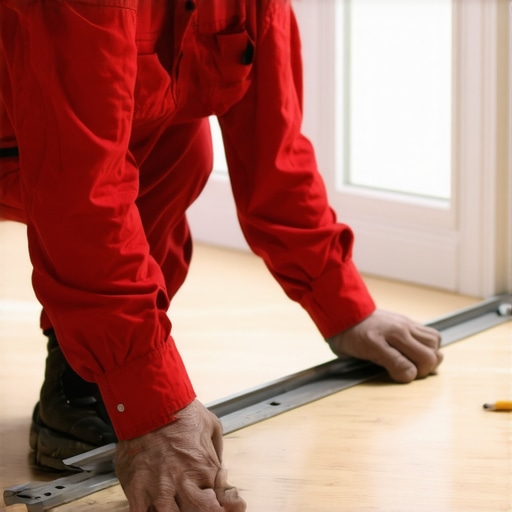
You cannot eyeball a doorway. The human eye is easily tricked by shadows and color changes between different materials. You need to know how to check for high spots with a 10-foot straightedge to find the ‘valleys’ where your threshold will eventually sag. Lay the straightedge across the opening and rotate it 360 degrees. If you can slide a nickel under it at any point, that’s a fail. That gap is exactly where the clicking sound is born. You must fill that void until the subfloor is as flat as a billiard table before the first piece of flooring goes down. If you miss a high spot, your flooring will ‘bridge’ over it, creating a hollow sound that echoes every time you walk by.
Mixing Leveler for a Glass-Like Finish
When you finally reach for the bag, remember that consistency is king. Mastering the secret to mixing the perfect bucket of self-leveler every time is about precision, not intuition. Use a dedicated measuring bucket for water—never ‘guesstimate’ based on how it looks. If the mix is too thick, it won’t flow into the low spots; if it is too thin, it loses its structural integrity and will crumble. Once it’s cured, you’ll have a rock-solid platform. This is the stage where most DIYers rush, but it’s the difference between a floor that lasts decades and one that needs a repair in six months. Also, when you finally set your tiles at that junction, don’t forget the trowel notch secret for getting full thinset coverage to ensure there are no air pockets right where the why you need a transition strip between different flooring heights becomes most critical. Full coverage means no hollow spots, and no hollow spots means no cracking.
The Self-Leveler Lie That Ruins Your Weekend
Most DIYers treat self-leveling underlayment like a ‘magic liquid’ that fixes every sin of a crooked house. The marketing suggests you just pour it and watch it find the horizon. In reality, how to achieve flawless floor leveler before tile laying is more about chemistry than gravity. The biggest contrarian truth I’ve learned? Adding more water doesn’t make it flatter; it makes it fail. People often over-water the mix to make it flow better, but this actually causes the polymers to separate. This is exactly why your self-leveler developed spiderweb cracks overnight. If you see a chalky residue on the surface the next morning, you’ve essentially created a layer of dust that no thinset will ever grab onto. Have you ever poured a batch only to watch it crack before you even bought your tile? Let me know in the comments, because you aren’t alone in that frustration.
Does your subfloor meet the L/360 deflection standard?
Even if your floor is as flat as a pancake, it might still be a disaster waiting to happen if it’s too ‘bouncy.’ The Tile Council of North America (TCNA) specifies a deflection limit of L/360 for ceramic tile and L/720 for natural stone. This means the floor shouldn’t bend more than the span divided by 360 when under a heavy load. If you ignore this, you’ll find the real reason your floor joists are making your tile crack isn’t the tile at all—it’s the structural trampoline underneath. You can use the ultimate guide to floor leveling for a perfect finish to get the surface right, but you must address the framing first. 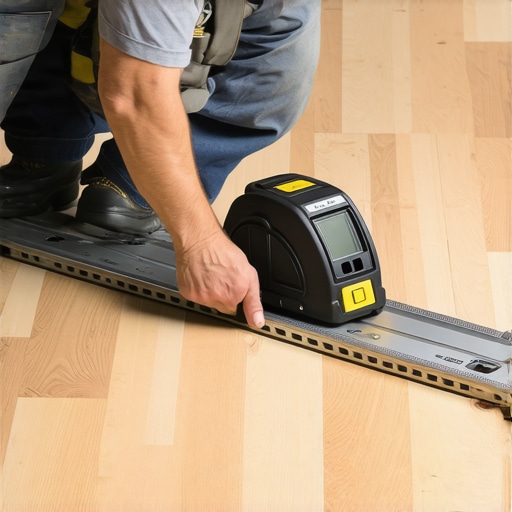
Why your primer might be the weakest link
The ‘oops’ factor I see most often involves the primer. Most people think they can skip it or just splash some on. But if the substrate is thirsty, it will suck the moisture out of your leveler before it has a chance to bond. This is why your floor primer is peeling off like a sunburn later on. You need a primer that creates a mechanical bond. It’s a sophisticated step that separates the pros from the amateurs. When navigating floor leveling challenges and common mistakes, I always tell people to look at the prep work. If the floor isn’t meticulously clean, you’re just leveling over dirt, and that dirt will eventually act as a release agent, causing your entire floor to delaminate from the subfloor. Focus on the bond, and the level will follow.
Stop Fighting Your 10-Foot Straightedge
I’ve wasted countless hours trying to find humps with a bubble level before I finally bought a cross-line laser. If you want precise floor leveling techniques to achieve flawless surfaces, you need to see the line projected across the entire room. This isn’t just about vanity; it’s about preventing that dreaded ‘hollow’ feel. When I’m prepping for a big job, I also use the vacuum attachment that actually picks up fine sawdust and microscopic debris. If there’s even a film of dust left, your leveler is just sitting on a layer of marbles. I’ve seen $5,000 installs fail because someone used a broom instead of a HEPA-rated vacuum.
What should I do to maintain these joints long-term?
Maintenance starts the second the grout dries. You can’t just walk away and hope for the best. For those of you with mixed materials, following hardwood floor care secrets to longevity and shine is essential to ensure the wood doesn’t expand and crush your tile edge. I always tell my clients to keep their humidity between 35% and 55%. If you go outside those bounds, the physics of wood expansion will win every time. If you’re dealing with older installs, mastering hardwood floor refinishing expert tips for 2025 can help you refresh those areas without ripping out the transitions. 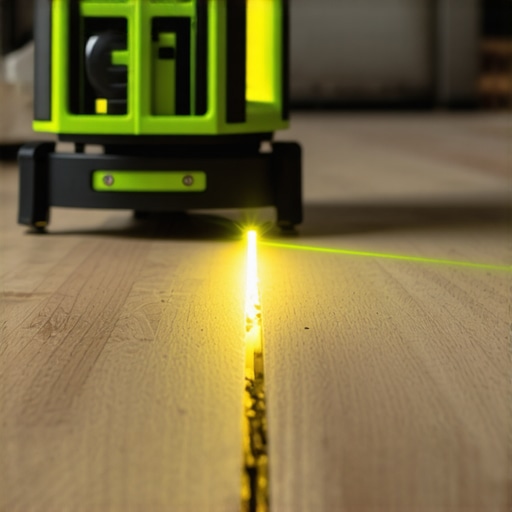
The Future of Leveling is High-Tech
We are moving toward a world where self-consolidating mixes do the heavy lifting. According to the Mapei Technical Data Sheet for Ultraplan 1 Plus, the compressive strength reaches 4100 psi after 28 days, but that’s only if the water ratio is kept at exactly 5.75 to 6 quarts per bag. In the future, I suspect we’ll see pre-measured liquid cartridges that eliminate the ‘human error’ of the garden hose. Until then, you must be disciplined. Always how to use a moisture meter before you lay wood floors to ensure the subfloor isn’t hiding a swamp. If the moisture is too high, the leveler will delaminate from the bottom up. My pro tip for you today: buy a digital moisture meter with a pinless sensor and check every three feet near your exterior doors. It’s the only way to be 100% sure your foundation is ready for the finish.
Hard-Earned Wisdom from the Subfloor Trenches
Over the years, I’ve learned that the floor speaks to you if you listen. My biggest lightbulb moment was realizing that level isn’t the same as flat. A floor can be tilted like a slide but still be perfectly flat, which is what your tile actually needs to prevent cracking. Also, I’ve learned that rushing the drying time is a fool’s errand; if you don’t use a moisture meter, you’re just guessing at the health of your installation. Most importantly, I discovered that silence is the ultimate sign of quality. If you hear a click, you missed a step in the prep. Check out these flooring installation mistakes to avoid for lasting results before you mix your next batch of leveler.
Gear That Saved My Sanity
You don’t need a truckload of tools, but you do need the right ones for a professional finish. I never start a job without my 10-foot straightedge to find those hidden valleys that cause the most trouble. I also swear by a high-quality mixing paddle that doesn’t whip air into the leveler, which helps prevent those annoying pinholes and surface pitting. For anyone serious about the craft, I highly recommend keeping a copy of the TCNA Handbook nearby—it’s the industry standard for a reason. If you’re looking for a complete roadmap to your next project, this step-by-step guide to flooring installation and leveling success is a great place to start your journey.
Build a Foundation That Actually Lasts
At the end of the day, your flooring installation is only as good as the work nobody will ever see once the furniture is in place. It takes guts to stop the project and fix a bouncy joist or a dusty subfloor, but that’s what separates a professional result from a weekend headache. You have the tools and the knowledge now to ensure your home feels solid under every step. #IMAGE_PLACEHOLDER_E# Take your time, master the mastering floor leveling pro secrets for perfect installations, and you’ll never have to worry about your family tripping over a loose threshold again. Have you ever poured leveler only to find a new low spot the next morning? Let me know in the comments below!