
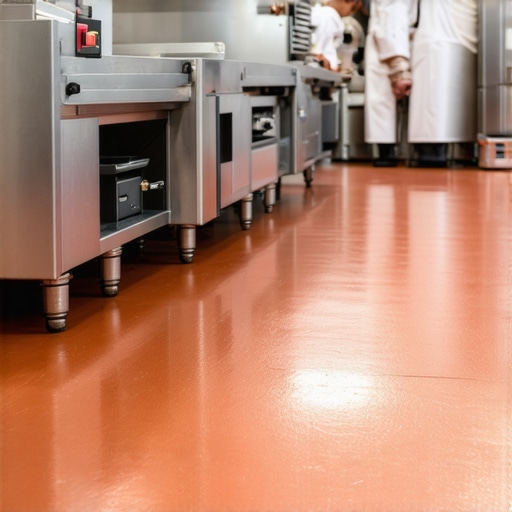
I still remember the sharp, metallic clang of a full stack of stainless steel mixing bowls hitting the floor back in 1998. It wasn’t just the noise; it was the terrifying sight of my lead line cook sliding three feet like he was on a frozen pond during the middle of a Friday night rush. We had just finished a deep clean, and the polished tiles I had insisted on during the build-out had turned into a literal death trap the moment a little vegetable oil hit the surface. That was my ‘lightbulb moment’—or rather, my ‘shattered ego moment’—where I realized that in a professional kitchen, your floor is either your strongest ally or your biggest liability. Today, I want to show you why making the switch to slip-resistant quarry tile is the single best move you can make for your staff’s safety and your own peace of mind.
Stop Turning Your Kitchen Into a Skating Rink
That disaster early in my career taught me a lesson I will never forget: in a high-pressure environment, aesthetics mean absolutely nothing if your team is terrified to walk across the room. I made the classic rookie mistake of prioritizing a ‘clean look’ over actual functionality, which is one of those flooring installation mistakes to avoid at all costs. We eventually had to shut down for three days to rip everything out and start over. It was expensive, embarrassing, and completely preventable. When you are dealing with constant spills, steam, and heavy foot traffic, you need a surface that bites back. Slip-resistant quarry tile features a gritty, unglazed texture that maintains its grip even when things get messy. Unlike residential options, these tiles are built to withstand the thermal shock of a walk-in freezer door opening next to a 400-degree oven.
Is quarry tile actually worth the extra cost?
I hear this all the time from new owners who are trying to stretch their budget. They see the price tag and think they can get away with a cheaper alternative. But you have to look at the long game. According to data from the National Safety Council, falls are a leading cause of workplace injury, often resulting in massive insurance claims and lost productivity. When you factor in the durability of quarry tile, it practically pays for itself. It doesn’t chip easily under the weight of heavy prep tables, and it pairs perfectly with other necessities like knowing why your commercial kitchen floor needs a cove base to satisfy health inspectors. Have you ever had a ‘near-miss’ slip in your kitchen that made your heart skip a beat? I’d love to hear how you handled it. Choosing the right material is about more than just following code; it’s about protecting the people who keep your business running. Before you commit to your next renovation, ensure you’ve mastered the flooring installation fundamentals to ensure a perfectly flat, safe surface for your crew.
Get Your Subfloor Ready Before the First Tile Hits the Ground
Think of your subfloor like the foundation of a skyscraper; if it is shaky or uneven, everything built on top is destined to fail. I once rushed a project in a small deli where I thought the concrete was ‘good enough.’ Two months later, the grout lines started cracking because the slab had a slight bounce I hadn’t addressed. To avoid this, you must start with a clean slate. This means removing every speck of old adhesive or grease. One critical move is the concrete etching step you shouldn’t skip before leveling, which ensures your bonding agents actually have something to grab onto. If you skip this, your leveling compound might as well be sitting on a sheet of wax paper. The concrete etching step you shouldn’t skip before leveling is the difference between a floor that lasts decades and one that peels up in six months.
Find Those Hidden Dips with the Chalk Dust Secret
You can’t always see a low spot with the naked eye, especially under harsh industrial lighting. I learned a trick from an old-school mason: take a handful of blue chalk dust and lightly scatter it across the floor, then drag a straightedge over the surface. The chalk will stay behind in the ‘valleys’ of your subfloor, showing you exactly where you need more filler. This is the chalk dust secret for finding low spots in subfloors that prevents ‘puddling’—those annoying wet spots in the kitchen that never seem to dry because the floor isn’t pitched toward the drain. 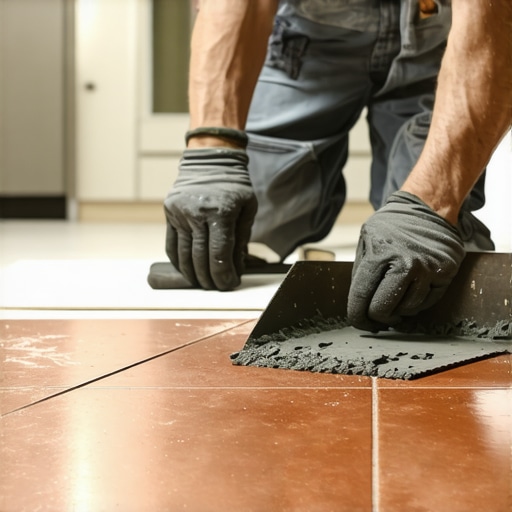
Leveling is the Difference Between a Pro Job and a Trip Hazard
In a commercial kitchen, ‘close enough’ is a recipe for a lawsuit. If your tiles aren’t perfectly flush, a server carrying a heavy tray is going to catch a toe on a raised edge, and that’s when the real trouble starts. You need to be mastering floor leveling pro secrets for perfect installations to ensure a seamless transition across the entire line. When you pour your leveler, use the spiky roller secret for a mirror-smooth pour to pop any air bubbles that could weaken the structure. I remember a job where we skipped the roller, and the floor ended up looking like the surface of the moon—not exactly what you want when you’re trying to roll a heavy refrigerator into place. The spiky roller secret for a mirror-smooth pour is a game-changer for getting that professional finish.
Wrap It Up with a Sanitary Cove Base
Health inspectors aren’t just looking at your fridge temperatures; they are looking at your corners. Liquid and food particles love to hide in the gap where the floor meets the wall. This is why your commercial kitchen floor needs a cove base. It creates a curved transition that makes it impossible for grime to accumulate, allowing your team to mop right up the wall. During the installation, you’ll inevitably get some mortar on the face of your beautiful new tiles. Don’t panic and try to scrub it off while it’s wet and messy; instead, learn the secret to getting thinset off tiles after it dries to keep the finish looking pristine. Using the secret to getting thinset off tiles after it dries will save your knees and your sanity during the final cleanup phase.Most owners believe that the grittiest tile is the safest. I’m here to tell you that’s a myth that could lead to a maintenance nightmare. In my decades of tiling, I’ve seen ‘high-traction’ floors become more dangerous than polished marble within six months because the owner didn’t account for ‘micro-trapping.’ When you choose an aggressively textured tile without a rigorous cleaning protocol, those tiny pores capture microscopic layers of polymerized grease. Eventually, you aren’t walking on tile; you’re walking on a thin, lubricated film of old fryer oil. This is why slip resistance ratings matter for retail entryways and kitchens alike—it’s about the Dynamic Coefficient of Friction (DCOF) under real-world conditions, not just out of the box. A study by the National Floor Safety Institute (NFSI) confirms that the floor’s interaction with the specific contaminants of your industry is what determines true safety, not just the texture of the material itself.
Does every commercial slab really need a moisture barrier?
I get asked this by budget-conscious contractors all the time. They’ll point to a ‘dry’ slab and say we can save a few hundred bucks. Don’t fall for it. Vapor drive is a silent killer for flooring. Even if the surface looks bone-dry, moisture can be wicking up from the earth, and the moment you seal it with tile and grout, that pressure builds. If you skip the barrier, you’ll likely face floor leveling challenges common mistakes and how to avoid them like delamination. Have you ever fallen into this trap of cutting corners only to have the floor fail a year later? Let me know in the comments.
Watch your RPMs or watch your floor fail
Here is the ‘oops’ factor that ruins more high-end jobs than anything else: the mixing paddle. If you treat your floor leveler like you’re mixing a milkshake, you’re dead in the water. High-speed mixing whips air into the compound, leading to a Swiss-cheese finish once it cures. You need to know the mixing paddle speed that ruins your leveling compound to keep the mix dense and stable. If you ignore this, you’ll be left wondering why self leveling compounds bubbled over your subfloor, and trust me, grinding down those bubbles is a nightmare you don’t want. 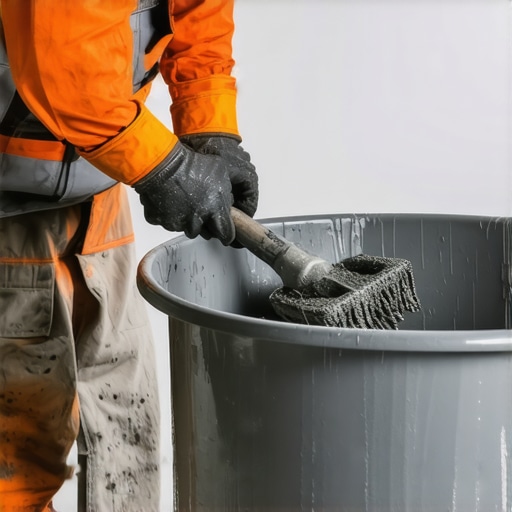 Always use a slow-speed drill and let the product slake properly before the pour.I’ve seen too many contractors pack up their tools, collect a check, and vanish, leaving the owner with a beautiful floor that fails within eighteen months. Real success in this industry isn’t just about the day of the pour; it’s about what that floor looks like five years later. My personal kit always includes a high-end moisture meter, because guessing is for amateurs. If you don’t know how to use a moisture meter to prevent floor failure, you’re basically gambling with your client’s money. I’ve seen slabs in the Midwest that looked bone-dry but registered 95% relative humidity once we probed the core. If I hadn’t checked, that expensive quarry tile would have delaminated in a heartbeat. Trust me, the moisture-barrier-rule-for-basement-vinyl-floors isn’t just a suggestion—it is a requirement for any slab-on-grade project.
How do I maintain my commercial kitchen floor over time?
The biggest mistake I see is the ‘clean everything with soap’ mentality. If you want to keep that slip resistance we talked about, you have to stop using dish soap on your floors immediately. Soap leaves a fatty residue that actually feeds the ‘micro-trapping’ grease I mentioned earlier. Instead, use an enzyme-based cleaner that eats the organic matter inside the tile’s pores. To check if your sealer is still doing its job, use the spray bottle hack for testing floor sealer coverage. If water doesn’t bead up like it’s on a freshly waxed car, it’s time to re-apply. For those with hybrid spaces, remember that hardwood floor care secrets to longevity and shine are completely different from tile; never cross-contaminate your mops between the two surfaces unless you want a hazy mess. 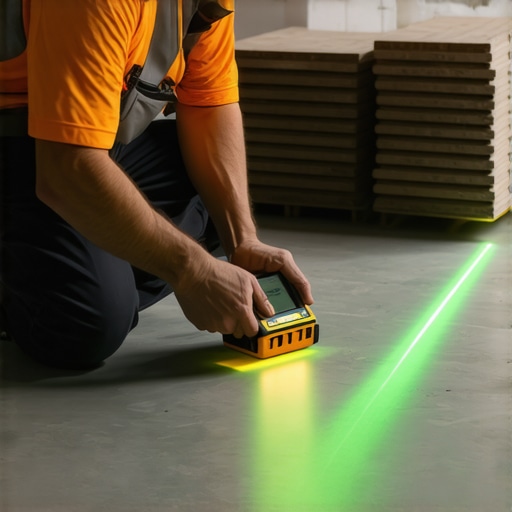
Your Layout Only Works if Your Laser is Level
I’ve moved away from chalk lines for anything longer than ten feet. In a large commercial space, even a slightly ‘fat’ chalk line can lead to an eighth-of-an-inch error by the time you hit the far wall. I now swear by the laser-level-move-for-perfectly-straight-hallways. It’s about more than just a straight line; it’s about projecting a 3D plane that catches subfloor humps before you even open a bag of thinset. This level of precision is how you achieve precise floor leveling techniques to achieve flawless surfaces. According to the Tile Council of North America (TCNA) Handbook, specifically section EJ171, movement joints are non-negotiable for large-scale installations. If you don’t plan for the building’s natural expansion and contraction, that perfectly leveled floor will eventually tent or crack. Looking ahead, I see the industry moving toward ‘smart’ underlayments that can detect subfloor moisture changes and alert facility managers via an app before damage occurs. It sounds like sci-fi, but when you consider the cost of a full kitchen tear-out, it’s the logical next step. For your next project, I challenge you to try the spray bottle test on your current floors—you might be surprised how much protection you’ve already lost. If you’re struggling with a specific transition, don’t forget that how to get a seamless look with different flooring types starts with height management during the leveling phase.
The Lessons I Learned the Hard Way Under a Prep Table
After decades in this trade, I’ve realized that the best flooring is the one you never have to think about during a dinner rush. One major takeaway is that your grout is just as important as the tile; if you use a cheap, porous grout, it will absorb every ounce of grease and become a permanent odor source. Another lightbulb moment was realizing that drainage isn’t just about the pipe—it’s about the pitch. Even the most slip-resistant quarry tile won’t save you if there’s an inch of standing water in the corner. Finally, never let anyone talk you out of a moisture barrier; that small expense is your insurance policy against a total system failure. These are the kinds of tile installation pointers that save time and money in the long run.
The Gear That Saved My Sanity and My Subfloors
I don’t step onto a job site without a few specific tools that have earned my trust over the years. First, the Tile Council of North America (TCNA) Handbook is my guide for every technical decision; it sets the standards that protect you from liability. Second, a high-quality digital moisture meter is essential for any professional-grade ultimate guide to floor leveling for a perfect finish. I also highly recommend investing in a high-torque, low-RPM drill specifically for mixing—this simple change prevents the air bubbles that lead to surface cracking. For a complete walkthrough of these techniques, check out this step-by-step guide to flooring installation and leveling success. #IMAGE_PLACEHOLDER_E#
Build a Kitchen Floor Your Team Can Actually Trust
At the end of the day, your kitchen is the heart of your business, and that heart needs a solid foundation. Taking the time to master installing tiles like a pro step-by-step strategies for 2025 isn’t just about saving on repair costs; it’s about respect—respect for your staff’s safety and respect for the craft of professional cooking. When you combine the right slip-resistant quarry tile with meticulous subfloor prep and proper floor leveling, you create an environment where your team can focus on the food, not their footing. Go build something that lasts and gives you one less thing to worry about at 10:00 PM on a Saturday. Have you ever had a ‘near-miss’ or a total flooring disaster in your commercial kitchen? Let me know how you handled it in the comments below.