
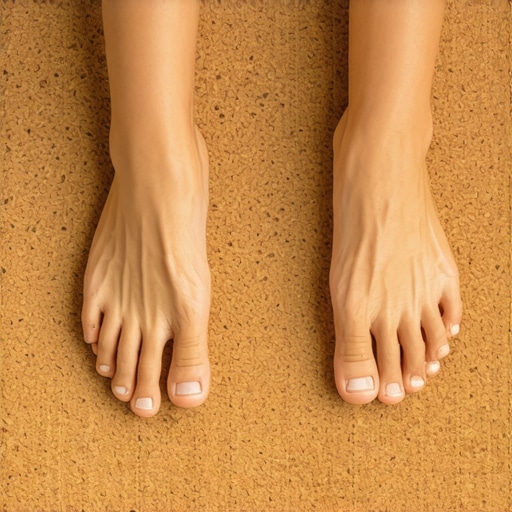
I remember standing in my basement three years ago, wearing two pairs of wool socks and still feeling like I was walking on a literal sheet of ice. I had just finished what I thought was a decent flooring installation using a high-end laminate, but while it looked great in photos, it felt like a refrigerator shelf underfoot. My biggest mistake was simple but devastating: I prioritized the “look” over the thermal reality of a sub-grade concrete slab. I spent weeks mastering floor leveling techniques to get it flat, only to end up with a room no one in my family wanted to step foot in without boots. That is when I discovered the magic of cork, and it completely changed my perspective on how to reclaim a cold subterranean space.
Your Basement Concrete is a Heat-Sucking Monster
It is not just a feeling; it is basic thermodynamics. Concrete slabs are notorious thermal heat sinks, meaning they actively pull warmth out of the air and, unfortunately, right out of your feet. When I first started renovating, I assumed that hardwood floors would be warm enough, but without a massive thermal break, even wood eventually succumbs to the chill of the earth below. Cork is the ultimate “neighborly” recommendation for this problem because it is essentially a grid of millions of tiny air-filled chambers. These cells act like a thermos, trapping heat where you need it most. According to data from the National Association of Home Builders, cork’s natural cellular structure provides an R-value that far exceeds traditional tile or stone, potentially keeping the floor surface up to 10 degrees warmer than ceramic alternatives. [IMAGE_PLACEHOLDER]
Is cork actually durable enough for a busy family basement?
This is the exact question my brother-in-law asked me when I suggested it for his man-cave. Most people picture a fragile wine stopper and think a heavy couch or a dropped glass will ruin the floor instantly. I had the same skepticism, especially after a disaster where I ignored hardwood floor care secrets in my kitchen and ended up with scratches everywhere. However, cork is surprisingly resilient because of its “memory”—the cells compress under pressure and then spring back. It is also naturally antimicrobial and resists the mold and mildew that often plague basements. Beyond the warmth, the secret to soundproofing a home often lies in these same air cells, which muffle the sound of heavy footsteps or loud TV shows. Have you ever felt like you needed to wear hiking boots just to go downstairs and do a load of laundry? Today, we are going to dive into why cork is the smarter, warmer, and more sustainable choice for your home’s lowest level.
Get the Concrete Flat Before You Even Touch the Cork
If you ignore the subfloor, the most expensive cork on the planet will feel like a cheap mistake. I learned this the hard way during a rushed basement renovation for a Super Bowl party. I skipped the step where you how to measure subfloor flatness before you start installing and assumed my concrete was “good enough.” It wasn’t. Two weeks later, I had a bouncy section near the wet bar that felt like walking on a trampoline. Eventually, that vertical movement caused the locking joints to snap, forcing me to rip up half the room. You need to identify every dip and hump first. Think of your concrete like a mountain range; you need to turn it into a plateau. Use a long straightedge to find the valleys, and if you find a dip deeper than 3/16 of an inch, it is time for some self-leveling compound. Getting the secret to mixing the perfect bucket of self-leveler every time right means a smooth pour that eliminates those annoying hollow sounds later on. 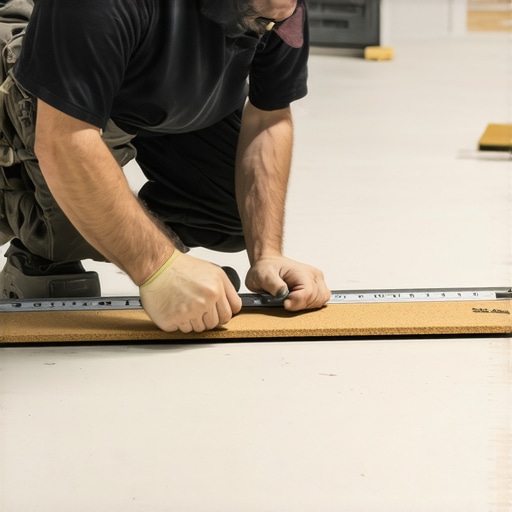
Stop Moisture from Ruining Your Investment
Basements are naturally damp, and while cork is great at handling humidity, a literal puddle forming under your floor is a different story. Before I ever lay down a single plank, I always use a tool to how to use a moisture meter before installing wood floors to ensure the slab isn’t exhaling too much water vapor. Even if the concrete looks bone-dry, it can pull moisture from the earth like a sponge. I always recommend a 6-mil poly vapor barrier. It is a cheap piece of plastic insurance that prevents the cork from swelling and buckling. Treat it like a raincoat for your floor; without it, you are just waiting for a storm to brew under your feet.
The Click-Lock Dance and Avoiding the Mallet Trap
When you finally start clicking the planks together, the temptation to use brute force is real. I once watched a buddy try to force a stubborn seam with a heavy hammer, and he ended up with the rubber mallet mistake that damaged your click-lock edges, ruining three boards in ten minutes. Cork edges are softer than laminate, so you have to be gentle. Use a tapping block and light, repetitive taps rather than one big swing. You also have to respect the expansion gap. Cork expands and contracts more than most people realize. I use the quarter trick for checking expansion gaps in luxury vinyl floors to make sure there is enough breathing room around the perimeter. If you pin the floor against the wall, it will eventually peak in the middle of the room like a tiny, wood-colored mountain range. Keeping that 1/2-inch gap around the edges ensures the floor can breathe as the seasons change.
One of the biggest misconceptions I see—even among seasoned DIYers—is the belief that a thicker underlayment equals a more comfortable floor. In reality, over-padding is a death sentence for click-lock joints. When you have too much ‘squish’ under a floating floor, the vertical deflection every time you step causes the tongue-and-groove system to flex beyond its engineered limit. This eventually leads to the hidden reason your floating floor is pinching or, worse, snapping altogether. You want a firm, stable base, especially with cork, which already has built-in give. The second nuance most people miss is the ‘self’ in self-leveling compound. Manufacturers make it sound like you can just dump the bucket and walk away, but that is a recipe for disaster. If you don’t use a spiked roller or a gauge rake, you’ll end up with surface tension ridges and trapped air bubbles. This is precisely why your floor leveler pitted during the drying process for many beginners. According to the National Wood Flooring Association (NWFA), the subfloor must be flat to within 3/16 of an inch over a 10-foot radius, and achieving that requires manual intervention. You have to push the material into the low spots rather than waiting for it to find its own way. 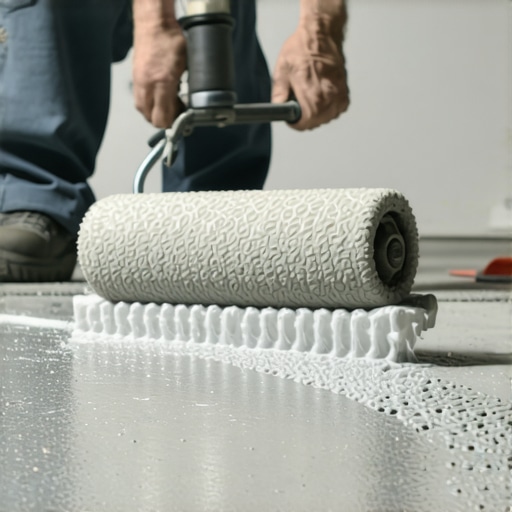
How do you handle transitions when the concrete slab isn’t perfectly level across rooms?
This is where the real pros separate themselves from the amateurs. Most people just slap down a T-molding and hope for the best, but if the height difference is more than 1/4 inch, that transition will eventually crack or become a trip hazard. I prefer to use a ‘feathering’ technique with a high-quality patch. Instead of a sudden jump, you create a long, gradual ramp over three or four feet. It takes more time, but it’s the only way to ensure precise floor leveling techniques to achieve flawless surfaces that don’t fail under foot traffic. The ultimate ‘oops’ factor I’ve seen involves the chemistry of the concrete itself. If you’re working on an older slab, you might encounter ‘dusting’ or a surface that is too porous. If you skip the primer, the concrete will suck the moisture out of your leveler or thinset so fast that it won’t bond properly. This is the primary reason why your floor primer is peeling off like a sunburn or why tiles start sounding hollow after just a year. Always perform a water drop test: if the concrete doesn’t absorb a drop of water in 30 seconds, you have a sealer present that must be ground off before you even think about leveling. Have you ever fallen into this trap or discovered a ‘magic’ fix that the manuals didn’t mention? Let me know in the comments below!
After you have passed the water drop test, the real work begins with the right gear. I used to think a standard level and a bucket were enough, but experience taught me that precision requires specific artillery. My absolute go-to for identifying problem areas is a dedicated straightedge; I’ve spent way too many hours how to check for high spots with a 10-foot straightedge to ever trust my eyes alone again. If you are dealing with an old renovation, do not overlook the prep work. Using the best tool for scraping glue off a concrete slab—typically a heavy-duty floor scraper with a replaceable 4-inch blade—is the only way to ensure your leveler actually bonds. According to the International Concrete Repair Institute (ICRI), achieving a Concrete Surface Profile (CSP) of 3 is the industry gold standard for ensuring that toppings and adhesives don’t delaminate over time. If your concrete is as smooth as glass, your floor is actually at risk of failing because there is no ‘tooth’ for the leveler to grab onto.
How do I keep my floors looking brand new for a decade?
Maintenance is where most homeowners drop the ball. Once that cork or wood is down, the environment becomes your biggest enemy. In the winter, the air gets bone-dry and pulls moisture out of the planks. I’ve seen beautiful installs ruined because someone didn’t know how to keep your hardwood floors from gapping in the winter by using a whole-home humidifier to maintain a steady 35-50% humidity level. Also, put away the heavy-duty cleaning chemicals. You should why you should never use a steam mop on click-lock floors; the heat and pressurized moisture are forced directly into the core, causing permanent swelling. Stick to a microfiber mop and a pH-neutral cleaner. 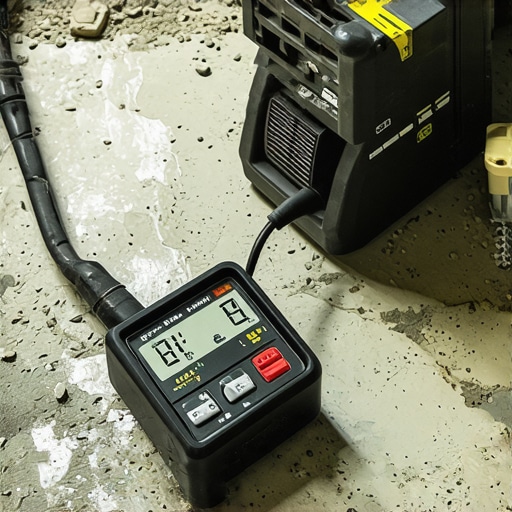
Future-proofing your subfloor with smart tech
Looking ahead, the flooring industry is moving toward ‘smart’ underlayments. We are starting to see moisture-sensing membranes that can alert your phone if a leak starts under your kitchen cabinets before the mold even has a chance to grow. For now, the most advanced thing you can do is focus on precise floor leveling techniques to achieve flawless surfaces using fiber-reinforced compounds that resist cracking even in high-traffic commercial zones. The mess is also getting easier to manage; I never start a job without the vacuum attachment that actually picks up fine sawdust to keep the silica dust out of my lungs and my client’s HVAC system. My challenge to you: before you buy your flooring, spend $30 on a high-quality moisture meter and test three different spots on your slab. It is the single best investment you can make to guarantee your floor survives the next ten years.
Hard Lessons from My War Against Uneven Concrete
Over the years, I have realized that ‘level’ and ‘flat’ are two entirely different beasts. You do not necessarily need a perfectly level floor for a pool table, but you absolutely need a flat one for a step-by-step guide to flooring installation and leveling success to actually work. One of my biggest lightbulb moments was realizing that the shadows in a basement are liars. I once ignored a slight dip because it looked fine under a handheld work light, only to have my heavy bookshelves wobble like a seesaw once the room was finished.
Another hard truth: cork is a living material. You have to treat it more like a pet and less like a piece of plastic. It needs that expansion gap to breathe as the humidity shifts throughout the year, or it will eventually bite back by peaking at the seams. Lastly, do not rush the dry time on your primer. I once thought ‘tacky’ was close enough to ‘dry,’ and I ended up watching my expensive leveler delaminate because the bond failed before it even cured.
The Gear That Saved My Back and My Budget
I have learned that knowing how to check for high spots with a 10-foot straightedge is the single most important skill you can develop as a DIYer. It is far more reliable than a standard bubble level for finding those subtle, rolling waves in a concrete slab that ruin a click-lock system. If you are dealing with old adhesive, do not waste your weekend with a cheap handheld scraper. Investing in the best tool for scraping glue off a concrete slab—specifically a heavy-duty floor scraper with a long handle—turns a grueling five-hour nightmare into a thirty-minute task. I also highly recommend keeping a dedicated moisture log; tracking how your slab breathes during a heavy rainstorm will tell you more about your floor’s future than any one-time test ever could.
Go Ahead and Take the First Step
Your basement does not have to be a dark storage unit for things you have forgotten. With the right approach and the ultimate guide to floor leveling for a perfect finish, you can transform that cold, echoing cavern into the most comfortable and warmest room in your entire house. This is a project that rewards your patience far more than your speed. The feeling of walking across a soft, resilient cork floor in the middle of January is worth every ounce of prep work you put in today. Don’t let the technical specs intimidate you; just take it one bag of leveler at a time and focus on the details. Have you ever discovered a massive dip in your concrete after you already started laying your planks? Let me know your ‘oh no’ moments in the comments below!