
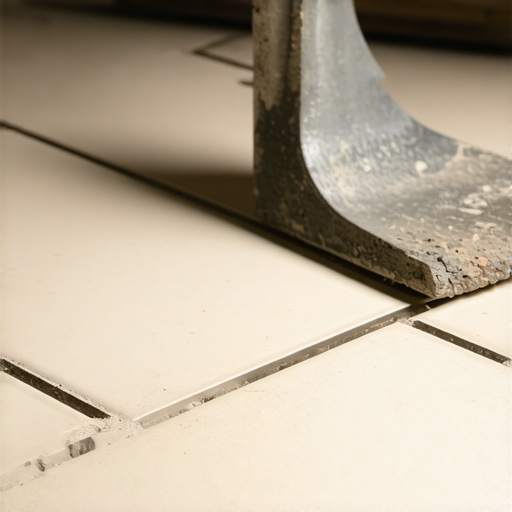
I stood in my kitchen, knee-deep in a renovation that felt like it was winning the battle against my sanity. My wife wanted porcelain, but I was staring at three layers of stubborn, crusty vinyl that had been there since the Nixon administration. I grabbed a floor scraper, spent two hours sweating through my shirt, and managed to clear exactly four square inches. That’s when it hit me: there has to be a smarter way to do this. I almost gave up and just threw down a rug, but I learned the hard way that you don’t always have to tear everything out to get a high-end look. Today, I’m going to show you how to bypass the back-breaking demo and lay a floor that actually lasts.
Skip the Demolition and Save Your Back
The old-school rule says you must reach the subfloor before you even think about thinset. I used to believe that too, until I spent a weekend fighting with 40-year-old adhesive that felt like it was made of industrial-strength cement. If your vinyl is well-bonded, you’re sitting on a perfectly good moisture barrier and a stable base. Why throw away that structural integrity? Early in my DIY career, I made a massive mistake. I assumed because the vinyl was there, it was solid. I didn’t check for loose spots or bubbles. Three months later, my beautiful new tile started cracking right down the middle because the vinyl underneath had lifted. I didn’t know about flooring installation mistakes to avoid, and it cost me a whole weekend of rework. But if you do the prep right, you can get a professional finish without the dumpster rental. Speaking of which, sometimes a 20-yard dumpster rental is overkill if you’re keeping the old floor in place.
Is This Just a Lazy Shortcut That Will Fail?
I get the skepticism. You’re worried about the height of the floor or whether the thinset will actually stick to that shiny plastic surface. It’s a valid fear. If you just slap mortar on top of grease-stained vinyl, it will fail. However, according to the Tile Council of North America (TCNA), tiling over existing resilient flooring is a recognized method as long as the surface is properly prepared and the structural deflection of the subfloor is within limits. You aren’t being lazy; you’re being efficient. Before we dive into the steps, have you ever tried to scrape up old vinyl only to realize you were in over your head? If you’re stuck, feel free to contact us; I’d love to help you troubleshoot. To make this work, we need to talk about the bond. Standard thinset doesn’t like vinyl. It’s like trying to glue a Post-it note to a wet seal. You need to scuff that surface and use the right primer. I’ve seen guys try to skip this, and it results in the kind of cracking porcelain tile that haunts your dreams. You also have to ensure everything is level. Using precise floor leveling techniques before you start is the difference between a floor that looks like a DIY project and one that looks like a million bucks. I’ll even let you in on a secret: prepping a painted floor follows many of the same rules. It’s all about that mechanical bond. Let’s get into the nitty-gritty of how to check if your floor is even a candidate for this no-demo dream.
Find the Hollow Spots Before They Find You
Before you even touch a bag of mortar, you have to play detective. Walk the entire floor and listen closely. If you hear a ‘crunch’ or a hollow thud, that vinyl has delaminated from the wood or concrete below. I once ignored a small bubble in a laundry room because it was tucked behind a dryer. Big mistake. Once the washing machine started its spin cycle, the vibration caused the tile above that bubble to snap like a cracker. You can use the hammer test for finding loose subfloor nails if you suspect the movement is coming from the wood underneath. If the vinyl is loose, you must cut that section out and fill the void with a patching compound so you have a flush surface. This is the foundation of a step-by-step guide to flooring installation and leveling success.
Rough Up the Surface to Make Thinset Stick
Vinyl is designed to be easy to clean, which is a nightmare for tile. It is essentially a giant sheet of plastic that repels moisture—exactly what thinset needs to penetrate. To fix this, you need to turn that floor into 60-grit sandpaper. I usually use a floor buffer with a sanding disk, but for a small bathroom, a hand sander works fine. You aren’t trying to remove the vinyl; you’re just removing the factory shine. Once it’s scuffed, vacuum it until you could eat off it. Any dust left behind acts as a bond-breaker. I then apply a specialized primer designed for non-porous surfaces. This creates a ‘chemical bridge’ between the plastic and the cement. It is the leveling secret for installing plank flooring over tiles and vinyl alike.
Flatten the Dips with High-Tech Mud
Old houses are rarely flat, and if your floor has a 1/4-inch dip, your tile will follow that curve and eventually crack under pressure. You need to identify these low spots using a long straightedge or a laser level. If you find a valley, don’t try to fill it with extra thinset as you go—that leads to shrinkage and uneven tiles known as lippage. Instead, use a self-leveling underlayment. It’s like liquid magic that finds the lowest point and stays there until it’s perfectly flat. 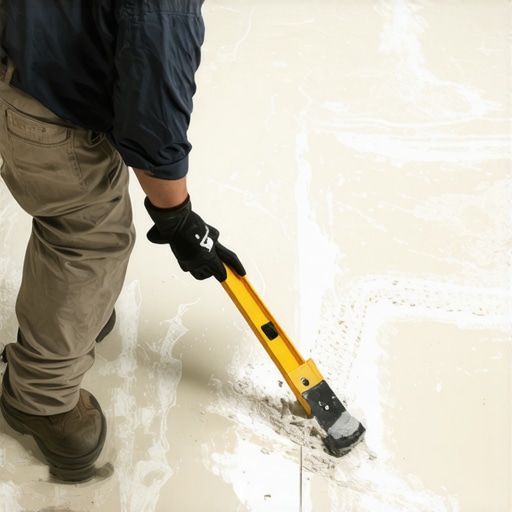 When you pour it, remember the spiky roller secret for a mirror-smooth pour to get those air bubbles out. Achieving a flat surface is the secret to getting a flat floor for large format tiles, which are notorious for showing every imperfection. Once that’s dry, you’re ready to snap your layout lines and learn how to get a straight line for your first row of tile.The common myth in the DIY world is that a ‘solid’ floor is a ‘still’ floor. I’ve seen homeowners spend thousands on premium materials only to have the grout pop out six months later. They tell me, ‘But I followed the video! I leveled everything!’ The nuance they missed is deflection—the invisible bounce in your house’s bones. You can have a surface as flat as a pool table, but if your joists flex too much under your weight, your tile will inevitably fail. It isn’t just about the finish; it’s about checking the plywood grade you need for a stable tile underlayment to ensure the system can handle the static and dynamic load of your new floor.
Stop Trusting Your Subfloor Just Because It Looks New
Most people think adding a layer of 1/4-inch luan or thin plywood is enough to prep for tile. That is a massive trap. Luan is too soft and will compress under the weight of the mortar and tile, leading to delamination. In my experience, the industry standard of L/360 deflection (which is 1/360th of the span) is the bare minimum. According to the Tile Council of North America (TCNA) Handbook, if you are upgrading to heavy natural stone, that standard is actually twice as strict. If you skip this math, you’ll end up wondering why your porcelain tile is cracking over plywood seams even though you used ‘the good stuff.’ 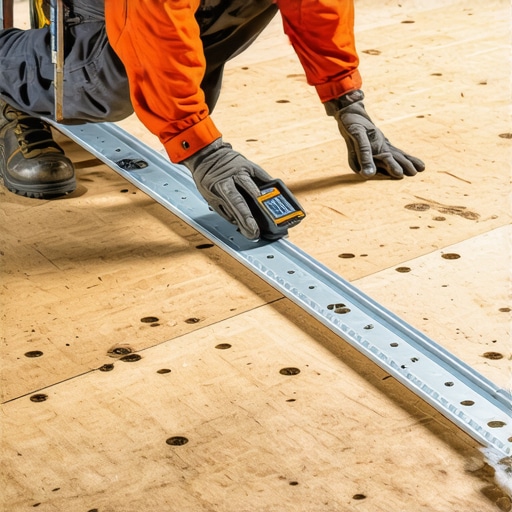
Why does your porcelain tile crack even on a flat surface?
Advanced installers know that ‘flat’ and ‘level’ are two different worlds. You can have a floor that is perfectly flat but sloped toward a corner. Conversely, a level floor can have a giant hump in the middle that prevents large format tiles from sitting correctly. The ‘Oops’ factor often happens when people try to compensate for a wavy floor by using more thinset. This is a rookie move. Thick mortar shrinks as it cures, pulling the tile downward and creating ‘lippage’ or uneven edges. This is the hidden cost of using cheap thinset on large format tiles; specialized medium-bed mortars are designed not to shrink. If you’re tackling a high-end project, you must also be aware of the expansion gap rule for radiant heated wood floors or tiles, as thermal expansion is the silent killer of beautiful layouts.
Avoid the Mixing Paddle Disaster
One of the most frequent advanced mistakes I see involves the very first step of the pour. Most people use a high-speed drill to mix their self-leveling compound, thinking it saves time. Wrong. Using the mixing paddle speed that ruins your leveling compound introduces millions of micro-bubbles into the mix. When that compound cures, those bubbles pop and leave a honeycomb-like structure that is incredibly brittle. If you want a mirror-smooth finish, you have to mix at low RPMs and let the chemistry do the work. The National Wood Flooring Association (NWFA) constantly reminds us that moisture is the ultimate enemy. I always recommend using a moisture meter before you lay wood floors or tile to ensure the substrate isn’t hiding a wet secret that will ruin your bond. Have you ever fallen into this trap? Let me know in the comments. If you need help with your specific layout, feel free to contact us. For more technical deep dives, check out our mastering floor leveling pro secrets for perfect installations.
Stop Fighting Your Tools and Start Using Systems
I’ve spent years experimenting with every gimmick in the hardware store aisle, and I’ve learned that the most expensive tool isn’t always the best, but the wrong tool is always the most costly. When I’m working with large units, I don’t just rely on my eyes; I use a mechanical leveling system. It’s the secret to installing large format tile without lippage because it physically locks the tiles into the same plane while the mortar cures. My favorite ‘un-sexy’ tool, however, is my digital moisture meter. I never trust a ‘dry’ looking slab. According to the NWFA guidelines and ASTM F2170 standards, you need to know exactly what’s happening inside that concrete. If you skip this, you’re guessing, and how to use a moisture meter before you lay wood floors is the first lesson I teach every apprentice. I also pay close attention to my trowels. Using the best trowel notch size for glass mosaic tiles vs. a large square notch for field tile determines whether you get 95% coverage or a floor that sounds like a xylophone when you walk on it. 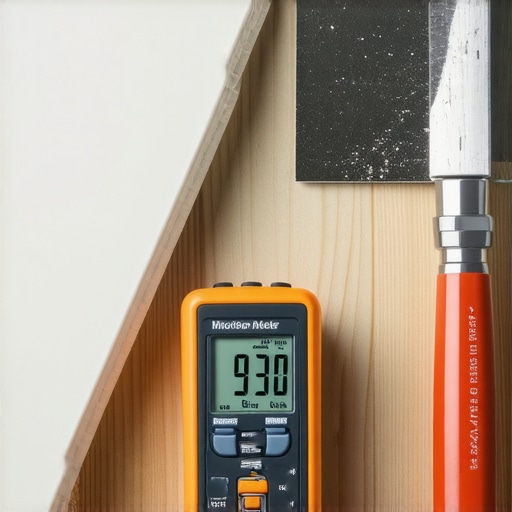
Keep Your Floor From Failing Years After the Work is Done
Maintenance is where most homeowners accidentally destroy their hard work. I’ve walked into houses where a beautiful marble foyer was etched and dull because the owner used a ‘natural’ cleaner. I always tell my clients: the vinegar mistake that eats through your natural stone tiles is real and irreversible without professional grinding. If you’ve gone through the trouble of revamp your home with expert flooring installation tips, don’t ruin it with a steam mop. For those with organic materials, hardwood floor care secrets to longevity and shine involve pH-neutral cleaners and micro-fiber mops, never soaking the wood. Even the best installing tiles like a pro step-by-step strategies for 2025 won’t save a floor that is constantly flooded with harsh chemicals.
How do I protect my flooring investment over the long haul?
Longevity is a game of prevention. For hardwood, that means maintaining a consistent humidity level in your home to prevent the wood from shrinking or swelling. For tile, it means sealing your grout lines or using high-performance epoxy grouts that won’t stain. Looking ahead, I suspect we will see a massive shift toward ‘smart’ underlayments that can detect moisture leaks before they rot your subfloor. We are already seeing tile selection tips for elegant hardwood floors in 2025 focusing on hyper-realistic textures that are easier to clean than the real thing. If you find your old wood looking tired, remember that mastering hardwood floor refinishing expert tips for 2025 can bring back that original glow without a full replacement. You really need to stop using vinegar on your hardwood floors immediately if you want the finish to last a decade. My big challenge to you: go buy a simple moisture meter before your next project; it’s the single best investment you can make for under fifty bucks.
The Hardest Lessons I Learned on the Job
After years of fixing failed DIY projects, I’ve realized that the biggest mistake isn’t usually the tile choice—it’s the ego. Many people think they can outsmart physics with a bit of extra mortar. Here are the lightbulb moments that fundamentally changed my approach to every project:
- Vinyl is often a structural ally: If that old floor is stuck like it’s part of the house, leave it. It serves as a built-in waterproof membrane that you didn’t have to pay extra for.
- Subfloor prep is 90% of the labor: The actual tiling is just the victory lap. If you aren’t sweating the flooring installation fundamentals, your finish will suffer eventually.
- Thinset is not a filler: Never use thinset to try and ‘level’ a floor as you go. Thick pockets of mortar shrink as they dry, which leads to cracked grout and uneven tiles.
What’s Hiding in My Daily Toolkit?
You don’t need a warehouse full of specialized equipment to get professional results, but you do need tools that remove the guesswork. Here is what I personally trust on every site:
- The TCNA Handbook: This is the industry bible for a reason. If the manual says your joists are too bouncy for marble, listen to it.
- A Self-Leveling Kit: Stop trying to screed wet mud by hand over large areas. I always point people toward the ultimate guide to floor leveling for a perfect finish to see why I never skip the pour.
- A Digital Moisture Meter: Concrete and wood can look dry while hiding enough moisture to ruin a bond. A meter is the only way to know for sure.
#IMAGE_PLACEHOLDER_E#
Your Floor Deserves a Solid Foundation
Taking on a major flooring installation can feel like standing at the base of a mountain. But remember, every master installer started with a single square foot and a lot of questions. By following these steps—checking for hollow spots, scuffing the surface, and ensuring a flat base—you aren’t just laying tile; you’re building value that will stand up to the chaos of daily life for decades. Don’t be afraid to take your time on the prep work. Your future self, walking across a rock-solid and silent floor, will thank you for the extra effort today.
Have you ever found a surprise layer of flooring hiding under your current one during a renovation? Let me know in the comments below!