
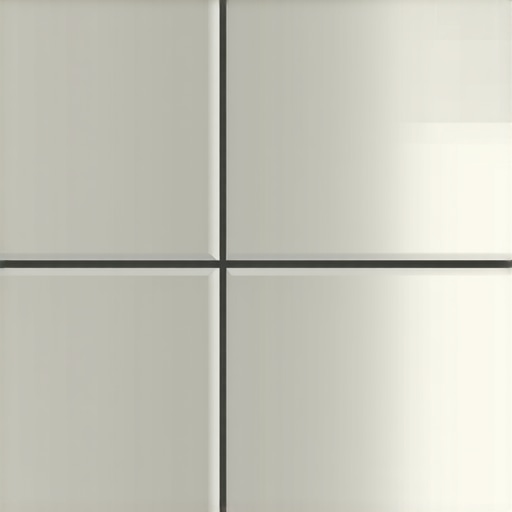
I remember standing in my half-finished guest bathroom at two in the morning, staring at a box of shiny aluminum Schluter strips with genuine disdain. My contractor at the time insisted they were the standard, but all I could see was a hospital hallway or a commercial kitchen. I wanted a soft, organic transition that felt like a high-end spa, not a cafeteria. That night, I realized that many people settle for metal because they think it is the only way to protect their edges. I was wrong back then, and if you are feeling stuck with that industrial look, you are in the right place. We are going to dive into how to get that seamless, custom finish that makes people ask, “Who did your tile work?”
Ditch the Aluminum for a High-End Custom Look
I have made my fair share of flooring installation mistakes to avoid for lasting results, and one of the biggest was assuming that metal was mandatory. Early in my DIY journey, I once used a bright silver strip against a beautiful earthy slate, and it looked like a zipper running down the wall. It was a disaster. The truth is, while metal strips are easy, they often lack the soul of a truly custom project. Whether you are working on a backsplash or a shower niche, you want the tile to be the star, not the hardware holding it in place. By mastering tile installation pointers that save time and money, you can achieve a sophisticated edge using the tile itself. Have you ever felt like a metal strip just ruined the vibe of your carefully chosen ceramic or stone? Drop a comment below and let me know—I bet I am not the only one who has had that 2 AM epiphany.
Is a raw edge actually durable enough for a busy home?
This is the number one fear I hear from my neighbors. They worry that without a metal guard, the tile will chip the first time a vacuum hits it. However, the Tile Council of North America (TCNA) emphasizes that proper installation and the right choice of edge treatment—like a bullnose or a mitered joint—can be just as resilient as any metal profile. It is all about the prep work. If you have used precise floor leveling techniques to achieve flawless surfaces, your edges will sit flush and be far less prone to impact damage. We are going to look at the three specific ways you can finish those edges using nothing but the tile, some patience, and a bit of elbow grease. It is time to stop settling for the easy way out and start aiming for the beautiful way.The first and arguably most forgiving way to sidestep metal is the bullnose tile. Think of a bullnose as the classic tailored suit of the tile world; it is simple, effective, and never goes out of style. Many tile series come with matching bullnose pieces that have one edge rounded off and glazed. When you are installing tiles like a pro, you want to plan your layout so these finished edges land on the outside of your shower walls or the top of your wainscoting. The mistake I see most often is people trying to ‘make’ a bullnose work where the geometry does not fit. If your tile does not have a matching bullnose, do not force it. Move on to a more advanced technique rather than settling for a mismatched shade from a different manufacturer.
Master the Miter for That High-End Waterfall Look
Mitering is the holy grail of tile finishing. It involves cutting the back edge of two meeting tiles at a 45-degree angle so they join to form a perfect 90-degree corner with no visible raw edge. It is like a perfectly wrapped gift where the seams disappear. I remember my first attempt at mitering a shower niche in a small guest bathroom. I spent six hours on four tiles, and by the end, the edges looked like they had been gnawed on by a squirrel because I was using an old, vibrating wet saw blade. I learned the hard way that the secret to getting a flat floor or a crisp corner starts with the quality of your equipment. For a clean miter, you need a stable wet saw and a high-quality diamond blade designed specifically for porcelain. Once you make the cut, you often have to ‘back-butter’ the joint carefully to ensure it stays locked in place without the tile shifting during the curing process.
Use Precision Tools for the Perfect Joint
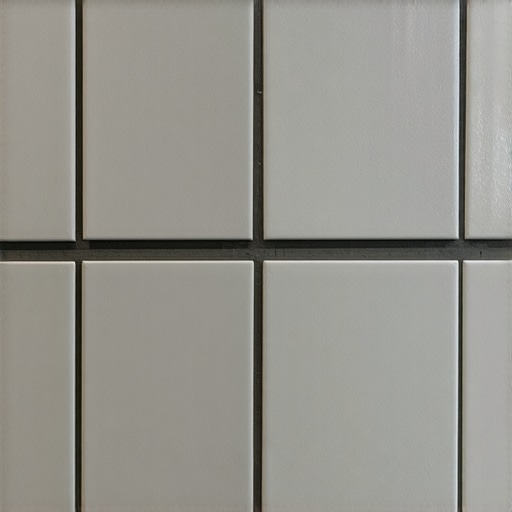
When you are mitering, you are essentially creating a fragile point where two thin edges meet. To make this durable, leave a tiny gap—about 1/16th of an inch—for grout. If the tiles touch directly, they are prone to chipping if the house settles. I use the same level of care here as I do when learning how to cut a perfect circle in porcelain tile for plumbing; it is all about slow, steady pressure. If you rush the saw, the heat will cause the glaze to pop and crack. After the cut, I always take a diamond hand-sanding pad and lightly buff the sharp edge to remove any micro-burrs. This little step makes the grout sit much smoother and gives the corner a professional, ‘soft’ feel.
Polishing the Raw Edge for a Sleek Minimalist Profile
If you are working with natural stone or through-body porcelain (where the color goes all the way through the tile), you can actually create your own finished edge with a polishing kit. This is a game-changer for modern, minimalist designs. You essentially grind down the factory edge and polish it until it matches the face of the tile. It is messy and requires a lot of water, but the result is a seamless transition that looks like a solid block of stone. I once used this technique on a fireplace hearth where the client hated the look of any trim. It took patience, and I had to be careful to keep the workspace clean to avoid scratching the tile faces. Using the secret to getting thinset off tiles after it dries is helpful here, but it is better to keep the edges pristine from the start. By graduating from 50-grit all the way to 3000-grit polishing pads, you can turn a jagged raw cut into a mirror-like finish that rivals any factory edge.Most people assume that once they have mastered the mitered cut or the polished edge, the hard part is over. But here is the contrarian truth: a perfect edge treatment is worthless if the floor beneath it is not dead flat. I see so many DIYers dump a bag of compound and expect it to behave like magic. In reality, the ultimate guide to floor leveling for a perfect finish reveals that self-leveling is more of a suggestion than a promise. If you do not actively manage the pour, you will end up with high spots that make even the most expensive bullnose look crooked. Have you ever fallen into the trap of thinking the thinset would just fill in the gaps? Let me know in the comments—I have been there, and the resulting lippage was a nightmare to fix.
One of the biggest traps is the “Oops” factor of mixing speed. If you use a high-RPM drill, you are basically whipping meringue. This is the mixing paddle speed that ruins your leveling compound by introducing tiny micro-bubbles that weaken the entire structure. Professional standards, specifically the ASTM F2873, emphasize that subfloor preparation and proper mixing are non-negotiable for a long-term bond. When those bubbles pop, they leave pits that telegraph through thin vinyl or cause thinset to lose its grip.
Can you skip the primer on a seemingly clean concrete slab?
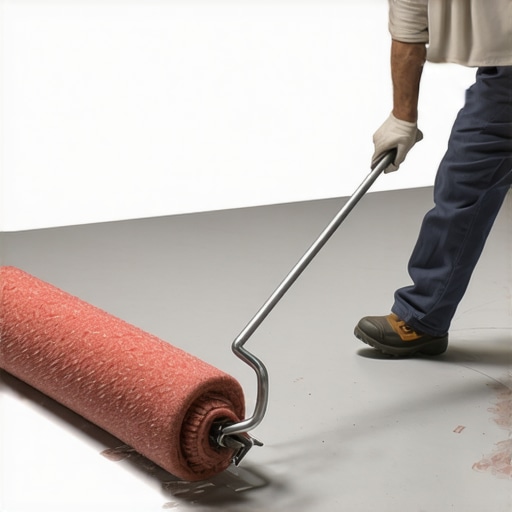
I often get asked if primer is really necessary for a basement or garage project. The short answer is an emphatic no. Skipping it is the fastest way to watch your hard work delaminate. Even if the slab looks clean, the concrete will suck the moisture out of the leveler so fast that it will not have time to flow. This results in why your self-leveling pour looks like a topographical map instead of a mirror. You need a dedicated primer to seal the substrate’s pores. For those working with large format tiles, the secret to getting a flat floor often involves a two-step process: proper priming followed by using the spiky roller secret for a mirror-smooth pour to break the surface tension and release trapped air.
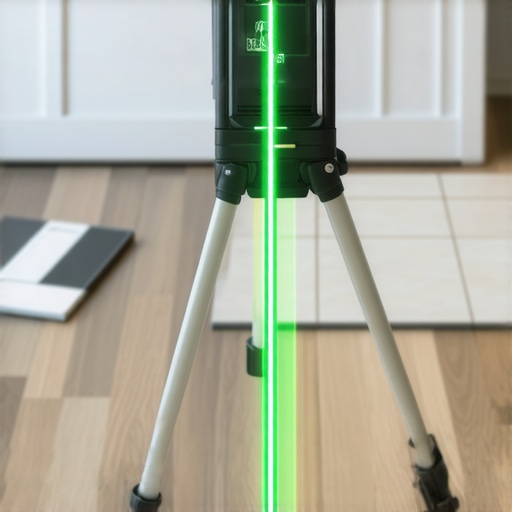
Finally, do not overlook the transition between different materials. If you are moving from a tiled bathroom to a bedroom with wood, you need to understand best tile trends for complementing hardwood floors this year to ensure the heights align perfectly. If your leveling compound is off by even an eighth of an inch, your transition strip will be a tripping hazard. Mastering flooring installation fundamentals: leveling for a seamless look ensures that those high-end edges we discussed earlier sit perfectly flush with the rest of your home. It is the invisible work that makes the visible work look truly professional.Once you have those edges looking sharp, the focus shifts to the long game. I used to think a six-foot bubble level was enough until I realized that over a twenty-foot room, a tiny fraction of an inch becomes a mountain. Now, I never start a project without a 360-degree green beam laser level. I personally use the Bosch GLL3-330CG because the green beam is exponentially easier to see in bright rooms than the old red ones. It allows me to map out high spots across an entire floor in minutes. If you are following a step-by-step guide to flooring installation and leveling success, this tool is the difference between a floor that looks good and a floor that feels professional underfoot. It stops you from guessing where the subfloor dips and lets you apply the mastering floor leveling pro secrets for perfect installations that prevent lippage before it happens.
How do I protect my flooring investment over the long haul?
Maintenance is where most homeowners accidentally destroy their hard work. I have seen beautiful, hand-polished tile edges ruined by abrasive cleaners and expensive oak floors dulled by the wrong mop. You must stop using vinegar on your hardwood floors immediately; the acidity eats through the protective finish faster than you think. For tile, especially the custom mitered joints we discussed, you need to ensure you are following the hardwood floor care secrets to longevity and shine that apply to your specific materials. According to the Tile Council of North America (TCNA) Handbook, specifically Method EJ171, you must include movement joints in large tiled areas to account for the natural expansion and contraction of your home. If you skip these, even the best mitered corner will eventually crack.
I predict that by 2030, we will see a massive shift toward augmented reality (AR) layout tools. Instead of chalk lines, we will be wearing headsets that project a perfect grid onto the floor, highlighting exactly where every cut needs to land. It will make installing tiles like a pro accessible to everyone. But for now, we rely on our hands and our eyes. If you are about to start your next project, I challenge you to try the diamond-pad polishing technique on a single scrap tile this weekend. Once you see that factory-smooth edge you created yourself, you will never go back to metal strips again. Check out the ultimate guide to floor leveling for a perfect finish if you want to make sure your foundation is as solid as your finish work.
Why My First Three Mitered Corners Ended Up in the Trash
The hardest lesson I learned wasn’t about the cut itself, but the vibration. I spent years blaming my technique when I was actually using a cheap, wobbly blade that chattered against the porcelain. If you are aiming for that high-end look, you have to respect the material’s limits. I also realized that the mixing paddle speed that ruins your leveling compound isn’t just a technicality—it is the difference between a solid base and a hollow floor that will eventually cause your beautiful mitered edges to crack. Always remember that the secret to getting a flat floor for large format tiles is 90% preparation and 10% actual laying. If you rush the subfloor, your edges will never align, no matter how much you polish them.
#IMAGE_PLACE_HOLDER_E#
The Gear That Actually Lives in My Truck
I don’t believe in buying every gadget on the shelf, but three items are non-negotiable for me. First is a set of diamond hand-sanding pads (60 to 400 grit) for softening those razor-sharp cuts. Second, a 360-degree green laser level is essential for mapping out how to achieve flawless floor leveling before tile laying. Finally, never underestimate the spiky roller secret for a mirror-smooth pour; it is the only way to ensure your leveler doesn’t look like a mountain range once it dries. These tools, combined with solid tile installation pointers that save time and money, will elevate your work from ‘DIY’ to ‘Designer’.
Build a Floor That Tells a Story
At the end of the day, your home should reflect your standards, not the convenience of a metal trim piece. Taking the extra time to polish a raw edge or miter a corner creates a sense of permanence and craft that guests can feel the moment they walk in. By following a step-by-step guide to flooring installation and leveling success and applying mastering floor leveling pro secrets for perfect installations, you are not just laying tile—you are engineering a space that lasts a lifetime. Don’t let the fear of a difficult cut stop you from achieving the finish you actually want. Have you ever attempted a mitered corner only to have the tile chip at the last second? Let me know your biggest tile challenges in the comments below!