
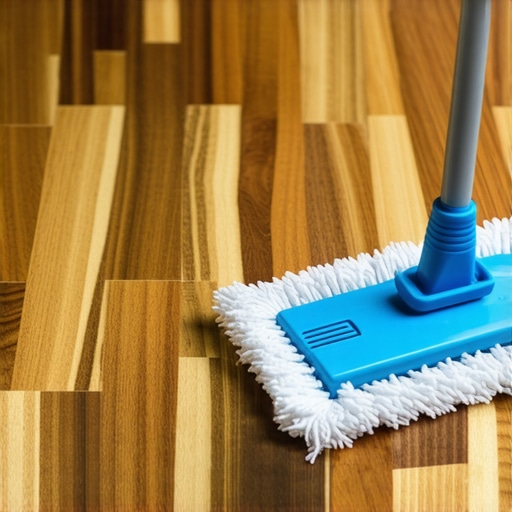
I still rebember the heart-sinking feeling of running my socks over the floor and feeling that first sharp, raised edge. Just 48 hours earlier, I had ‘deep cleaned’ my kitchen with a soaking wet mop, thinking I was doing my home a favor. Instead, I was unknowingly inviting moisture into the one place laminate can’t handle it: the seams. By Monday morning, my beautiful, flat floor looked like a topographical map of the Andes. It was a classic flooring installation mistake that cost me half a security deposit, and I’m here to make sure you don’t repeat my heartbreak.
Those Raised Edges are Screaming for Help
Laminate is a marvel of modern engineering, but at its heart, it is mostly wood fibers and resin. When you use a damp mop that isn’t wrung out until it is practically dry, water sits in the micro-cracks between planks. This isn’t just a surface issue; the core material drinks that water up like a thirsty sponge. Once that fiberboard swells, it rarely goes back to its original shape. I have seen homeowners try everything from heavy weights to hair dryers, but the real solution starts with changing how you approach maintenance. Today, we are going to look at why this happens and the specific tools that will actually keep your floors shiny without the ‘mountain range’ effect. If you have already noticed some weird sounds, you might also want to learn how to stop a floating floor from clicking when you walk, as moisture often plays a hidden role there too.
Is laminate really this fragile?
You might be thinking, ‘It is a floor! It should be able to handle a little water, right?’ The skepticism is fair. However, the North American Laminate Flooring Association (NALFA) notes that topical moisture is the leading cause of joint swelling in HDF-core products. It is not that the floor is fragile—it is that it is designed for ‘damp’ cleaning, not ‘wet’ cleaning. Early in my DIY journey, I made the mistake of thinking ‘more water equals more clean,’ but I quickly learned that moisture management is the secret to hardwood floor care secrets and laminate longevity alike. Have you ever noticed your floorboards starting to peak or curl after a deep clean? Drop a comment below if you’ve seen those edges start to lift. We are going to dive into the specifics of salvaging those seams and the right way to mop, but first, we need to understand the mechanics of the swell. It is about more than just the mop; it is about the subfloor prep too. If you didn’t follow a step-by-step guide to flooring installation, you might have gaps that make water penetration even easier.
Put Down the Heavy Bucket and Back Away
The absolute fastest way to kill your laminate is to treat it like a ceramic tile floor. While you might be tempted to use a gallon of water and a heavy string mop, you are essentially playing Russian roulette with your subfloor. Think of your laminate planks like a stack of saltine crackers; the top surface is tough and glazed, but the edges are incredibly porous. Once water seeps into those click-lock joints, the HDF core expands and never quite forgets it. I learned this the hard way during a ‘deep clean’ where I left the floor damp for just five minutes too long. By the time I noticed the edges lifting, the damage was done. If you find yourself in a similar spot where the floor feels spongy, you might need to look at how to fix a soft spot in the middle of a laminate floor to see if the subfloor itself has been compromised.
The Microfiber Method That Saves Your Seams
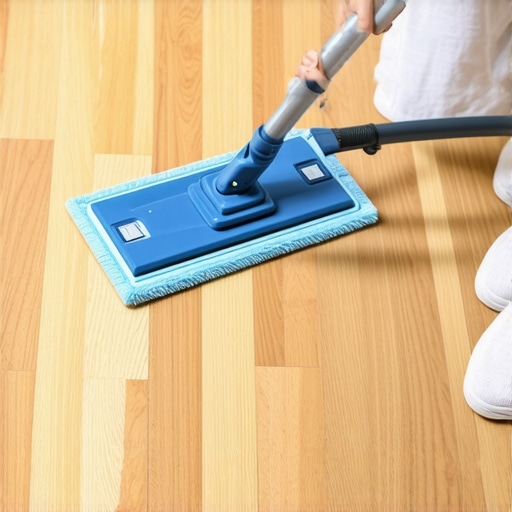
Instead of a traditional mop, your best friend is a spray-mop system with a washable microfiber pad. The goal is “damp,” not “wet.” You want just enough moisture to lift the dirt without leaving a trail of standing water. If your floor doesn’t dry within 60 seconds of cleaning, you’ve used too much. This isn’t just about the mop head, though; it is about the chemistry. Using a pH-neutral cleaner prevents the finish from becoming cloudy, a common issue that makes people want to scrub harder—and wetter—than they should. I once helped a neighbor who was convinced their floor was ‘ruined’ by wax buildup, but it was just the wrong cleaner causing a film. We switched to a dry-mop routine and the shine came back instantly.
Check Your Subfloor Moisture Before It Becomes a Problem
Sometimes the water isn’t coming from your mop—it’s coming from below. If you live in an area with high humidity or are installing over a concrete slab, moisture can rise up and trap itself under your underlayment. This is why pros always emphasize that you must how to use a moisture meter before you lay wood floors or laminate. Even a slight increase in the subfloor’s moisture content can cause those edges to peak. I once skipped this step in a basement remodel, thinking the concrete ‘looked dry,’ only to have the entire floor start cupping three months later because of ground moisture I couldn’t see. It was a $1,200 mistake that a $30 tool would have prevented.
Watch Out for Joint Damage During Installation
If your edges are already starting to lift despite perfect cleaning habits, the problem might date back to the day the floor was installed. If the planks were forced together too aggressively, the delicate tongue-and-groove system could have been crushed. This is a classic rubber mallet mistake that damaged your click-lock edges, creating tiny gaps where even ambient humidity can get in and cause swelling. When these joints are compromised, the floor loses its ‘unibody’ strength, making it much more susceptible to the smallest spills. Ensuring a tight, undamaged fit during the initial layout is the only way to truly ‘waterproof’ your lifestyle against everyday accidents.
Expanding on that idea of installation integrity, let’s dig deeper into the ‘flat versus level’ debate. Most people think these terms are interchangeable, but in the professional world, confusing the two is a recipe for disaster. You can have a floor that is perfectly flat but tilted at a two-degree angle, which might be fine for a rustic cabin, but it will make your new kitchen island look like it’s sliding into the sea. I often see DIYers rush into a project thinking that self-leveling compound is a ‘magic liquid’ that solves every problem. In reality, self-leveler is a precision chemical project. If you add just a fraction too much water, you destroy the structural integrity of the entire pour. I’ve seen expensive renovations fail because the installer didn’t know the secret to mixing the perfect bucket of self-leveler every time, resulting in a chalky surface that eventually crumbles under the weight of the furniture. 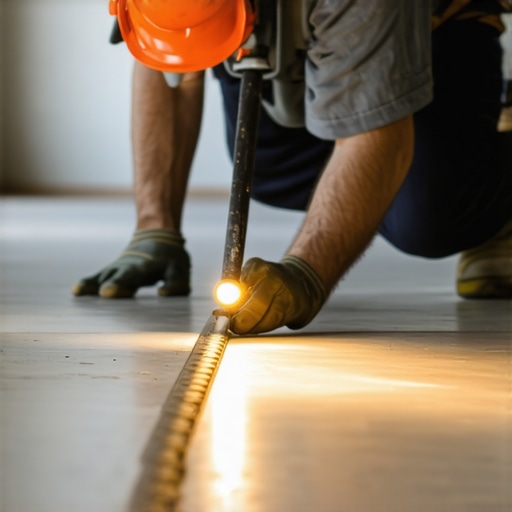
Stop Blaming the Tile for Your Uneven Subfloor
The most common expert-level ‘trap’ involves the assumption that a thick layer of thinset can fix a wavy floor. It can’t. In fact, the hidden cost of using cheap thinset on large format tiles becomes painfully obvious when the mortar shrinks during the curing process, pulling the tiles down and creating lippage. To prevent this, you must prioritize the substrate prep. The Tile Council of North America (TCNA) specifies that for large-format tiles—anything with one side longer than 15 inches—the subfloor must not deviate more than 1/8 inch over a 10-foot span. If your subfloor doesn’t meet this rigid standard, no amount of ‘pro-level’ adhesive will save the job. This is where many fail: they skip the primer. If you don’t prime correctly, you’ll soon be asking why your floor primer is peeling off like a sunburn. The primer creates a bridge between the old subfloor and the new leveler; without it, the leveler just sits on top like a loose sheet of crackers.
Can you really install new tile over that old vinyl?
This is the question that separates the amateurs from the veterans. While many would tell you to rip it all out, a seasoned pro knows that you can successfully bond to old vinyl if the conditions are perfect. The vinyl must be fully adhered, non-cushioned, and thoroughly scuffed to create a mechanical bond. You need to master how to install tile over an old vinyl floor without tearing it out by using specialized ‘eco-primers’ designed for non-porous surfaces. However, if that vinyl was installed over a particleboard underlayment, all bets are off. The moisture from the new leveler will cause the particleboard to swell, ruining the entire installation from the bottom up. Have you ever fallen into this trap of trying to save time on demolition only to have it backfire? Let me know in the comments. Success in flooring isn’t about the final piece of wood or tile; it’s about how to achieve flawless floor leveling before tile laying that creates a foundation for a lifetime.
Maintaining that ‘day one’ feeling isn’t about working harder; it’s about working smarter with the right gear. I used to think a broom was a broom, but then I discovered the vacuum attachment that actually picks up fine sawdust instead of just pushing it into the grain. If you’re serious about hardwood floor care secrets, you need to invest in a high-quality moisture meter. I personally swear by the Wagner Orion series because it’s pinless and won’t mar the finish you just spent three days perfecting. According to the National Wood Flooring Association (NWFA) Technical Manual, hardwood should generally be within 4% of the subfloor’s moisture content before installation even begins. Skipping this check is the most common reason I see for ‘mystery’ buckling six months later. 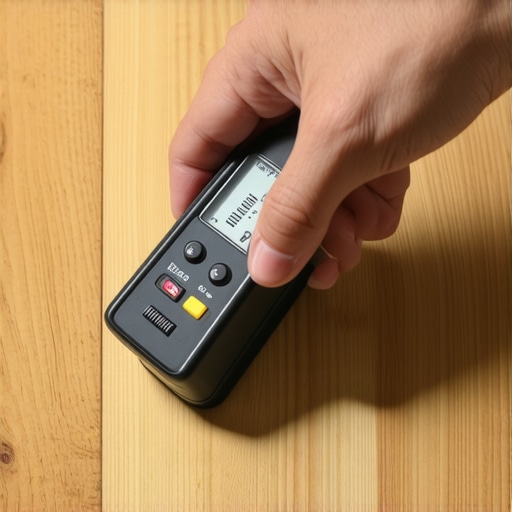
How do I keep my new floors looking pristine for decades?
The secret to long-term success is a proactive repair kit. Don’t wait for a disaster to happen. I keep a small stash of color-matched wax sticks and a touch-up pen in my utility drawer. If you catch a scratch early, it stays a scratch; if you leave it, it becomes a moisture entry point. For those with tile, knowing how to fix a chipped tile without replacing the whole piece can save you an entire weekend of demolition. I also recommend a yearly ‘audit’ of your transitions. Check if the reason your vinyl plank is separating at the thresholds is due to settling or poor initial gluing. A single drop of construction adhesive today saves a full replacement tomorrow. If you’re looking ahead to 2025, mastering hardwood floor refinishing expert tips for 2025 will be essential as we see a return to natural, matte oils over high-gloss polyurethanes.
The future of flooring is smarter than you think
We are moving toward a world where floors are no longer ‘passive’ elements. I predict that within the next five years, we’ll see widespread adoption of integrated moisture sensors embedded directly into the underlayment, especially for high-end the ultimate guide to floor leveling for a perfect finish. Imagine getting a notification on your phone because a dishwasher leak is pooling under your floorboards before you ever see a drop. Until then, your best defense is a solid foundation and a keen eye. Go grab a moisture meter this weekend—it’s the one ‘pro’ tool that will pay for itself the very first time it tells you to wait another week before laying those planks. Trust me, your future self will thank you for the patience.
The Hard Truths About Living with Your New Installation
After years of fixing buckle-prone laminate and cracked tiles, I’ve realized that the most important tool isn’t a saw—it’s your lifestyle adjustment. First, understand that humidity is a living thing; your floor breathes with the seasons, so don’t freak out when small gaps appear in January. Second, I learned that a ‘no-shoes’ policy isn’t just about dirt; it’s about preventing the microscopic grit that acts like sandpaper on your finish. Finally, always remember that perfection is a moving target. If you’ve followed a flooring installation fundamentals approach, you’ve already done 90% of the work. The rest is just enjoying the space you created.
What Actually Stays in My Pro Toolkit
I don’t believe in buying every gadget at the big-box store, but these three items are non-negotiable for me. I always keep a high-end contour gauge for those impossible cuts around door jambs; it’s much better than guessing and ruining a plank. I also never start a project without applying the dry-fit rule that prevents costly cutting mistakes, which has saved me thousands in wasted material over the years. For maintenance, forget the generic supermarket sprays. I use a dedicated pH-neutral concentrate that keeps the factory seal intact. If you’re looking for more ways to optimize your workflow, check out these tile installation pointers that save time and money during your next weekend warrior session.
Take the Leap and Transform Your Space
Flooring can feel like an intimidating science project, but it is ultimately the foundation of your home’s character. Whether you are tackling a full renovation or just mastering hardwood floor refinishing expert tips for 2025, the key is to be patient with the process and meticulous with the prep. You have the knowledge now to avoid the raised edges and hollow sounds that plague so many DIY jobs. Your home deserves a foundation that stands the test of time, so don’t be afraid to get your hands dirty. Have you ever run into a surprise ‘moisture disaster’ that completely changed your project plans? Let me know in the comments below!