
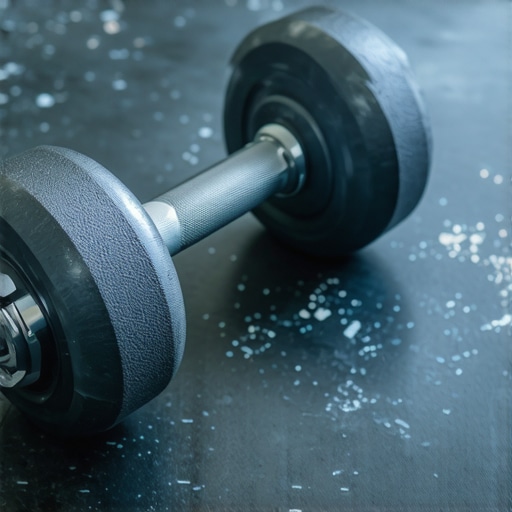
I remember the day I finally admitted my home gym was a disaster. I was midway through a heavy set of squats on those colorful EVA foam tiles—you know the ones, the interlocking puzzle pieces—and I felt my ankles rolling inward as the foam collapsed like a stale marshmallow under my weight. A sickening crunch echoed through the garage as a dropped 45lb plate finally found the concrete subfloor right through that flimsy padding. It was a visceral, expensive realization. I thought I was being smart by saving a few bucks, but I was actually sabotaging my joints and my foundation. Today, I’m going to show you why making the switch to recycled rubber is the only way to build a workout space that actually protects your body and your home.
The Day My Garage Floor Almost Gave Up on Me
When I first started setting up my lifting corner, I obsessed over the barbell and the rack. But I treated the flooring as an afterthought. I made the classic rookie mistake of thinking ‘soft is safe.’ In reality, foam is for yoga and toddlers, not for deadlifts. Recycled rubber, on the other hand, is high-density grit that laughs at heavy weights. Before you even roll out your mats, though, you need to make sure you aren’t laying them over a disaster. I once ignored a slight dip in my slab and ended up with mats that shifted constantly; I really should have learned how to measure subfloor flatness before you start installing anything. A level surface is the difference between a pro-look and a tripping hazard. According to the Tire Industry Association, recycled rubber can withstand over 1,000 PSI without permanent deformation, which is why it’s the standard for commercial gyms. If your subfloor is particularly bouncy or uneven, you might even need to look into the shim trick for fixing a bouncy plywood subfloor before committing to your heavy rubber mats.
Is the “New Rubber” Smell Actually a Dealbreaker?
One of the biggest fears I hear from neighbors is that their house will end up smelling like a roadside tire shop. I won’t lie to you: when those rolls first arrive, there is a scent. But let’s be realistic. High-quality vulcanized rubber gasses off quickly, especially with a bit of ventilation. If you do notice a lingering odor, it’s usually because of the binding agents used in cheaper brands. If you’re worried about it, check out my tips on why your rubber flooring is smelling like sulfur and how to neutralize it fast. Have you ever felt your floor ‘give’ way too much during a workout? It’s an unsettling feeling, isn’t it? I’d love to hear about your setup in the comments. We’re going to dive into the technical specs of why rubber outlasts foam ten to one, but first, let’s make sure your subfloor isn’t hiding any secrets.I learned the hard way that subfloor prep is 90% of the job. I once tried to level a small utility room for a heavy weight rack, and because I was overconfident, I didn’t check the perimeter. I mixed up three bags of self-leveler, started the pour, and realized too late that the fluid was rushing toward a gap near the dryer vent. I essentially spent $150 to paint the inside of my foundation walls. To avoid that nightmare, you need to know how to stop your floor leveler from leaking through the subfloor by using silicone caulk or foam dams to create a watertight basin.
Get Your Foundation Level Before the Heavy Lifting Starts
If you’re laying 3/4-inch rubber stall mats or rolls, any dip in the floor will eventually cause the seams to ‘trip up’ or separate. It’s like putting a tuxedo on a pig; the surface might look tough, but the structure is failing underneath. You need to be methodical. Grab a long level or a straightedge—I prefer a dedicated tool—to find the valleys. Learning how to check for high spots with a 10-foot straightedge is the only way to be certain you aren’t guessing. 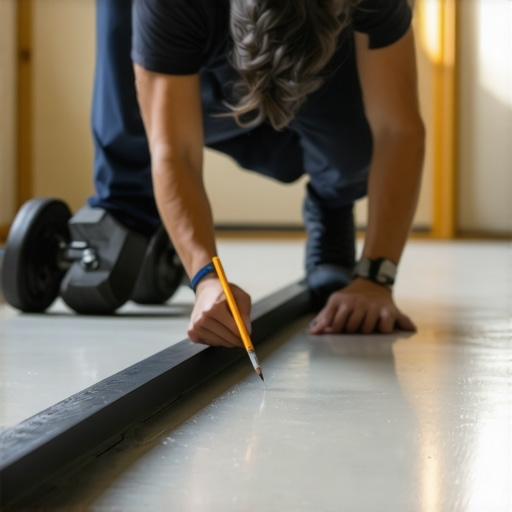 Once those high spots are marked with a pencil, it’s time for the pour. Most people think you just dump the leveler and it does the work. That’s a myth; it needs guidance. If you’re working over wood, make sure you use the best primer for installing leveler over plywood so the wood doesn’t suck the moisture out of the mix, which causes it to crack and flake. While the mix is wet, knowing how to use a spiked roller for the perfect leveling pour is the secret to popping air bubbles and ensuring the surface is glass-smooth. It’s the difference between a floor that feels like a professional training facility and one that feels like a bumpy parking lot.
Bridging the Gap to Other Rooms
Most home gyms don’t exist in a vacuum. You’re likely transitioning from that rugged rubber to hardwood floors in the hallway or tile in a nearby bathroom. This is where flooring installation fundamentals become critical. If your gym floor is significantly higher than the adjacent room, you can’t just leave a raw edge. I’ve seen people trip and nearly drop a loaded barbell because they didn’t account for the height difference. You’ll need a solid transition strip, perhaps even custom-scribed if you’re moving from rubber to a sloping area. If you are doing a full renovation, you might even consider best tile trends for complementing hardwood floors to keep the aesthetic consistent throughout the transition zones.
Don’t Let Your Subfloor Ruin Your Investment
Rubber is incredibly durable, but it’s also surprisingly telegraphic. If there’s a stray pebble or a screw head sticking up a sixteenth of an inch, you will feel it underfoot every time you do a calf raise. Before the mats go down, vacuum three times. Then, vacuum again. If you’re working over an old subfloor and notice any movement, don’t ignore it. Check out the shim trick for fixing a bouncy plywood subfloor to solidify the base. A stable subfloor prevents the rubber from shifting and keeps those seams tight for years to come.
Most people think ‘level’ and ‘flat’ are interchangeable terms. They aren’t. In my experience, a floor can be perfectly level—meaning it follows the horizon—but still be as wavy as the Atlantic Ocean. If you’re installing large-format tile or those heavy rubber mats, a floor that isn’t flat will lead to lippage or ‘bouncing’ weights. Everyone says to just keep pouring more leveler, but in my experience, targeted patching works better than a massive flood that often goes where it’s not wanted. According to the National Wood Flooring Association (NWFA), subfloor flatness is the single most important factor for the long-term integrity of any hard-surface installation. The standard is usually 3/16 inch of deviation over a 10-foot radius. If you ignore this nuance, you’ll end up with a mess of clicking sounds and separated seams. Have you ever fallen into this trap? Let me know in the comments.
Stop Obsessing Over Level and Start Checking for Flat
The biggest ‘oops’ factor I see pros and amateurs alike make is over-watering the self-leveler to make it ‘flow better.’ It’s a seductive trap. You think more water means a smoother finish, but all that extra liquid does is weaken the polymer bond. This is exactly why your floor leveler pitted during the drying process. Those tiny craters are signs of a failed chemical reaction. If you’re working in a warm environment, you might also face the frustration of a ‘flash set,’ which is the reason your leveler is setting up too fast before you can even get it to the corners. You have to work like a surgeon, not a gardener. 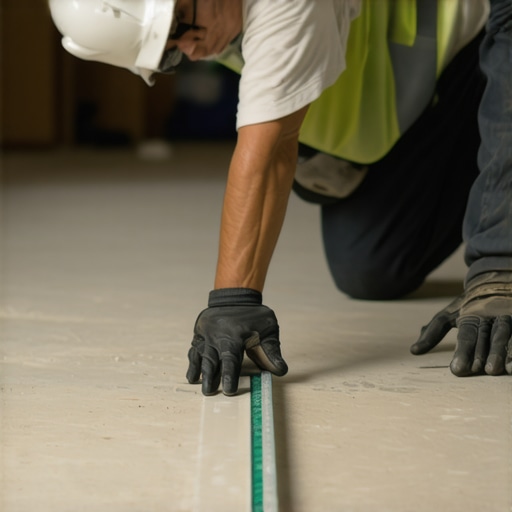
Why does my leveler look like a dry lake bed after it cures?
If your leveler is cracking or pulling away, it’s rarely a product defect; it’s a preparation failure. Beyond just cleaning the dust, you have to realize that concrete is a thirsty sponge. If you don’t prime it correctly, the slab will suck the moisture out of your mix instantly. You need to know how to achieve flawless floor leveling before tile laying by ensuring the substrate is saturated-surface-dry. This prevents the bond from shearing off under the weight of your equipment. Once that base is solid, you can focus on tile installation pointers that save time and money, like using the right mortar. Remember, even with a flat floor, the trowel notch secret for getting full thinset coverage is what keeps those tiles from cracking when you drop a dumbbell. If you’ve opted for wood in the adjacent hallway, don’t forget that hardwood floor care secrets to longevity and shine start with a subfloor that doesn’t allow for vertical movement. A stable floor isn’t just about the top layer; it’s the chemistry and physics happening beneath your feet.
I stopped trusting my old yellow spirit level three years ago. If you want a floor that doesn’t feel like a funhouse when you’re mid-set, you need a digital inclinometer or a high-accuracy electronic level that reads to the tenth of a degree. It’s about more than just checking a bubble; it’s about mathematical certainty. When I built out my latest training space, I leaned heavily on precise floor leveling techniques to achieve flawless surfaces because even a one-degree pitch makes a 300-pound squat rack feel like it’s leaning over a cliff. Precision isn’t just for aesthetics; it’s for structural safety. Beyond the level, you have to respect the invisible enemy: moisture. I never start a project without my Wagner pinless meter. Knowing how to use a moisture meter before installing wood floors or heavy rubber mats is the only way to ensure your subfloor isn’t a breeding ground for mildew. According to the American Society for Testing and Materials (ASTM) standard F710, concrete slabs must be tested for moisture vapor emission rates to prevent adhesive failure and ‘bubbling’ in resilient flooring like rubber. If you skip this, your heavy-duty floor is on a countdown to failure.
How do I maintain my gym flooring over time?
Maintenance for a hybrid space—where rubber meets wood or tile—requires a nuanced approach. You can’t just blast everything with a garden hose. For the rubber sections, I use a pH-neutral cleaner; anything acidic will eventually eat the binders that hold the granules together. If you have transition zones, remember that hardwood floor care secrets to longevity and shine involve keeping grit off the surface. Those tiny granules of rubber that shed over time act like sandpaper on your oak or maple finish. I’ve seen beautiful installs ruined because someone thought a steam mop was a universal tool. I can’t stress this enough: why you should never use a steam mop on click-lock floors is because the heat and moisture force their way into the seams, causing irreversible swelling. Stick to a microfiber damp mop and a vacuum with a soft brush attachment. 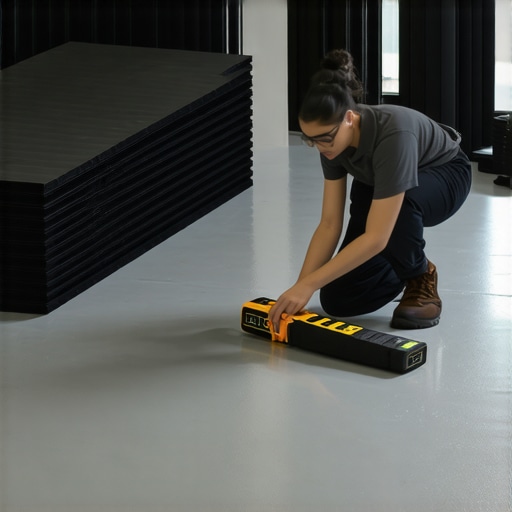
Looking ahead, I predict we’re going to see a massive shift toward sustainable, carbon-sequestering subfloor materials that actually help regulate room humidity. The days of just ‘pouring and praying’ with standard cementitious mixes are ending. We’re moving toward smart, modular subfloor systems that can be adjusted even after the top floor is laid. But until those become affordable for the average DIYer, you have to master the fundamentals of the pour. I challenge you to elevate your game on your next project. Don’t just dump your leveler and hope for the best; use the secret to mixing leveler for a glass-smooth finish by using a dual-speed drill and a specific mixing paddle to avoid entraining air. It is the single biggest difference between a ‘good enough’ floor and a professional masterpiece.
Three Hard Truths About Living with Your New Gym Floor
Looking back at my first DIY gym floor, I wish someone had pulled me aside and shared these specific insights. First, the floor leveler doesn’t think for you. It’s a tool, not a magician. If you don’t master the pro secrets for perfect installations, you’ll find yourself chasing a level bubble while the product hardens in the bucket. Second, those heavy rubber mats will reveal every single imperfection in your work over time; ‘close enough’ is the enemy of ‘built to last.’ Finally, if your gym transitions into a bathroom or kitchen, remember that you should never use standard mops on natural stone nearby, as the cleaning agents for rubber can be too harsh for delicate marble or slate. Your gym is an ecosystem, not an island.
The Gear That Saved My Knees and My Sanity
I’ve wasted hundreds of dollars on cheap tools that failed mid-pour. If you’re serious about this, invest in a dedicated mixing paddle and a high-torque drill. Follow a step-by-step guide to flooring installation to ensure you aren’t skipping the critical priming phase. I personally never start a pour without a set of spiked shoes anymore—they allow you to walk through the wet leveler to address low spots without leaving footprints. This level of pro-level floor leveling is what separates a garage that smells like a tire shop from a high-end personal training studio.
Ready to Build Your Bulletproof Foundation
It’s easy to get overwhelmed by the chemistry and the physics of it all, but don’t let the technical details paralyze you. The most important step is simply getting started with a clean, dry slab and a clear plan. By following the ultimate guide to floor leveling, you are setting yourself up for a workout space that won’t just look great on day one, but will protect your joints and equipment for the next twenty years. Your dream gym is only as strong as the floor leveling work you do today. Go get that mixer ready!
Have you ever had a self-leveling pour go wrong, or did you nail it on the first try? Let me know about your biggest subfloor headache in the comments below!