
It was 10:00 PM on a humid Tuesday night, and I was admiring my brand-new luxury vinyl plank floor. I had done everything by the book. I let those boxes sit in the middle of my living room for exactly 48 hours, just like the cardboard packaging insisted. I clicked them together, stood back, and felt like a home renovation genius. Six months later? My gorgeous floor looked like a mini mountain range, with peaks rising at every single joint. I was devastated. I had fallen hook, line, and sinker for the 48-hour acclimation myth, ignoring the real environmental factors that actually dictate how synthetic materials behave in a home. It was a painful, expensive lesson that completely changed how I look at modern floor prep.
Why the Standard 48-Hour Rule Is Failing Your Floors
If you spend five minutes on any home improvement forum, you will hear the same old advice: just toss your LVP in the room for two days and you are good to go. But here is the cold, hard truth: time is just a lazy proxy for what actually matters, which is temperature and relative humidity equilibrium. Synthetic cores, especially SPC (Stone Plastic Composite), are incredibly dense. They do not behave like traditional solid wood, but they absolutely still expand and contract based on extreme thermal shifts. If you install your planks in a room that is still undergoing active construction without climate control, or if your subfloor is holding hidden moisture, that 48-hour window is completely meaningless. In fact, according to the Resilient Floor Covering Institute, resilient flooring must be stored in a continuously climate-controlled environment between 65°F and 85°F for at least 48 hours prior to, during, and after installation to prevent structural failure. When I rushed my install without checking these precise environmental parameters, I practically guaranteed my own disaster. To make matters worse, I did not even bother to check if my subfloor was truly flat, leading to that annoying situation where your click-lock flooring is popping out at the joints because the planks are constantly flexing over deep hollows.
Is letting your flooring sit in the box actually doing anything?
Not really, at least not the way most people do it. When you leave twenty boxes of heavy vinyl tightly shrink-wrapped and stacked five-high in a corner, the planks buried in the middle of that stack do not feel a single breeze or temperature shift. They are completely insulated. If you really want to prepare your materials, you need to cross-stack the boxes or even open them to let the air circulate. But more importantly, you have to stop focusing on the clock and start focusing on the actual conditions of your home. Before you even think about laying down your first plank, you need to ensure your foundation is stable, dry, and flat. I learned the hard way that skipping basic prep, like neglecting to measure subfloor flatness before you start installing, will ruin even the highest quality luxury vinyl. We are going to debunk the myths today and get your subfloor perfectly prepped so your gorgeous new floor stays flat forever. Have you ever rushed an installation only to watch your beautiful planks start peaking or separating a few months down the road? Tell me about your flooring triumphs or nightmares in the comments below!
Step-by-Step Subfloor Prep for a Lifetime of Flat Floors
Getting your flooring material acclimatized to your home is only half the battle. Think of your subfloor like the foundation of a house; if it is crooked, the roof will never sit right. When I installed my second luxury vinyl plank floor in my guest bedroom, I refused to repeat my previous disaster. Instead of rushing, I treated the subfloor like a surgical canvas. I spent hours sweeping, checking, and pouring. It was messy, and my back ached, but three years later, those joints are as tight as the day I locked them together. If you want a flawless finish, you must follow a methodical preparation process.
Find the hidden dips with the flashlight scan
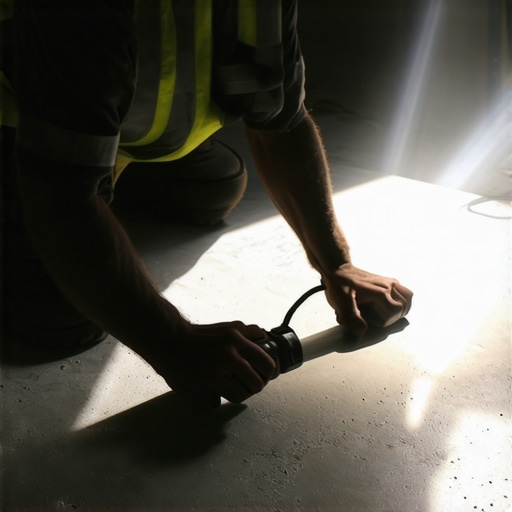
You cannot fix what you cannot see, and normal overhead lighting hides a massive amount of subfloor waviness. I learned this trick from an old flooring veteran: shut off the overhead lights, grab a bright LED flashlight, and place it flat on the floor, shining the beam across the room. Every shadow you see reveals a dip or a valley. To get a precise measurement of these uneven spots, you should use the string line method for checking floor flatness over 20 feet. This simple technique exposes exactly where your subfloor deviates from the industry standard of 3/16 inch over a 10-foot span. Mark these trouble areas directly on the wood or concrete with a pencil so you know exactly where to apply your attention.
Secure the bouncing plywood
If you are working on a wooden subfloor, any bounce or squeak will eventually destroy your click-lock joints. Before you even think about leveling, walk the room slowly. When you find a spot that sinks or squeaks under your weight, you need to anchor it down. On my guest room project, I discovered a highly effective shortcut: using the shim trick for fixing a bouncy plywood subfloor from underneath. By wedging a simple wood shim between the bouncy joist and the subfloor plywood, you instantly eliminate the vertical movement. If you do not have access from below, drive 2-inch deck screws directly through the plywood into the joists from above until the plywood sits flush and silent.
Pour self-leveler like a professional
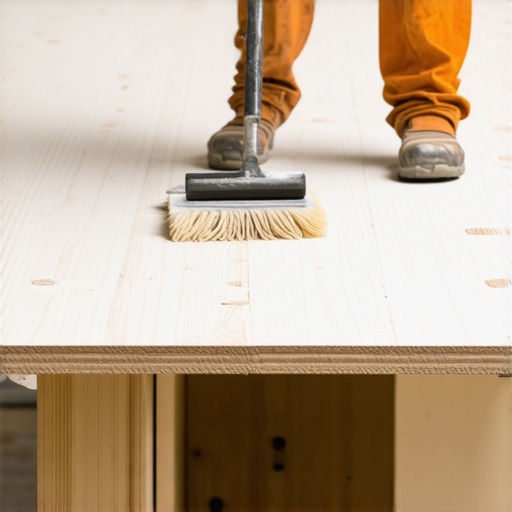
For deep valleys in concrete or plywood, self-leveling underlayment is your best friend. However, many DIYers assume the compound behaves like water and magically flattens itself. In reality, it is more like thick syrup; it needs guidance. When I first mixed self-leveler, I did not seal my doorways or prime the floor. Half the mixture leaked out, and the rest dried in lumpy ridges because the dry plywood sucked out all the moisture before it could flow. To prevent this, always apply an appropriate acrylic primer to prevent bubbling and drying issues. When you are ready to pour, you must know how to use a spiked roller for the perfect leveling pour. Rolling the spiked cylinder through the wet compound releases trapped air bubbles and coaxes the liquid into a perfectly flat, glass-like sheet before it starts to cure.
The Subfloor Leveling Illusion Most DIYers Fall For
Everyone tells you to simply pour a bag of self-leveler to fix a wavy subfloor, but in my experience, relying on gravity alone to create a perfect surface is a recipe for disaster. There is a massive, industry-wide misconception that self-leveling compounds behave like water. They do not. They are dense, polymer-modified cements that require physical manipulation and absolute environmental control. When you just pour it and walk away, you end up with localized high spots and a surface that is far from flat. If you are preparing for a sensitive tile or premium hardwood installation, this lazy approach will haunt you. You must actively work the material to achieve true flatness.
Why does self-leveler crack or pull away from the subfloor?
This is the question that separates the weekend amateurs from the seasoned professionals. The ultimate culprit is almost always a failure in surface preparation and moisture management, not a defective product bag. When you pour wet compound over dry, porous plywood or dusty concrete, the subfloor acts like a giant sponge, instantly sucking the water out of your mixture. This rapid dehydration prevents the polymers from cross-linking, causing the leveler to shrink rapidly, crack, and ultimately de-bond. According to the National Wood Flooring Association, subfloors must be thoroughly primed with a high-solids acrylic primer to seal the pores and ensure a mechanical bond. If you skip this, you will face major floor leveling challenges that can ruin your entire project before you even lay a single plank.
Another critical mistake is ignoring the structural deflection of your joists. Many homeowners believe that leveling compound adds structural strength. It does not. If your wooden subfloor has bounce, the rigid cementitious leveler will snap like a dry cracker under foot traffic. You need to resolve any structural movement first. For wood installations, always check if your joists can support the load, or you will find yourself dealing with flooring installation mistakes that require ripping up your beautiful finished floors. Have you ever fallen into this trap or watched your expensive leveler turn into a jigsaw puzzle of cracks? Let me know in the comments below!
My Essential Gear for Flawless Subfloor Preparation
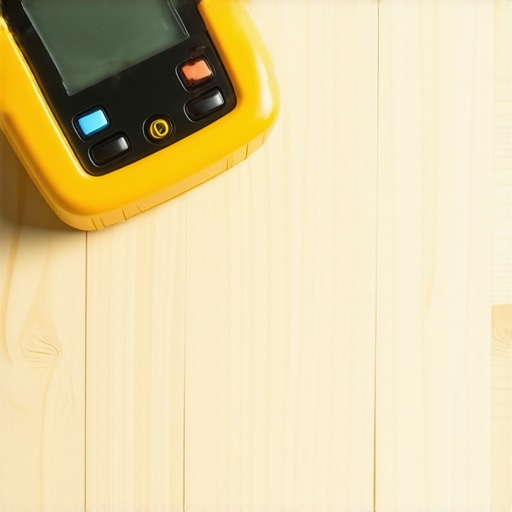
Over the years, I have moved away from cheap hardware store plastic levels and basic hand-mixing. If you want your hardwood floors or heavy stone tiles to lay perfectly flat for decades, you need precision instruments. I personally never start an installation without a digital moisture meter. Before laying any timber or engineered boards, you should know how to use a moisture meter before installing wood floors to ensure your subfloor isn’t secretly harbor moisture that will warp your hard work later. For mixing, I threw away my manual stirrers and invested in a dedicated double-paddle mortar mixer. It runs at a lower RPM, which prevents whipping air into the cementitious mix. If you want to know how to mix grout by hand without getting air bubbles, you can apply similar slow, deliberate stirring techniques, but for large-scale leveling, a mechanical paddle mixer is irreplaceable.
How do I maintain my floor flatness over time?
Even a perfectly leveled subfloor is subject to the shifting environment of your home. Hardwood and luxury vinyl are constantly reacting to the air around them. The secret to long-term flat floors lies in maintaining active indoor climate control. During the cold, dry months, wood naturally shrinks. To protect your investment, you must learn how to keep your hardwood floors from gapping in the winter by running a bypass humidifier connected to your HVAC system. Wood flooring behaves dynamically; the Hardwood Manufacturers Association highlights that keeping indoor relative humidity strictly between 30% and 50% is the single most effective way to stop structural cupping and joint separation. For tiled areas, ensure your grout lines remain sealed so cleaning water does not seep beneath the tile body and degrade the leveling compound underneath.
Smart Sensors and the Future of Floor Leveling
We are standing on the brink of a massive technological shift in home renovation. The days of relying on a simple piece of string or a shaky bubble level are rapidly drawing to a close. Within the next few years, I predict we will see affordable, handheld LiDAR scanners built into consumer smartphones that can instantly map a room’s floor flatness down to a fraction of a millimeter, highlighting high and low spots in a color-coded 3D map on your screen. This will completely eliminate the guesswork from flooring installation and leveling success. We are also starting to see self-leveling compounds embedded with smart nano-fibers that resist cracking even when subjected to minor subfloor deflection. This tech will make DIY precise floor leveling techniques foolproof for everyday homeowners. For your next project, do not just hope for a flat surface—grab a bright LED flashlight tonight and run the floor scan across your room to map out those hidden dips before you buy your materials.
What Experts Won’t Tell You About Your Subfloor’s Hidden Power
Over years of tackling tough renovations, I have realized that the flooring industry thrives on oversimplifications. The 48-hour box-sitting rule is a classic example of standard guidance designed to protect manufacturers rather than help your installation succeed. Here are the core, unvarnished truths I had to learn the hard way:
- Humidity is a silent saboteur: Synthetic cores do not swell from water absorption like wood, but shifting indoor humidity changes the expansion pressure on your walls. If you do not leave a perfect perimeter gap, the floor has nowhere to go but up.
- Primer is non-negotiable: If you skip priming, you are basically throwing money down the drain. Without a high-quality primer to seal the porous surface, your expensive leveler will fail to bond and eventually disintegrate into a sandy mess beneath your feet.
- Bounces do not self-cure: No amount of thick vinyl or underlayment will hide a bouncy joist. You must physically anchor the subfloor beforehand to prevent structural squeaks from ruining your quiet mornings.
My Hardwood and Leveling Survival Kit
Achieving a perfectly flat, creak-free surface requires abandoning cheap plastic tools and upgrading to a few reliable essentials that make a massive difference. Here is what I always keep in my work truck:
- A Professional Pinless Moisture Meter: This is the ultimate defense against warped boards. I always teach homeowners how to use a moisture meter before installing wood floors to rule out deep, hidden dampness in the plywood base.
- An Acrylic High-Solids Primer: Do not rely on cheap PVA options. I personally trust high-solids acrylic formulas because they create a flawless chemical bond. Skipping this is the single biggest cause of leveler delamination.
- A Heavy-Duty Spiked Roller: If you want a glass-smooth surface, you need this tool to break the surface tension of your self-leveling pour. It makes a tricky process almost foolproof.
Take Control of Your Subfloor Prep Today
It is easy to feel overwhelmed by the physical labor of patching, grinding, and pouring. However, taking the extra weekend to execute flawless subfloor prep is the only way to ensure your expensive hardwood floors or modern click-lock planks stand the test of time. Do not settle for “good enough” when you can achieve a level of perfection that rivals any professional installation. Learn from my early mistakes, get your subfloor perfectly flat, and build a foundation you can be proud of for decades.
Have you ever struggled with a self-leveling pour that dried too quickly, or did you discover a major subfloor dip after it was too late? Let me know about your flooring experiences in the comments below!