
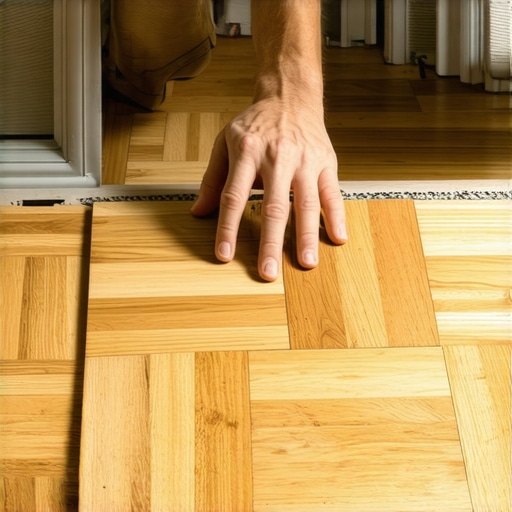
I remember the exact moment I realized my parquet floor was plotting against me. It was a humid Tuesday, and I was walking to the kitchen for my morning coffee. Click. Clack. That distinct, hollow sound of a wood block that had finally given up its grip on the subfloor echoed through the hall. It’s a tiny thing, really, but once you hear it, you can’t un-hear it. It feels like a pebble in your shoe that you’re forced to live with every single day. I’ve been there, staring at a piece of wood that’s just a fraction of an inch higher than its neighbors, wondering if I should just call a professional and spend a fortune on a full flooring installation. But here is the good news: you don’t have to. We’re going to fix that loose square together today, and I’ll show you how to do it so it stays put for the long haul. Have you ever felt that sinking feeling when a guest trips over a loose tile in your home? It’s more common than you think.
Stop the Rattle Before It Drives You Crazy
When one of those classic finger-block squares pops loose, it usually means the adhesive has finally reached its expiration date or moisture has done its dirty work. According to the National Wood Flooring Association, maintaining consistent indoor humidity is the most critical factor for wood floor stability. If your home has been swinging between bone-dry and tropical, that glue is going to fail. Proper hardwood floor care secrets to longevity and shine start with addressing these small failures before they turn into a total floor replacement. Today, we are going to focus on the “surgical” approach—removing the loose piece, cleaning the site, and bonding it back down for good.
Is one loose square actually a sign of total floor failure?
It’s the question that keeps DIYers up at night. Usually, a single loose block is just an isolated incident of poor adhesive coverage or a localized spill that seeped through. You don’t need to rip up the whole room. However, before you dive in, I highly recommend you learn how to use a moisture meter. If your subfloor is soaking wet, no amount of glue in the world is going to keep that wood down. Assuming things are dry, this is a weekend project that takes about twenty minutes of actual work and a few hours of waiting for things to dry.
Why My First Repair Failed in Seven Days
I’ll be the first to admit that I’m not perfect. Years ago, I tried to fix a loose parquet block using standard yellow wood glue on a concrete slab. It felt solid for about a week, and then—pop—it was loose again. Wood glue is great for wood-to-wood contact, but it’s terrible for bonding wood to a slab. You need a specialized urethane-based adhesive that can handle the expansion and contraction of the wood. To do this right, you also need the best tool for scraping glue off a concrete slab to ensure you have a clean, flat surface. If you leave the old, crunchy glue behind, your repair will sit too high, and you’ll be right back where you started, tripping over that same edge. We are going to avoid those rookie mistakes today and get that floor looking like it was installed by a master craftsman.First, you need to lift the block out without turning the surrounding floor into a jigsaw puzzle of splinters. I usually take a thin putty knife and gently wiggle it into the seam. I remember a project last summer where I got impatient and used a heavy-duty flathead screwdriver; I ended up gouging the neighbor block so badly I had to replace three instead of one. Use the putty knife to feel for where the bond is weakest. Once the piece is out, look at the back. It’s probably covered in a grey, brittle skin of old adhesive. You can’t just glue over this. Think of it like trying to tape a dusty box—it just won’t stick.
Clear Out Every Last Bit of Old Gunk
The real work happens on the subfloor. You need to get down to the bare substrate. This is where the best tool for scraping glue off a concrete slab becomes your best friend. If the surface isn’t flat, your block will rock like a seesaw. Even a tiny 1/16th of an inch bump will make that ‘click’ sound come back in a month. You should also take a second to learn how to measure subfloor flatness before you start installing your replacement piece to ensure no debris is hidden in the corners. A clean surface is the only way to ensure the new adhesive can bite into the subfloor effectively. 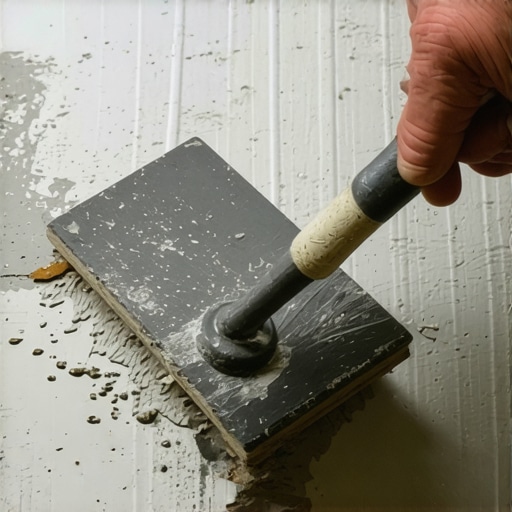
Bond It Down So It Stays Put Forever
Once everything is clean, it’s time for the glue. Forget the white or yellow craft glues. You want a high-solids urethane adhesive. Apply it to the subfloor, not the wood. Why? Because it’s easier to control the depth. If you ‘butter’ the wood like a piece of toast, you’ll inevitably get squeeze-out that ruins the finish. If you do get a little on the surface, don’t panic. Much like the trick for removing dry thinset from the face of a tile, you can use a damp (not soaking) microfiber cloth to wipe away the excess before it cures. This attention to detail is part of the hardwood floor care secrets to longevity and shine that keeps high-end homes looking pristine. Press the block firmly into place and wiggle it slightly to collapse any air pockets in the glue.
The Waiting Game for a Perfect Seal
Finally, press the block into place and weight it down. I usually use a couple of heavy textbooks or a stack of leftover tile to keep consistent pressure. Don’t walk on it for at least 24 hours. This is the one step people skip during waterproof flooring installation in mckinney and DIY repairs alike—patience. If you step on it too soon, you’ll break the green bond, and you’ll be starting this whole process over by Tuesday. If your parquet is in a high-traffic area, you might even consider blocking off the section with blue tape to remind family members to walk around your surgical site.One of the biggest lies in the flooring industry is the idea that you can use extra adhesive to ‘shim’ a low spot in the subfloor. Many DIYers—and even some pros who are in a hurry—believe that a thicker bed of glue will bridge the gap. In my experience, this is the quickest way to ensure your repair fails by next season. When the adhesive is too thick, it loses its elastic properties and becomes a brittle mountain that eventually cracks under the weight of foot traffic. According to the National Wood Flooring Association (NWFA), subfloors must be flat within 3/16 of an inch over a 10-foot span. If you ignore this, the physical stress on the wood’s tongue-and-groove joints will lead to audible squeaks and eventual detachment. This is one of the most overlooked flooring installation mistakes to avoid for lasting results.
What happens when your subfloor is actually the problem?
If you pull up a loose block and see a literal valley in your concrete or plywood, you cannot just glue it back down. You need to address the substrate. I see people reach for a bag of patch, but they skip the most critical step: the primer. Without it, the subfloor will suck the moisture out of your patch so fast that it won’t bond, leading to why your self-leveler is bubbling over plywood or concrete. I once worked on a beautiful 1920s estate where the previous contractor had skipped the primer; the entire entryway sounded like I was walking on dried cornflakes. Before you pour anything, ensure you know how to measure subfloor flatness before you start installing your fix. If you find a dip, use a high-quality leveling compound, but be warned—the water ratio is not a suggestion. Adding too much water to make it ‘flow better’ actually destroys the polymer chain. This is often the reason your leveler is setting up too fast or becoming dusty and weak once it dries. 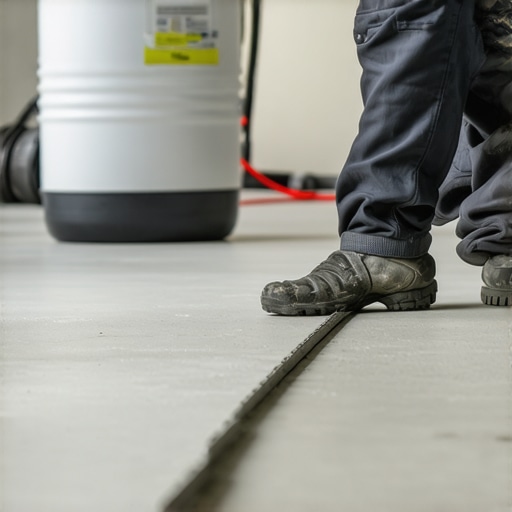
The Primer Trap That Catches Everyone
Another nuance that separates the masters from the amateurs is understanding ‘flash time.’ Many people apply a subfloor primer and then immediately dump their leveling compound on top while it is still a puddle. This is a disaster. The primer needs to become tacky—not wet—to create the chemical bridge needed for precise floor leveling techniques to achieve flawless surfaces. If you rush this, the leveler will simply float on top of the moisture, and eventually, the whole patch will delaminate from the floor. I’ve seen 20-foot sections of flooring ruined because someone didn’t wait an extra thirty minutes for a primer to dry. It’s all about the flooring installation fundamentals leveling for a seamless look. If you take the time to do the prep work that no one will ever see, the part they *do* see will look perfect for a lifetime. Have you ever fallen into this trap of rushing the prep work? Let me know in the comments.
The Three Tools I Refuse to Leave in the Truck
When I’m on a job site, I see people trying to eyeball floor flatness all the time. It drives me absolutely crazy. You can be the most experienced installer in the world, but your eyes will lie to you. That is why I never start a project without a 10-foot straightedge. This isn’t just a fancy stick; it’s the ultimate truth-teller. I’ve learned how to check for high spots with a 10-foot straightedge to prevent that annoying ‘hollow’ sound under floating floors. If you use a standard 4-foot level, you are only seeing a tiny fraction of the picture. A 10-foot edge shows you the long-range waves in the subfloor that will eventually cause your hardwood to gap or your tile to crack. For those of you working with concrete, don’t even think about pouring leveler without how to use a spiked roller for the perfect leveling pour. It’s the only way to release the air bubbles that cause those tiny, annoying pits in your finish.
Why You Can’t Trust Your Eyes Alone
The second non-negotiable tool is a high-quality pinless moisture meter. I remember a client who insisted we install a gorgeous hickory floor in their basement in mid-July. The concrete looked dry, and it felt dry to the touch. But the meter told a different story—the slab was exhaling moisture like a marathon runner. If we hadn’t checked, that floor would have buckled within a month. Learning how to use a moisture meter before installing wood floors is the difference between a floor that lasts thirty years and one that lasts three. According to the NWFA Technical Publication No. A100, wood flooring should only be installed when the substrate moisture content is within 2-4% of the wood’s moisture content, depending on the plank width. Ignoring this technical data is a recipe for disaster. 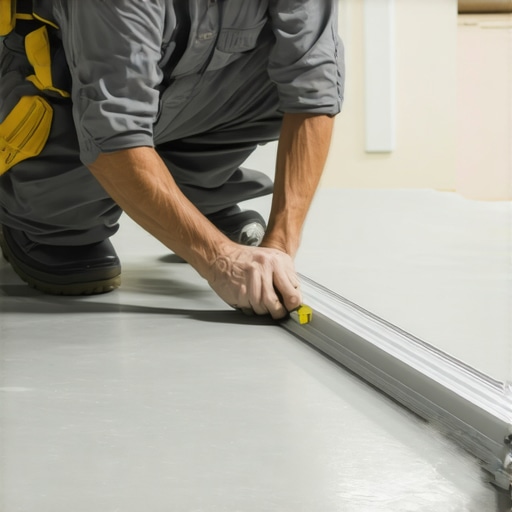
How do I maintain my hardwood floors after a repair?
Once you’ve successfully fixed that loose block or leveled that subfloor, the real work of preservation begins. The biggest mistake I see homeowners make is reaching for a steam mop or a soaking wet rag. I’ve written about the why you should never mop new hardwood for at least two weeks because the finish needs time to fully cross-link and harden. Even after that period, moisture is your enemy. You need to know how to keep your hardwood floors from gapping in the winter by maintaining a consistent relative humidity between 30% and 50%. This usually means running a humidifier during the dry months. If you treat your floor like a living, breathing thing—which it is—you’ll keep those hardwood floor care secrets to longevity and shine alive for decades.
A Glimpse into the Future of High-Tech Planks
I’m predicting that in the next five years, we are going to see ‘smart’ subfloors become the norm in high-end residential builds. We’re already seeing sensors that can be embedded into the subfloor to alert your smartphone if a leak occurs under your hardwood or if the humidity levels drop too low. This kind of technology will make mastering hardwood floor refinishing expert tips for 2025 even easier because we will have the data to back up our maintenance schedules. For now, the best thing you can do is invest in a 10-foot straightedge. Go to your local supply house, pick one up, and spend ten minutes checking your hallway today. You might be surprised at what you find lurking under your feet.
The Mistakes That Taught Me Everything About Parquet
After decades of working with wood, I’ve realized that the biggest enemy of a DIYer isn’t lack of skill—it’s overconfidence in the wrong materials. One of the most common floor leveling challenges common mistakes and how to avoid them is thinking that a “level” floor is the same as a “flat” floor. Your room can be perfectly level but have waves like the ocean, which is what causes those blocks to pop. Another hard truth? Most people rush the cleaning phase. If you don’t remove every speck of dust, the best urethane adhesive in the world will only bond to the dirt, not the slab. I’ve seen beautiful repairs fail in weeks because a single layer of dust prevented a true chemical bond.
The Gear I Trust When a Floor Gets Complicated
If you’re serious about your home’s value, stop guessing. I never step onto a job site without a pinless moisture meter and a 10-foot straightedge. These aren’t just for pros; they are the insurance policy for your hardwood floors. I also swear by the mastering hardwood floor refinishing expert tips for 2025 that emphasize precision over speed. If you need to keep things clean during the repair process, remember the blue tape trick for grouting without making a mess actually applies to adhesive lines too—tape off the neighboring blocks to keep your finish pristine while you work with sticky urethanes.
Your Journey to a Solid Foundation Starts Today
Don’t let a small “click-clack” sound discourage you from enjoying your home. Fixing a loose parquet block is more than just a repair; it’s about reclaiming the peace and quiet of your living space. With the right tools and a bit of patience, your hardwood floors will look and feel as solid as the day they were installed. You have the knowledge now, so go ahead and pull up that loose piece—you’ve got this! Every masterpiece started with a single fix.
Have you ever found a mysterious dip in your subfloor that threw your whole project off? Let me know in the comments below!
#IMAGE_PLACEHOLDER_E#