
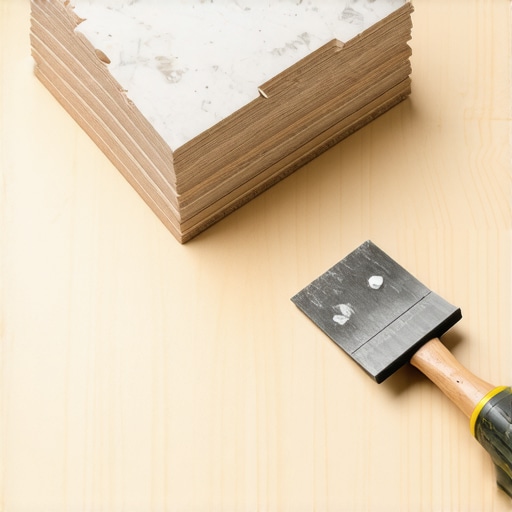
I will never forget the tiny, sickening crunch I heard when I stepped onto my first DIY bathroom floor just six months after finishing it. I had spent weeks picking out the perfect slate, but I had been cheap where it mattered most: the subfloor. I used a scrap sheet of construction-grade CDX plywood from the garage, thinking that a thick layer of thinset would mask any imperfections. I was dead wrong. Within a year, the grout lines looked like a dried-up lakebed, and I had to rip the whole thing out. Today, I’m here to make sure you don’t repeat my $2,000 mistake. We are going to dive into the exact plywood grades that provide the rigid foundation your tile demands to stay beautiful for decades.
That Sinking Feeling When Your Grout Starts to Crumble
It usually starts as a hairline fracture in the corner of a single tile. You ignore it, hoping it’s just a fluke, but soon it’s a spiderweb of white dust spreading across your floor. This is a classic example of a plywood mistake that causes grout cracks, and it is entirely avoidable. When I was starting out, I didn’t realize that standard exterior-grade plywood often contains “voids”—hidden air pockets in the inner layers—that compress under your weight. That tiny millimeter of flex is all it takes to snap a porcelain bond. If you want a floor that doesn’t move, you have to look beyond the surface.
Is Any Old Plywood Really Going to Ruin My Floor?
You might be tempted to think that the cement board you’re laying on top will provide all the strength you need. It’s a common trap. While cement board is fantastic for bonding, it actually provides almost zero structural rigidity. If the wood beneath it bounces, the cement board bounces right along with it. According to the APA – The Engineered Wood Association, using anything less than a “C-C Plugged” or “Underlayment” grade plywood risks catastrophic delamination where the layers of wood literally peel apart. You need to know how to stop a plywood subfloor from delaminating by starting with the right material from day one. Have you ever noticed your current floor feeling a bit “springy” in the winter months? That’s exactly the kind of movement we’re looking to kill before the first tile is even cut.
The Secret is in the Veneer Grades
When you are standing in the aisle at the lumber yard, ignore the price tag and look for the stamp on the back of the panel. For a stable tile base, you need an exposure-rated panel with a smooth, “plugged” face. This means that every knot in the top layer has been filled with wood or synthetic patches, ensuring there are no hollow spots for your tile to sink into. I learned the hard way that cracking over plywood seams is often caused by using a lower-grade wood that expands and contracts too much with seasonal humidity. If your subfloor isn’t flat, don’t just dump more mortar; learn how to level a plywood subfloor without adding weight to maintain the structural integrity of your joists. A little extra prep now prevents a massive headache later.
Ditch the Nails and Grab the Drill
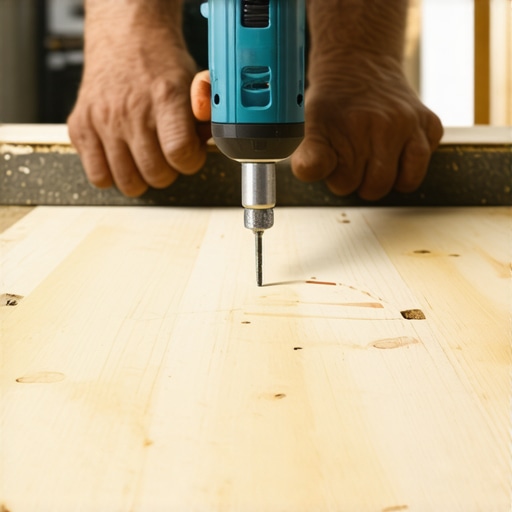
In the flooring world, nails are the enemy of silence. On a job in 2019, I tried to save four hours by using a pneumatic nailer to tack down a subfloor. Two weeks later, the homeowner called because the floor sounded like a bowl of Rice Krispies every time they walked to the fridge. I had to go back, pull the carpet, and learn how to fix a bouncy floor with a few well-placed screws. Screws bite into the joists and stay there; nails eventually pull up as the wood dries out. Use 1-5/8 inch screws spaced every six inches along the edges and every eight inches in the field (the middle of the sheet). This rigid connection is the first line of defense against flooring installation mistakes to avoid for lasting results.
Stagger Your Joints Like a Pro
Never, ever let four corners of your plywood sheets meet in one spot. This creates a plus-sign intersection that acts as a hinge, inviting the floor to flex. You want your subfloor to look like a brick wall—offset the seams of your second layer of plywood so they don’t line up with the first. This is one of the most critical flooring installation fundamentals. When you overlap the joints, you distribute the weight across multiple joists, turning individual sheets into a monolithic platform. If you’re worried about transitions to other rooms, check out how to hide a bad subfloor transition without a transition strip to keep the flow consistent.
Give the Wood Room to Breathe
Wood is a living material that expands when the humidity spikes. If you butt your plywood sheets tight against each other, they will eventually push upward, creating a peak that will snap your tile in half. Leave a 1/8-inch gap (about the thickness of a 16d nail) between all sheet edges. I once skipped this on a small laundry room, and by mid-August, the floor had buckled so badly I couldn’t open the door. This is also why cracking over plywood seams is so common; the wood has nowhere to go but up. Use a spacer or just eyeball it with a nail to ensure that seasonal shifts don’t ruin your hard work.
Hunt for Low Spots with the Chalk Secret
Before you even think about thinset, you need to find the dips. Take a long straightedge—a 6-foot level or a straight 2×4—and slide it across the floor. To make the invisible visible, I use the chalk dust secret for finding low spots. Lightly dust the floor with blue builder’s chalk and drag your straightedge over it. The tool will scrape the chalk off the high spots and leave it sitting in the valleys. This shows you exactly where you need precise floor leveling techniques. If the dip is deeper than 1/8 inch, you’ll need to shim it or use a high-quality leveling compound. Taking the time to how to achieve flawless floor leveling before tile laying ensures that your large-format tiles don’t end up with lippage, where one edge sticks up higher than the next.
Most pros will tell you to just ‘back-butter’ the tile to fix a dip. I used to believe that too, until I realized that thinset is an adhesive, not a filler. When you use mortar to bridge a gap larger than a quarter-inch, it shrinks as it cures. This shrinkage pulls the tile downward, leading to ‘lippage’—that annoying edge that catches your toe and ruins the look of your floor. If you want a professional result, you need to be mastering floor leveling pro secrets for perfect installations before you even open a bag of mortar. The Tile Council of North America (TCNA) specifies that for large-format tiles, the subfloor must be within 1/8 inch of flat over a 10-foot span. Anything less is asking for a catastrophic crack.
Why Does My Self-Leveler Keep Bubbling?
Here is a nuance that separates the weekend warriors from the masters: the speed of your drill. Most people grab a high-torque mixing drill and go to town at 1000 RPMs. This is a massive mistake. High speeds whip air into the mixture, creating tiny bubbles that rise to the top once you pour. These bubbles pop, leaving pinholes that compromise the strength of the surface and create weak points. You must use the mixing paddle speed that ruins your leveling compound knowledge to stay under 300 RPM. This keeps the mixture creamy, air-free, and structurally sound.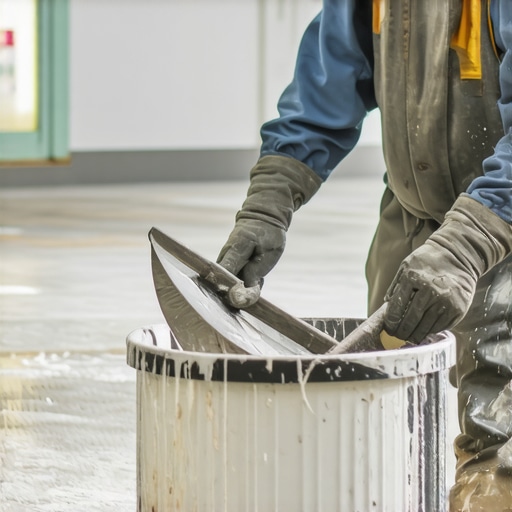
Seal the Wood Before You Pour
I’ve seen guys dump self-leveler directly onto plywood thinking the wood will ‘grip’ it. It’s a trap. Plywood is incredibly thirsty; it will suck the moisture out of the leveler before it can properly bond or flow into the low spots. This leads to floor leveling challenges common mistakes and how to avoid them like delamination and premature cracking. You must use a specialized primer to seal the wood first. This ‘Oops’ factor is exactly why self-leveling compounds bubbled over your subfloor in past attempts.
How Do I Know if My Joists Can Actually Handle the Weight?
Before you add another layer of plywood or a thick pour of leveler, you have to consider the ‘deflection.’ If your joists are undersized, adding weight just makes the floor bounce more, which will snap your grout lines regardless of your subfloor material. A quick way to check for stability is the hammer test for finding loose floor joists. If you hear a dull thud instead of a sharp ring when striking the joist, you might have a structural issue that no amount of leveler can fix. In those cases, precise floor leveling techniques to achieve flawless surfaces must start with sistering the joists from below to ensure the foundation is rigid enough for stone or porcelain. Have you ever fallen into the ‘more thinset fixes everything’ trap? Let me know in the comments below—I’d love to hear your horror stories and how you eventually fixed them. If you’re still planning your layout, check out the secret to installing large format tile without lippage for your next step.Even if your subfloor is rock-solid, the tools you use for the final 10% of the job decide whether the floor lasts ten years or fifty. I used to think a steady hand and a good eye were enough, but experience (and a few crooked hallways) taught me otherwise. If you aren’t using a self-leveling laser for your layout, you are essentially guessing. I personally rely on the 360-degree green beam lasers because they don’t wash out in bright rooms. This isn’t just about vanity; it is the foundation of the laser level move for perfectly straight hallways that ensures your tile lines don’t slowly ‘drift’ toward the baseboards.
The Three Tools I Refuse to Start a Job Without
Beyond the laser, there is one humble tool that changed my entire approach to self-leveling: the spiky roller. When you pour leveler, surface tension and air bubbles are your enemies. I’ve seen beautiful pours turn into moonscapes because of tiny pinholes. By using the spiky roller secret for a mirror-smooth pour, you break that surface tension and let the material truly find its own level. It’s a five-minute step that saves two hours of grinding later. Then, there is the moisture meter. The National Wood Flooring Association (NWFA) states that wood should be within 2% to 4% of the subfloor’s moisture content before installation. If you ignore this, your beautiful oak will cup or crown within weeks. Learning how to use a moisture meter to prevent floor failure is the difference between a pro and a hobbyist.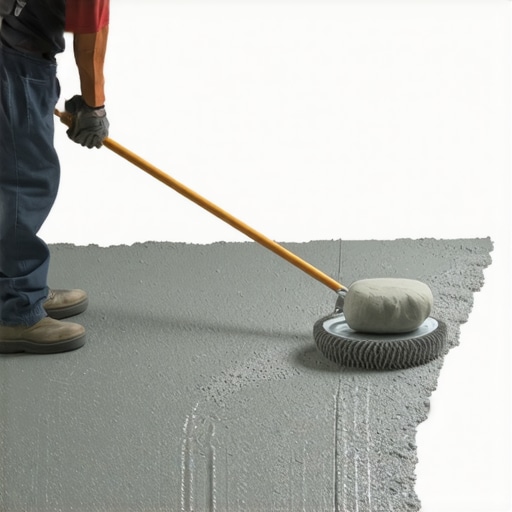
What the Future of Subfloors Looks Like
We are moving toward a world where ‘smart’ underlayments and carbon-fiber reinforced levelers will become the norm. I’m already seeing a shift toward pre-mixed, high-flow compounds that require zero water addition on-site, which eliminates the risk of a weak mix. These precise floor leveling techniques to achieve flawless surfaces are becoming more accessible to DIYers, but the fundamentals of cleaning and priming will never change. I predict that in the next five years, we will see more focus on ‘decoupling’ membranes that are integrated directly into the leveling pour, saving us an entire day of labor.
How can I keep my tile and wood looking new forever?
Maintenance is where most homeowners fail. You spend $10,000 on a floor and then clean it with a $5 bottle of harsh chemicals. Please, stop using vinegar on your hardwood floors immediately; the acid eventually eats through the polyurethane finish, leaving the wood vulnerable to graying. For tile, the secret is in the pH-neutral cleaners that won’t degrade your grout sealer. Following hardwood floor care secrets to longevity and shine involves using microfiber mops and very little water. If you want to keep that showroom look, I highly recommend grabbing a spiky roller for your next leveling project—it’s the single best investment you can make for a smooth finish. Don’t forget to check out our mastering floor leveling pro secrets for perfect installations if you’re ready to take the next step.
The Shift in My Thinking That Stopped Floor Cracks
If there is one thing a decade of renovation has taught me, it’s that the subfloor is the most honest part of your house—it never forgets a shortcut. I used to think I could ‘fix it in the mix’ by using extra thinset, but I realized that rigidity is non-negotiable. My biggest lightbulb moment was discovering that movement isn’t just about weight; it’s about physics. Even a high-quality sheet of plywood can fail if the moisture levels aren’t right or if you don’t use the right fasteners. I’ve learned that mastering floor leveling pro secrets for perfect installations starts with admitting that the wood under your feet is a dynamic, living material. Another hard-learned lesson? Never trust a subfloor just because it looks flat. Always check the joists first because if the skeleton is weak, the skin—no matter how beautiful the tile—will eventually tear.
Gear That Actually Makes Pro-Level Results Easier
You don’t need a truckload of expensive machinery, but you do need the right specific tools. For me, the three non-negotiables are a 360-degree green beam laser, a pin-less moisture meter, and a spiky roller. I trust these because they remove the guesswork that leads to flooring installation mistakes to avoid for lasting results. I personally use a Bosch laser for the laser level move for perfectly straight hallways, ensuring my lines are dead-on. I also swear by the Wagner moisture meter because knowing how to use a moisture meter to prevent floor failure has saved me from potential disasters where the subfloor was too wet. Finally, use a high-quality spiky roller secret for a mirror-smooth pour to get that glass-like finish on your self-leveler.
Build a Foundation Your Grandkids Will Walk On
It is easy to get overwhelmed by the technical specs, but remember: you are building something meant to last for decades. Every screw you drive and every low spot you fill is an investment in your home’s future. Don’t rush the prep work; the actual tiling is the easy part once your base is perfect. If you follow these precise floor leveling techniques to achieve flawless surfaces, your flooring installation will be the envy of every contractor in town. You’ve got the knowledge now—it’s time to pick up the drill and make it happen. Have you ever discovered a hidden low spot in your floor after you thought you were finished? Let me know in the comments below!