
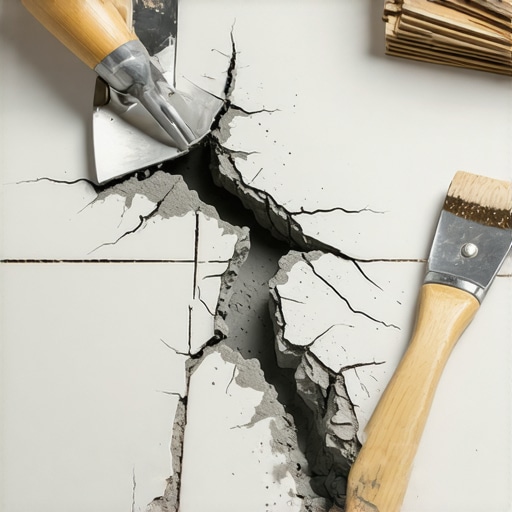
I remember the dust. It was everywhere. But what hurt more than the mess was the sound—that sharp, sickening snap of a brand-new tile breaking just two weeks after I’d finished the job. I’d spent three days meticulously laying a classic herringbone pattern, only to have a single, stubborn crack in the concrete slab telegraph right through my hard work. It was a rookie mistake. I’d assumed the thinset would act like a bridge. It didn’t. Instead, it acted like a megaphone, amplifying every tiny movement of the house directly into my expensive porcelain. If you’re looking at a jagged line in your subfloor right now, take a breath. We aren’t going to let that happen to you. Today, we are going to fix that slab the right way so your new floor survives for decades.
[IMAGE_PLACEHOLDER]
Your Dream Tile Is Only as Good as the Concrete Beneath It
I’ve spent years helping neighbors and friends fix floors, and the biggest misconception I see is that tile is a structural layer. It’s not. Tile is brittle. Concrete, as solid as it looks, actually moves and breathes with the seasons. If you ignore a crack, you’re essentially building a house on a fault line. I learned the hard way that you cannot skip the prep. If you want to achieve flawless floor leveling before tile laying, you must first stabilize the foundation. According to the Tile Council of North America (TCNA), substrate failures cause more tile issues than poor quality tiles themselves. It’s about movement. Even the tiniest shift in the earth can snap a ceramic plank if it’s bonded directly to a moving crack. This is why you need to know how to prep a concrete slab properly, whether you’re going with tile or even hardwood.
Have you ever pulled up old flooring only to find a literal ‘Grand Canyon’ running through your concrete? I want to hear your horror stories—let’s swap some trauma in the comments below!
Is this extra repair work actually worth the hype?
I get it. You’re tired, your budget is tight, and you just want the floor finished. You might be wondering if a specialized crack isolation membrane or a heavy-duty filler is just contractor upselling. Trust me, it’s not. Skipping this step is one of the most common flooring installation mistakes to avoid for lasting results. I once tried to save twenty bucks and a few hours by using standard thinset to patch a hairline fracture. Six months later, I was back in that kitchen, prying up broken grout. You also have to remember that you must prime concrete before every leveling job or repair, or your patch won’t even stick to the old slab. It’s the difference between doing a job once and doing it twice. Let’s make sure we do it right the first time.
Scrub the Slab Until It Is Bone Dry
Before you even think about opening a bag of patch, you have to get that concrete surgical-grade clean. I cannot stress this enough. If you have remnants of old carpet glue or black mastic, you need to know how to remove old mastic without damaging the slab before proceeding. Any residue acts as a bond-breaker. Think of it like trying to stick a piece of tape to a pile of flour; it just won’t happen. I once spent six hours on my hands and knees in a humid basement scrubbing grease spots because I knew if I didn’t, the leveling compound would peel up like a bad sunburn. Once it’s clean, vacuum it—don’t just sweep. You want those pores in the concrete open and thirsty for the primer.
Turn Those Tiny Cracks into Clean V-Grooves
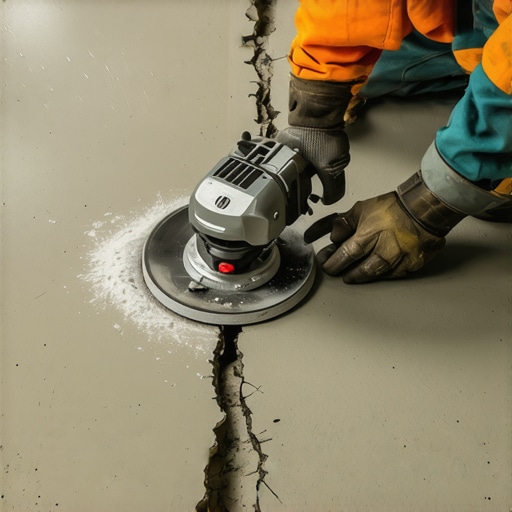
It sounds counterintuitive, but to fix a crack, you often have to make it bigger. If the crack is narrower than a sixteenth of an inch, your repair material won’t be able to penetrate deep enough to actually hold. I use a small angle grinder with a diamond blade to ‘chase’ the crack, turning it into a V-shape. This gives the filler more surface area to grab onto. While you’re at it, check for any ‘lipage’ where one side of the crack is higher than the other. This is a red flag for an active structural issue. After grinding, you might notice the surface looks a bit too smooth. This is where the concrete etching step you shouldnt skip before leveling comes into play to ensure the mechanical bond is rock solid.
The Day I Met a Singing Crack
I remember a project in a high-rise where I ignored a hairline fracture because I was in a rush. I figured the thinset would be enough. Two weeks later, the client called because the floor was ‘singing’—a sharp, hollow clicking sound every time they walked near the kitchen island. The crack had expanded by a fraction of a millimeter, but it was enough to shear the bond between the tile and the slab. I had to rip up four rows of expensive porcelain. Since then, I never skip using a crack isolation membrane. It acts like a rubber band between the concrete and the tile, absorbing the slab’s movement so the tile doesn’t have to. If you don’t use the right tools here, you might end up with the trowel size error that leads to hollow sounding tiles later on.
Choose the Right Filler for the Job
Not all patches are created equal. If the crack is ‘dormant’ (meaning it hasn’t moved in years), a rigid epoxy or a cementitious patch works wonders. However, if there is any chance of seasonal shifting, you need something with a bit of flex. If you use a material that is too brittle, you will quickly find out why your subfloor patching compound is cracking under pressure. After the filler is cured, I always run a straightedge over it. If there’s even a slight hump, I sand it down. For those aiming for a professional, glass-like surface, using the spiky roller secret for a mirror smooth pour during your final leveling stage will eliminate any bubbles that might weaken the bond. This prep work is the unglamorous part of the job, but it is exactly what separates a DIY disaster from a floor that lasts a lifetime.
Everyone tells you that self-leveling compound is a magic ‘pour-and-forget’ solution, but that is the biggest lie in the flooring industry. In my experience, if you just dump the bucket and wait, you’ll end up with a wavy mess. I have seen countless DIYers wonder why your self-leveling pour looks like a topographical map instead of a flat plane. The nuance lies in the tools and the timing. You have to actively manage the flow, and more importantly, you have to watch your RPMs. I once burned through a bag of high-end leveler because I used a standard high-speed drill. That high speed whipped air into the mix, creating a foam that dried into a Swiss-cheese texture. You really need to understand the mixing paddle speed that ruins your leveling compound to avoid these micro-bubbles that compromise the floor’s integrity.
Can I skip the moisture test if the slab is twenty years old?
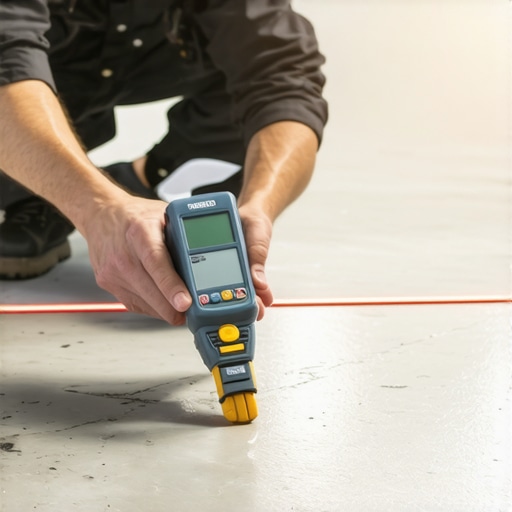
The short answer is a resounding no. Age does not equal dryness. I have seen decades-old slabs that suddenly start ‘sweating’ after a heavy rain because the original builder skipped the vapor barrier underneath. This is a massive trap for hardwood. If you don’t know how to use a moisture meter to prevent floor failure, you are gambling with your investment. Even if the surface feels bone-dry to the touch, hydrostatic pressure can push moisture through the pores of the concrete, delaminating your glue or buckling your planks. According to the ASTM F1869 standard—the ‘Gold Standard’ for measuring moisture vapor emission—even a slab that looks perfect can be emitting five pounds of water per 1,000 square feet, which is enough to ruin most high-end finishes. This is exactly why your basement floor needs a moisture barrier even if it feels dry.
Another nuance that separates the pros from the amateurs is how they handle transitions. Most people rely on bulky transition strips, but those are often just ‘band-aids’ for poor height planning. If you are mixing materials, you should be using precise floor leveling techniques to achieve flawless surfaces that meet perfectly flush. It takes more work at the subfloor stage, but the result is a high-end look that doesn’t trip your guests. Have you ever fallen into this trap of thinking the leveler would just do the work for you? Let me know in the comments—I’d love to help you troubleshoot your next pour.
The Tools I Would Grab in a House Fire
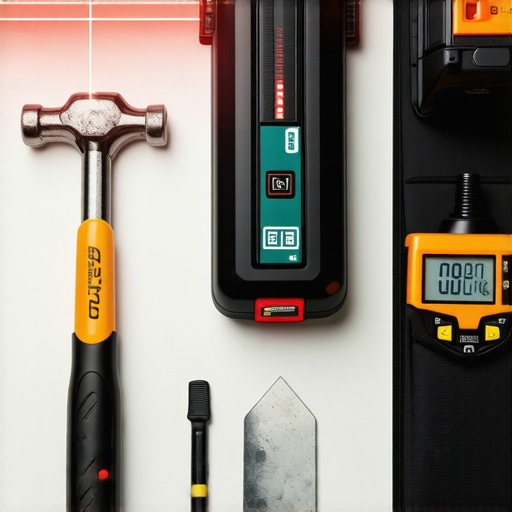
After years of trial and error, I have realized that the tools you use are just as important as the technique you practice. I used to trust my eyes for layout, but eyes can be deceived by shadows and fatigue. Now, I rely on the laser level move for perfectly straight hallways every single time. It is the only way to ensure your tile lines do not slowly drift into an awkward wedge shape over a long run. And please, put away the standard framing hammer when working with delicate wood. I have seen too many tongue-and-groove joints crushed by misplaced steel strikes. That is exactly why you should use a dead blow hammer for floor capping—it delivers the necessary force without the destructive rebound or surface marring.
Why Your Cleaning Routine Might Be Killing Your Finish
Maintenance is where most homeowners fail after a successful install. You spend thousands on the materials and then ruin the protective seal with a five-dollar bottle of the wrong cleaner. Seriously, you need to stop using vinegar on your hardwood floors immediately. The acidity slowly eats away at the polyurethane, leaving the wood vulnerable to moisture. The same applies to your tile; understanding why you should never mop your floors with dish soap comes down to the sticky film it leaves behind, which actually attracts more dirt and makes your grout look dingy within weeks.
How do I keep my floors looking brand new for years?
Long-term success is about climate control and the right chemistry. According to the National Wood Flooring Association (NWFA) Technical Manual, maintaining a consistent relative humidity between 30% and 50% is the single most critical factor in preventing gaps, crowning, or cupping in hardwood. If you want to master hardwood floor care secrets to longevity and shine, you have to treat your home like a humidor. Looking toward the future, I see the industry moving toward even more sustainable, breathable materials. We are already seeing a massive surge in demand for the best eco-friendly underlayment for quiet apartments, which prioritizes indoor air quality alongside sound dampening. If you want a floor that survives the test of time, stop treating prep and maintenance as optional. My best advice? Go buy a high-quality moisture meter today and check your slab one last time before you commit to your layout.
Lessons from the Slab That No Manual Mentions
Over the years, I’ve realized that the concrete isn’t just a foundation; it’s a living part of your home that reacts to everything from humidity to the weight of your furniture. One of my biggest lightbulb moments was finally accepting that you cannot rush the drying process of a patch. If the material feels ‘cool’ to the touch, it’s still off-gassing moisture, and that moisture will eventually trap itself under your new planks. I’ve also learned that the ‘flashlight test’—shining a light across the floor at a low angle—is the only way to catch those pesky ridges that even a level can miss. Most importantly, I’ve found that a failed floor is rarely about the quality of the tile itself, but almost always about the shortcut taken three days before the first tile was even laid.
The Gear I Trust When My Reputation Is on the Line
If you want to avoid the common floor leveling challenges, you need a toolkit that removes the guesswork. First, I never start a project without a high-quality moisture meter. Knowing how to use a moisture meter to prevent floor failure has saved me thousands in potential rework. Second, I highly recommend keeping a copy of the TCNA Handbook or the NWFA guidelines nearby; they are the ultimate ‘source of truth’ for professional standards. Third, for layout, nothing beats a self-leveling laser. It’s the secret behind the laser level move for perfectly straight hallways. These tools aren’t just luxuries; they are the difference between a ‘DIY look’ and a gallery-standard finish.
Build a Floor That Outlasts the House
Taking the time to prep your slab might feel like an endless chore, but it is the most rewarding part of the process once that last piece of trim goes on. When you commit to a step-by-step guide to flooring installation and leveling success, you are investing in peace of mind. Your future self will thank you every time you walk across a perfectly silent, perfectly flat floor. Don’t be intimidated by the dust or the technical specs; just take it one crack at a time. By using precise floor leveling techniques to achieve flawless surfaces, you ensure that your home remains a sanctuary of style and stability for decades to come. What is the one part of the floor prep process that always feels like the biggest hurdle for you? Share your thoughts below, and let’s get that subfloor fixed!